

Are you tired of searching for your lost mailbox key every day? You’re not alone. Losing a mailbox key can be frustrating, especially when accessing important mail or packages. But don’t worry; there are simple steps you can follow to replace your lost mailbox key without any hassle.

How to replace lost mailbox key can be a frustrating experience, but thankfully, replacing it is a straightforward process with the proper steps. Whether your local postal service manages your mailbox, part of a residential complex, or privately owned, procedures are in place to ensure you regain access to your mail securely and efficiently.
This guide will walk you through the options available for replacing a lost mailbox key, helping you minimize any inconvenience and avoid potential delays in retrieving your correspondence.
What Are the Causes of Losing a Mailbox Key?
Before we dive into the steps for replacing a lost mailbox key, let’s first explore why keys go missing in the first place. Here are some common reasons for losing a mailbox key:
- Misplacement: The most common reason for losing a mailbox key is simply misplacing it. This can happen when you’re in a rush or have too many things on your mind.
- Theft: Unfortunately, mail theft is becoming increasingly common these days. If your key was stolen, you should report it to the relevant authorities and replace your lock as soon as possible.
- Wear and Tear: Mailbox keys can become worn out and prone to breaking or getting stuck in the lock. This can result in a lost key and require a replacement.
- Damage: Accidents happen; sometimes, a mailbox key can get damaged or bent, making it unusable. In this case, you’ll need to replace the key with a new one.
Now that we know some common causes of lost mailbox keys, let’s move on to the steps for replacing them.
What Will You Need?
- Identification: Depending on the type of mailbox, you may need to provide some form of identification, such as a government-issued ID or utility bill with your name and address.
- Replacement Key Form: Some postal services or residential complexes may require you to fill out a replacement key form before issuing a new key. This is usually available at their office or online.
- Payment: There may be a fee for replacing a lost mailbox key, so make sure you have cash or a credit/debit card handy.
- Locksmith: If your mailbox is privately owned or the lock needs to be replaced, you’ll need to hire a locksmith specializing in mailboxes.
- New Key: If you have a duplicate mailbox key, you can use it to get a copy made. Otherwise, you’ll need a new key for the replacement.
Once you have all the necessary items, follow these steps to replace your lost mailbox key.
8 Easy Steps on How to Replace Lost Mailbox Key
Step 1. Check for Spare Keys:
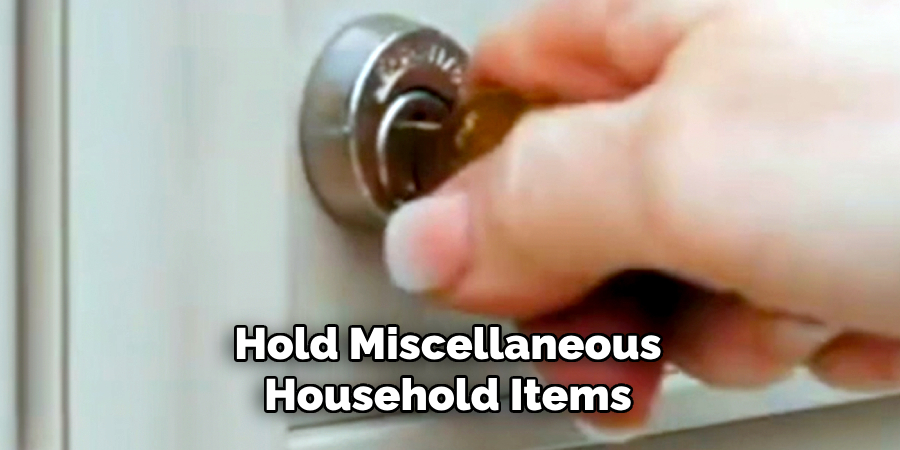
If you’ve lost your mailbox key, the first step is to search for any spare keys you might have thoroughly. Check common storage areas where spare keys are often kept, such as key racks, drawers, or boxes that hold miscellaneous household items. It’s also a good idea to ask family members or housemates if they’ve recently seen or borrowed the spare key.
If your mailbox key is part of a larger set of keys, retrace your steps to the last locations where you might have used them. Sometimes, spare keys can also be left with trusted neighbors, friends, or relatives for emergencies. Finding a spare key can save you time and the expense of dealing with locksmiths or other replacement methods. Exhaust all options for locating a spare key before moving on to more elaborate solutions.
Step 2. Contact the Mailbox Owner:
If you cannot locate a spare key, the next step is to reach out to the mailbox’s owner, whether that is a property manager, landlord, or the postal service. The owner is often the property management company or homeowners’ association for community or shared mailboxes. If applicable, provide them with as much information as possible about your situation, including your address and the specific mailbox number.
Depending on local regulations, they may require proof of identity or residency, such as a utility bill or photo ID, to verify that you can access the mailbox. They may also charge a fee for a replacement key or assist in arranging for the lock to be changed. Be prepared to follow their procedures, as different mailbox owners and services often have varying protocols. Remember, patience and clear communication can help resolve the issue more efficiently.
Step 3. Gather Required Documentation:

Before proceeding, ensure you have all the documents ready to present to the mailbox owner or service provider. Commonly required items include a government-issued photo ID, such as a driver’s license or passport, to confirm your identity. Additionally, you may need to provide proof of residency or ownership that connects you to the mailbox in question.
Examples of such proof include utility bills, lease agreements, or other official correspondence that lists your name and the mailbox address. Having these documents organized and readily accessible can save time and prevent delays during the process. Double-check the requirements with the appropriate party beforehand to avoid missing any critical paperwork. Proper preparation will streamline your request and make the resolution process smoother.
Step 4. Fill Out a Request Form:
To complete this step, obtain the appropriate request form from the relevant authority or organization. These forms are often available online or at their physical office locations. Carefully read all instructions provided on the form to ensure you understand the requirements and can fill it out accurately. Provide clear and legible information using black or blue ink if a printed copy is required. Double-check all entered details, such as your name, address, and any reference or account numbers, as errors can lead to the rejection or delay of your request.
If any sections of the form are unclear, you may contact the issuing organization for clarification or consult their website for detailed guidance. Once completed, verify that all required supporting documents are attached and ready to be submitted with your form. Following these steps ensures your request form is thorough and reduces the chances of complications.
Step 5. Submit Payment:
Ensure that you review the payment instructions carefully to avoid any errors. Payments may need to be made online, through a bank transfer, or via check, depending on the requirements outlined by the issuing organization. Double-check the accepted payment methods and ensure that your payment reflects the correct amount, including any processing fees if applicable.
When making the payment, retain a copy of the receipt or confirmation for your records, as this may be required for future reference or as proof of payment. Some organizations may provide a tracking number or reference ID tied to your payment; if so, keep this information secure. Timely submission of your payment is crucial, as delays can result in missed deadlines or the rejection of your request.
Step 6. Wait for Approval:
Once you have submitted your payment and necessary documentation, the approval process will typically begin. The duration of this process can vary depending on the specific organization or entity handling your request. During this time, it is essential to remain patient and avoid making multiple follow-up inquiries unless necessary, as this could prolong the processing time.

Some organizations may provide updates on the status of your application or request, either through email, an online portal, or other communication channels. Ensure you monitor these closely to address any additional requirements or issues promptly. If a timeline for approval was provided, mark it on your calendar as a reminder, but be prepared for potential delays, as unforeseen circumstances can occasionally impact processing times.
Step 7. Visit a Locksmith:
Sometimes, the mailbox owner or service provider may require you to visit a certified locksmith to obtain a replacement key. This step is typically necessary if the mailbox lock needs to be changed entirely, as it cannot be rekeyed or replaced without specialized equipment and knowledge.
If this is the case, contact a locksmith in your area and schedule an appointment at your earliest convenience. Ensure you bring all required documentation, such as proof of identity and payment, when visiting the locksmith. They often need these items to confirm your request and complete their services accurately.
Step 8. Retrieve Your Replacement Key:
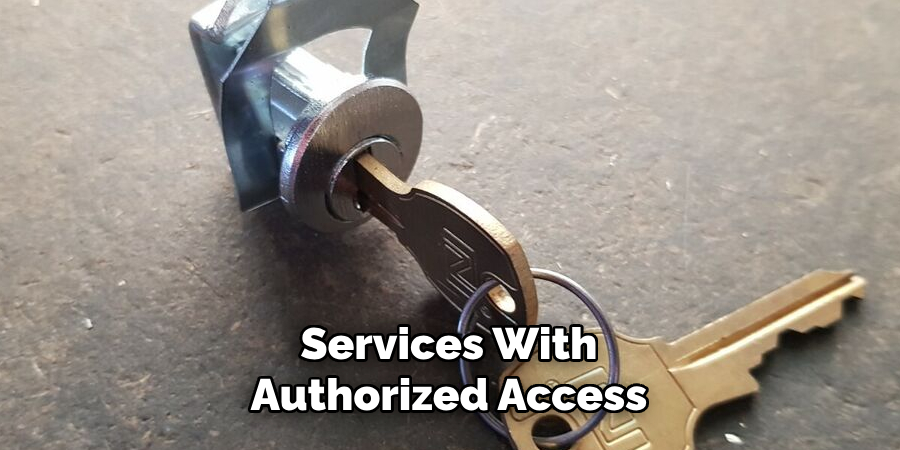
After completing all necessary steps successfully, you should have your replacement key. Before leaving, confirm that the key works and fits your mailbox correctly. If the lock was changed entirely, you may need to provide a new key to any individuals or services with authorized access to your mailbox. Keep your replacement key safe and secure; losing it can result in additional fees and delays if a second replacement is needed.
By following these steps, you can effectively navigate the process of obtaining a replacement key for your mailbox.
Conclusion
How to replace lost mailbox key can seem like a daunting process, but with the right steps and preparation, it can be managed efficiently.
You can obtain a replacement key with minimal hassle by identifying the type of mailbox, contacting the appropriate authority or locksmith, and providing the required documentation. It’s important to act promptly to secure your mailbox and its contents. Additionally, consider making a spare key to avoid future inconveniences.
With proper care and organization, you can prevent key mishaps and ensure seamless access to your mailbox.