Replacing a mailbox lock without a key is often necessary for various reasons. If you’ve misplaced the key, recently moved into a new home, or are dealing with a lock that has become faulty over time, gaining access to your mailbox can become a hassle. Fortunately, learning how to replace mailbox lock without key is a straightforward task that doesn’t demand the expertise or cost of a professional locksmith service.

By approaching this DIY project, you regain access to your correspondence and enhance your home’s security. This guide will walk you through the entire process, from safely removing the old, uncooperative lock to efficiently installing a brand-new one. Each step is designed to be easy to follow, ensuring anyone with minimal tools can successfully complete the task and easily secure their mailbox.
Assessing the Type of Mailbox and Lock
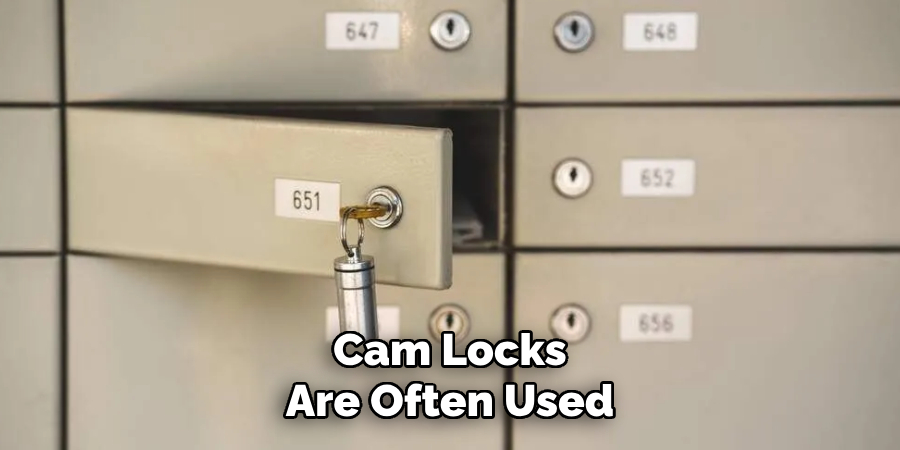
Before embarking on the process of replacing your mailbox lock, it is crucial to assess the type of mailbox and lock you are dealing with. Mailboxes come in a variety of designs, each serving different settings and needs. Wall-mounted mailboxes are typically hung near the front door or on a porch, providing easy access for residents. Curbside mailboxes, on the other hand, are commonly seen in suburban areas and are positioned along the street for postal delivery. Cluster box units (CBUs) are often used in apartment complexes or neighborhoods, featuring multiple locked compartments in a single cabinet.
Determining whether your mailbox falls under personal control or if it’s managed by a postal service or housing association is essential. Personal mailboxes allow more freedom for DIY lock replacement, while community mailboxes, such as those found in CBUs, may have specific restrictions. In these cases, you might need to consult your property manager or postal service for guidance and permissions.

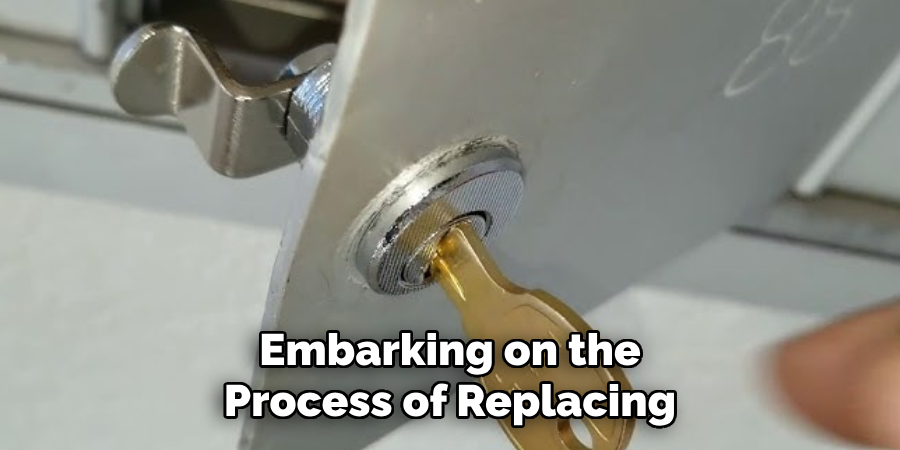
Likewise, mailbox locks themselves vary widely. The most prevalent type for residential mailboxes is the cam lock, which uses a rotating cam that turns with the insertion of a key to open the mailbox door. Cylinder locks are another common type, often employed for their durability and security features. Meanwhile, keyless combination locks are gaining popularity due to their convenience and enhanced security, as they eliminate the need for physical keys.
Identifying your lock type involves examining the locking mechanism. A visual inspection, particularly where the lock meets the door, will often reveal a cam component or the telltale features of a cylinder or combination lock. Once you’ve ascertained your lock type, you can determine if it can be straightforwardly replaced with minimal tools or if specialized assistance or permission is needed, particularly in managed housing scenarios. If your mailbox is part of a CBU or similar communal setup, contacting your postal service or property manager is recommended to ensure compliance with any stipulations they may impose.

Gathering Tools and Materials
Before you begin replacing your mailbox lock, it’s essential to gather all the necessary tools and materials. This preparation ensures the process goes smoothly without unnecessary interruptions. The tools you’ll need include a flathead screwdriver and needle-nose pliers, which are standard for most mailbox lock replacements. A wrench may be required depending on the specific lock type. Additionally, a drill will be helpful if the lock is stuck or cannot be accessed without potential damage.
As for the new mailbox lock, you should look for a replacement that suits your mailbox’s specifications. Common types like cam locks are often used due to their broad compatibility and straightforward installation. Ensure that the size and lock type match your mailbox requirements. New locks can be purchased at hardware stores, online retailers, or through your local postal service, where you might also find guidance on the best replacement options.

How to Replace Mailbox Lock Without Key: Removing the Old Mailbox Lock
Replacing a mailbox lock requires removing the old lock first. Depending on how accessible and secure the lock mechanism is, there are two main methods for doing this. Below, you’ll find a detailed guide for each method to safely and efficiently remove the old lock.
Method 1: Unscrewing or Prying the Lock
Step-by-Step Instructions:
- Open the Mailbox Door: Begin by gently opening the mailbox door. This provides access to the internal components of the lock.
- Locate the Lock: Identify where the lock is secured within the door. This will typically be visible when the door is open.
- Unscrew the Locking Mechanism: If the lock is secured with screws, use a flathead screwdriver. Insert the screwdriver into the screws from inside the mailbox and unscrew them carefully.
- Remove a Retaining Clip (if applicable): In some cases, a retaining clip holds the lock in place. If this is the case, use needle-nose pliers to carefully unclip and remove it.
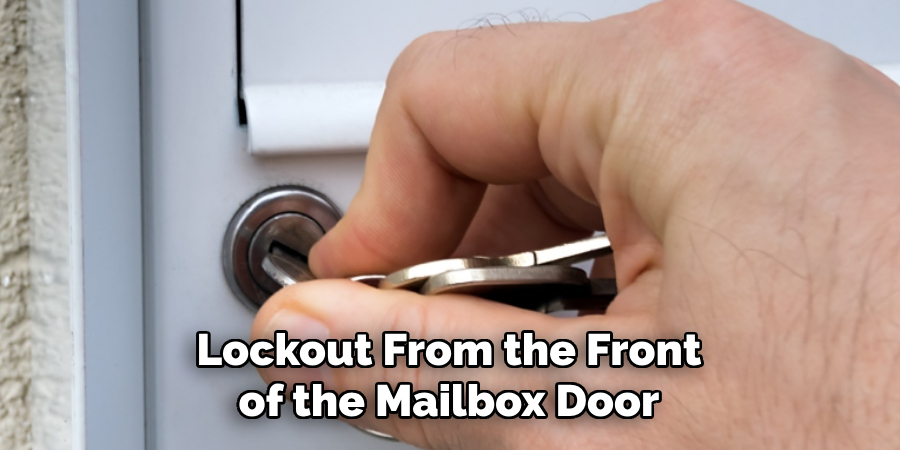
- Pull Out the Old Lock: Once the screws or clip are removed, gently pull the lockout from the front of the mailbox door. Make sure to set aside the old lock components.

Method 2: Drilling Out the Lock
When to Drill the Lock:
Drilling the lock becomes necessary if it cannot be pried or unscrewed or if the key is lost, leaving no other means to open the mailbox.
Step-by-Step Instructions:
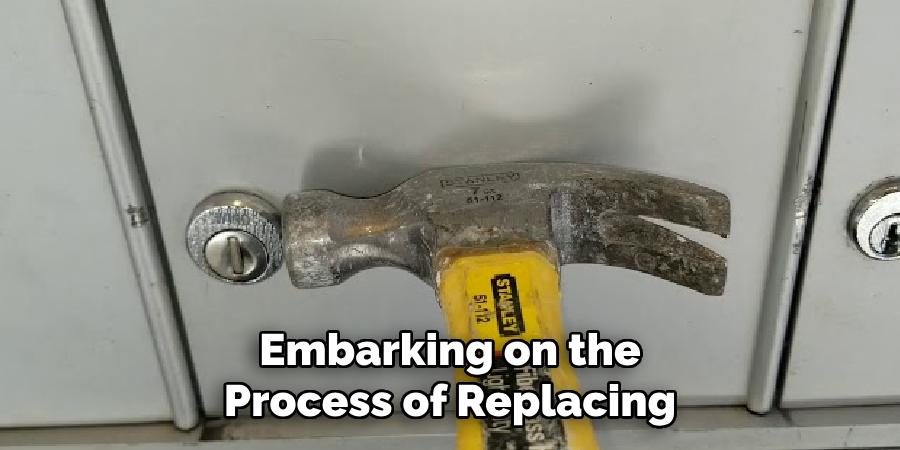
- Position the Drill: Equip yourself with a drill and a metal drill bit that matches the size of the lock cylinder. Position the drill bit directly over the center of the lock cylinder.
- Drill into the Lock Cylinder: Apply steady pressure and drill directly into the lock. This should be done slowly and carefully to ensure precision. The aim is to break the lock core without damaging the mailbox itself.
- Remove Broken Lock Pieces: Stop drilling once the lock core is compromised. Remove the drill and clean any remaining debris from inside and around the lock area. Use needle-nose pliers if necessary to extract any stubborn pieces.
Tips for Drilling Out a Lock Safely:
- Select the Correct Drill Bit Size: To prevent permanent damage to the mailbox door, it’s crucial to use a bit that fits the lock cylinder.
- Drill at a Controlled Pace: Maintain a slow drilling speed to gain better control and ensure the lock is removed cleanly and safely.
By following these detailed steps, you ensure that the old lock is removed without causing undue damage to the mailbox, paving the way for installing a fresh new lock with ease.
How to Replace Mailbox Lock Without Key: Installing the New Mailbox Lock
Choosing the Correct Replacement Lock
Before installing the new mailbox lock, it’s crucial to verify that the replacement lock fits your mailbox’s required specifications. Start by ensuring the lock matches the door size and the cam shape of the old lock. Common lock sizes are ¾ inch and 1-inch cam locks; thus, it is important to check the compatibility prior to purchase. Inspect the new lock to confirm it includes the necessary components, such as a cam piece and securing nut or clip, which are essential for proper installation.
Step-by-Step Installation Guide
Step 1: Insert the New Lock
Carefully slide the new lock through the hole in the mailbox door where the old lock was removed. Make sure the cam, which is the metal piece that rotates to engage the locking mechanism, is positioned correctly to ensure effective locking of the mailbox door. Aligning it properly at this step is critical for the lock’s functionality.
Step 2: Secure the Lock
Use the retaining clip or nut that came with the new lock to secure it inside the mailbox door. Depending on the design, this might involve either clipping the retaining piece into place or threading a nut onto the lock. Utilize needle-nose pliers or a wrench to firmly tighten the clip or nut, ensuring the lock is securely held and won’t loosen over time. The lock should be positioned tightly against the door surface to prevent tampering.
Step 3: Test the Lock
Once secured, close the mailbox door and insert the new key into the lock to conduct a functionality test. Turn the key to lock and unlock the mailbox several times. This testing is vital to confirm that the cam rotates freely and that the lock engages and disengages effectively. Check for smooth operation and proper alignment to guarantee that the lock works without resistance.
By meticulously following these installation steps, you ensure a successful lock replacement process and enhance your mailbox’s security and functionality. Taking the time to test the newly installed lock confirms that all components are in place and operational, which is crucial for maintaining the safety of your mail and providing peace of mind.
What to Do If the Lock Won’t Fit or Work Properly
Adjusting the Cam Position
A poorly positioned cam can lead to issues with the mailbox door locking or unlocking. To rectify this, first, loosen the retaining clip or nut holding the cam in place. Carefully remove the cam and then realign it to properly engage with the locking mechanism. Once adjusted, resecure the cam by tightening the clip or nut. This ensures that when the key is turned, the cam rotates smoothly and locks or unlocks the door effectively.

Checking the Mailbox Door Alignment
Sometimes, the issue arises not from the lock itself but due to a misaligned mailbox door. An improperly aligned door can interfere with how the lock fits and operates. To check alignment, observe if the door closes flush against the mailbox. If not, adjust the hinges or any obstructive elements to align the door properly, ensuring the lock fits snugly and performs as intended.
Contacting the Manufacturer or Locksmith
If adjustments to the cam or door alignment do not solve the issue, it may be time to contact the lock manufacturer for advice. They may guide specific adjustments or recommend alternative locks suitable for your mailbox. Alternatively, consulting a locksmith can provide a professional assessment and installation solution. If the current lock remains incompatible, consider exploring other replacement locks that offer better fit and functionality.
Conclusion
Replacing a mailbox lock without a key involves several straightforward steps that can be completed with minimal tools and effort. Begin by identifying the type of lock installed to ensure you select the correct replacement. The next step is to drill out the old lock safely, handling all tools with care to avoid damaging the mailbox itself. Proper removal of the lock pieces is crucial before inserting the new lock.
Installation involves inserting the new lock, securing it with a retaining clip or nut, and testing its functionality. Regular maintenance ensures the continued smooth operation of the lock over time. Remember to store spare keys in a safe place to prevent them from being locked out in the future. Understanding “how to replace mailbox lock without key” emphasizes the importance of preparation and care, ensuring your mailbox remains secure and operational.
Also Can Check To Repair a Security Screen Door
About
Safety Fic is a distinguished figure in the world of Diy design, with a decade of expertise creating innovative and sustainable Diy solutions. His professional focus lies in merging traditional craftsmanship with modern manufacturing techniques, fostering designs that are both practical and environmentally conscious. As the author of diy, Safety Fic delves into the art and science of Safety Fic-making, inspiring artisans and industry professionals alike.
Education RMIT University
(Melbourne, Australia) Associate Degree in Design (Safety Fic) Focus on sustainable design, industry-driven projects, and practical craftsmanship. Gained hands-on experience with traditional and digital manufacturing tools, such as CAD and CNC software.
Nottingham Trent University
(United Kingdom) Bachelor’s in diyfastly.com and Product Design (Honors) Specialized in product design with a focus on blending creativity with production techniques. Participated in industry projects, working with companies like John Lewis and Vitsoe to gain real-world insights.
Publications and Impact
In diy, Safety Fic his insights on indoor design processes, materials, and strategies for efficient production. His writing bridges the gap between artisan knowledge and modern industry needs, making it a must-read for both budding designers and seasoned professionals.
