

Patio doors are valuable in many homes, providing natural light, easy outdoor access, and aesthetic appeal. However, maintaining their security is essential to protect your property and ensure peace of mind. Over time, patio door locks can become damaged or worn due to regular use, exposure to weather, or mechanical failure. Additionally, some homeowners may choose to upgrade their locks to enhance security or comply with modern safety standards.
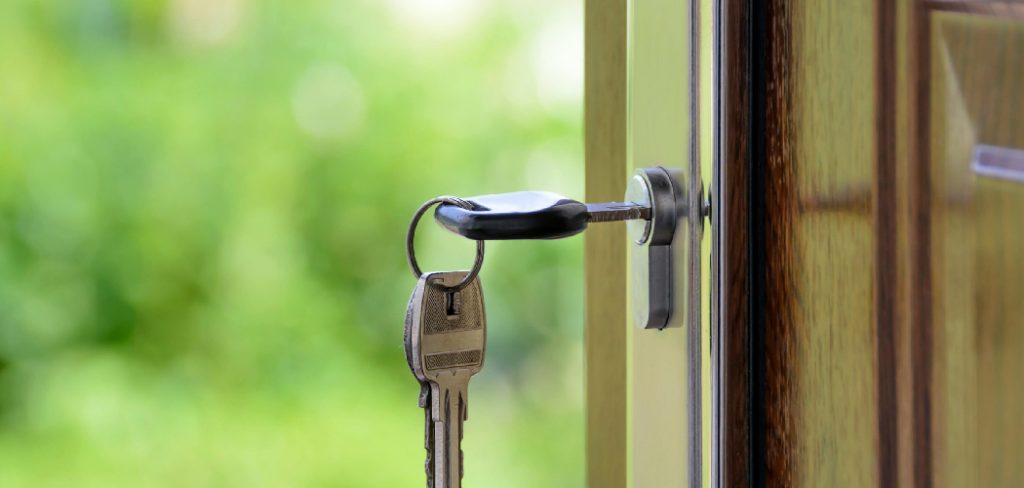
Understanding how to replace patio door lock systems is crucial to keeping your home safe and secure. This article serves as a step-by-step guide to help you replace your patio door lock efficiently and safely, whether you’re addressing damage, wear, and tear or opting for a security upgrade. By following these instructions, you’ll gain the confidence to maintain a secure and functional patio door for your home.
Understanding Patio Door Lock Types
Sliding Patio Door Locks
Sliding patio doors typically use a latch-and-hook mechanism to secure the door in place. This type of lock is most commonly found in glass sliding doors, providing a balance of simplicity and functionality. These locks are designed to latch the sliding panel securely to the fixed frame, effectively preventing unauthorized entry while allowing easy everyday operation.
French Patio Door Locks
French patio doors often feature multipoint locking systems or traditional deadbolts for enhanced security. Multipoint locking systems secure the door at multiple points along the frame, ensuring a tighter and more robust seal. Additionally, standard deadbolts can also be installed for reliable strength.
Keyed and Keyless Options
Regarding patio door locks, homeowners have a choice between keyed and keyless options. Keyed locks offer enhanced security requiring a physical key to lock and unlock. On the other hand, keyless entry systems provide ultimate convenience, eliminating the need for keys while often incorporating advanced technologies like keypads or smart locks.
When to Replace the Lock
Knowing when to replace your patio door lock is essential for maintaining security. Common signs include difficulty turning the key, sticking mechanisms, or visible wear and tear. Addressing these issues promptly ensures the safety and functionality of your patio door system.
Gathering the Necessary Tools and Materials
Before beginning the replacement process, gathering the correct tools and materials is crucial for a successful and efficient installation.
Essential Tools
- Screwdrivers (Phillips and flathead): These are often needed to remove screws and components of the existing lock.
- Pliers: Helpful for gripping and removing small parts.
- Measuring Tape: Used to measure the existing lock and ensure a proper fit for the replacement lock.
- Drill (if necessary): Some locks may require drilling for adjustments or mounting the new hardware.
- Replacement Lock Set: Ensure you have the new lock ready for installation.
Safety Gear
- Gloves: Protect your hands from sharp edges or debris.
- Safety Glasses: Keep your eyes safe during the removal and installation process.
Optional Tools
- Lubricant: Helps ensure smooth operation and ease of installation.
- Cleaning Supplies: Used to prep and clean the area before installing the new lock.
Choosing the Right Replacement Lock
Take accurate measurements of the current lock, including the backset, faceplate dimensions, and lock mechanism. Ensure the replacement lock matches your patio door’s design and material. Checking these details beforehand helps avoid installation issues and ensures a secure fit.
How to Replace Patio Door Lock: Removing the Old Patio Door Lock
Removing the old patio door lock is straightforward if done carefully and systematically. Follow these steps to ensure a smooth and damage-free removal:
Step 1: Unlock and Open the Door
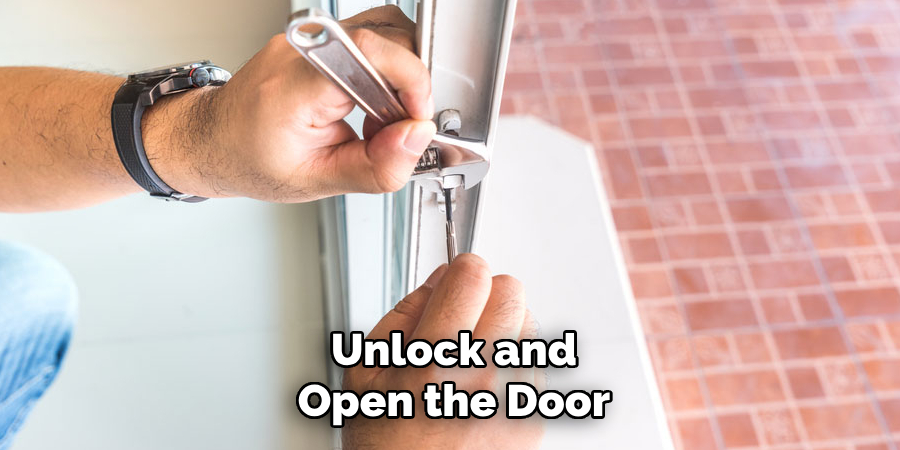
Begin by unlocking the patio door and sliding it to an open position. This ensures the door is stable and allows easy access to the lock. Make sure the door is securely propped open to prevent it from moving while you work.
Step 2: Locate the Screws
Identify the lock housing and locate the mounting screws. These are typically found on the interior side of the lock mechanism and secure the lock body to the door. Take note of their placement to ensure proper reinstallation later.
Step 3: Unscrewing the Lock Mechanism
Using a screwdriver, carefully remove the screws one at a time. Keep the screws in a safe place, like a small container or a designated workspace, to avoid losing them. Avoid applying excessive force to prevent stripping the screws or damaging the surrounding area.
Step 4: Removing the Lock Body
Once all the screws have been removed, gently pull out the old lock body from its position. Be cautious to avoid scratching or harming the door surface during this step. If the lock is stuck, use a little wiggling motion to loosen it without exerting too much pressure.
Inspecting the Door
With the old lock removed, take a few moments to inspect the area for any signs of rust, debris, or damage. Rust or built-up grime can compromise the installation and functionality of a new lock.
Cleaning the Surface
Finally, clean the surface thoroughly using appropriate cleaning supplies. Wipe down the area to remove dirt, dust, or residual debris, ensuring a clean foundation for installing the new lock. This step is critical for a secure and professional installation.
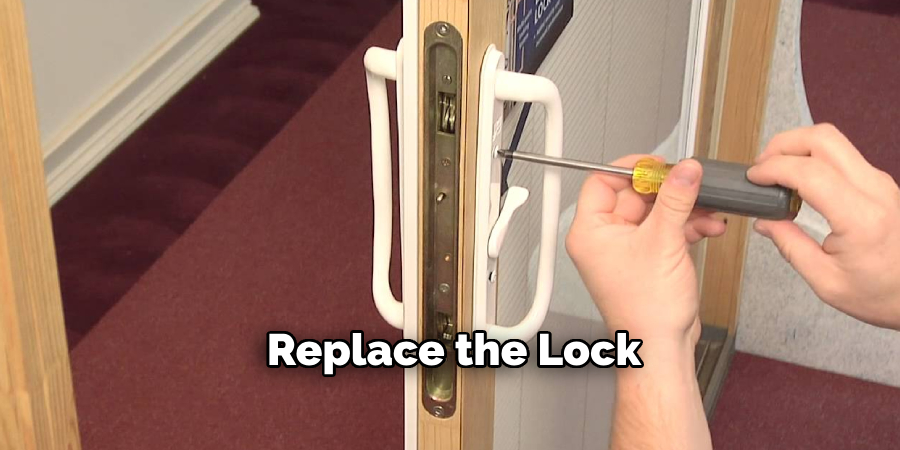
Installing the New Patio Door Lock
Replacing a patio door lock can seem daunting, but by following these steps, you can ensure a smooth installation process. Careful preparation and attention to detail will ensure your new lock works efficiently and securely.
Step 1: Preparing the New Lock
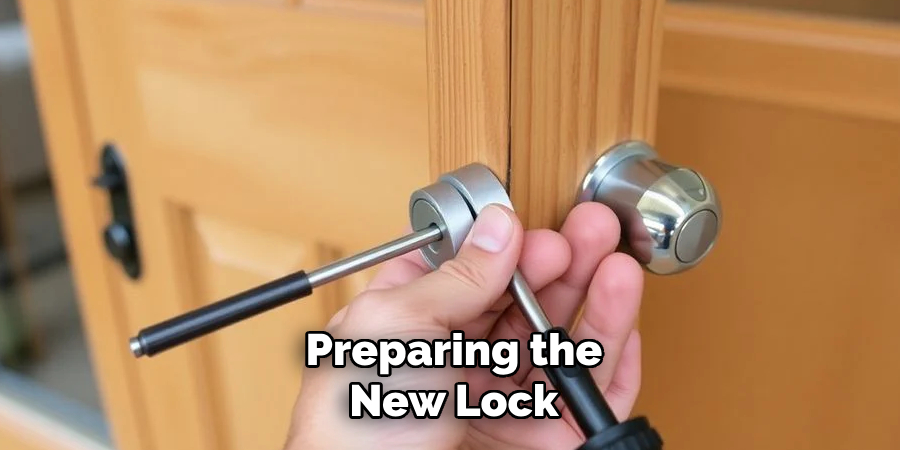
Begin by unboxing the new lock and inspecting all components to ensure nothing is missing or damaged. Most standard patio door lock kits include the lock body, screws, and a set of keys. Familiarize yourself with the included parts and any manufacturer instructions to streamline the installation.
Step 2: Aligning the Lock with the Door
With the new lock ready, place the lock body into the existing slot on your patio door. Ensure the lock aligns perfectly with the door’s pre-drilled holes and mechanism pathway. Misalignment during this step could hinder the lock’s functionality, so take your time and make any minor adjustments as needed.
Step 3: Securing the Lock Mechanism
Once aligned, use the screws provided in the lock kit to secure the lock mechanism into place. Tighten the screws carefully, ensuring they are secure without overtightening, as excessive force can warp the material or damage the lock body. Check that the lock sits flush against the door’s surface for a neat and professional finish.
Step 4: Testing the Lock
Before wrapping up, test the lock to ensure it functions smoothly. Insert the key and turn it to lock and unlock the door, observing any resistance points. Open and close the patio door to confirm that the latch engages properly with the strike plate. If you notice issues, such as the key catching or the lock not fully engaging, recheck the alignment and screw tightness.
Step 5: Final Adjustments
If the lock feels stiff during operation, consider applying a small amount of lubricant to the mechanism for enhanced smoothness. Avoid overapplying, as excess lubricant can attract dirt and debris.
Troubleshooting Common Issues
If you encounter misalignment or the lock feels stiff when turning the key, revisit steps 2 and 3. Ensure that the lock body is positioned correctly and that the screws are securely fastened without being overtightened. Patience and a methodical approach can overcome most minor installation hurdles, leaving you with a functional and reliable patio door lock.
Testing and Final Touches
Checking the Lock’s Security
Test the lock once the installation is complete to ensure it secures the door effectively. Lock and unlock the door multiple times to verify that the mechanism operates smoothly. Gently try to rattle the door to confirm that it stays firmly in place when locked. If there is any looseness or instability, recheck the screws and lock alignment.
Inspecting from Both Sides
Examine the lock’s performance from the patio door’s interior and exterior. Ensure that the handles or knobs on both sides operate correctly and without resistance. If you encounter uneven performance, reassess the lock’s alignment and adjust as necessary. The lock must work consistently from all angles to ensure reliability.
Adding Extra Security Features
For enhanced safety, consider installing an auxiliary lock or a door bar. These added features can provide an extra layer of protection, particularly for ground-level patio doors, which might be more vulnerable. Choose high-quality security reinforcements for optimal performance.
Maintaining the New Lock
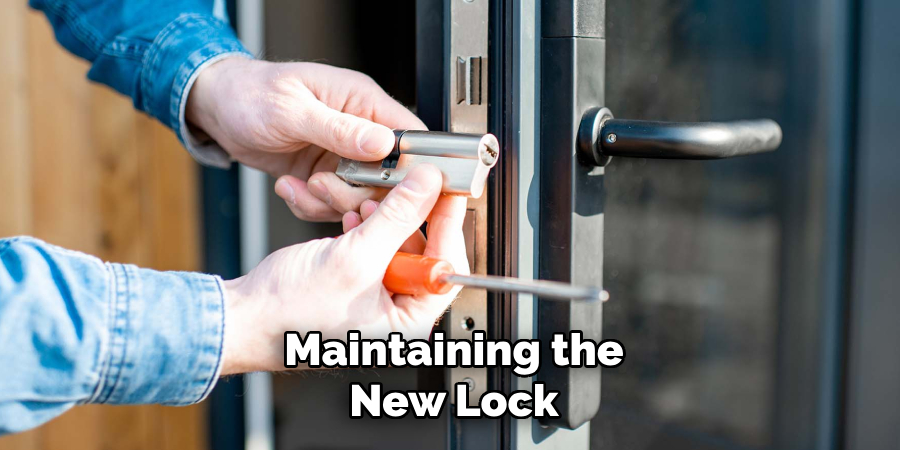
Regular maintenance is key to prolonging the life of your new lock. Apply lubricant periodically to prevent stiffness and ensure smooth operation. Inspect the lock occasionally for signs of rust or wear, addressing any issues early to maintain security and functionality over time.
Troubleshooting and Maintenance Tips
Common Problems After Installation
After installing a new lock, you might encounter issues such as difficulty turning the key or the lock not aligning properly with the striker plate. These issues can often cause frustration, but they are relatively easy to address with some quick fixes.
Quick Fixes
If the key is hard to turn or the lock doesn’t align correctly, try adjusting the striker plate to ensure proper alignment with the lock body. Tightening loose screws or checking for debris within the lock mechanism can also resolve minor issues.
Routine Maintenance
Routine maintenance is essential to keep your lock functioning smoothly. Periodically clean and lubricate the lock to prevent sticking or stiffness. Avoid using excessive force when turning the key, as this can result in unnecessary wear over time.
When to Call a Professional
If these troubleshooting measures don’t resolve the issue, or if the door frame is damaged or the lock doesn’t fit properly, it’s time to call a professional locksmith to assess and fix the problem.
Safety and Security Considerations
Ensuring Child Safety
When children are in the household, taking extra precautions is crucial to prevent accidents. Adding childproof locks or door guards to patio doors can help ensure that little ones don’t wander outside unsupervised. These safety measures provide peace of mind and strong protection for families.
Upgrading to Smart Locks
Smart locks offer a modern solution to improving security for patio doors. These electronic locks allow keyless entry and provide advanced features like remote locking and unlocking, activity logs, and integration with home automation systems. They are convenient and customizable and enhance overall safety by offering greater control over access.
Improving Door Frame Security
Reinforcing the door frame is another effective way to increase security. Strengthen the strike plate and hinge areas by using longer screws to anchor them deeply into the wall frame. This added sturdiness helps prevent break-ins and ensures your patio door remains secure.
Conclusion
Replacing a patio door lock is a straightforward process that significantly enhances the security of your home. The steps involve carefully removing the old lock, installing the new one according to the manufacturer’s instructions, and ensuring it operates securely and smoothly. Regular maintenance, such as cleaning and checking for wear, is vital to ensure the lock’s longevity and continued reliability. When learning how to replace patio door lock systems, always opt for durable, high-quality options designed to enhance safety. Investing in top-notch security solutions protects your home and offers peace of mind for years to come.