
A malfunctioning trunk lock actuator can cause significant inconvenience, making it difficult to securely store items or access the trunk of your vehicle. Replacing the trunk lock actuator may seem like a daunting task, but with the right tools and a step-by-step approach, it is a straightforward process that can save you time and money. This guide will walk you through the necessary steps of how to replace trunk lock actuator.
Why Replace a Trunk Lock Actuator
The trunk lock actuator plays a crucial role in the functionality of your vehicle’s trunk. When it fails, it can lead to several issues such as the trunk being stuck closed, opening unexpectedly, or failing to latch securely. These problems not only present an inconvenience but can also compromise the safety of items stored in the trunk.
Additionally, a faulty actuator may be a sign of electrical issues or wear and tear over time. Replacing the actuator ensures the trunk operates as intended, improves security, and prevents further damage to the trunk’s locking system. Timely replacement can save you from potential complications and costly repairs down the road.
What Is a Trunk Lock Actuator?
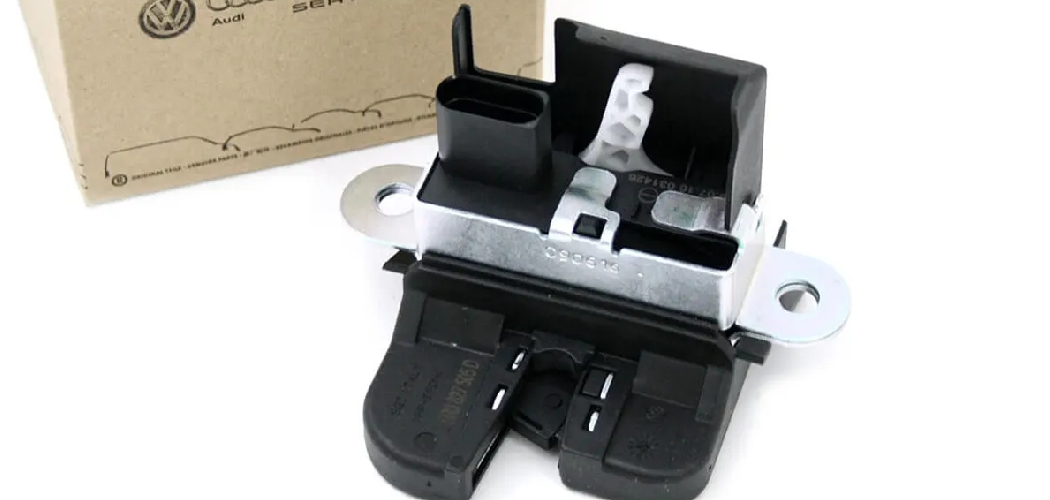
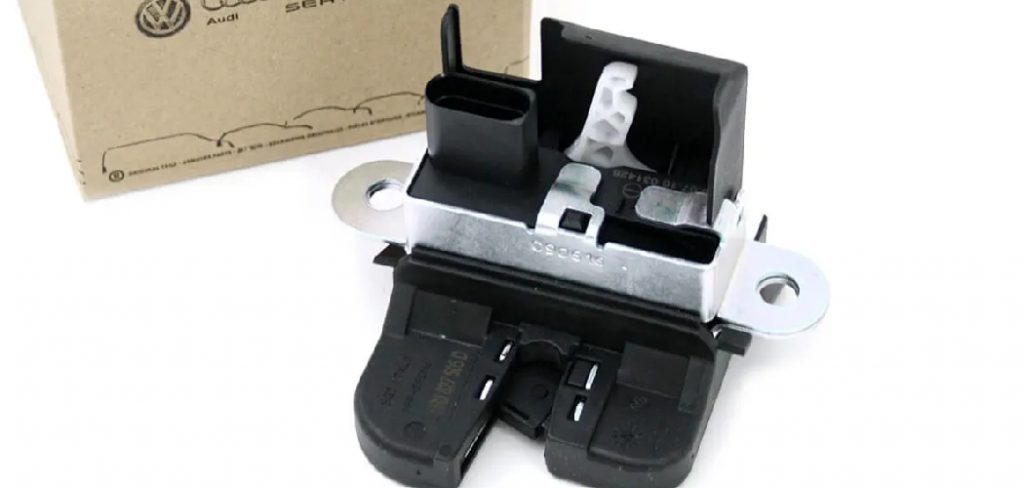
A trunk lock actuator is an essential component within a vehicle’s locking system, specifically responsible for controlling the locking and unlocking mechanism of the trunk. This small motorized device works in coordination with the car’s central locking system, receiving electronic signals to engage or disengage the trunk lock.
Modern vehicles often rely on the actuator to allow remote access or keyless entry, providing convenience and enhanced security. Over time, due to frequent use or exposure to the elements, the actuator may wear out or malfunction, necessitating a replacement to maintain the proper functionality of the trunk.
10 Methods How to Replace Trunk Lock Actuator
1. Diagnose the Problem with the Trunk Lock Actuator
Before jumping to the replacement process, it is essential to accurately diagnose the problem. Sometimes, issues with the actuator may mimic problems with the key fob, trunk latch, or even electrical wiring. Start by checking if the actuator makes any sound when you press the trunk release button. If you hear a clicking noise but the trunk doesn’t open, it’s likely the actuator.
However, if there is no sound at all, the actuator motor might have failed, or there could be an electrical issue. Testing the fuse associated with the trunk mechanism is also important, as a blown fuse can prevent the actuator from working properly.
2. Gather Necessary Tools and Replacement Parts
Once you are confident that the actuator is the problem, gather the necessary tools and replacement parts. Typically, you will need a screwdriver set, socket wrench, trim removal tools, and the new trunk lock actuator compatible with your car make and model.

Additionally, it is helpful to have some penetrating oil in case any bolts or screws are rusted. Ensuring you have all the tools beforehand saves time and prevents frustration during the replacement process.
3. Disconnect the Car Battery
Safety should be your first priority when working with any car’s electrical system. Disconnect the car battery before starting the replacement process to avoid the risk of electric shock or accidental activation of the actuator. Locate the battery, usually found under the hood, and use a wrench to disconnect the negative terminal first, followed by the positive. This will ensure that the electrical system is completely shut down and safe to work on.
4. Access the Trunk Panel
To reach the actuator, you will need to remove the interior trunk panel. Open the trunk manually using the key or emergency release lever. Locate the panel, usually secured by plastic clips, screws, or bolts. Use a trim removal tool to carefully pry off the clips without breaking them.
Unscrew any fasteners, and gently pull the panel away from the trunk lid. Keep the clips and screws in a safe place, as you will need them for reassembly. Removing this panel exposes the actuator assembly for the next steps.
5. Inspect the Actuator and Lock Mechanism
With the panel removed, visually inspect the trunk lock actuator and the surrounding components. Check for any loose connections, frayed wires, or obvious damage to the actuator itself. Sometimes, the issue may be due to a disconnected wire or a faulty connector, rather than the actuator motor.
Gently test the electrical connection by plugging and unplugging the actuator wire harness. If everything appears intact, proceed to remove the actuator.
6. Remove the Faulty Trunk Lock Actuator
The actuator is usually secured with a few bolts and connected to the lock mechanism via a rod or linkage. Use a socket wrench to remove the bolts, being cautious not to drop them inside the trunk cavity. Carefully detach the linkage from the actuator—this may involve unclipping a plastic retainer or sliding a pin out of place.
Disconnect the electrical connector by pressing the tab and gently pulling it out. Once all connections are removed, take out the faulty actuator from its mounting bracket.
7. Prepare the New Actuator for Installation
Before installing the new actuator, compare it with the old one to ensure compatibility. Double-check that the electrical connectors and mounting points align correctly. If the new actuator comes with lubricant, apply a small amount to the moving parts. Proper lubrication helps reduce friction and extend the life of the actuator.
In some cases, transferring small brackets or mounting hardware from the old actuator to the new one may be necessary.
8. Install the New Trunk Lock Actuator
Position the new actuator in the same spot as the old one, making sure the linkage aligns correctly. Reattach the linkage and secure it with any clips or pins that were previously removed. Next, reconnect the electrical connector by pushing it firmly until it clicks into place.

Fasten the actuator with the bolts you removed earlier, ensuring they are tight but not overly torqued to avoid damaging the plastic housing. Proper alignment is crucial, as even a slight misplacement can affect the lock operation.
9. Test the New Actuator
Before putting the interior panel back on, it is crucial to test the new actuator to ensure it is functioning properly. Reconnect the car battery and press the trunk release button or use the key fob to check the actuator’s response. The trunk should open and close smoothly without hesitation.
If the actuator works as expected, try locking and unlocking the trunk multiple times to confirm reliability. In case it doesn’t function correctly, double-check the electrical connections and alignment of the actuator.
10. Reassemble the Trunk Panel and Finalize
Once the actuator passes the functionality test, it’s time to reassemble the trunk panel. Start by snapping the interior panel back into place, aligning it with the mounting holes. Use the screws and clips you set aside earlier to secure the panel firmly. Make sure the panel fits snugly without any gaps or loose edges.
After completing the reassembly, give the trunk a few more tests to confirm that everything is properly installed and the lock operates seamlessly.
Troubleshooting Common Issues
Even after reassembling the trunk panel, you may encounter some challenges. Here are some common issues and their solutions:
- Trunk Lock Not Operating Smoothly: If the trunk lock feels stiff or unresponsive, double-check the actuator connection and ensure all wiring is securely plugged in. Apply a small amount of lubricant to the locking mechanism if necessary.
- Loose or Misaligned Panel: If the trunk panel appears loose or misaligned, inspect the mounting clips and screws to ensure they are tightened properly. Reposition the panel if needed and secure it evenly.
- Unresponsive Actuator: If the actuator is entirely unresponsive, verify the fuse connected to the trunk lock circuit and replace it if blown. Additionally, confirm that the actuator itself is receiving power using a multimeter.
- Persistent Error Codes or Warnings: If warning lights or error codes remain on your dashboard, use a diagnostic scanner to reset the system or identify deeper issues. This may indicate a need to check the wiring harness or other connected components.

Addressing these common problems can ensure your trunk lock system functions as intended and remains reliable over time.
Common Mistakes to Avoid
When troubleshooting or repairing a trunk lock system, avoiding common errors can save time and prevent further damage. Here are some pitfalls to watch out for:
- Forgetting to Disconnect the Battery: Always disconnect the car battery before working on electrical components to prevent shorts or accidental shocks.
- Using Excessive Force: Applying too much force to a stuck trunk lock or latch can cause further damage to the mechanism, making the repair more expensive.
- Neglecting Regular Lubrication: Failing to keep the lock mechanism lubricated may lead to unnecessary wear and eventual failure. Use the appropriate lubricant as recommended in your vehicle’s maintenance manual.
- Skipping Basic Checks: Overlooking simple issues like a blown fuse or loose wiring can lead to unnecessary disassembly and wasted efforts. Always inspect these first.
- Using Incorrect Replacement Parts: Using incompatible or low-quality parts can compromise the system’s functionality and create new problems. Ensure you source components that match your vehicle’s specifications.
By avoiding these mistakes, you can ensure that your trunk lock repair or maintenance is effective and efficient.

Conclusion
Replacing a trunk lock actuator might seem daunting, but following these ten methods ensures that you complete the job effectively and efficiently. Diagnosing the problem correctly, gathering the right tools, and carefully performing each step can make the process straightforward and manageable.
Whether your actuator has failed entirely or is showing signs of wear, replacing it not only restores functionality but also enhances the security of your vehicle. Thanks for reading our blog post on how to replace trunk lock actuator! We hope you found it helpful and informative.