

With the increasing popularity of smart home security systems, Nest cameras have become a common fixture in many homes. These handy devices help homeowners keep an eye on their property and can record footage in case an intruder breaks in.
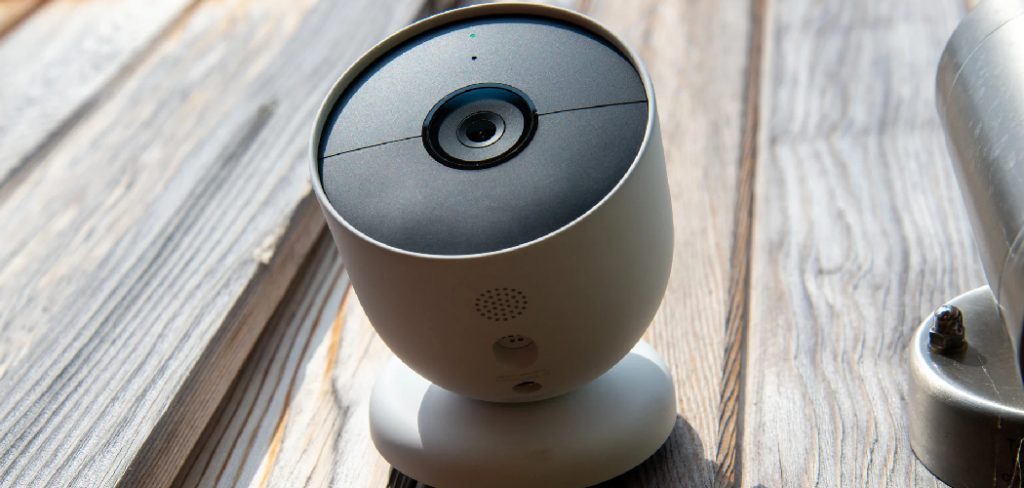
However, like any electronic device, Nest cameras may experience glitches or connectivity issues that require a reset. In this blog post, we’ll take you through a step-by-step guide on how to reset a Nest camera, so you can get it working again in no time.
Can You Reset a Nest Camera?
If you’re a proud owner of a Nest Camera, then you might have wondered once or twice whether it’s possible to reset it or not. Well, you’re in luck because a Nest Camera can be reset in several ways. Doing so can be helpful if you’re experiencing technical difficulties with the device or if you simply need to start fresh with it.
Perhaps the easiest method of resetting a Nest Camera involves accessing its settings through the Nest app. From there, you can select the camera in question and then choose to reset it to its default settings. It’s a simple process that can help you get the most out of your Nest Camera!
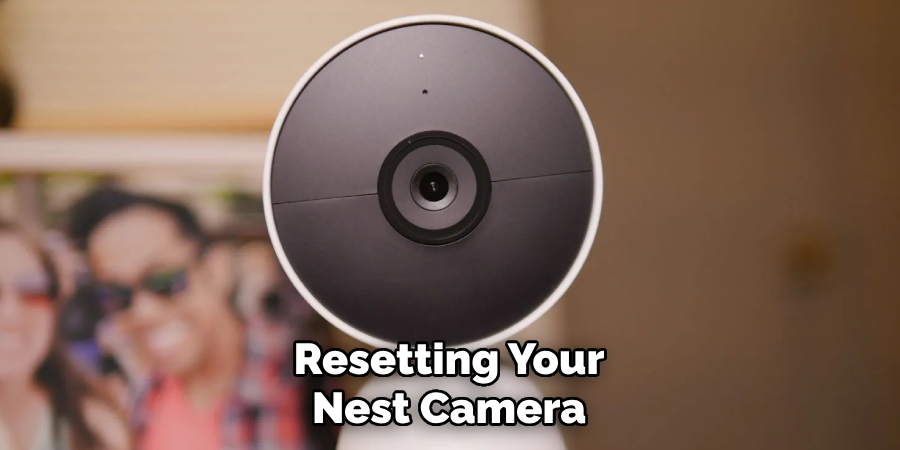
Why Should You Reset a Nest Camera?
Nest cameras are a popular choice for home security, and for good reason. These cameras provide convenience and peace of mind, allowing homeowners to keep an eye on their property even when they’re away. However, there are times when resetting your Nest camera can do wonders for its performance.
Perhaps the camera is experiencing technical difficulties, or you simply want to start fresh. Whatever the reason, resetting a Nest camera is a simple process that can improve its overall effectiveness. So, whether you’re experiencing problems or simply want to optimize your home security, resetting your Nest camera is worth considering.
A Step-by-Step Guide on How to Reset a Nest Camera
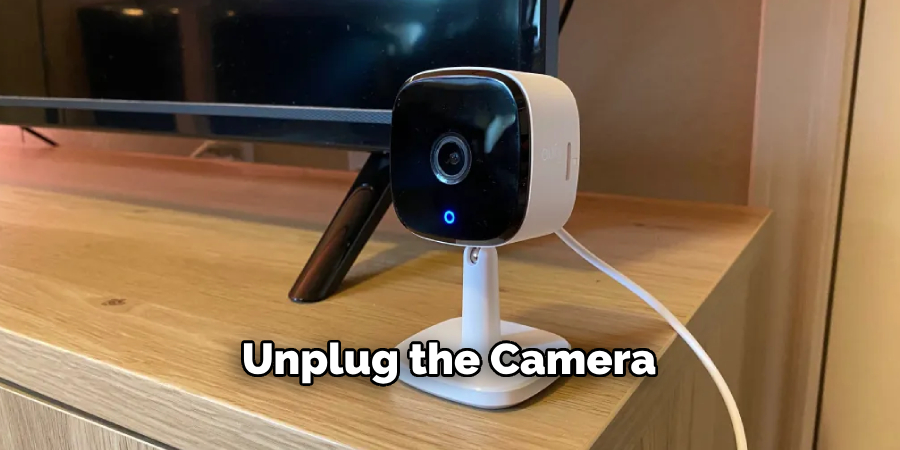
Step 1: Unplug your Nest Camera
The first step in resetting your Nest camera is to disconnect it from its power source. This can be done by unplugging it from the outlet. If your Nest camera is wired to your home’s electrical system, you may need to turn off the power for that specific circuit. Once the camera is unplugged, wait for at least 10 seconds before proceeding to the next step.
Step 2: Remove the Camera from Your Nest Account
Once the camera is disconnected from its power source, you will need to remove it from your Nest account. This can be done by following these steps:
- Open the Nest app on your smartphone or tablet.
- Tap on the Settings icon in the top-right corner.
- Choose the camera you wish to reset by tapping on it.
- Tap on Remove Product at the bottom of the page.
- Follow the on-screen instructions to confirm that you want to remove the camera.
Step 3: Reset Your Nest Camera
Once the camera has been removed from your Nest account, it’s time to reset it. To do this, press and hold the button on the back of the camera for about 10 seconds. While holding the button, you will see the light on the front of the camera turn yellow. After 10 seconds, the light will turn blue, indicating that the reset is complete. Once the light turns blue, release the button.
Step 4: Reconnect Your Nest Camera
Now that your Nest camera has been reset, it’s time to connect it back to your Nest account. Follow these steps:
- Open the Nest app on your smartphone or tablet.
- Tap on the Settings icon in the top-right corner.
- Choose Add Product.
- Scan the QR code on the back of your Nest camera.
- Follow the on-screen instructions to set up your camera.
Step 5: Test Your Nest Camera
Once your Nest camera has been reconnected, it’s time to test it and ensure everything works correctly. Open the Nest app to see if your camera is listed in your account. If it is, tap on the camera to view the live feed. If you can see a live video feed from your Nest camera, everything works correctly. If not, double-check your connection and make sure you have a strong Wi-Fi signal.
Step 6: Reconfigure Your Nest Camera Settings
If everything looks good with your camera’s live feed, it’s time to reconfigure any settings you had previously set up. This may include setting up notifications, adjusting the camera’s field of view, or changing its placement. You can access all of these settings within the Nest app.
Step 7: Contact Nest Customer Support (if needed)
If you encounter any issues during the reset process or have trouble reconnecting your camera, don’t hesitate to reach out to Nest customer support for assistance. They can guide you through any troubleshooting steps and help resolve any technical problems you may be experiencing.
Now that you know how to reset your Nest camera, you can easily troubleshoot any issues that may arise. Always unplug the camera and remove it from your account before attempting a reset. And if you ever need help, don’t hesitate to contact Nest customer support for assistance.
With these steps, you can ensure that your Nest camera is functioning properly and providing you with the security and peace of mind you deserve. So, follow these steps to reset your Nest camera whenever needed.
5 Considerations Things When You Need to Reset a Nest Camera
1. Identify the Problem
Before attempting to reset a Nest camera, it is important to identify the problem that needs to be solved. If the camera is not connecting to Wi-Fi, for example, then resetting the camera may not be necessary. It is also important to make sure that all of the necessary components are present and functioning properly before attempting a reset.
2. Power Down the Camera
Once you have identified the problem and ensured that all of the necessary components are in place, you can begin by powering down the Nest camera. To do this, simply unplug it from its power source and wait for at least 30 seconds before plugging it back in. This will ensure that any residual power has been drained from the device before proceeding with a reset.
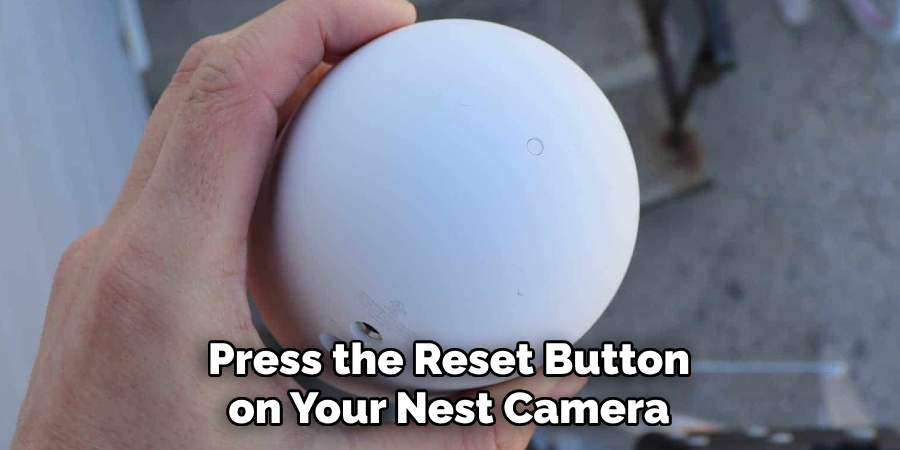
3. Reset Button
The next step is to locate and press the reset button on your Nest camera. The location of this button will vary depending on your model, but it should be clearly labeled as “reset” or “restore factory settings” on most cameras. Once you have located and pressed this button, your Nest camera will begin its reset process, which usually takes several minutes to complete.
4. Reconnect Your Camera
Once your Nest camera has finished its reset process, you can then reconnect it to your home Wi-Fi network by following the instructions provided with your device. Make sure that all of your settings are correct before attempting to connect again, as incorrect settings can prevent a successful connection from taking place.
5. Troubleshooting
If you continue to experience issues after following these steps,, contact customer service may be necessary for further assistance with troubleshooting your device. They can provide additional advice on how best to proceed in order to get your Nest camera up and running again as quickly as possible.
Benefits of Reset a Nest Camera
Resetting a Nest Camera can bring about a multitude of benefits that can help enhance your overall home security experience. When you reset your camera, you essentially clear out any settings and configurations that may have been previously set up. This means that any issues or bugs that you were encountering can be resolved with this simple step.
Additionally, resetting your camera can ensure your system is running at its best capacity, providing you with crisp and clearer video feeds. Regardless of your reason for resetting your camera, taking the time to do so can be a valuable decision in ensuring the safety and security of your home.
Some Common Mistakes People Make When Trying to Reset a Nest Camera
Resetting a Nest camera can be a quick and easy process, but it’s important to be aware of some common mistakes that people often make. One mistake is not following the proper steps, which can result in the camera not being properly reset. Another mistake is not allowing enough time for the reset process to complete before trying to use the camera again.
It’s also important to ensure that your internet connection is stable and that the camera is properly positioned before attempting a reset. By avoiding these mistakes and taking the time to properly reset your Nest camera, you can ensure that it will continue to operate smoothly and provide you with the security and peace of mind that you need.

Conclusion
Resetting a Nest camera may seem like a complicated process, but it’s actually quite simple. By following the steps outlined in this guide, you can have your Nest camera reset and back up and running in no time.
The key is to take your time, follow the instructions carefully, and make sure you don’t skip any steps. In doing so, you can ensure that your Nest camera is operating as it should be, keeping your home safe and secure. Thanks for reading our post about how to reset a nest camera.
About
Safety Fic is a distinguished figure in the world of Diy design, with a decade of expertise creating innovative and sustainable Diy solutions. His professional focus lies in merging traditional craftsmanship with modern manufacturing techniques, fostering designs that are both practical and environmentally conscious. As the author of diy, Safety Fic delves into the art and science of Safety Fic-making, inspiring artisans and industry professionals alike.
Education RMIT University
(Melbourne, Australia) Associate Degree in Design (Safety Fic) Focus on sustainable design, industry-driven projects, and practical craftsmanship. Gained hands-on experience with traditional and digital manufacturing tools, such as CAD and CNC software.
Nottingham Trent University
(United Kingdom) Bachelor’s in diyfastly.com and Product Design (Honors) Specialized in product design with a focus on blending creativity with production techniques. Participated in industry projects, working with companies like John Lewis and Vitsoe to gain real-world insights.
Publications and Impact
In diy, Safety Fic his insights on indoor design processes, materials, and strategies for efficient production. His writing bridges the gap between artisan knowledge and modern industry needs, making it a must-read for both budding designers and seasoned professionals.