

Are you having difficulty resetting your Amazon Cloud Cam? You’re not alone! With the growing ubiquity of home security and smart devices, more and more people are facing challenges with their tech. If you’re stuck trying to figure out how to reset your Amazon Cloud Cam, we have just the guide for you.
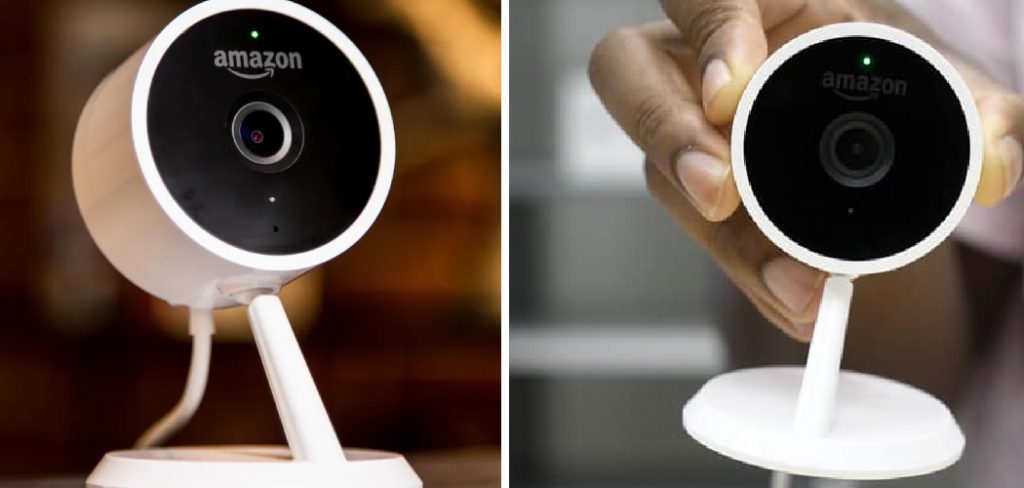
Amazon Cloud Cam is a wireless indoor security camera designed to help you monitor your home from anywhere. It can be used for things like keeping an eye on pets, checking in on kids or elderly family members, and even as a baby monitor.
Read on to quickly learn how to reset amazon cloud cam, as well as detailed instructions for doing so with ease. Don’t let technology intimidate you – reclaim control over your home security system today by following our easy steps in this blog!
What Will You Need?
Before we dive into the actual reset process, let’s go over what you’ll need to have on hand first. You’ll only need the following:
- A computer or smartphone connected to the same Wi-Fi network as your Amazon Cloud Cam.
- The login credentials for your Amazon account.
That’s it! No need for any special equipment or tools, and no need to worry about complex steps. You can do this easily with just a few clicks – we promise!
10 Easy Steps on How to Reset Amazon Cloud Cam
Step 1. Install the Amazon Cloud Cam App:
The first step to resetting your Amazon Cloud Cam is installing the Amazon Cloud Cam app. This app is available for iOS and Android devices and can be installed from the App Store or Google Play Store. Make sure to install the app on a device connected to the same Wi-Fi network as your Amazon Cloud Cam.
Step 2. Log into your Amazon Account:
After installing the Amazon Cloud Cam app, open it up and log into your Amazon account. Ensure it’s the same Amazon account you used to set up your Cloud Cam initially.
If you’ve forgotten your login credentials, don’t worry! You can reset them by following the ‘Forgot your password?’ link on the login page. Once you’ve logged in, you should be able to see your Cloud Cam on the app’s home screen. If not, check your Wi-Fi connection and try logging in again.
Step 3. Access the Settings:
On the home screen of the Amazon Cloud Cam app, locate the camera you wish to reset. Tap on the ‘Settings’ icon (which usually looks like a small gear) in the top right corner of the camera’s preview image. This will take you to the settings page for that particular camera.
Step 4. Select ‘Delete Camera’:
Once you’re on the settings page, scroll down to the bottom until you locate the ‘Delete Camera’ option. The ‘Delete Camera’ option is what you’ll use to reset your Amazon Cloud Cam. Remember that this will delete all video clips and settings associated with that camera, so make sure to save any videos you want to keep. Tap on ‘Delete Camera’ to proceed to the next step.
Step 5. Confirm Your Decision:
A pop-up window will appear, asking if you want to delete your camera. Remember, this action is irreversible and will permanently delete all the video clips and settings of your Amazon Cloud Cam. If you are sure, tap ‘Delete.’ If you change your mind, simply tap ‘Cancel’.
Step 6. Set Up Your Amazon Cloud Cam Again:
Once you’ve deleted your camera, you can set it up again like you did the first time. Tap ‘Set up a Camera’ and follow the instructions provided by the app. You’ll have your Amazon Cloud Cam up and running again soon.
Step 7. Scan the QR Code:
Now, find the QR code located on the back of your Amazon Cloud Cam. Scan this QR code using your phone’s camera via the Cloud Cam app. Hold your phone steady and at a distance where the app can easily read the code. Once the code is successfully scanned, the app will let you know and guide you to the next step.
Step 8. Connect to Wi-Fi:
The app will prompt you to connect your Cloud Cam to your Wi-Fi network. Choose your network from the list and enter your password. Make sure your phone or computer is connected to the same network.
After entering your password, tap ‘Connect’. The app will then start connecting your Amazon Cloud Cam to your Wi-Fi network, which could take a few minutes. Be patient, and do not exit the app during this process.
Step 9. Finish the Setup Process:
After your Amazon Cloud Cam is connected to the Wi-Fi network, the app will guide you through the rest of the setup process. This includes choosing a name for your camera, setting up notifications, and deciding on video quality settings.
Make sure to customize these settings to suit your personal preferences and needs. Once you’ve completed all the steps, tap ‘Finish’ to complete the setup. Your Amazon Cloud Cam should now be reset and ready for use!
Step 10. Verify Setup and Test Your Camera:
After completing the setup, verifying that everything is working as expected is crucial. Navigate to the home screen of the Amazon Cloud Cam app and look for your camera’s preview image.
If you see the live feed from your camera, congratulations, your reset is successful! Now, take some time to test the camera’s features, such as live creeking, motion detection, and night vision, to ensure they’re all working correctly. Remember, you can always contact Amazon’s customer support for assistance if there are any issues.
By following these easy steps, you can now reset your Amazon Cloud Cam with confidence and ease. Remember to keep your login credentials safe and secure, as well as any important video clips that you do not want to be deleted during the reset process.
5 Additional Tips and Tricks
- Power Cycle the Cam: If your Amazon Cloud Cam isn’t responding to commands or appears frozen, a simple power cycle might resolve the issue. Unplug the camera, wait for about a minute and then plug it back in.
- Reset the Cam: If power cycling doesn’t work, you may need to hard reset the cam. On the bottom of the camera, you’ll find a reset button. Use a pin to press and hold this button for about five seconds until the camera’s LED flashes blue.
- Ensure Strong Wi-Fi Connection: Your Amazon Cloud Cam requires a stable and strong Wi-Fi connection to work properly. If the device often disconnects or lags, consider improving your Wi-Fi network’s coverage or speed.
- Keep the Cam’s Firmware Updated: Amazon regularly releases firmware updates to enhance the functionality of the Cloud Cam. Make sure your device is on the latest firmware version.
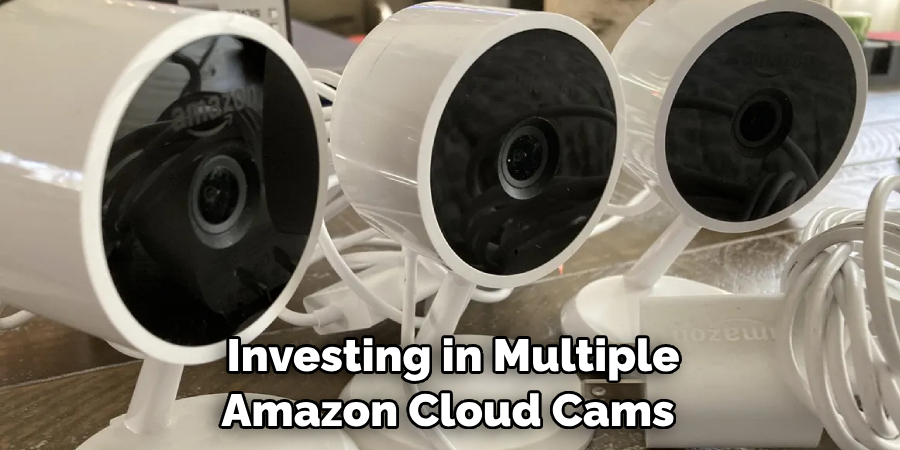
- Use Multiple Cameras for Full Coverage: If you have a large area to monitor, consider investing in multiple Amazon Cloud Cams. You can view and manage multiple cameras from the same Cloud Cam app, offering complete coverage of your home or workplace.
With these additional tips and tricks, you can ensure that your Amazon Cloud Cam is always working at its best.
5 Things You Should Avoid
- Avoiding Regular Maintenance: Regular cleaning and maintenance of the Amazon Cloud Cam is crucial for its longevity. Ensure that the lens is clean and free from dust or smudges that can hinder the camera’s view.
- Ignoring Low Battery Alerts: If the Amazon Cloud Cam alerts you about a low battery, don’t ignore it. A camera with insufficient power may not perform optimally or might stop working altogether.
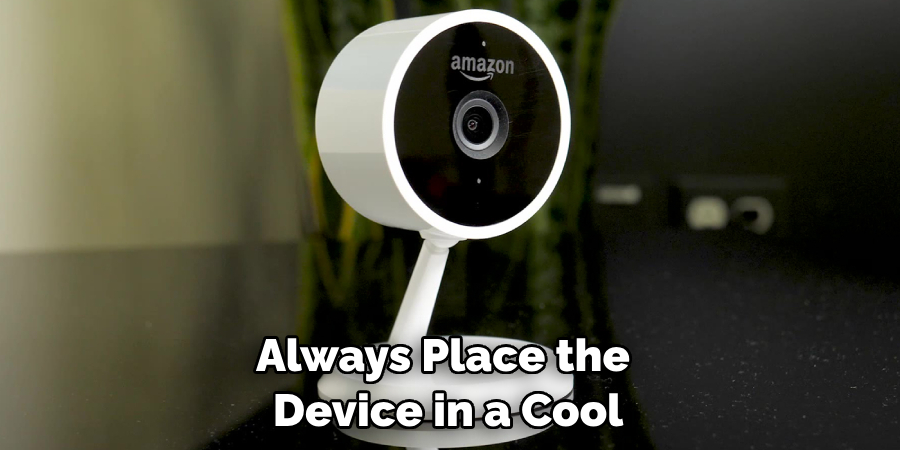
- Placing the Cam Near Heat Sources: Placing your Cloud Cam near heat sources like radiators or in direct sunlight can cause damage. Always place the device in a cool, dry location.
- Using a Weak Wi-Fi Signal: The performance of your Amazon Cloud Cam heavily depends on the strength of the Wi-Fi signal. Avoid using the camera in areas with a weak connection to ensure uninterrupted creeking.
- Ignoring Firmware Updates: Regular updates are crucial to keep your Amazon Cloud Cam working smoothly. Ignoring updates can lead to performance issues, so always make sure your device is updated with the latest firmware version.
By avoiding these common mistakes, you can ensure that your Amazon Cloud Cam works seamlessly and provides reliable security for your home or workplace.
Why Isn’t My Amazon Cloud Cam Working?
If your Amazon Cloud Cam is still not working after following the tips and tricks mentioned above, there may be other underlying issues. Some common reasons why the camera might not work include:
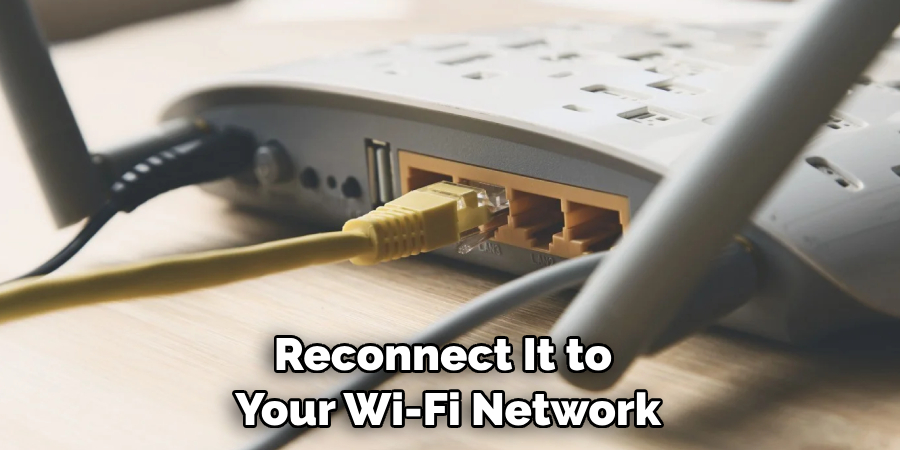
- Power outage: If there has been a power outage, you may need to reset the cam and reconnect it to your Wi-Fi network.
- Network connectivity issues: Make sure that your Wi-Fi network is working properly and that the camera is within range.
- Camera damage: If the camera has been physically damaged, it may not work as expected. In this case, you may need to contact Amazon’s customer support for further assistance.
- Account or app issues: If you’re unable to access the camera through the Cloud Cam app, there may be an issue with your account or the app itself. Try signing out and back in again, or reinstalling the app.
If none of these solutions work, it’s best to reach out to Amazon’s customer support for further troubleshooting and assistance. They will be able to help you resolve any technical issues and get your Amazon Cloud Cam up and running again in no time.
Why is My Cloud Cam Blinking Yellow?
If your Amazon Cloud Cam’s LED is blinking yellow, it means that the camera has been disconnected from your Wi-Fi network. This can happen due to a weak Wi-Fi signal or if the camera has been moved out of range.
To resolve this issue, try moving the camera closer to your router or using a Wi-Fi extender for better coverage. You may also need to reset the camera and reconnect it to your Wi-Fi network. If the issue persists, check for any firmware updates or contact customer support for further assistance.
Another possible reason for the yellow blinking LED could be that the camera is in setup mode. Make sure you have completed the setup process and entered your Wi-Fi network’s credentials correctly.
Conclusion
Taking the time to reset your Amazon Cloud Cam will not only help it to run more smoothly without errors, but it might also save you from spending money on unnecessary repairs in the future.
So, if you’ve been noticing strange behavior with your Cloud Cam, why wait? Take the steps outlined here and get your troubleshooting process underway today! If you encounter any issues along the way or want a bit of extra reassurance about what to do, don’t hesitate to check out Amazon’s customer service support page for ongoing assistance.
They are available 24/7 to answer any questions or doubts you may have regarding your device for resolution. Your satisfaction is their number one priority and they won’t be able to rest until they know they’ve helped make sure your Amazon Cloud Cam is up and running again as quickly as possible.
Hopefully, the article on how to reset Amazon Cloud Cam has been helpful and informative. Follow these steps, avoid common mistakes, keep the device maintained and updated, and you’ll have a reliable security camera system in no time!
About
Safety Fic is a distinguished figure in the world of Diy design, with a decade of expertise creating innovative and sustainable Diy solutions. His professional focus lies in merging traditional craftsmanship with modern manufacturing techniques, fostering designs that are both practical and environmentally conscious. As the author of diy, Safety Fic delves into the art and science of Safety Fic-making, inspiring artisans and industry professionals alike.
Education RMIT University
(Melbourne, Australia) Associate Degree in Design (Safety Fic) Focus on sustainable design, industry-driven projects, and practical craftsmanship. Gained hands-on experience with traditional and digital manufacturing tools, such as CAD and CNC software.
Nottingham Trent University
(United Kingdom) Bachelor’s in diyfastly.com and Product Design (Honors) Specialized in product design with a focus on blending creativity with production techniques. Participated in industry projects, working with companies like John Lewis and Vitsoe to gain real-world insights.
Publications and Impact
In diy, Safety Fic his insights on indoor design processes, materials, and strategies for efficient production. His writing bridges the gap between artisan knowledge and modern industry needs, making it a must-read for both budding designers and seasoned professionals.