Is your automatic gate refusing to open or close properly? Resetting your automatic gate can seem like a daunting task, but it’s actually a straightforward process that can get your gate back in working order in no time. Whether you’re dealing with a power outage, a malfunction, or simply need to refresh the system, our comprehensive guide will walk you through how to reset automatic gate.
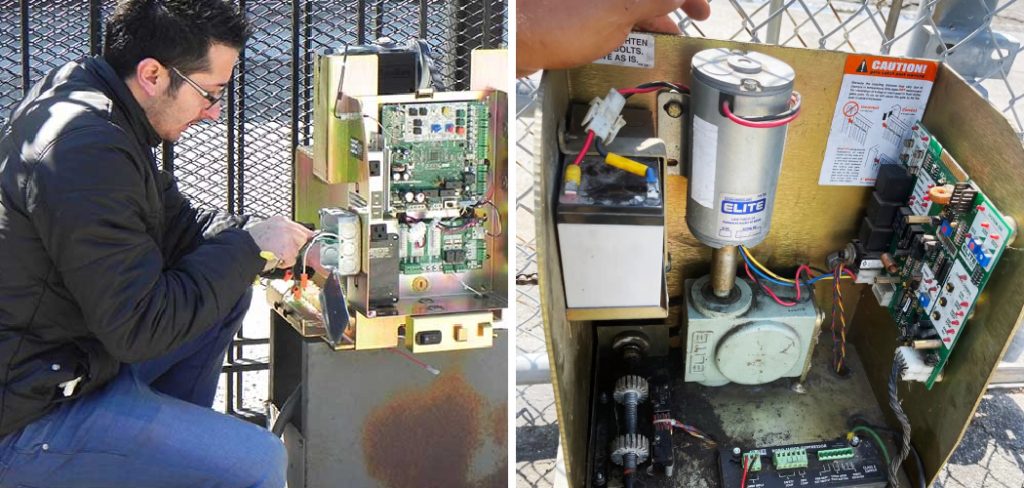
From identifying the problem to performing a reset and troubleshooting common issues, we’ll cover everything you need to know to ensure your automatic gate operates smoothly and reliably.
Importance of Resetting an Automatic Gate
Resetting your automatic gate is crucial for several reasons. Firstly, it helps in resolving minor glitches and malfunctions that can arise from power outages, electrical surges, or general wear and tear. A reset refreshes the system, allowing it to recalibrate and function correctly. Secondly, resetting can enhance the security of your property by ensuring that the gate operates reliably, preventing unauthorized access caused by a malfunctioning gate.
Furthermore, regular resets can extend the lifespan of your gate by reducing the stress on its components, leading to fewer costly repairs and replacements. Ultimately, keeping your automatic gate in optimal condition through regular resets ensures convenience, safety, and peace of mind.
Understanding Automatic Gate Systems
Automatic gate systems come in various types and designs, each tailored to different operational needs and environments. Generally, these systems can be categorized into sliding gates, swing gates, and barrier arms. Sliding gates are ideal for properties with limited space as they move horizontally along a track. Swing gates, on the other hand, require more space but offer a classic aesthetic and can be single or double-leaf. Barrier arms are commonly used in commercial properties and parking lots for controlling vehicle access.
10 Methods How to Reset Automatic Gate
Method 1: Power Cycling the Gate System
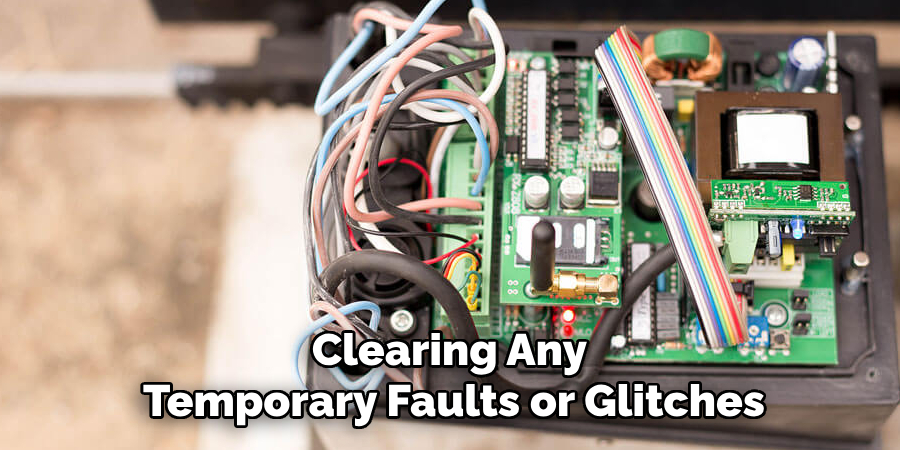
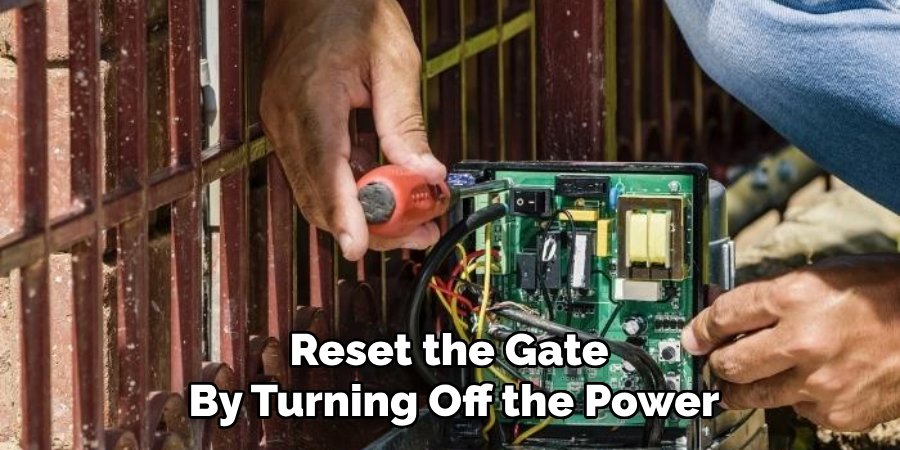
Resetting an automatic gate often starts with a simple power cycle. Begin by locating the power source of the gate system, typically found near the control box. Turn off the power by either unplugging the unit or switching off the circuit breaker dedicated to the gate. Leave the power off for about 30 seconds to ensure all residual charge dissipates.
After waiting, restore power by plugging the unit back in or flipping the circuit breaker back on. This method helps reset the gate’s control board, clearing any temporary faults or glitches. Test the gate by using the remote control or keypad to confirm it operates smoothly. This straightforward approach is often sufficient to reset minor issues with the gate’s electronics.
Method 2: Manual Override and Re-engagement
For gates equipped with a manual override feature, this method can reset the system. Locate the manual release mechanism, which is typically a lever or a key-based system found on the motor housing. Activate the manual release to disengage the gate from the motor.
This allows you to open and close the gate manually. Once the gate has been manually operated, re-engage the motor by returning the release mechanism to its original position. This process can help reset the motor’s memory and realign the gate. Restore the power and test the gate’s automatic functions to ensure it operates correctly. This method is particularly useful when the gate is stuck or unresponsive.
Method 3: Reprogramming the Remote Controls
If the remote controls for the gate are not functioning, reprogramming them may resolve the issue. Start by accessing the control panel of the gate motor, which usually contains a “Learn” or “Program” button. Press and hold this button until the indicator light turns on, signaling that the system is in programming mode. Within 30 seconds, press the button on the remote control that you use to operate the gate.
The indicator light on the control panel should blink or turn off, indicating the remote has been successfully paired. Repeat this process for any additional remotes. Test each remote to ensure they are all working correctly. This method ensures the remote controls are properly synchronized with the gate’s control system.
Method 4: Checking and Resetting the Gate Sensors
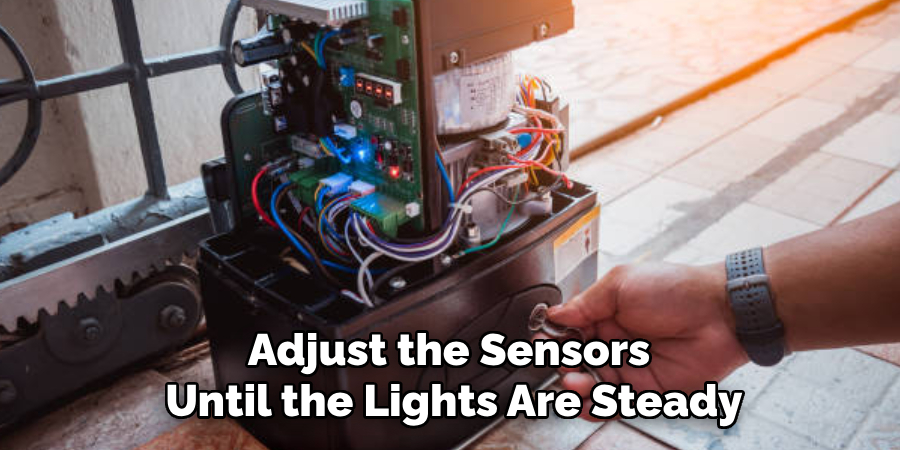
Automatic gates often have sensors to detect obstacles and ensure safe operation. If these sensors are misaligned or dirty, they can cause the gate to malfunction. Inspect the sensors, usually located near the bottom of the gate on either side. Clean the sensor lenses with a soft cloth to remove any dirt or debris. Check the alignment by ensuring that the sensors are directly facing each other and the indicator lights on both sensors are steady.
If the lights are blinking or off, adjust the sensors until the lights are steady. After cleaning and realigning the sensors, reset the gate by turning off the power, waiting a few seconds, and turning it back on. Test the gate to confirm it opens and closes without issues. This method ensures the safety sensors are functioning correctly.
Method 5: Resetting the Control Board
For more advanced issues, resetting the control board of the gate motor might be necessary. Begin by turning off the power to the gate. Open the control box to access the control board. Look for a reset button or a series of dip switches that can be toggled to reset the system.
Follow the manufacturer’s instructions to perform a reset, which may involve pressing a button for a set period or changing the positions of the dip switches. Once the reset is complete, close the control box and restore power to the gate. Test the gate to ensure it operates correctly. This method addresses more complex electronic issues that simple power cycling cannot resolve.
Method 6: Inspecting and Resetting the Gate Limits
Automatic gates have limit switches that control how far the gate opens and closes. If these limits are misconfigured, the gate may not function properly. Locate the limit switches on the gate motor, which are often adjustable screws or dials. Adjust the open and close limits according to the manufacturer’s guidelines.
This may involve turning the screws or dials to set the desired stopping points for the gate. After adjusting the limits, reset the gate by turning off the power, waiting a few seconds, and turning it back on. Test the gate to ensure it stops at the correct positions when opening and closing. This method ensures the gate operates within the intended parameters.
Method 7: Reconnecting to a Smart Home System
If your automatic gate is integrated with a smart home system, a reset may be necessary to restore connectivity after a disruption. Open your smart home app and check if the gate is still listed as a connected device. If not, follow the manufacturer’s instructions to re-add the gate to your smart home network. This usually involves putting the gate control unit into pairing mode and connecting it through the app. Ensure your Wi-Fi network is stable and the gate control unit is within range.
After re-establishing the connection, test the gate via the app to confirm it responds to commands. This method ensures seamless integration with your smart home system.
Method 8: Checking and Replacing the Backup Battery
Some automatic gate systems include a backup battery to ensure operation during power outages. Over time, this battery can deplete and may need to be reset or replaced. Locate the battery compartment, usually found within the control box.
Check the battery’s condition and replace it if it shows signs of wear or no longer holds a charge. After installing a new battery, perform a power cycle by turning off the main power, waiting a few seconds, and turning it back on. Test the gate to ensure it operates correctly, both with and without main power.
Method 9: Performing a Full System Reset
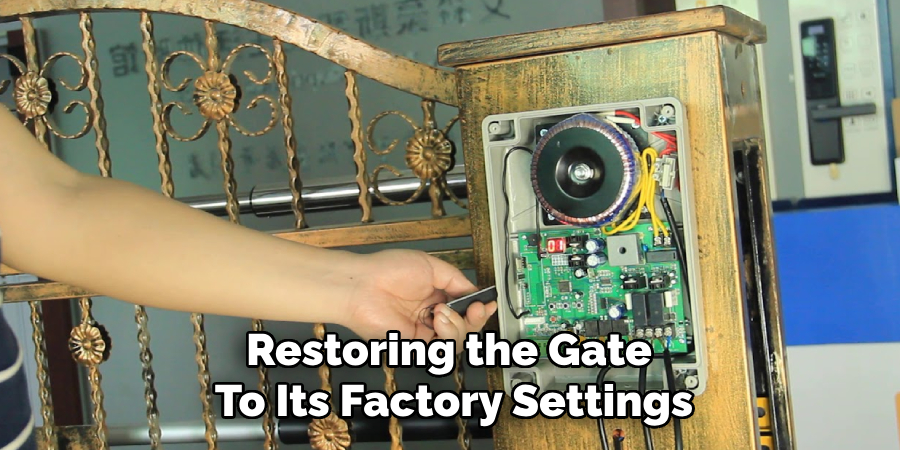
For persistent issues, a full system reset might be required. Consult your gate’s user manual to find the specific reset procedure, which often involves pressing and holding a reset button or following a specific sequence of button presses. Be aware that a full reset will erase all programmed remotes, keypads, and settings, requiring you to reprogram them afterward.
Once you have reset the system, follow the instructions to reprogram your remotes and set the gate limits. This comprehensive reset can resolve complex problems that other methods cannot, restoring the gate to its factory settings.
Method 10: Professional Maintenance and Inspection
If none of the above methods work, it might be time to call a professional technician. A trained expert can inspect the entire gate system, diagnose any issues, and perform necessary repairs or maintenance. They can check components such as the motor, control board, sensors, and limit switches to ensure everything is in working order. Regular professional maintenance can prevent future problems and extend the life of your gate system.
Conclusion
Maintaining and troubleshooting an automatic gate system can seem daunting, but it is essential for ensuring the security and convenience it provides. By following the methods outlined in this guide, from checking remote controls and sensors to resetting the control board and calling a professional, you can address a variety of common issues that may arise.
Regular maintenance not only prevents unexpected breakdowns but also extends the lifespan of your gate system. Taking the time to understand and implement these steps will keep your automatic gate functioning smoothly and reliably, providing you with peace of mind and unobstructed access to your property. Thanks for reading, and we hope this has given you some inspiration on how to reset automatic gate!
About
Safety Fic is a distinguished figure in the world of Diy design, with a decade of expertise creating innovative and sustainable Diy solutions. His professional focus lies in merging traditional craftsmanship with modern manufacturing techniques, fostering designs that are both practical and environmentally conscious. As the author of diy, Safety Fic delves into the art and science of Safety Fic-making, inspiring artisans and industry professionals alike.
Education RMIT University
(Melbourne, Australia) Associate Degree in Design (Safety Fic) Focus on sustainable design, industry-driven projects, and practical craftsmanship. Gained hands-on experience with traditional and digital manufacturing tools, such as CAD and CNC software.
Nottingham Trent University
(United Kingdom) Bachelor’s in diyfastly.com and Product Design (Honors) Specialized in product design with a focus on blending creativity with production techniques. Participated in industry projects, working with companies like John Lewis and Vitsoe to gain real-world insights.
Publications and Impact
In diy, Safety Fic his insights on indoor design processes, materials, and strategies for efficient production. His writing bridges the gap between artisan knowledge and modern industry needs, making it a must-read for both budding designers and seasoned professionals.
