

Resetting a Brinks digital deadbolt can seem daunting, but the process is straightforward when approached step-by-step. Whether you’ve forgotten the code, need to clear previous programming, or want to set up a fresh start, this guide will walk you through the necessary steps to reset your lock effectively.
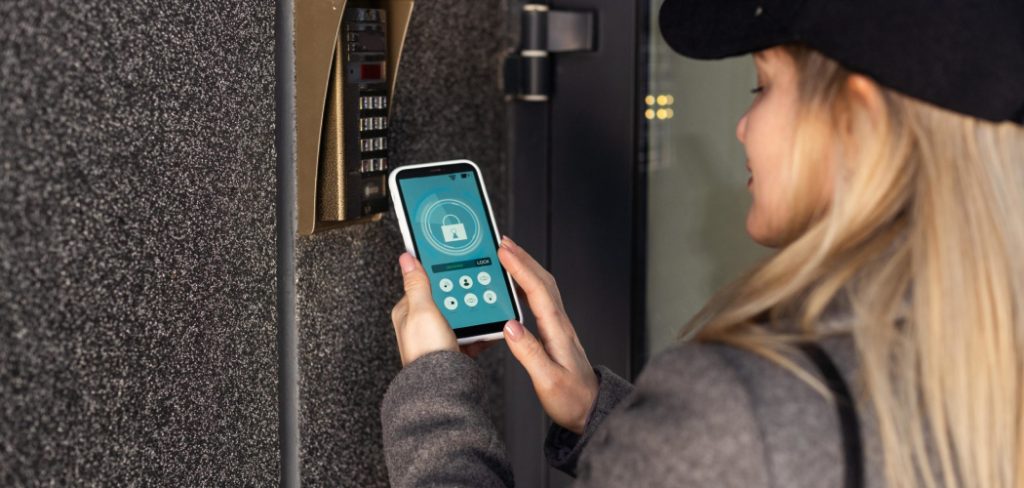
By following these instructions on how to reset brinks digital deadbolt, you’ll ensure the security of your property while restoring full functionality to your deadbolt.
Types of Resets
When resetting a Brinks digital deadbolt, it’s important to identify the type of reset required for your specific situation. Below are the common types of resets:
Master Code Reset
This reset allows you to change or update the primary master code used to program the lock. It’s typically used when the original master code is forgotten or compromised.
Factory Reset
A factory reset restores the lock to its original settings, erasing all user codes, the master code, and any custom configurations. This option is ideal when transferring ownership of the lock or starting fresh.
User Code Reset
This reset specifically removes individual user codes without impacting the master code or overall settings. It’s useful for managing access while retaining the current programming setup.
Understanding the type of reset you need will help ensure the process is simple and efficient.
Needed Materials
- A Screwdriver or Hex Wrench (Depending on Your Lock Model)
- The Manufacturer’s Manual
- Batteries, if Needed
5 Simple Step-by-step Instructions on How to Reset Brinks Digital Deadbolt
Step 1: Locate the Reset Button or Switch
Begin by identifying the reset button or switch on your lock. This is typically found on the interior side of the device, near the battery compartment or on the back panel.
Consult the manufacturer’s manual to determine the exact location for your specific lock model. Some models may require removing a small panel using a screwdriver or hex wrench to access the reset button or switch.
Step 2: Prepare to Reset
Before proceeding with the reset, make sure you have access to a new set of batteries and your current user code (if applicable).
If you do not have a working user code, you may need to contact Brinks or a professional locksmith for assistance. Also, confirm that there are no obstructions or debris in the lock mechanism that may interfere with the resetting process.
Step 3: Reset the Lock
Using a paperclip or similar tool, press and hold the reset button/switch for about 10-15 seconds until you hear a beep or see the lights on the device flash.
This indicates that the lock has been successfully reset and is now ready to be programmed with a new user code.
Step 4: Program a New User Code
Refer to the instruction manual for your specific model of Brinks lock to learn how to program a new user code.
Usually, this involves pressing a series of buttons or entering a default code followed by your desired new code. Make sure to choose a unique and secure code that is easy for you to remember but difficult for others to guess.
Once the new user code has been programmed, test it out by locking and unlocking the door with the new code. If everything works properly, you have successfully reset and reprogrammed your Brinks lock.
Step 5: Replacing the Batteries
If your Brinks lock is not functioning properly, it could be a sign that the batteries need to be replaced. To do this, you will need to locate the battery compartment on the back of the lock. Open it up and remove the old batteries, being careful to dispose of them properly.
Then, insert new batteries according to their correct polarity. Close the compartment and try using your lock again. It is important to regularly check and replace your lock’s batteries as needed to ensure proper functioning.
Following these steps on how to reset brinks digital deadbolt can help you keep your door secure and your lock in good working condition.
Additional Tips for Maintaining Your Brinks Lock
- Keep your lock clean by wiping it down with a damp cloth periodically.
- Avoid using harsh chemicals or abrasive cleaners on your lock, as they can damage the digital components.
- Be careful not to force or slam the door when using your lock, as this could cause internal damage.
- Regularly check and tighten any loose screws or bolts on your lock to prevent it from becoming loose or misaligned.
- Consider adding a lubricant specifically designed for locks to the keyhole and latch mechanism every few months to prevent sticking or jamming.
- If you experience any issues with your lock, refer to the manufacturer’s manual or contact their customer support for assistance. Do not attempt to disassemble or repair the lock yourself, as this could void its warranty and potentially cause further damage.
Troubleshooting Reset Issues
If you are unable to reset your lock or encounter issues during the reset process, follow these steps to resolve the problem:
Check the Manual
Refer to the manufacturer’s manual for specific reset instructions tailored to your lock model. An incorrect procedure could prevent a successful reset.
Inspect the Batteries (if applicable)
For electronic or smart locks, ensure the batteries are properly installed and have sufficient charge. Replace old or weak batteries to eliminate power-related issues.
Confirm the Default Code
Verify the default code or factory settings provided in the manual. Inputting an incorrect code may hinder the reset process.
Clean the Lock Components
Dirt or debris in the keyhole, keypad, or internal mechanism may interfere with the reset process. Gently clean the lock with a dry cloth or an appropriate cleaning solution.
Perform a Hard Reset (If Applicable)
Some electronic locks offer a hard reset function to restore factory settings. Consult the manual for instructions on performing this procedure.
Contact Customer Support
If the issue persists, reach out to the lock manufacturer’s customer support team. Provide them with details about the issue and any troubleshooting steps you’ve already taken.
Avoid forcing any components or attempting advanced repairs on your own, as this may cause irreversible damage or void your warranty.
Post-Reset Tips
After performing a reset, ensure the lock operates correctly by testing its basic functions. Reprogram the lock with new access codes or credentials, following the instructions provided in the user manual. Double-check that the lock is securely installed and that no components are loose.
Keep backup codes and credentials in a secure location to avoid being locked out in the future. If the lock integrates with a smart home system, reconnect it and verify its compatibility with the system for seamless operation. Regularly monitor its performance and replace batteries as needed to maintain optimal functionality.
Frequently Asked Questions
Q: Can I Install a Smart Lock on My Own Without Professional Help?
A: Yes, most smart locks come with detailed instructions and can be easily installed by following the steps provided. The installation process may vary slightly depending on the brand and model of the smart lock, but most of them can be installed without professional help.
Q: How Do I Connect My Smart Lock to a Wi-Fi Network?
A: To connect your smart lock to a Wi-Fi network, you will need to download the accompanying app for your specific lock and follow the instructions provided. Once connected, you will be able to remotely control your lock through the app.
Q: Can I Still Use Traditional Keys with a Smart Lock?
A: Yes, most smart locks come with traditional key options as a backup in case of any technical issues or emergencies where remote access is not possible.
Q: Are Smart Locks Secure?
A: Yes, smart locks use advanced encryption and security protocols to protect your home from unauthorized access. However, as with any technology, it is important to regularly update the software and firmware of your smart lock to ensure maximum security.
Q: Can I Grant Temporary Access to Others with a Smart Lock?
A: Yes, most smart locks allow you to grant temporary access codes or keys to others, which can be set to expire after a certain amount of time. This is helpful for guests or service providers who may need temporary access to your home.
Q: Is It Easy To Install a Smart Lock?
A: Installing a smart lock varies depending on the specific model and type of lock. Some models require a complete replacement of your existing lock, while others can be easily installed over the existing hardware. It’s always recommended to follow the manufacturer’s instructions and seek professional help if needed. Also, make sure to test the functionality of your smart lock before fully relying on it for security purposes.
Q: Are Smart Locks Compatible with All Types of Doors?
A: Not all smart locks are compatible with every type of door. It’s important to check the specifications of your chosen smart lock to ensure compatibility with your door type. Most smart locks are designed for standard deadbolts, but some may require additional hardware or modifications for certain types of doors.
Conclusion
Smart locks offer a convenient and modern approach to securing your home, blending technology with practicality. However, selecting the right smart lock requires careful consideration of compatibility, features, and user needs.
By understanding how these devices work and assessing your specific requirements, you can make an informed decision that enhances both your security and peace of mind. Always remember to follow installation guidelines on how to reset brinks digital deadbolt and test your smart lock thoroughly to ensure optimal functionality.