
Resetting your Chamberlain garage door opener can resolve many common issues, such as malfunctioning remotes or the need to reprogram the system. Whether you’re troubleshooting a problem or starting fresh with new settings, understanding the reset process ensures your garage door opener functions smoothly.

This guide on how to reset chamberlain garage door opener will walk you through the steps to reset your Chamberlain garage door opener effectively and safely.
What is a Chamberlain Garage Door Opener?
Before we dive into the reset process, it’s important to understand what a Chamberlain garage door opener is. A Chamberlain garage door opener is a type of automatic garage door opener that uses a motorized mechanism to open and close your garage door.
It typically consists of two main parts – the motor unit and the remote control. The motor unit is installed in the ceiling of your garage and contains the motor, gears, and electrical components, while the remote control allows you to operate the door from a distance.
Needed Materials
To install a Chamberlain garage door opener, you will need the following materials:
A Power Drill:
A power drill is an essential tool for installing a garage door opener. It will be used to create holes in your ceiling and walls for mounting the motor unit and other components.
Screws and Anchors:
You will need screws and anchors to securely fasten the motor unit to your ceiling as well as any other hardware that may come with the opener.
Ladder:
A ladder will be needed to safely reach the ceiling of your garage to install the motor unit.
Pliers:
Pliers are useful for tightening bolts, nuts, or screws during installation.
Electrical Tape:
Electrical tape is necessary to secure any exposed wires during installation. Safety should always be a top priority when working with electricity.
Power Drill:
A power drill will make the installation process much faster and easier, allowing you to quickly secure screws and anchors into place.
Screwdriver:
If you do not have a power drill, a screwdriver can also be used for installing screws and anchors, although it may take longer.
Level:
Using a level is important for ensuring that your motor unit is installed correctly and straight on the ceiling. This will prevent any malfunctions or damage in the future.
Safety Glasses:
Safety glasses should be worn during installation to protect your eyes from any debris or particles that may fly off while drilling or using tools.

10 Steps on How to Reset Chamberlain Garage Door Opener
Step 1: Identify Your Chamberlain Garage Door Opener Model
Before resetting your Chamberlain garage door opener, it is essential to determine the exact model you have. Locate the model number on the label, typically found on the back or side of the motor unit.
This information will help you refer to the correct instructions or troubleshooting guide specific to your opener model. Knowing your model number ensures that you follow the reset process accurately and avoid any unnecessary complications.
Step 2: Check for Any Obstructions
Before proceeding with the reset process, it is crucial to check if there are any obstructions or blockages on or near your garage door.
Remove anything that might be blocking the sensors or preventing the door from closing properly. This step will prevent potential damage to your opener during the reset process.
Step 3: Disconnect Power Source
To safely reset your garage door opener, you must first disconnect the power source. Locate the power cord leading to the opener and unplug it from the electrical outlet. If your opener is hardwired, turn off the circuit breaker that supplies power to the opener.
This step ensures your safety and prevents any electrical issues during the reset process. Always double-check that the power is completely off before proceeding.
Step 4: Wait a Few Minutes
After disconnecting the power source, wait for at least 5-10 minutes to allow the system to fully reset. This pause gives the internal components of the garage door opener time to discharge any residual electricity and ensures that the system is ready for a fresh start.
Patience during this step is crucial, as skipping the wait time may interfere with the effectiveness of the reset process.
Step 5: Reconnect Power Source
Once the waiting period is over, it’s time to reconnect the power source to the garage door opener. Carefully plug the unit back into the power outlet or turn the circuit breaker back on, depending on how it was originally disconnected.
Ensure that all connections are secure and there are no exposed wires. At this stage, the system should power up, and you may hear the unit resetting itself. Take a moment to observe any indicator lights or sounds that confirm the reconnection was successful.
Step 6: Locate the Reset Button
On most garage door openers, there will be a small button or switch located near the motor unit. This is typically labeled as the “reset” button or may also be referred to as the “learn” button.
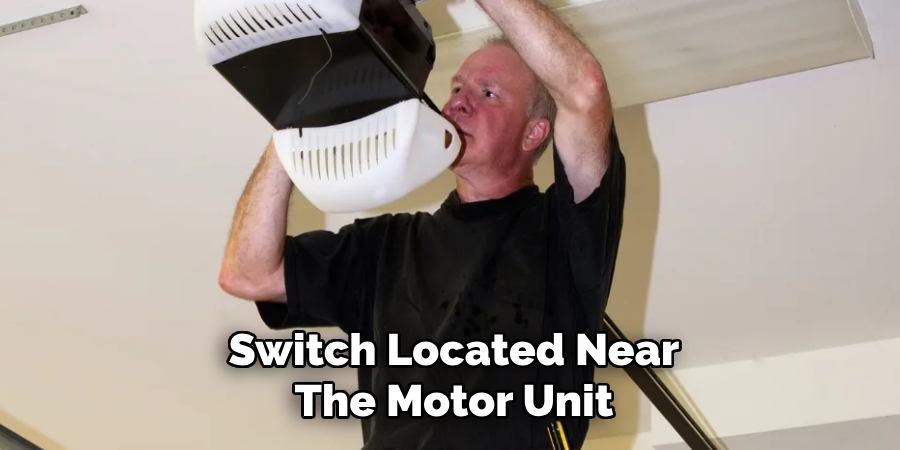
Consult your owner’s manual if you are having trouble finding the reset button.
Step 7: Press and Hold the Reset Button
Once you have located the reset button, press and hold it for approximately 5-10 seconds. You may notice a light blinking or hear a beeping sound, indicating that the system is resetting. Release the button once the blinking or beeping stops.
This process will clear the previous settings and prepare the garage door opener to be reprogrammed. Refer to your owner’s manual for any specific instructions related to your model.
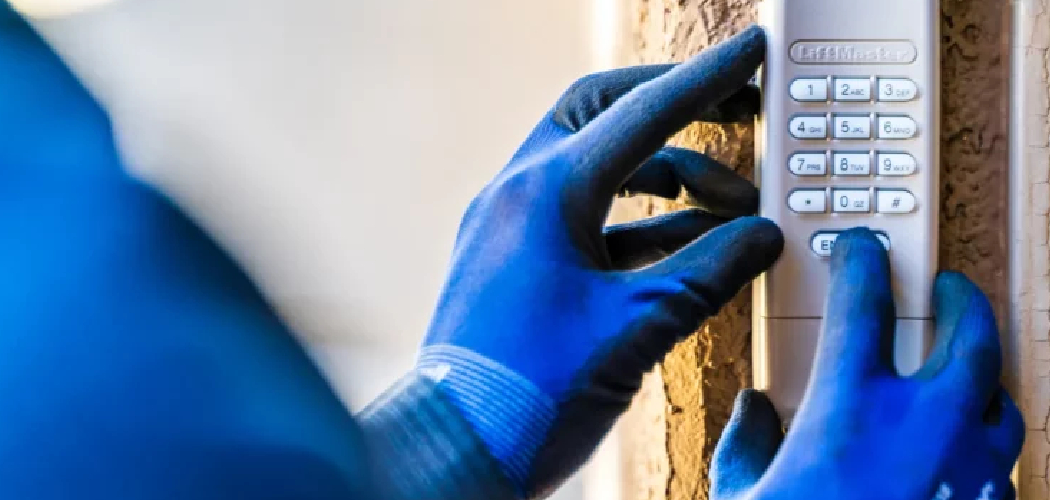
Step 8: Reprogram Remotes and Keypad
After resetting the garage door opener, the next step is to reprogram your remotes and keypad. Start by locating the “Learn” or “Program” button on the opener’s motor unit. Press and release this button; a light may blink, signaling that the opener is ready to pair with your remote or keypad.
Follow the specific programming instructions in your owner’s manual, which may involve pressing a button on the remote or entering a new code on the keypad. Test the remote and keypad to ensure they operate the garage door successfully. Repeat the process for additional remotes if necessary.
Step 9: Test Garage Door Opener
After programming the remote and keypad, it’s essential to test the garage door opener to ensure proper functionality. Stand a safe distance away and press the button on the remote or enter the code on the keypad to operate the door.
Observe its movement closely, ensuring the door opens and closes smoothly without any unusual sounds or interruptions. If the door does not respond correctly, refer back to the programming instructions or troubleshoot common issues, such as checking the battery in the remote or ensuring the keypad is securely mounted.
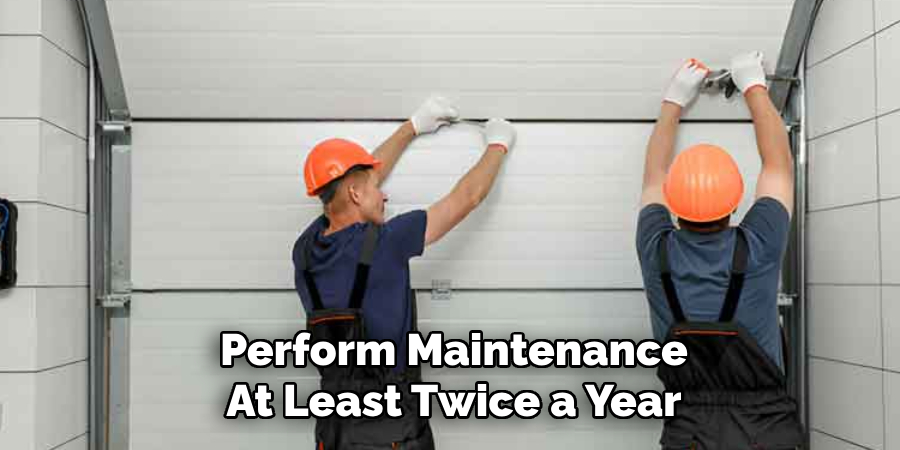
Step 10: Regular Maintenance
To keep your garage door opener functioning properly, it is important to perform regular maintenance on it. This may include lubricating moving parts, checking for loose screws or bolts, and cleaning the photoelectric sensors to ensure they are free of debris.
Following these steps on how to reset the Chamberlain garage door opener and performing regular maintenance will not only extend the life of your garage door opener but also ensure it continues to function smoothly and safely. It is recommended to perform maintenance at least twice a year, or more frequently if you use your garage door frequently.
Frequently Asked Questions
Q: How Often Should I Reset My Chamberlain Garage Door Opener?
A: It is recommended to reset your Chamberlain garage door opener at least twice a year, or more frequently if you use your garage door frequently.
Q: Why Does My Chamberlain Garage Door Opener Need to Be Reset?
A: Resetting your Chamberlain garage door opener helps to recalibrate the system and address any potential malfunctions. It also allows for proper maintenance and ensures safe operation.
Q: Can I Reset My Chamberlain Garage Door Opener Myself?
A: Yes, you can follow the steps outlined above on how to reset a Chamberlain garage door opener yourself. However, if you are unsure or uncomfortable with performing these tasks, it is always best to consult a professional for assistance. They have the necessary expertise and tools to properly reset your garage door opener and ensure its safe operation.
Q: How Often Should I Reset My Chamberlain Garage Door Opener?
A: It is recommended to reset your Chamberlain garage door opener at least once every year, or whenever you notice any malfunctions or irregularities in its operation. This will help prevent potential issues and maintain the overall performance of your garage door opener. Additionally, regular maintenance checks should also be performed to ensure the proper functioning of all components.
Conclusion
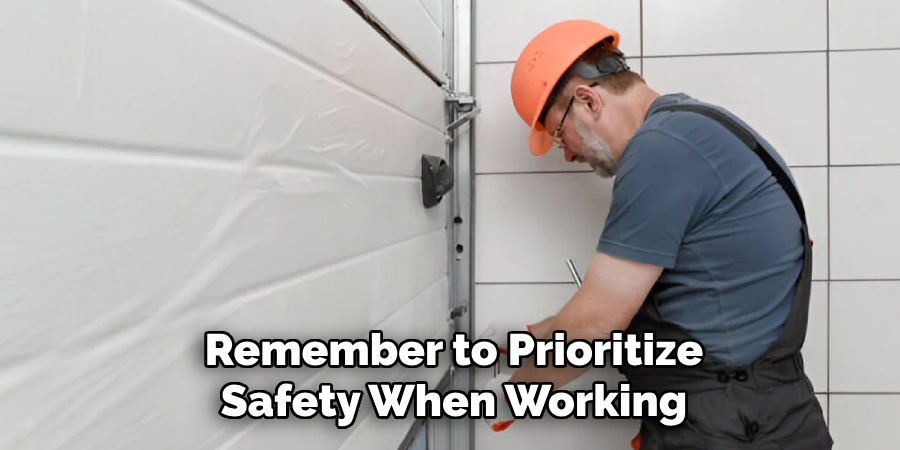
By following these steps on how to reset chamberlain garage door opener, you should now have a reprogrammed garage door opener that is functioning correctly. It is always a good idea to review your owner’s manual for specific instructions and troubleshooting tips in case any issues arise in the future. Remember to prioritize safety when working with your garage door opener, and never hesitate to call a professional if you are unsure about any steps.
With regular maintenance and proper use, your garage door opener should continue to provide convenience and security for your home. So, be sure to keep up with maintenance tasks and address any issues promptly for optimal performance. Now go enjoy the seamless operation of your newly reprogrammed garage door opener!