Are you tired of your doorbell camera not working? It may not be responding to the button press, or the video quality is poor. If this sounds familiar, don’t worry – there are a few simple steps you can take to reset your doorbell camera and get it working like new again.
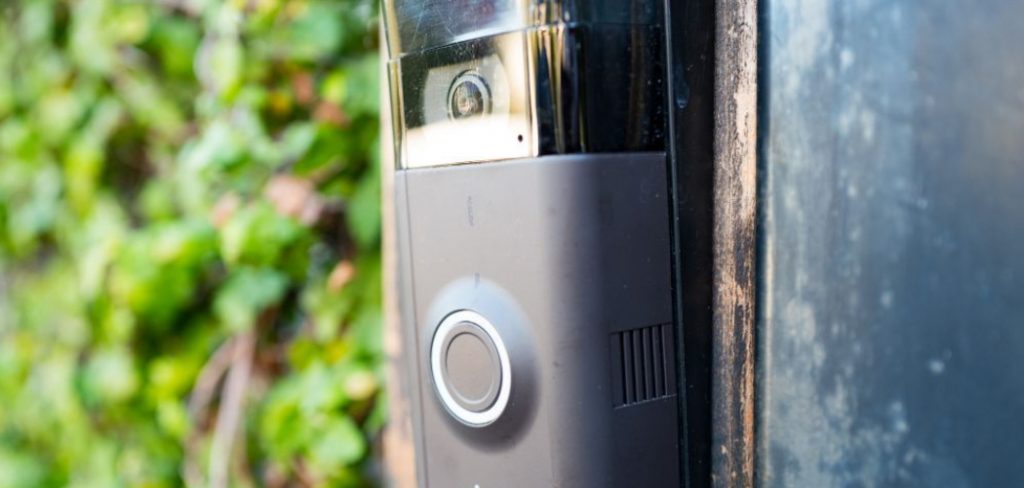
How to reset doorbell camera can be necessary when dealing with connectivity issues, software glitches, or when preparing to sell or give away the device. Knowing how to perform a reset can be beneficial for both troubleshooting purposes and ensuring your device functions smoothly.
This guide will walk you through the steps to reset your doorbell camera, ensuring you can quickly and effectively restore its default settings. Whether you are experiencing technical difficulties or simply performing routine maintenance, following these instructions will help you easily manage your doorbell camera.
What Will You Need?
Before you begin the reset process, there are a few things you will need to gather:
- Your doorbell camera unit
- A small tool or pin for pressing the reset button (if applicable)
- Access to your doorbell camera’s app or software (if applicable)
Having these items ready will make the reset process smoother and quicker.
10 Easy Steps on How to Reset Doorbell Camera
Step 1: Check for a Reset Button
Some doorbell cameras come equipped with a physical reset button, often located on the side or back of the device. This button is typically recessed to prevent accidental resets, so you’ll likely need a small tool, such as a paperclip or pin, to reach it. Before proceeding, consult your doorbell camera’s user manual to locate the exact position of the reset button. Once located, press and hold the button for about 10 to 15 seconds or until you see the device’s indicator lights begin to flash.
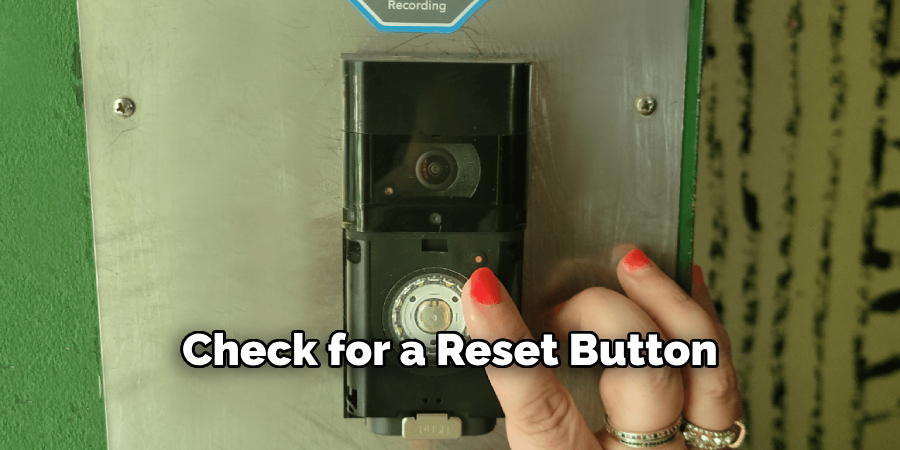
This flash indicates that the device is resetting. If your model does not have a physical reset button, don’t worry; alternative reset methods are usually available through the camera’s app or settings menu. Each manufacturer might have slightly different procedures, so referring to the manufacturer’s specific instructions is always a good idea.
Step 2: Power Cycle the Device
Power cycling is an effective alternative to initiate a reset if your doorbell camera lacks a physical reset button. Start by disconnecting the camera from its power source. For battery-operated units, remove the battery compartment. For wired models, turn off the power at the circuit breaker. Leave the device powered off for at least 30 seconds to ensure any residual charge is entirely dissipated. Once complete, reconnect the power.
This process can help resolve minor software issues by refreshing the device, often restoring standard functionality without additional steps. If problems persist, continue with the subsequent steps in this guide or consult the device’s app for further assistance.
Step 3: Reset via the App
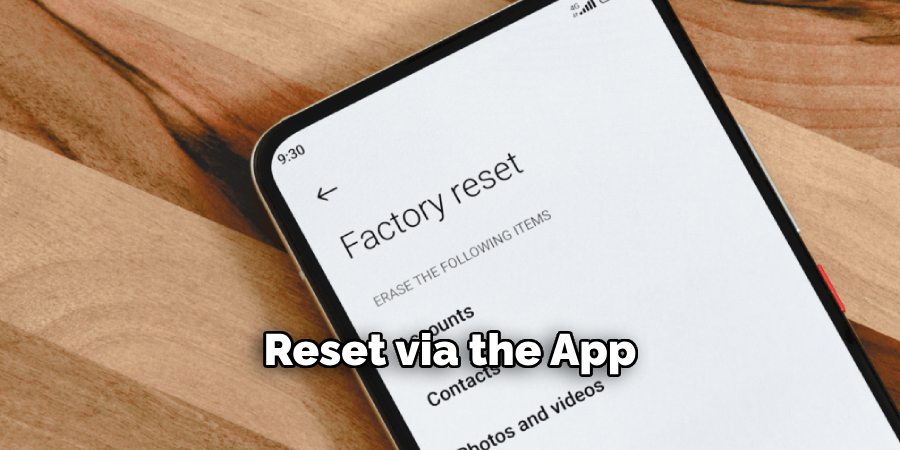
For models without a physical reset button, utilizing the doorbell camera app is a viable option to perform a reset. Begin by opening the app associated with your doorbell camera. Navigate to the settings menu, often represented by a gear icon, and look for a section labeled “Device Management” or “General Settings.” This section should have an option labeled “Reset” or “Restore Factory Settings.”
This option will initiate a series of prompts to confirm the reset process. Carefully follow the on-screen instructions to ensure the reset is completed successfully. Remember, some apps might require logging in before accessing these settings. Therefore, make sure you have your account details handy before starting this step.
Step 4: Reconnect the Device to Wi-Fi
After performing the reset, it’s essential to reconnect your doorbell camera to your Wi-Fi network. Start by ensuring your Wi-Fi is active and you have the network name (SSID) and password on hand. Open the doorbell camera app and navigate to the setup or connectivity settings. Follow the prompts to connect the camera back to your Wi-Fi network.
Ensure your device is within range of the Wi-Fi signal to prevent connectivity issues. Once connected, the camera usually verifies the connection by updating its status or showing a confirmation message within the app. If you encounter any problems during this step, check your network configuration and restart your router if necessary. A stable Wi-Fi connection is crucial for ensuring the camera functions correctly and delivers reliable video feeds and notifications.
Step 5: Update the Firmware
Once your doorbell camera is reconnected to the Wi-Fi, it’s essential to check for any available firmware updates. Manufacturers frequently release updates to enhance functionality and security. Within the app, navigate to the “Device Management” or a similar section and look for an option named “Firmware Update” or “Software Update.” Follow the prompts to check for and install any updates.
This process may take a few minutes, so your device should remain connected to power and Wi-Fi. Keeping your doorbell camera’s firmware up-to-date ensures optimal performance and addresses any known security vulnerabilities, contributing to the long-term reliability of your device.
Step 6: Test the Camera’s Functionality
With the reset process complete and the firmware updated, it’s time to test your doorbell camera to ensure it functions correctly. Start by initiating a live video feed through the app to check the camera’s quality and responsiveness. Verify that the audio works by speaking into the app and listening for sound at the camera unit. Additionally, if applicable, test the camera’s motion detection capabilities by walking in front of it to ensure it triggers alerts correctly.
If your doorbell camera has night vision, test this feature by dimming the lights or testing it in a low-light environment. All these checks confirm that your device is operating effectively and is ready for everyday use, providing peace of mind in its surveillance capabilities. Review the setup steps or consult the manual for troubleshooting tips if you encounter any issues.
Step 7: Customize Camera Settings
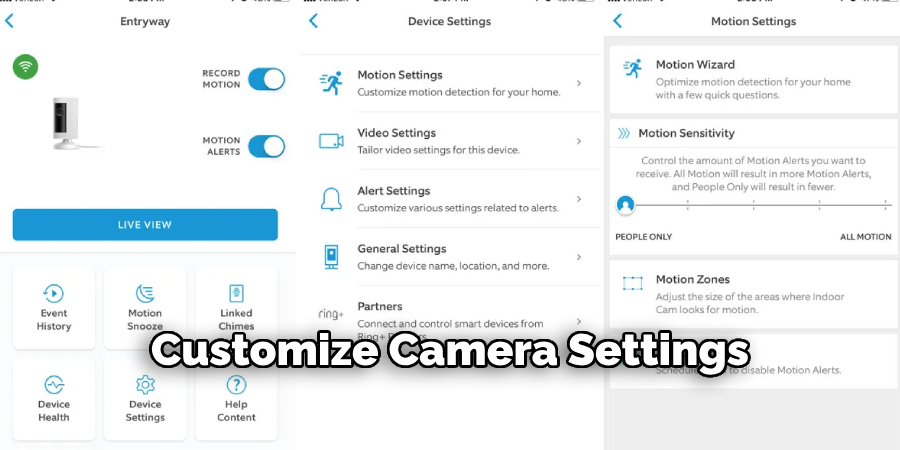
Once your doorbell camera is functioning correctly, take the time to customize its settings to suit your specific needs. Open the camera’s app and explore the settings menu, where you can adjust various preferences, such as video resolution, motion sensitivity, and alert notifications. Consider enabling features like motion zones, if available, which allow you to define specific areas where motion detection is active, reducing unwanted alerts.
You can also customize notification settings to receive alerts on your phone or via email, informing you of any activity at your front door. Tailoring these settings ensures that your doorbell camera is optimized for your environment and usage preferences, enhancing its functionality and convenience.
You Can Also Check To Change My Frontier Wifi Password
Step 8: Backup and Secure Your Footage
To further enhance the security and reliability of your doorbell camera, consider setting up a system for backing up and securing your footage. Many doorbell cameras offer cloud storage options that automatically save recordings to a secure online account. Check your app or the manufacturer’s website for subscription plans and details on cloud storage features. If cloud storage is not an option, look for models that support local storage via SD cards. Regularly check and manage your storage to ensure space for new recordings, and consider setting up a schedule for downloading or archiving important footage. This step not only protects your data from loss due to device issues but also allows you to review past events when necessary conveniently.
Step 9: Regular Maintenance and Troubleshooting
Regular maintenance of your doorbell camera is essential to ensure it operates efficiently and effectively over time. Periodically check the camera lens for dirt, dust, or obstructions that could degrade the video quality. Gently clean the lens with a soft cloth to maintain clear visuals. Additionally, inspect the camera’s mounts and hardware to ensure they are secure and free from wear or damage. Recharge or replace batteries as needed to keep your camera powered. If you notice any issues with the device, consult the troubleshooting section of your user manual or the manufacturer’s website for assistance. Regularly reviewing the app for updates and notifications about any potential issues will help maintain the system’s reliability and performance.
Step 10: Enhance Security Settings
To ensure your doorbell camera remains secure, enhancing its security settings beyond the basic setup is crucial. Begin by enabling two-factor authentication (2FA) within the app, providing an extra layer of security by requiring a second form of verification when accessing your account. Additionally, regularly update your passwords and ensure they are solid and unique, avoiding common phrases or easily guessed combinations. Check for security features like encryption settings that protect your data during transmission. Consider setting up alerts for unauthorized login attempts, informing you of suspicious activity. By taking these measures, you significantly improve the security of your doorbell camera system, safeguarding your home and personal information against potential threats.
By following these steps, you can confidently set up and maintain your doorbell camera to ensure reliable operation and enhanced security.
Conclusion
How to reset doorbell camera is a straightforward process that, when done correctly, restores the device to its factory settings and resolves most technical issues.
By following the detailed steps outlined in this guide—from initiating a reset and checking for firmware updates to testing functionality and securing settings—you ensure that your doorbell camera remains a reliable component of your home security system. Taking the time to maintain the camera regularly and update its software also plays a crucial role in prolonging its life and safeguarding your home.
By understanding and implementing these practices, you will optimize the performance of your doorbell camera and enhance the overall security of your property, providing peace of mind knowing that your surveillance setup is robust and dependable.
About
Safety Fic is a distinguished figure in the world of Diy design, with a decade of expertise creating innovative and sustainable Diy solutions. His professional focus lies in merging traditional craftsmanship with modern manufacturing techniques, fostering designs that are both practical and environmentally conscious. As the author of diy, Safety Fic delves into the art and science of Safety Fic-making, inspiring artisans and industry professionals alike.
Education RMIT University
(Melbourne, Australia) Associate Degree in Design (Safety Fic) Focus on sustainable design, industry-driven projects, and practical craftsmanship. Gained hands-on experience with traditional and digital manufacturing tools, such as CAD and CNC software.
Nottingham Trent University
(United Kingdom) Bachelor’s in diyfastly.com and Product Design (Honors) Specialized in product design with a focus on blending creativity with production techniques. Participated in industry projects, working with companies like John Lewis and Vitsoe to gain real-world insights.
Publications and Impact
In diy, Safety Fic his insights on indoor design processes, materials, and strategies for efficient production. His writing bridges the gap between artisan knowledge and modern industry needs, making it a must-read for both budding designers and seasoned professionals.
