
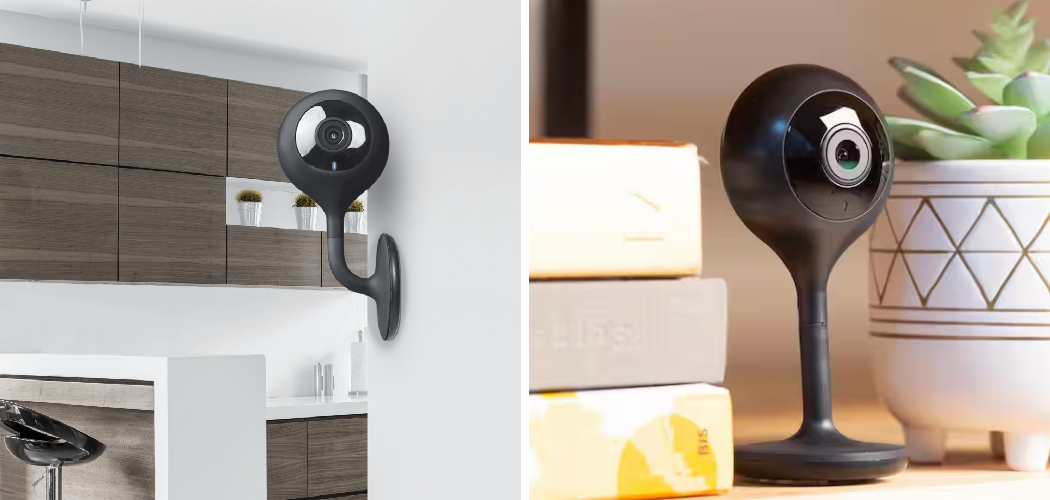
Learning how to reset Geeni camera devices can be a game-changer when it comes to resolving connectivity and functionality issues. These smart home cameras are designed to keep an eye on your property, provide real-time video feeds, and enhance home security. However, like any piece of technology, they can occasionally run into problems—whether it’s a lost Wi-Fi connection, setup glitches, or conflicting device settings.

Resetting your Geeni camera is a straightforward process that can help restore its proper functionality. To begin, locate the reset button on the device, which is typically found on the back or underside of the camera. Press and hold the button for approximately 5-10 seconds until you see the indicator light start flashing. This signals that the camera is entering the reset mode. Once the reset is complete, you’ll need to reconnect the camera to your Wi-Fi network and follow the setup steps in the Geeni app to ensure everything is configured correctly.
The good news is that resetting your Geeni camera enables you to solve most common issues in minutes. The process is straightforward, beginner-friendly, and doesn’t require advanced tech skills. This guide will take you step-by-step through the reset process, addressing everything from locating the reset button to troubleshooting any setup challenges you may encounter along the way. By the end, your Geeni camera will be ready to function like new.
Why Is Learning How to Reset Geeni Camera Important?
Resetting your Geeni camera is essential for maintaining its optimal performance. Over time, issues like app pairing failures, poor connectivity, or unexpected glitches may arise. Resetting acts as a troubleshooting tool, reverting the device to its original factory settings and making it ready for reconfiguration. This ensures smooth integration with your home’s smart ecosystem and compatibility with the Geeni app.
Another important reason to reset your camera is when you’re changing Wi-Fi networks or moving the device to a new location. Cameras connected to an old network won’t function properly unless updated. A reset lets you reestablish connections quickly without frustration.
Additionally, resetting helps address software-related bugs, clearing out any temporary data that could hinder performance. Whether you’re troubleshooting a frozen feed or preparing to sell or gift your device, knowing how to reset your Geeni camera is a practical skill that ensures long-term usage and reliability.
Step-by-Step Guide: How to Reset Geeni Camera
Step 1: Locate the Reset Button
The first step in resetting your Geeni camera is to locate the reset button. This small button is typically found on the bottom or back of the device. For most models, it may be recessed and require a pin or paperclip to reach. Take a moment to review your camera’s design and identify the exact placement of the button.
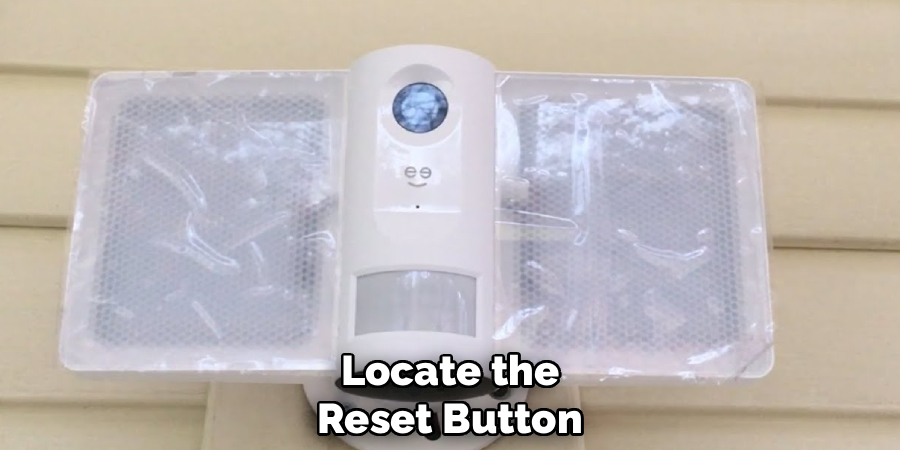
Using a reset button simplifies the process of performing a factory reset. Once you locate it, confirm its accessibility, as this will determine how easy it is to reset your device. Some models also label the button to eliminate confusion, ensuring a seamless start to the process.
Step 2: Power On Your Camera
Before proceeding, ensure your Geeni camera is powered on and ready to reset. Plug the device into an outlet, and wait for its status light to indicate that it’s operational. A blinking light could signal connection issues, making this the ideal time to initiate the reset process.
If the camera isn’t responding, troubleshoot potential power supply problems by checking the plug and outlet. Ensuring that the device is powered on guarantees that the reset will proceed effectively and allows the camera to clear its internal settings.
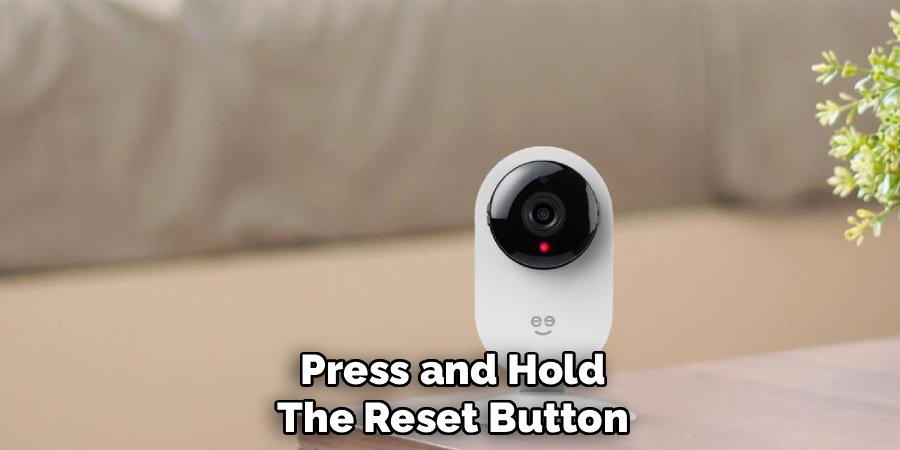
Step 3: Press and Hold the Reset Button
Using a pin, paperclip, or similar object, press and hold the reset button. Most Geeni cameras require you to hold the button for approximately 5–10 seconds or until the status light changes color. This signifies that the factory reset has begun.
Be patient as you hold the button, ensuring you don’t release it prematurely. A steady hand is essential during this step to avoid interrupting the reset process. The flashing or steady light on the camera provides visual feedback that the reset was successful.
Step 4: Wait for the Camera to Reboot
After releasing the reset button, give your Geeni camera time to reboot. This usually takes a minute or two. During this phase, the device clears its previous settings and prepares to return to its default state.
Watch for changes in the indicator light, which often switches to a steady color or begins blinking in a pattern that signals readiness for setup. Allow the process to complete fully before attempting to reconnect the camera to your network.
Step 5: Open the Geeni App
With the camera reset, open the Geeni app on your smartphone or tablet. Ensure you are logged in with your existing account credentials or create a new account if you’re a first-time user. The app serves as your primary interface for reconnecting and configuring the camera.
Check that your app is up to date by visiting the App Store or Google Play. The latest version ensures compatibility with your camera and provides access to new features or bug fixes. Having the app ready facilitates a smooth pairing process.
Step 6: Reconnect to Wi-Fi
To reestablish a connection, follow the instructions in the Geeni app to pair your reset camera with your home’s Wi-Fi network. Ensure you’re using a 2.4GHz band, as many smart devices do not support 5GHz connections. Enter your network credentials when prompted and confirm the details.
Place the camera close to your router during this step to reduce the chances of interference. Once the camera connects to Wi-Fi, its status light will confirm the pairing, and the app will display live video feed options, affirming a successful connection.
Step 7: Test the Camera’s Functionality
After pairing, test the functionality of the camera to confirm that it’s working correctly. Check the live feed, motion detection settings, and responsiveness within the app. Navigate through the app to configure preferences, such as notification settings and recording schedules.
If the camera doesn’t perform as expected, revisit the reset and configuration steps to ensure nothing was skipped. Testing provides peace of mind that your camera is operating at its best and ready to fulfill its role in your smart home.
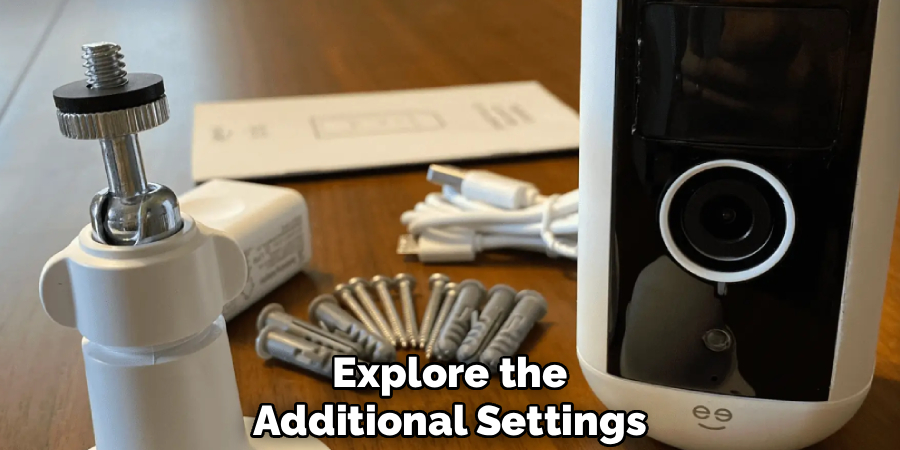
Step 8: Mount or Position the Camera
Once you’ve verified the camera is working, mount or position it in the desired location. Whether placed on a flat surface or fixed to a wall, ensure it has a clear view of the area you want to monitor. Adjust the viewing angle and check the live feed to ensure proper coverage.
Securing the camera in a stable position reduces the risk of displacement and ensures uninterrupted performance. This final step completes the reset process by integrating the camera seamlessly into your living space.
Benefits of Resetting
Resetting your camera offers several advantages that enhance its functionality and reliability. These benefits include:
- Improved Performance: Restoring your camera to its default settings can often resolve issues like lagging, freezing, or poor connectivity.
- Enhanced Security: A reset helps eliminate outdated configurations or potentially compromised settings, ensuring your device operates with maximum security.
- Simplified Troubleshooting: Starting fresh with the original settings can make diagnosing and fixing problems easier.
- Seamless Integration: Resetting allows the device to reconnect efficiently with updated networks, apps, or systems in your home.
- Extended Lifespan: Maintaining optimal functionality through resets can contribute to the long-term performance and durability of the camera.
Periodically resetting your camera ensures it continues to deliver reliable and effective monitoring capabilities.
Frequently Asked Questions
Why Do I Need to Reset My Geeni Camera?
Resetting your Geeni camera resolves issues like lost Wi-Fi connections, app pairing glitches, or software malfunctions. It’s a troubleshooting tool that restores the device to factory settings, enabling you to start fresh when needed.
How Do I Know if My Geeni Camera Has Reset?
A successful reset is usually indicated by a change in the camera’s status light. For most models, the light will blink or change color, signaling that the device has been restored to factory settings and is ready for reconfiguration.
Can I Reset My Geeni Camera Without the App?
Yes, you can reset Geeni cameras manually using the reset button. However, reconnecting the device still requires the Geeni app to pair it with your Wi-Fi network and customize settings.
What Should I Do if My Geeni Camera Won’t Reset?
If resetting fails, ensure the camera is powered on and check for potential obstructions around the reset button. Confirm you’re holding the button for the recommended time (5–10 seconds). If issues persist, consult your Geeni camera manual for troubleshooting guidance.
Do I Lose All My Settings When I Reset the Camera?
Yes, resetting a Geeni camera erases all custom settings, including Wi-Fi credentials, app configurations, and saved video data. Once the reset is complete, you’ll need to reconfigure the device from scratch.
Conclusion
Knowing how to reset Geeni camera devices is a straightforward and effective way to resolve many common issues. By following the steps in this guide, you’ll restore your camera to factory settings and prepare it for seamless reconfiguration.
Remember to keep your Wi-Fi credentials and any necessary configuration details handy before performing a reset. This will make the reconfiguration process smoother and ensure your Geeni camera is back online quickly. Additionally, if issues persist after resetting, consider reaching out to Geeni support for further assistance.
A properly reset and reconnected Geeni camera ensures optimal performance and reliability, keeping your home secure and your smart ecosystem running smoothly. Try resetting your Geeni camera today, and enjoy uninterrupted, high-quality monitoring with confidence!