

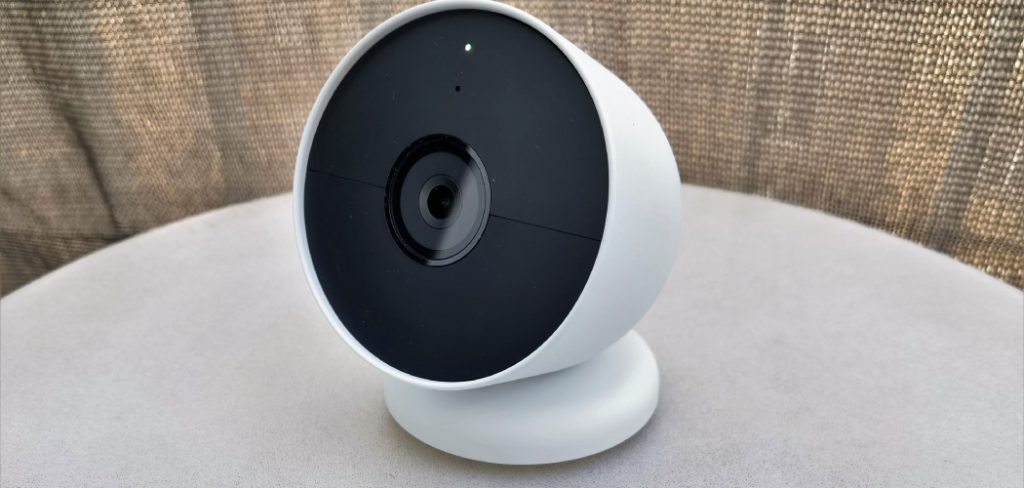
Resetting your Google Nest Camera can resolve a variety of issues, from connectivity problems to performance glitches. This simple troubleshooting step can restore your device to its factory settings, giving it a fresh start. How to Reset Google Nest Camera.
Resetting your Google Nest Camera can resolve a variety of issues, from connectivity problems to performance glitches. This simple troubleshooting step can restore your device to its factory settings, giving it a fresh start. It’s a go-to solution when other fixes have failed, ensuring your home security system operates smoothly and reliably.
This guide provides a clear, step-by-step process for resetting your camera. Following these instructions will help you safely perform the reset without causing any damage. You’ll be able to get your device back online and connected to your network quickly.
Tools and Materials You’ll Need
- A Paperclip, Thumbtack, or a Similar Small, Pointed Object
- Access to Your Nest App on Your Smartphone or Tablet
- A Stable Wi-fi Connection
- Your Wi-fi Network Name and Password
7 Simple Step-By-Step Guidelines on How to Reset Google Nest Camera
Step 1: Locate the Reset Button on Your Camera
The first thing you need to do is find the reset button on your specific Nest Camera model. Its location varies depending on whether you have an indoor or outdoor camera, or a newer or older version. For most indoor models, the reset button is a small hole located on the back or bottom of the device. For outdoor models, you might find it on the underside of the camera body, sometimes concealed near the power cable entry point.
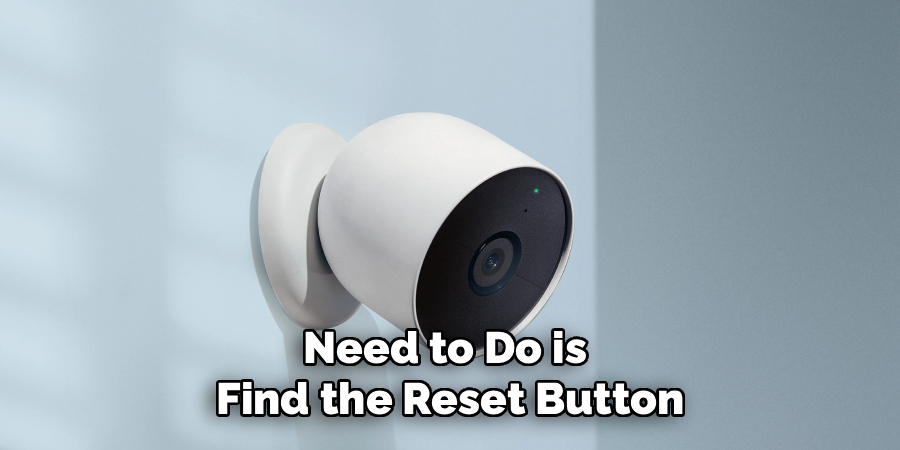
Before you proceed, it is a good idea to consult your device’s manual or check the Google Nest support website to confirm the exact location. This ensures you are pressing the correct button and not accidentally damaging another component. For some models, like the Nest Cam (battery), the reset button is on the back of the camera head itself. Take a moment to properly identify the reset hole before moving to the next step.
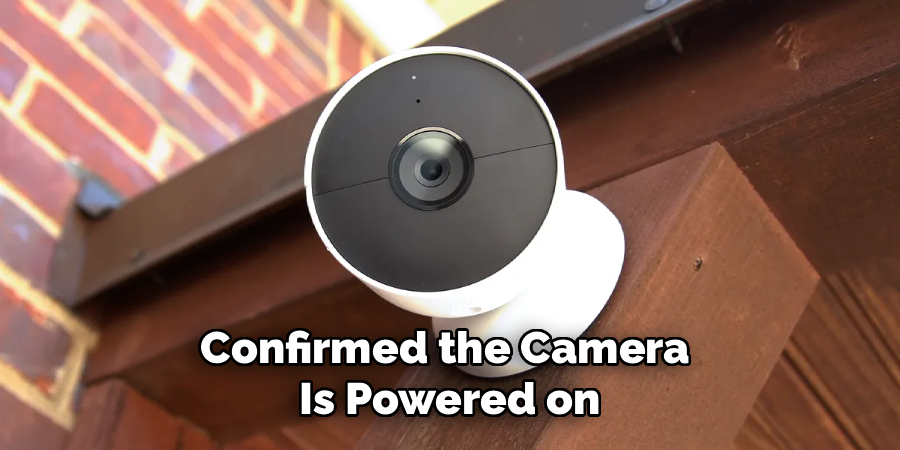
Step 2: Keep the Camera Plugged In
It is crucial that your Nest Camera remains plugged into its power source throughout the entire reset process. The device needs continuous power to properly execute the factory reset sequence and reboot itself afterward. If you unplug the camera, the reset will fail, and you may even risk causing issues with the device’s firmware. Ensure the power cable is securely connected to both the camera and the wall outlet.
This step applies to all Nest Camera models, including the battery-powered versions. Even if your camera has a charged battery, it should be connected to a power source during the reset. This precaution eliminates the possibility of the device shutting down midway through the process, which could lead to incomplete operations or other technical complications. A steady power supply is key to a successful reset.
Step 3: Press and Hold the Reset Button
Once you have located the reset button and confirmed the camera is powered on, take your paperclip or other pointed object and insert it into the reset hole. You will feel a small button inside; press and hold it down firmly. Do not release it immediately. The camera needs you to hold the button for a specific duration to initiate the factory reset, which is typically around 12 to 15 seconds.
As you hold the button, pay close attention to the camera’s status light and listen for any audible cues. The device will provide feedback to let you know the reset is in progress. For instance, the light ring may turn yellow and spin, and you might hear a chime or a spoken message confirming that the reset is starting. Continue holding the button until you receive these signals from the camera.
Step 4: Watch for the Camera’s Reset Signals
While holding the reset button, the Nest Camera will communicate its status through its light ring and sounds. Typically, after about 10 seconds, the light ring will turn yellow and start spinning. Shortly after, you might hear a confirmation chime, indicating that the factory reset is underway. This is your cue to release the button.
If you release the button too early, the camera will only restart instead of performing a full factory reset. A simple restart will not erase your settings or remove the camera from your account. Therefore, it is essential to wait for the clear visual and audible signals before letting go. The specific signals can vary slightly between models, but a spinning yellow light is a common indicator across most Nest devices.
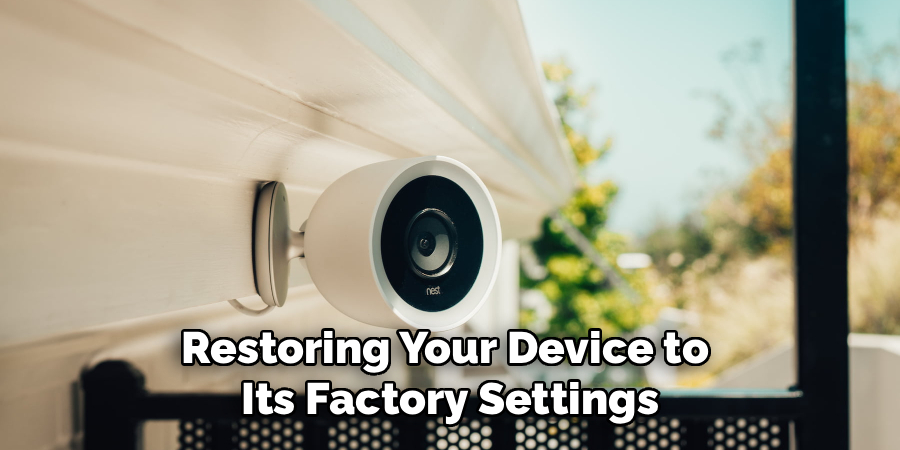
Step 5: Wait for the Camera to Reboot
After you release the reset button, the camera will begin its reboot sequence. This process can take a few minutes to complete. During this time, the camera’s status light will pulse blue, which signifies that it is ready to be set up again. It is important to be patient and let the device complete this process without interruption. Do not unplug the camera or attempt to interact with it while it is rebooting.
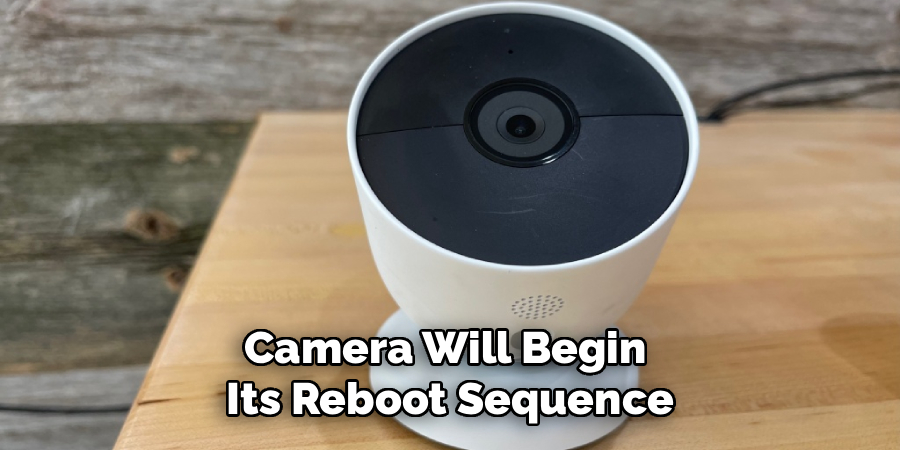
Once the reboot is finished, the camera will have been restored to its original factory settings. This means all of your previous configurations, including Wi-Fi settings and any custom preferences, will be erased. The device will essentially be in the same state as it was when you first took it out of the box, ready for a fresh setup.
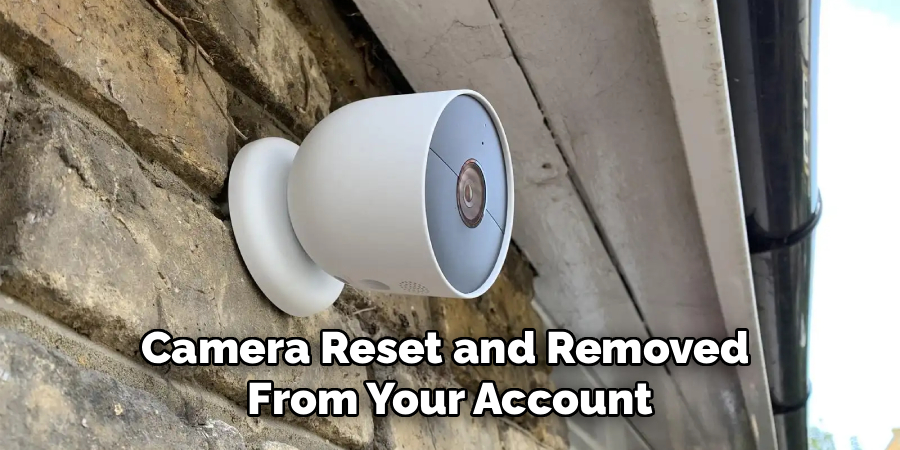
Step 6: Remove the Camera from the Nest App
A factory reset does not automatically remove the camera from your Nest or Google Home app. You must perform this step manually to avoid conflicts when you try to re-add it. Open the app on your smartphone, navigate to the device you just reset, and go into its settings menu. Look for an option that says “Remove device” or something similar and confirm your choice.
This step is critical because the app retains your camera’s previous connection history and settings. If you skip this, the app may fail to recognize the newly reset camera, leading to setup errors. Removing the offline device from your account ensures that you can start the setup process from a clean slate, preventing any potential software conflicts or pairing issues.
Step 7: Re-add the Camera to the App
With the camera reset and removed from your account, you are now ready to set it up again. In the Nest or Google Home app, tap the option to “Add a new device” or the “+” icon. The app will guide you through the setup process, which typically involves scanning the QR code on your camera. This code is usually located on the back or bottom of the device.
Follow the on-screen instructions on how to reset google nest camera carefully. You will need to connect the camera to your Wi-Fi network by selecting your network name and entering the password. The app will then finalize the connection and add the camera back to your account. Once completed, you can reconfigure its settings, such as notification preferences, activity zones, and video quality, to your liking. Your Nest Camera should now be fully operational again.
Do You Need To Use Professionals?
For a task like resetting a Google Nest Camera, it is generally not necessary to hire a professional. The process is designed to be user-friendly and can be completed by anyone with the help of a simple tool like a paperclip and the Nest app.
The step-by-step instructions provided by Google and in guides like this one are clear enough for most users to follow successfully. Calling a professional would be an unnecessary expense for such a straightforward troubleshooting procedure. You can save time and money by performing the reset yourself.
How Much Will It Cost?
Resetting a Google Nest Camera should not cost you anything. The entire process is free, as it only requires a common household item (like a paperclip) and your smartphone with the Nest or Google Home app installed.
There are no hidden fees or charges associated with restoring your device to its factory settings. If you follow the steps correctly, the reset can be completed in under 15 minutes at zero cost. The only potential expense would be if you chose to hire a professional technician, but as mentioned, that is not required for this task.
Frequently Asked Questions
Q1: What Happens When I Factory Reset My Nest Camera?
A factory reset erases all of your personalized settings and returns the camera to its original state. This includes its connection to your Wi-Fi network, video history settings, activity zones, and any other custom configurations you have made. The camera will also be removed from your Nest or Google Home account once you complete the manual removal step in the app. Essentially, it becomes a blank slate, ready to be set up as if it were a brand-new device.
Q2: Will Resetting My Camera Delete My Video History?
No, resetting your Nest Camera will not delete your saved video history. All recorded footage is stored in the cloud associated with your Nest Aware subscription, not on the camera itself. Even after a factory reset, you can still access your past recordings through the Nest or Google Home app. The reset only affects the device’s settings and its connection to your account, leaving your cloud-based data untouched.
Q3: Why Is My Nest Camera Not Resetting?
If your Nest Camera isn’t resetting, there could be a few reasons. The most common issue is not holding the reset button down long enough. You must wait for the camera to give a clear signal, like a spinning yellow light or a chime, before releasing it. Another potential problem is an unstable power supply; ensure the camera is securely plugged in throughout the process. If it still fails, there may be a hardware issue with the reset button itself, in which case you might need to contact Google support for further assistance.
Q4: Do I Have to Reset My Camera if I Change My Wi-Fi Password?
You do not need to perform a full factory reset just to update your Wi-Fi information. Instead, you can update the network settings directly through the Nest app. The app provides an option to update Wi-Fi settings on your camera. You simply follow the prompts to connect the device to your new network or enter the updated password. A factory reset should be reserved as a last resort for troubleshooting more complex issues.
Conclusion
Resetting your Google Nest Camera is a powerful and effective way to resolve persistent technical problems and restore it to optimal performance. By following these seven detailed steps on how to reset google nest camera, you can confidently perform a factory reset on your own without needing professional help or incurring any costs.
From locating the reset button to re-adding the device in the app, the process is designed to be straightforward. With your camera now freshly configured, you can once again rely on it for your home security needs.