

Are you wondering what the knock sensor in your car is and how to reset it? Look no further!
A knock sensor monitors the engine’s performance by detecting vibrations caused by pre-detonation or knocking within the cylinders. When the knock sensor detects a problem, it sends a signal to the engine control unit (ECU) to make adjustments and prevent potential damage. However, there may be instances where the knock sensor needs to be reset to ensure it is functioning correctly or after repairs have been completed.
How to reset knock sensor is a straightforward process that can help maintain optimal engine performance and prevent further issues. This guide will take you through the steps to reset your knock sensor effectively.
What Are the Benefits of Resetting a Knock Sensor?
Resetting the knock sensor can provide several benefits for your vehicle, including:
- Improved Engine Performance: A properly functioning knock sensor can help improve your engine’s overall performance by detecting and preventing knocking or pre-ignition.
- Prevent Potential Damage: A faulty or malfunctioning knock sensor can fail to detect engine knocking, leading to severe damage if left unaddressed. Resetting it can ensure it is working correctly and prevent any potential harm.
- Cost Savings: By resetting a knock sensor, you may avoid costly repairs resulting from an undetected issue with the sensor.
What Will You Need?
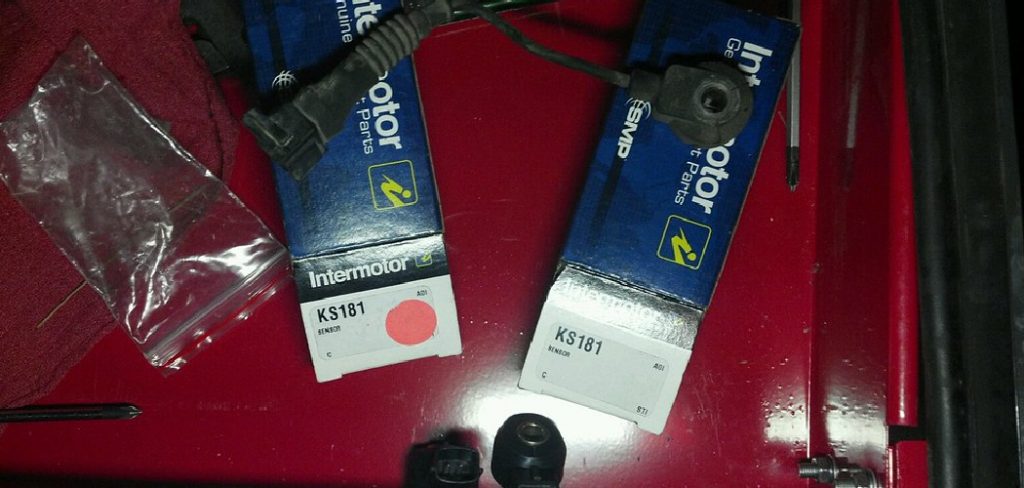
To reset your knock sensor, you will need:
- A socket wrench set
- A repair or service manual specific to your vehicle’s make and model
- Basic knowledge of your vehicle’s engine components and wiring system
It is essential to consult a professional mechanic or refer to the service manual before attempting any repairs on your car. Specialized tools or techniques may be required for certain vehicles. If you are not confident in your abilities, it is best to seek assistance from a trained technician.
8 Easy Steps on How to Reset Knock Sensor
Step 1. Locate the Knock Sensor
The knock sensor is typically located on the engine block, cylinder head, or intake manifold, depending on your vehicle’s make and model. Its function is to detect unusual vibrations caused by pre-ignition or engine knocking, which can lead to severe engine damage.
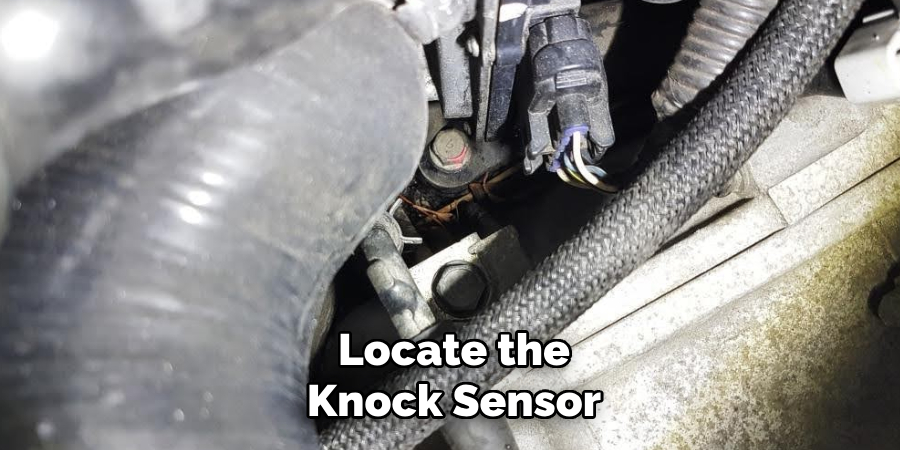
To locate the sensor, refer to your vehicle’s service manual for precise details. Look for a small, circular component connected to the engine by a wire harness. Ensure the engine is completely off and has cooled down to prevent burns or accidental damage while locating the sensor. Take note of its position, as you will need to return to this spot during later steps.
Step 2: Disconnect the Knock Sensor
Carefully disconnect the wire harness attached to the knock sensor. Gently press on the release tab of the connector and pull it straight out to avoid damaging the wires. If the connector is difficult to remove, use a pair of needle-nose pliers, but be cautious not to apply excessive force. Ensure the area around the sensor is debris-free to prevent contamination during the replacement process.
Step 3: Remove the Knock Sensor
Carelessly unscrew the knock sensor from its mounting location using a socket wrench or the appropriate tool. Turn the sensor counterclockwise to loosen it. Be mindful of the surrounding components to avoid causing damage. Once the sensor is fully unscrewed, gently remove it from the engine. Inspect the area for any signs of wear, corrosion, or buildup that could interfere with the installation of the new sensor.
Step 4: Install the New Knock Sensor
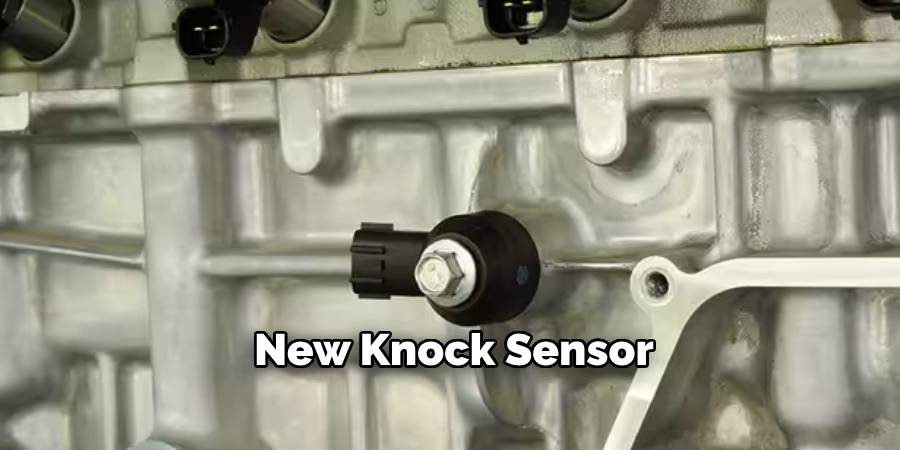
Take the new knock sensor and align it with the mounting location. Carefully thread it in by hand to ensure it is properly seated and not cross-threaded. Once the sensor is in place, use a socket wrench or appropriate tool to tighten it securely, but do not overtighten it, as this could damage the sensor or the mounting area. Double-check the positioning to ensure it is aligned correctly before proceeding to the next step.
Step 5: Reconnect the Wiring Harness
Locate the wiring harness connector that was previously disconnected. Inspect it for any signs of wear, corrosion, or damage, as issues in the connector can impede the functionality of the new knock sensor. If there is dirt or debris, clean it carefully with a soft brush or compressed air to ensure a reliable connection.
Once it is ready, align the harness with the sensor’s connector and gently press it into place until you hear or feel a click, indicating it is securely connected. Ensure there is no tension on the wires and that they are properly routed to prevent interference with other engine components. Double-check the connection for a snug and accurate fit to maintain optimal sensor performance.
Step 6: Test the Sensor Functionality
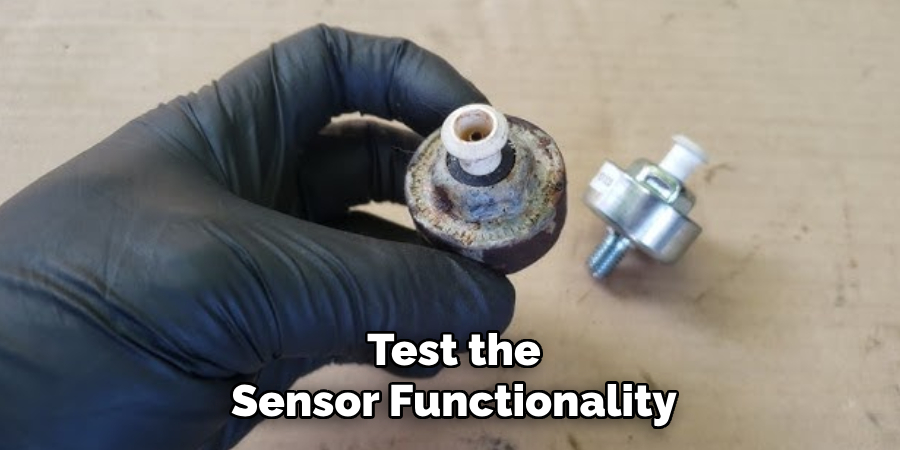
With the harness securely connected, turn on the vehicle’s ignition without starting the engine. Use a diagnostic tool to check for any error codes linked to the sensor. The sensor will likely function correctly if the tool reads normal parameters and no codes are present. Additionally, start the engine and observe its performance to ensure smooth operation. If any issues persist, re-inspect the installation and wiring before seeking professional assistance.
Step 7: Reassembly
Once the sensor functionality has been verified, carefully reassemble any components that were removed during the installation or inspection process. Ensure all connections are tight and properly secured. Double-check for loose wires, bolts, or harnesses before closing the hood. Finally, a short test drive will confirm that the vehicle operates smoothly and that the sensor improvements are adequate.
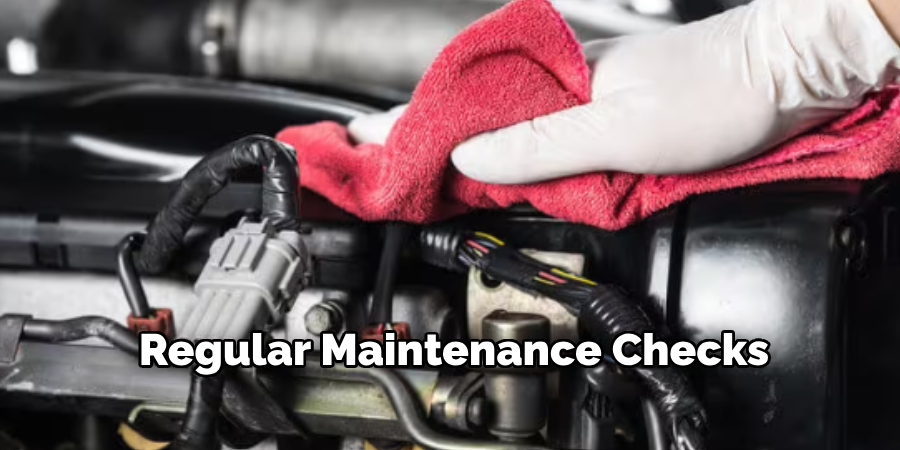
Step 8: Maintenance and Follow-Up
Schedule regular maintenance checks to ensure the sensor’s long-term efficiency and the vehicle’s overall performance. Inspect the sensor periodically for wear, dirt accumulation, or damage. Clean or replace the sensor as needed based on the manufacturer’s recommendations. Staying proactive with maintenance can prevent potential issues and extend the lifespan of the sensor and other related components.
By following these simple tips, you can ensure effective performance and accurate data from your vehicle’s sensors.
5 Things You Should Avoid
- Ignoring the Check Engine Light: If your vehicle’s check engine light is illuminated, resetting the knock sensor without addressing the underlying issue can lead to further engine problems. Always diagnose and resolve the root cause before proceeding.
- Using Incorrect Tools: Attempting to reset or replace the knock sensor with improper tools can damage the sensor or surrounding components. Ensure you have the right tools and follow the manufacturer’s guidelines.
- Disconnecting the Battery Without Precaution: While disconnecting the battery may reset some systems, doing so without proper preparation can erase important data and settings or cause electrical issues.
- Neglecting to Update the Vehicle’s Software: Some vehicles may require software updates or reprogramming after resetting the knock sensor. Skipping this step could lead to inaccurate readings or persistent issues.
- Forgetting to Verify the Repair: Resetting the knock sensor without thoroughly testing or confirming the repair can result in recurring errors. Always perform tests to verify that the sensor functions correctly and the problem is fully resolved.
Will Disconnecting the Battery Reset the Knock Sensor?
Disconnecting the battery can sometimes reset the knock sensor, but this method may not always work. It is recommended to consult a mechanic or refer to the vehicle’s manual for specific instructions on resetting the knock sensor properly. Sometimes, it may be necessary to clear error codes and perform additional steps to reset the sensor correctly. Following manufacturer guidelines and precautions is essential when resetting any vehicle component. Overall, disconnecting the battery should only be done as a last resort and under proper guidance.
Additionally, simply resetting the knock sensor may not fully address underlying issues that could have caused it to malfunction in the first place. Regular maintenance and addressing potential engine problems can help prevent future issues with the knock sensor.
It is also important to note that some vehicles may have multiple knock sensors. In this case, each individual sensor should be checked and reset if necessary. It is recommended to consult a mechanic or refer to the vehicle’s manual for specific instructions on locating and resetting the knock sensors.
Can a Car Run Without a Knock Sensor?
While technically a car can still run without a functioning knock sensor, it is not recommended. The knock sensor is important in ensuring the engine runs smoothly and efficiently. Without a working knock sensor, the engine may experience knocking or pinging noises, decreased performance and fuel efficiency, and even potential damage to the engine over time.
Moreover, modern cars have advanced computer systems that rely on data from various sensors, including the knock sensor. A malfunctioning knock sensor can cause these systems to function improperly, potentially leading to more serious issues with the car’s overall performance and safety.
Conclusion
How to reset knock sensor typically involves addressing the underlying issue that caused it to malfunction.
First, ensure that the knock sensor itself is properly installed and free from damage. If necessary, replace the sensor with a new one that complies with your vehicle’s specifications. Next, use an OBD-II scanner to clear any diagnostic trouble codes (DTCs) stored in the vehicle’s computer system, effectively resetting the system. Additionally, it’s essential to inspect related components, such as wiring, connectors, and the engine control module (ECM) for potential issues. After completing the necessary repairs and resetting procedures, test the vehicle to confirm that the problem has been resolved.
Always consult your vehicle’s manual or a professional mechanic for guidance tailored to your car model.