

LiftMaster keypads are an essential tool for modern garage security and convenience, allowing you to access your garage without needing a remote. These keypads provide a seamless experience for homeowners, combining ease of use with enhanced security measures. However, there are times when you might find yourself needing to reset the keypad. Common reasons include forgetting the entry code, encountering a malfunction, or simply wanting to change the access code to ensure better security.
Understanding how to reset LiftMaster keypad correctly is crucial for resolving such issues efficiently and avoiding unnecessary frustration. This article serves as a straightforward, step-by-step guide to help you reset your LiftMaster keypad. Whether you’re troubleshooting a problem or updating your access code, this guide will walk you through the process with clear instructions to ensure a smooth experience.
Understanding the LiftMaster Keypad
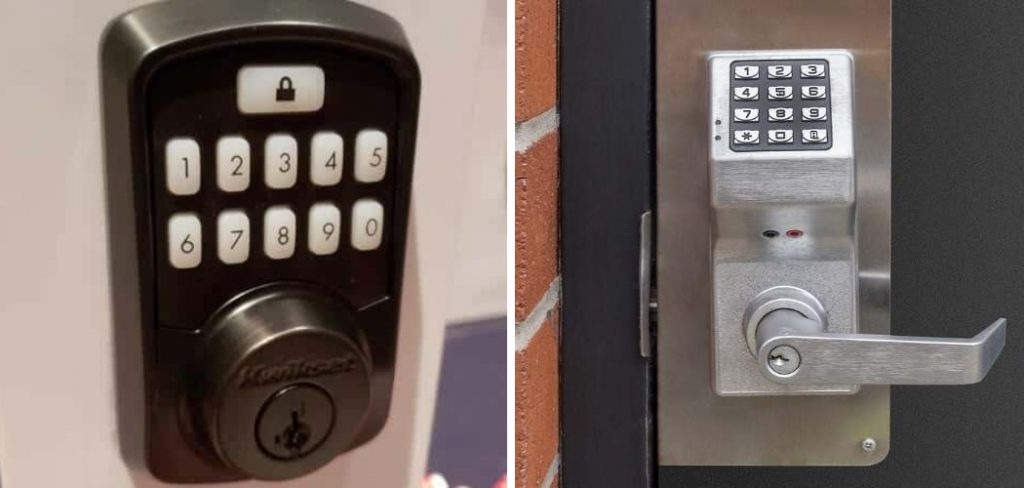
The LiftMaster keypad is a convenient, battery-powered, wireless entry system designed to enhance the functionality of your garage door opener. It is commonly equipped with a user-friendly 4 to 6-digit PIN code, making it simple to access your garage without needing a remote or key. Known for its reliability and ease of use, the keypad is an essential part of modern garage security.
Keypad Features
- Battery-Powered: Operates using replaceable batteries, ensuring consistent performance without hardwiring.
- Wireless Entry System: Allows for remote access without needing a physical connection to the garage opener.
- Customizable PIN: Typically provides the option to set a 4 to 6-digit access code that is easy to remember and personalize.
When to Reset the Keypad
Resetting your LiftMaster keypad may become necessary under several circumstances:
- After Purchasing a New Home: Remove previous access codes for added security.
- Lost or Forgotten PIN: Regain control over your garage access by resetting the code.
- Keypad Malfunction: Resolve issues caused by technical glitches or wear and tear.
- Security Reasons: Regularly update your access code to preserve the safety of your home.
Compatibility
Before resetting, verify that your LiftMaster keypad is compatible with your garage door opener model. Consult the user manual or manufacturer’s website to confirm compatibility and avoid potential issues during resetting.
Materials and Tools Needed
Before beginning the process of resetting your LiftMaster keypad, ensure you have the following items and tools ready for a smooth and efficient reset:
Items Required
- LiftMaster Keypad: Ensure it has batteries installed and is functioning properly.
- Garage Door Opener Remote (Optional): Handy in case you need to reset the opener or verify compatibility.
Tools
- Ladder (If Needed): To comfortably reach the garage door opener unit mounted on the ceiling.
- Screwdriver (Optional): Some models may require access to the cover or specific parts of the opener, which might need a screwdriver.
- Pen and Paper (Optional): Use this to record your new access code for future reference, eliminating the need to reset the keypad again unnecessarily.
Preparing these materials and tools beforehand will help streamline the resetting process and minimize interruptions. Make sure to work in a well-lit area and follow safety precautions, especially when using a ladder or handling tools.
How to Reset Liftmaster Keypad: Resetting Process
Resetting your LiftMaster keypad is a straightforward process when following these steps. Ensure you have all the necessary tools and work in a safe environment before beginning.
Step 1: Locate the ‘Learn’ Button on the Opener
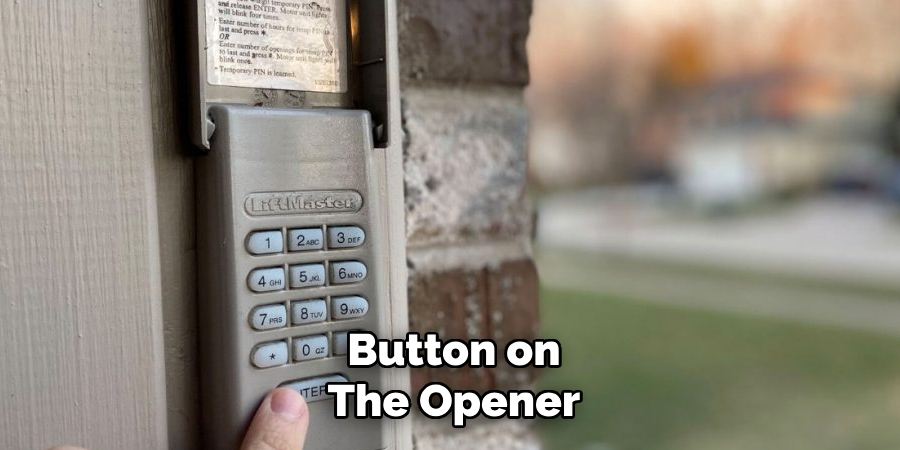
Find the “Learn” button on your LiftMaster garage door opener. Depending on the model, this is usually located near the hanging antenna wire or on the back of the unit. The “Learn” button is essential for pairing or resetting the keypad, so make sure it is easily accessible.
Step 2: Clear Existing Codes on the Keypad
To prepare the keypad for a new code, you need to clear the existing settings. Press the “Program” or “Learn” button on the keypad until the LED light turns off. This indicates that all previous codes have been erased, and the device is ready for reprogramming.
Step 3: Reprogram the Keypad
After erasing the old code, press and release the “Learn” button on the garage door opener. The button’s LED light will turn on, signaling it’s in programming mode. Within 30 seconds, create and enter your new access code on the keypad and hold the “Enter” button until the garage door opener lights flash. This flashing confirms that the new code has been successfully programmed.
Step 4: Test the New Code
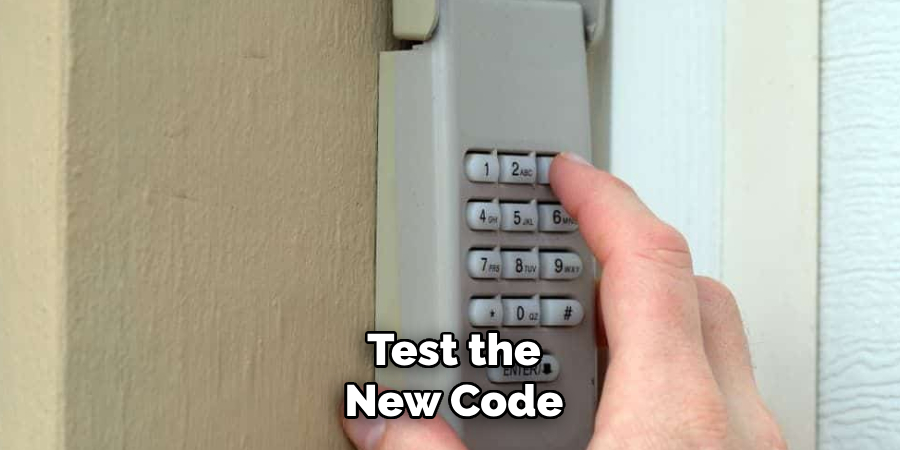
Test the keypad by entering the newly programmed code to ensure the process was successful. The garage door should open or close without any issues. If it does not work, repeat the steps to verify proper programming.
Changing the Access Code
Step 1: Access the Keypad
Ensure the keypad is powered on and properly aligned with the garage door opener. Begin by locating the “Program” button on the keypad. Note that this button may be small and recessed, requiring you to use a pen or similar tool to press it.
Step 2: Entering a New Code
Press and hold the “Program” button until the keypad’s LED blinks. Once the LED blinks, the keypad is ready to accept a new code. At this point, enter the new 4-digit or 6-digit code that you wish to use. Ensure the digits are entered carefully to prevent errors.
Step 3: Pairing the Keypad with the Opener
Within 30 seconds of entering the new code, locate and press the “Learn” button on your garage door opener’s motor unit. The “Learn” button is often found near the antenna wire or under a light cover. Once pressed, return to the keypad, input the newly set code, and press the “Enter” button.
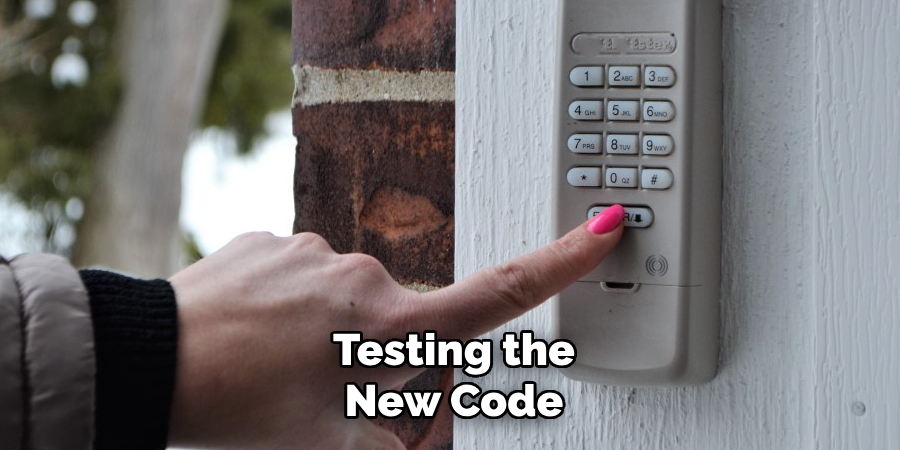
Step 4: Testing the New Code
Test the garage door by entering the new code on the keypad to confirm the code has been successfully changed. The door should open or close as expected. If it does not respond, repeat the above steps to ensure that both the keypad and the opener have been properly programmed.
Troubleshooting Common Problems
The Keypad Doesn’t Respond
If your keypad doesn’t respond when you enter the code, start by ensuring the keypad has fresh batteries, as depleted batteries are a common cause of malfunction. Also, check that the keypad is within range of the garage door opener. If these factors are not the issue, double-check the access code to ensure that it matches the programmed code and verify that you’re pressing the correct buttons in the correct order.
Keypad Blinks but Won’t Open the Door
When the keypad blinks but the door doesn’t open or close, it could indicate an issue with the programming. Make sure you followed the steps to set the new code properly. Specifically, confirm that the “Learn” button on the garage door opener was pressed within 30 seconds while programming the code. Repeat the process if necessary to ensure the code was successfully saved.
Error Message or LED Issues
If you notice blinking LED indicators or error messages on the keypad, these could pinpoint specific problems with the system. Refer to the troubleshooting section of your LiftMaster manual for further guidance. If the issue persists, you may need to reset the system entirely by clearing the code and reprogramming it from the beginning.
Resetting the LiftMaster Keypad Using a Universal Method
Step 1: Reset the Opener Unit
On certain LiftMaster models, it may be necessary to reset the opener unit before addressing the keypad. To do this, locate the “Learn” button on the opener unit, usually found on the back or side panel. Press and hold the “Learn” button for approximately 6 seconds or until the LED light on the unit turns off. This step clears all existing codes memorized by the opener unit, providing a clean slate for reprogramming.
Step 2: Reprogram the Keypad
Once the opener unit has been reset, you can reprogram the keypad. Follow the same reprogramming process as outlined in the previous section. This usually involves entering the desired code on the keypad and pairing it with the opener unit by pressing the “Learn” button again. Ensure you follow these steps within the given time frame to establish the new code successfully.
Step 3: Testing the New Code
After reprogramming, test the keypad to verify the new code is functioning properly. Enter the newly programmed code and activate the garage door. The reset and reprogramming process succeeded if the door opens or closes as expected. Repeat the steps carefully if issues arise, or consult the LiftMaster manual for further assistance.
Maintaining the Keypad for Long-Term Use
Regular Battery Changes
Change the batteries in your keypad regularly to ensure it operates without issues. Weak or dead batteries can interfere with functionality, so replacing them as needed will help maintain consistent performance. Refer to your user manual for the recommended battery type and replacement procedure.
Keep the Keypad Clean
Clean the keypad with a soft cloth and a mild cleaning solution to remove dirt and debris that can accumulate over time. Avoid using abrasive cleaners or harsh chemicals, as these can damage the keypad’s surface or compromise its durability.
Check for Firmware Updates (If Applicable)
Some LiftMaster keypad models may offer firmware updates to enhance functionality and improve security features. Regularly check the LiftMaster website or consult the product manual for any available updates and instructions on applying them. Keeping your keypad updated ensures optimal performance and protection against potential security risks.
Conclusion
Resetting and reprogramming your LiftMaster keypad is straightforward when following the key steps. Start by locating the “Learn” button on your garage door opener, then erase any old codes to ensure security. Next, enter your new unique access code to complete the process. Troubleshooting common issues can address most problems, but if they persist, consult the LiftMaster manual or contact customer support for assistance. Remember, keeping your keypad secure with a unique code is crucial for protecting your home. For further guidance, refer to detailed instructions on how to reset LiftMaster keypad models effectively.