

Understanding how to reset o2 sensor drive cycle chevy is crucial for maintaining optimal vehicle performance and meeting emissions standards. The oxygen or O2 sensor is critical in monitoring the air-to-fuel ratio and ensuring the engine runs efficiently. Over time, issues like fault codes and disconnections can disrupt the sensor’s performance, necessitating a reset to restore normal functioning.
Performing a proper O2 sensor drive cycle is both a preventative and corrective measure, ensuring the system operates as intended and complies with environmental regulations. This guide provides a step-by-step procedure to reset the O2 sensor drive cycle in a Chevy, troubleshoot common issues, and understand when professional assistance may be required. Whether preparing for an emissions test or ensuring your engine is running smoothly, following these instructions carefully will help maintain your vehicle’s health.
Understanding the O2 Sensor Drive Cycle
What Is an O2 Sensor Drive Cycle?
An O2 sensor drive cycle refers to a series of specific driving conditions that allow the Engine Control Unit (ECU) to evaluate the performance of the oxygen sensor and related systems. During the cycle, the ECU monitors the air-to-fuel ratio, exhaust emissions, and overall engine efficiency to ensure that the O2 sensor functions correctly. These tests are vital for maintaining optimal engine performance and meeting emissions standards.
Purpose of the Drive Cycle
The drive cycle serves as a diagnostic tool for verifying the proper operation of the oxygen sensor and other emissions-related components. Completing this cycle helps identify any residual issues that may not trigger fault codes, ensuring the system operates efficiently. It also helps the ECU recalibrate and “learn” from the data provided by the sensor, improving overall performance and fuel economy.
When to Perform a Drive Cycle
After replacing the oxygen sensor, clearing diagnostic trouble codes, or disconnecting the vehicle’s battery, a drive cycle should be completed. These actions reset the ECU’s monitoring system, requiring the drive cycle to restore normal functionality. A complete cycle is also necessary before external inspections, such as emissions testing, to confirm that all systems are in working order.
Preparation Before Resetting the Drive Cycle
Preparing properly before resetting the drive cycle is essential to ensure accurate system diagnostics and optimal vehicle performance. Below are the key steps to take before starting the process:
Check for Pending Issues
Use an OBD2 scanner to verify there are no unresolved diagnostic trouble codes apart from those related to the oxygen sensor. Address any other issues that may interfere with completing the drive cycle successfully.
Ensure Proper Fuel Levels
For the drive cycle to yield reliable data, it’s critical to maintain the gas tank between 1/4 and 3/4 full. This range ensures the fuel system operates under ideal conditions required for effective diagnostics.
Warm Up the Engine
Allow the vehicle’s engine to reach its normal operating temperature. A warm engine ensures all components are functioning as intended and facilitates accurate ECU monitoring during the drive cycle.
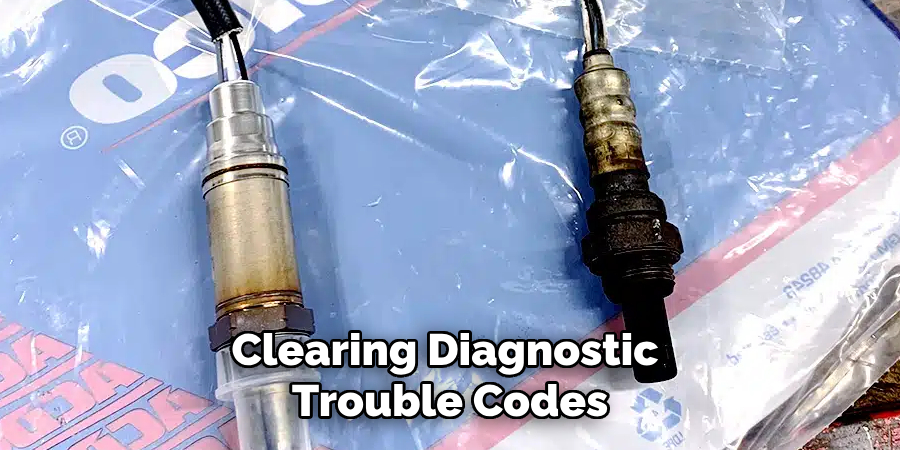
Clear Previous Codes
Using an OBD2 scanner, clear any existing fault codes stored in the ECU. Clearing these codes resets the system, allowing the drive cycle to provide fresh data without interference from outdated errors.
How to Reset O2 Sensor Drive Cycle Chevy: Steps to Perform the Drive Cycle
Step 1: Cold Start
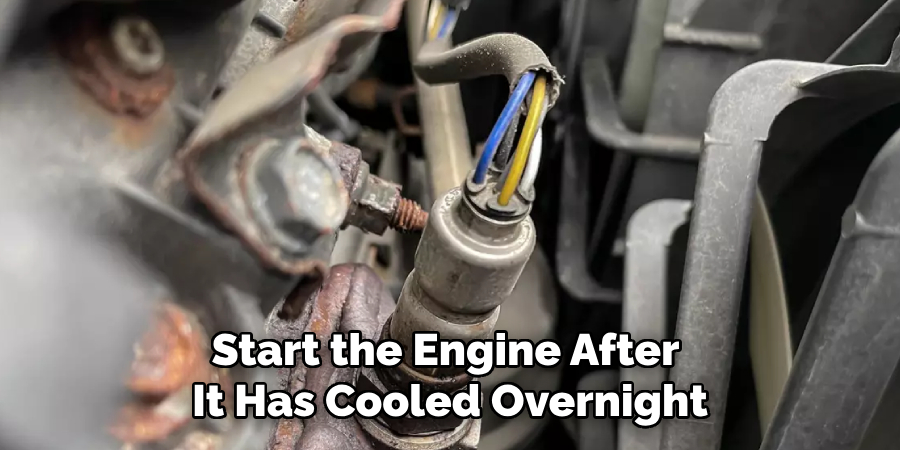
Start the engine after it has cooled overnight. Ensure the vehicle has not been running for several hours to allow the engine and exhaust system to cool completely. Do not press the accelerator during startup. Allow the engine to idle for 2-3 minutes until it stabilizes at normal idle speed. This step is crucial for initializing the drive cycle under optimal starting conditions.
Step 2: Drive at Steady Speeds
Drive at a consistent speed of 50–60 mph for about 20 minutes. Aim to use a highway or a similar road where you can maintain a steady speed without interruptions. During this stage, avoid sudden acceleration, braking, or fluctuating speeds, as steady throttle input is critical for accurate sensor calibration and ECU evaluation.
Step 3: Stop-and-Go Driving
Spend approximately 10 minutes driving in stop-and-go traffic conditions. Incorporate light acceleration and deceleration to simulate urban driving scenarios. This allows various systems, such as the oxygen sensor and catalytic converter, to engage under different conditions and ensures a comprehensive evaluation of their performance.
Step 4: Idle Period
Park the car in a safe and open area, and leave the engine idling for about 5 minutes. Avoid using any vehicle accessories such as air conditioning or defrosters during this time. This idle period is important to monitor how the vehicle behaves stationary and ensure all diagnostic systems have been tested.
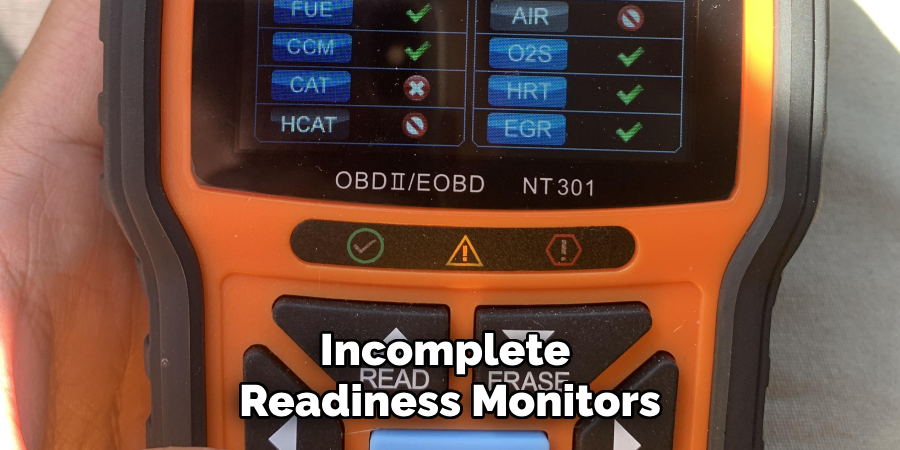
Step 5: Check Readiness Monitors
Finally, an OBD2 scanner will confirm that all emission-related readiness monitors are set to a “Ready” state. If any monitors are still incomplete, it may indicate that the drive cycle was not performed correctly or that additional driving under specific conditions is required. Address any remaining issues as needed before proceeding.
Common Issues During the Drive Cycle
Check Engine Light Reappears
If the check engine light reappears during or after the drive cycle, it typically indicates unresolved issues with a sensor or another component of the vehicle’s emission system. This may require further diagnostics using an OBD2 scanner to identify the specific fault code(s). Addressing these issues promptly is crucial to prevent further emissions problems or damage to vehicle systems.
Incomplete Monitors
Incomplete readiness monitors are often the result of not following the drive cycle precisely or skipping certain steps. For example, failing to include sufficient idling or not maintaining consistent speeds during the driving phases can leave some monitors untested. Ensure all steps in the cycle are performed under the proper conditions stated in the procedure. If monitors remain incomplete, reviewing the specific requirements for your vehicle’s make and model may be necessary.
Fuel Level Problems
Fuel level plays a key role in the system’s ability to test specific components. An excessively low or high fuel level can interfere with evaluations, such as those involving the EVAP (Evaporative Emission Control) system. Keeping the fuel tank between 30% and 70% full is generally recommended to allow proper operation of all tests. Regular checks on fuel level before performing the drive cycle can save time and ensure smoother diagnostics.
Tips for a Successful Drive Cycle
Avoid Aggressive Driving
Maintaining smooth acceleration and braking is crucial during the drive cycle. Abrupt driving behaviors can disrupt the system’s ability to complete its checks effectively. Drive steadily to ensure the monitors have the optimal conditions to reset.
Monitor Environmental Conditions
Performing the drive cycle during moderate weather conditions is ideal. Extreme hot or cold temperatures can affect the tests, particularly systems like the EVAP monitor. Choosing a time when the weather is mild helps avoid unnecessary complications.
Repeat if Necessary
It’s not uncommon for certain systems to require multiple drive cycles to reset fully. If the monitors remain incomplete after the first attempt, don’t hesitate to repeat the process. Carefully following the required steps during subsequent cycles will increase the likelihood of success and ensure proper functionality.
When to Seek Professional Help
Even with careful execution of a drive cycle, there are instances where professional assistance becomes necessary.
Persistent Fault Codes
If the O2 sensor drive cycle fails repeatedly and fault codes persist despite following the recommended steps, it’s time to consult a mechanic. A trained professional can perform advanced diagnostics and identify the underlying cause.
Complex Sensor Issues
Modern vehicles utilize intricate electronic systems, and resolving O2 sensor problems may require expertise in these complex mechanisms. Technicians have the tools and knowledge needed to accurately pinpoint and repair such issues.
Emissions Test Failures
If your vehicle fails an emissions test, seeking professional help is critical. A qualified mechanic can ensure all systems are compliant with state regulations, preventing further test failures and avoiding potential fines or fees.
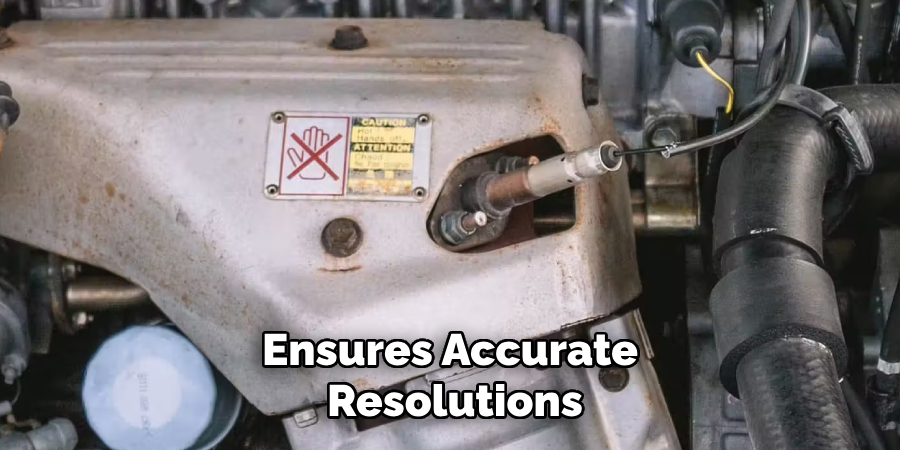
Professional evaluation ensures accurate resolutions, saving time and effort while safeguarding the vehicle’s performance and environmental compliance.
Conclusion
Resetting the O2 sensor drive cycle is essential for maintaining engine efficiency and meeting emissions standards. Properly following the outlined steps ensures that your vehicle’s systems stay optimized, reducing the risk of performance issues and test failures. If persistent problems arise, addressing them promptly is crucial to avoid further complications. Utilizing tools like an OBD2 scanner allows you to monitor the system’s health regularly and prevent potential issues. For Chevy owners, understanding how to reset O2 sensor drive cycle Chevy vehicles is key to keeping your car running smoothly and remaining compliant with regulations. Practice regular care for optimal results.