
Are you having trouble with your sensor lights? Have you tried turning them off and on, but the problem persists? In some cases, a simple reset can fix the issue.

Sensor lights are essential in many homes and businesses, offering convenience, energy efficiency, and added security. However, like any electronic device, they may occasionally malfunction or need reset to ensure proper functioning. Whether your sensor light is stuck in the “on” position, not turning on at all, or behaving erratically, resetting it can often resolve these issues.
This guide on how to reset sensor lights will walk you through the steps to safely and effectively reset your sensor lights, restoring their optimal performance. Let’s start with the basic troubleshooting steps before resorting to a reset.
What Are the Causes of Malfunctioning Sensor Lights?
There are several reasons why your sensor lights may be malfunctioning, including:
- Dirty or Obstructed Sensors: If the sensors on your light are dirty or blocked by debris, they can have trouble detecting movement and properly turning on and off. Regularly cleaning and maintaining your sensors can prevent this issue.
- Low Battery: Like any other electronic device, sensor lights also require power. If the batteries in your light are running low, it may not work correctly.
- Interference from External Sources: External sources such as nearby lights or reflective surfaces can sometimes interfere with the sensors’ ability to detect motion correctly.
- Damaged Wiring or Components: Sometimes, sensor lights may malfunction due to damaged wiring or internal components. This can be caused by weather elements or physical impact.
What Will You Need?
To troubleshoot and fix a motion sensor light, you will need the following items:
- Replacement batteries (if necessary)
- Screwdriver (to access the internal components if required)
- Electrical tape (in case of damaged wiring)
- Spare parts (such as a new sensor or light bulb)
- A ladder or step stool can reach the light if mounted high up.
It is always a good idea to have spare parts on hand in case any of the components need to be replaced. This will save you time and frustration in trying to find the right replacement part when faced with a malfunctioning motion sensor light.
9 Easy Steps on How to Reset Sensor Lights
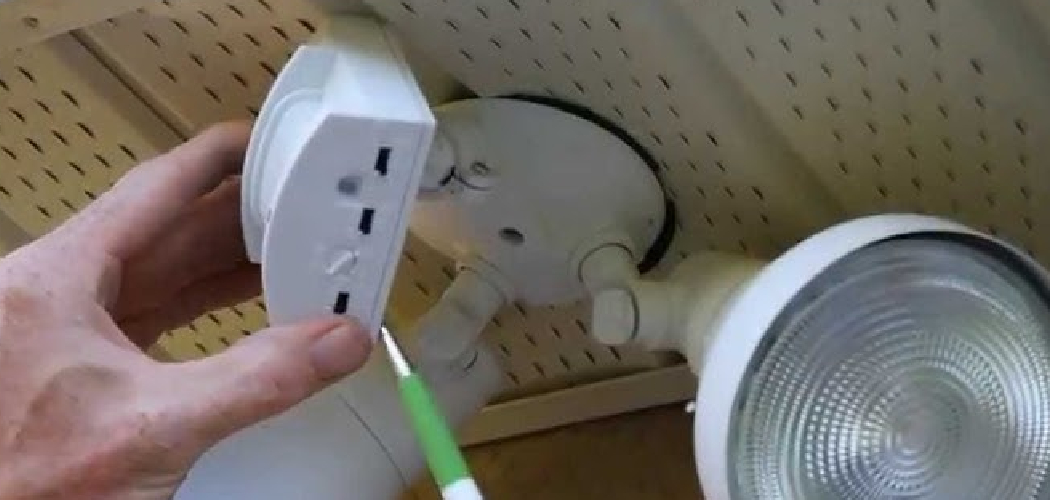
Step 1: Turn Off the Power
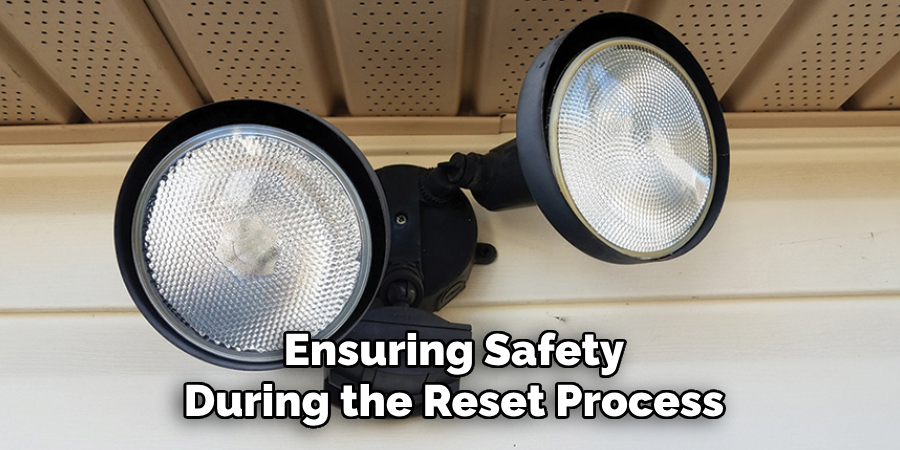
First, locate the circuit breaker or switch that controls the power supply to the motion sensor light. Carefully turn it off to avoid any possibility of electrical shock while working with the fixture. This step is crucial for ensuring safety during the reset process. If unsure which breaker controls the light, test each one methodically until the correct circuit is identified, or consult your electrical panel’s labeling for guidance.
Once the power is off, wait at least 30 seconds to a minute to allow the internal components of the motion sensor light to power down fully. This pause ensures that the system can reset completely without retaining any prior settings or errors. After this waiting period, you’ll be ready to move on to the next step in resetting your sensor light.
Step 2: Restore Power to the Light
Turn the circuit breaker or power switch back on after ensuring that the motion sensor light has been properly powered down. This reintroduces electricity to the device and allows it to initiate a new power cycle. Once the light receives power, it may flash briefly or turn on for a moment—this is normal and indicates that the system is rebooting. The motion sensor light should be reset and ready for testing or adjustment at this stage.
Step 3: Test the Motion Sensor Light
Once the power has been restored and the motion sensor light has completed its reboot cycle, it’s time to test its functionality. Walk before the light’s sensor to check if it activates as expected. Ensure the light turns on when motion is detected and off after the pre-set duration. If the light does not respond appropriately, adjust the sensor’s sensitivity, range, or timer settings according to the manufacturer’s guidelines. Repeat the process until the motion sensor light operates seamlessly.
Step 4: Finalize Installation and Secure Components
Once the motion sensor light is working correctly, double-check that all screws, mounts, and other components are securely fastened. Ensure the wiring is enclosed correctly and weatherproofed if the light is installed outdoors. This step is critical to maintain the durability and safety of the fixture over time. Afterward, clean the light’s surface to remove any debris or fingerprints from the installation process. Your motion sensor light is now ready to provide reliable lighting and enhanced security.
Step 5: Regularly Check the Batteries:
To ensure your motion sensor light operates efficiently, it’s essential to check and replace its batteries regularly. Over time, batteries can lose their charge, which may result in diminished performance or complete failure of the light. It’s a good practice to inspect the batteries every few months, especially if the light is used frequently or installed in areas with extreme temperatures, as these conditions can drain the battery faster.
When checking the batteries, ensure you use the correct type recommended by the manufacturer, as incompatible batteries may damage the unit or reduce its lifespan. If the batteries show corrosion or leakage, replace them immediately and clean the compartment to avoid further issues. By staying proactive with battery maintenance, you can keep your motion sensor light functioning optimally for years to come.
Step 6: Adjusting Motion Sensor Sensitivity
The sensitivity of your motion sensor determines how easily it detects movement and triggers the light. Adjusting the sensitivity is crucial for optimizing the light’s performance and avoiding unnecessary activations. If the sensor is set too high, small movements, such as leaves blowing in the wind or small animals passing by, may trigger the light. On the other hand, if the sensitivity is set too low, the sensor might not detect motion effectively, leaving areas of your property unlit when needed.
To adjust the sensitivity, locate the corresponding dial or setting on your motion sensor light. Typically, this adjustment can be made by turning the dial according to the marked levels or scale. Begin with a moderate setting and test the sensor by walking through the detection zone. Gradually increase or decrease the sensitivity based on your specific requirements.
Step 7: Inspect and Maintain Your Motion Sensor Light

Regular inspection and maintenance of your motion sensor light ensure it continues to function optimally and lasts for years. Start by checking the light fixture for any dirt, dust, or debris buildup, which can interfere with the sensor’s ability to detect motion accurately.
Clean the lens gently with a soft, damp cloth to maintain its clarity. Additionally, inspect the wiring and connections for any signs of wear or corrosion, especially if the light is installed outdoors and exposed to the elements.
It’s also essential to periodically test the motion detection range and sensitivity settings. Changes in environmental factors, such as overgrown shrubs or shifting light fixtures, might necessitate adjustments to maintain accurate coverage. If your motion sensor light utilizes batteries, check them regularly and replace them as needed to avoid unexpected functionality issues. By staying proactive with maintenance, you can ensure your motion sensor light remains a reliable and efficient part of your property.
Step 8: Keep an Eye on Any Potential Obstructions
It’s important to regularly check for any changes in your motion sensor light’s surroundings. Obstructions such as overgrown plants or objects moved into the detection range can affect its performance and accuracy.
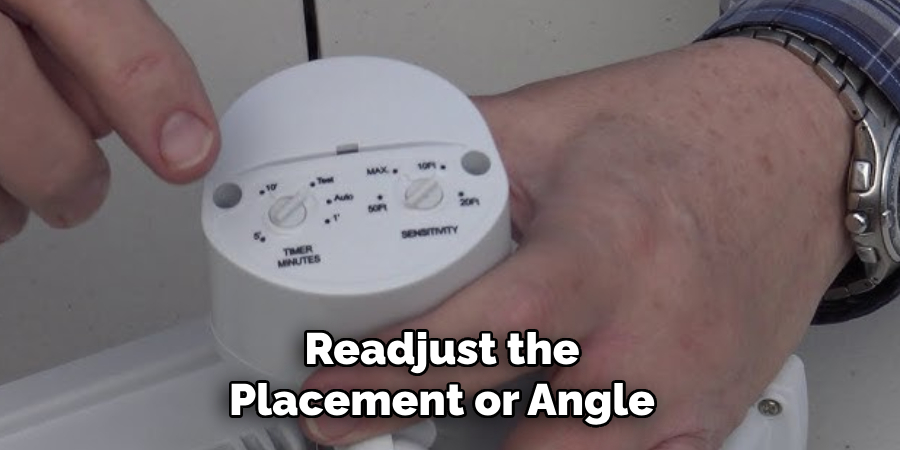
If you notice any changes, take the time to readjust the placement or angle of your motion sensor light as needed. This will help maintain efficient coverage and prevent false alarms.
Step 9: Consider Using Multiple Motion Sensor Lights for Larger Areas
For larger properties or areas with extensive coverage needs, installing multiple motion sensor lights may be beneficial. This can help evenly distribute the detection range and ensure all areas are adequately covered.
In addition, having multiple lights also adds an extra layer of security and deterrence for potential intruders.
However, it is important to avoid overlapping coverage between the lights as this can cause confusion and potentially trigger false alarms. Consult with a professional or refer to the manufacturer’s guidelines for optimal placement and coverage range.
Homeowners can enhance their overall safety and peace of mind by following these tips and understanding the benefits of having multiple lights in a security system.
5 Things You Should Avoid
- Ignoring the Manufacturer’s Instructions
Every sensor light model is different, and resetting it without consulting the manufacturer’s manual can lead to improper functioning or permanent damage.
- Resetting Without Turning Off the Power
Always ensure the power supply to the sensor light is turned off at the circuit breaker before attempting a reset to avoid electrical hazards or accidental shocks.
- Forgetting to Test After Resetting

Once the reset is complete, neglecting to test the light can create issues later, as you won’t know if the process worked or if further troubleshooting is needed.
- Resetting Too Frequently
Constantly resetting the sensor light can wear out its internal components and reduce its lifespan. Only reset when necessary, such as when the light isn’t functioning correctly.
- Overlooking Environmental Factors
Environmental factors such as extreme temperatures, debris, or obstructions affect the sensor light’s performance. Resetting the light without addressing these issues could result in ineffective operation.
Conclusion
How to reset sensor lights is a straightforward process, but it should be done with caution to ensure the longevity and proper functionality of the device.
Before proceeding, always diagnose potential environmental factors or technical issues affecting the light. Follow the manufacturer’s instructions carefully, and avoid unnecessary resets to minimize wear on the system.
With proper care and understanding, you can effectively maintain and optimize the performance of your sensor lights.