

Are you having trouble resetting your tamper alarm and feeling frustrated? You’re not alone. Resetting a tamper alarm can be tricky and confusing if you don’t have the proper instructions or tips to help walk you through it. We understand that, which is why we’ve put together this comprehensive blog post on how to reset tamper alarm with ease so that you can get back to what matters most: Home safety and security.
Tamper alarm systems are designed to protect your home or business from unauthorized access or break-ins. The alarms detect tampering attempts on doors, windows, and other entry points. Once the alarm is triggered, it emits a loud sound and alerts the security company monitoring the system.
Read on for our step-by-step guide, plus helpful hacks and tricks so that restarting your tamper alarm will be a breeze each time!
Why Would You Need to Reset Tamper Alarm?
You may need to reset your tamper alarm for a few reasons. The most common cause is false alarms or accidental system triggering. This can happen if a door or window sensor is not securely attached or knocked out of place. In some cases, power outages, low batteries, or even extreme weather conditions can also cause the tamper alarm to go off. In these situations, resetting the system is necessary to stop the alarm from sounding.

Additionally, you may need to reset your tamper alarm if you have recently moved into a new home or changed security companies. This ensures all previous access codes and settings are cleared, and the notice is ready for use under your ownership.
What Will You Need?
Before diving into the steps, gathering the necessary tools and materials is essential. Here’s what you’ll need:
- The access code for your tamper alarm system
- A ladder (if sensors are installed in high areas)
- A small flathead screwdriver
Once you have these items, you’re ready to start!
10 Easy Steps on How to Reset Tamper Alarm
Step 1. Unplug the Device
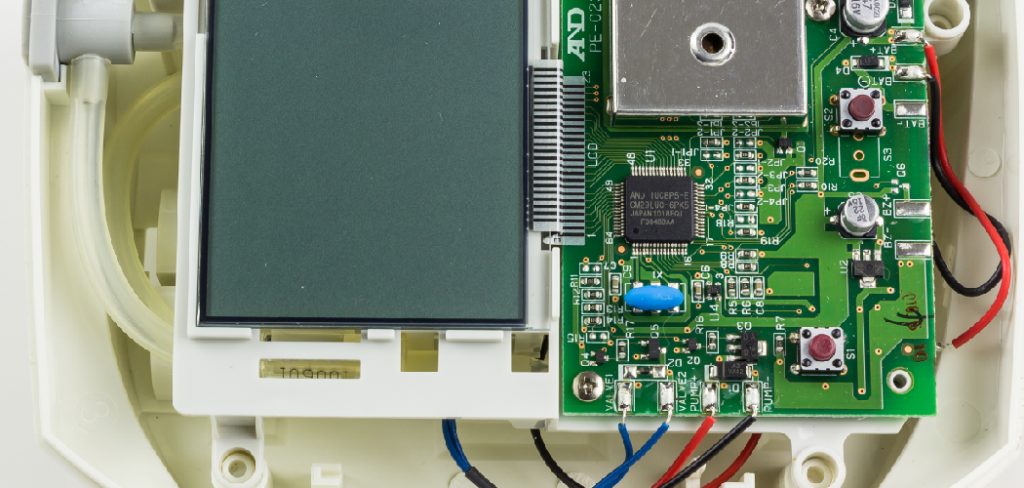
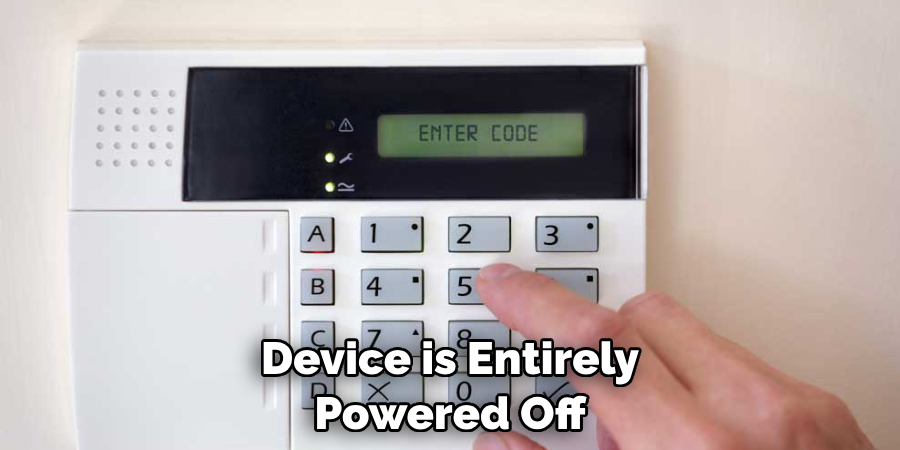
The first step in resetting a tamper alarm is to unplug the device from any power source. This will ensure that the device is entirely powered off and will not receive any signals or electricity. Once the device is unplugged, it should be left to cool down for at least 15 minutes before attempting to reset it.
Step 2. Remove the Batteries
If the device has batteries, they should be removed before resetting it. This will help to ensure that no electrical current is running through the machine and that no residual signals are being sent out by the device.
Step 3. Reset Button
Once all of the above steps have been completed, locate the reset button on the device. Depending on the type of tamper alarm, this button may be found in various places. In some cases, it may be on top of the notice or underneath a removable cover; in other cases, it may be located inside a small hole near one of the device’s corners. Once found, press and hold down this button for 10-15 seconds until you hear an audible signal indicating that it has been successfully reset.
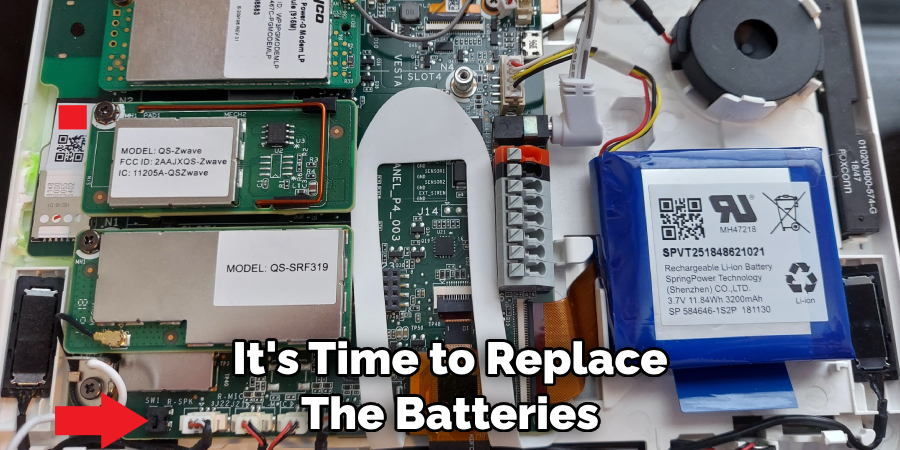
Step 4. Replace the Batteries
After the device has been successfully reset, it’s time to replace the batteries. Remember to use new batteries to ensure the appliance operates optimally. Insert the batteries properly, ensuring that the positive and negative ends align with the device’s battery compartment.
Step 5. Reconnect the Device to Power
After replacing the batteries, reconnect the device to the power source. Plug it back into the wall or power strip. The device should light up or make a sound to indicate that it is connected to power again. Be sure to wait a few moments for the device to fully power up before moving on to the next step.
Step 6. Enter the Access Code
Once the device is powered up, you must enter the access code. This code should have been provided to you when you first installed your tamper alarm system or by your security company if they set it up for you. If you do not have this code, contact your security company for assistance.
Step 7. Clear the Tamper Alarm
After entering the access code, navigate the menu to find the ‘clear tamper’ or similar option. This option is typically found under the system or device settings. Once you’ve seen it, select it. This action should clear the tamper alarm from your system.
Step 8. Verify the Reset
After clearing the tamper alarm, verifying that the reset has been successful is essential. You can check the notice status on the system’s control panel or digital display. If the reset was successful, any previous tamper alarm notifications or warnings should be gone, and the system should return to its normal operational state.
Step 9. Test the Alarm
Now that you have reset your tamper alarm, testing it to ensure it’s working correctly is essential. Trigger the tamper alarm manually by opening a door or window it monitors. The notice should sound, and an alert should be sent to your security company. If this doesn’t happen, you should review the steps and try resetting again.
Step 10. Regular Maintenance
After you reset and test your tamper alarm, maintain it regularly. This includes checking the battery levels, ensuring the sensors are clean and unobstructed, and testing the alarm system monthly to confirm it’s working effectively. Regular maintenance reduces the chances of false alarms and ensures your system remains reliable, providing peace of mind knowing that your property is secure.
By following these easy steps, you can reset your tamper alarm quickly and efficiently. Refer to your device’s manual for specific instructions, or contact your security company for assistance if needed.
5 Additional Tips and Tricks
- Ensure the Alarm is Disarmed: Before resetting the tamper alarm, ensure the alarm system is disarmed. This will prevent an accidental trigger of the alarm during the reset process.
- Identify the Tampered Zone: The alarm panel usually indicates the zone that has been tampered with. Knowing this can help you address the issue directly.
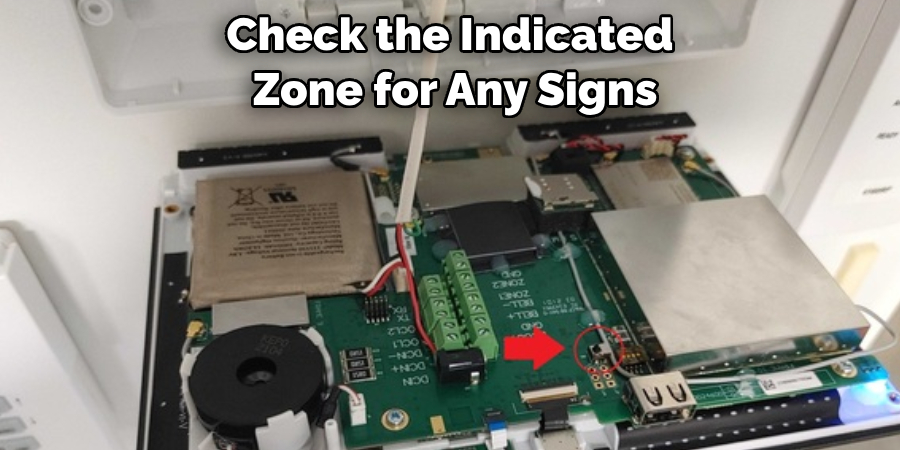
- Inspect for Physical Damage: Check the indicated zone for any signs of physical damage or interference. Tamper alarms can be triggered by forced entry or removal of the device’s cover.
- Reset the Device: After inspection and resolving any physical damage, reset the device according to the manufacturer’s instructions. This typically involves entering a specific code on the alarm panel.
- Contact a Professional if Needed: If the tamper alarm keeps triggering or you’re having difficulty resetting it, don’t hesitate to contact a professional. Remember, the purpose of the tamper alarm is to secure your property.
With these additional tips, you can reset a tamper alarm efficiently. Always proceed cautiously and ignore a tamper alarm, which could indicate potential security breaches.
5 Things You Should Avoid
- Ignoring the Alarm: Pay attention to a tamper alarm. It is an essential security feature that alerts you to potential breaches or problems with your security system. Ignoring it can lead to unaddressed security risks.
- Forgetting to Disarm the System First: Always ensure the system is disarmed before resetting the tamper alarm. Please do so to prevent the panic from triggering accidentally.
- Neglecting Physical Inspection: Skipping the step of inspecting for physical damage or interference can lead to repeated tamper alarms. Always check the indicated zone for any signs of wear.
- Not Following Manufacturer’s Instructions: Don’t attempt to reset the device in a way that the manufacturer does not recommend. Using the wrong method can lead to further issues.
- Trying to Fix Persistent Issues Alone: If the tamper alarm continues to trigger or you can’t reset it, don’t hesitate to seek professional help. It’s better to ensure your system functions correctly than risk a potential security breach.
By avoiding these mistakes, you can effectively reset the tamper alarm and maintain the security of your property. Remember always to prioritize safety and contact a professional if needed.
Where is the Tamper Button of the Alarm System?
The location of the tamper button may vary depending on the type and model of your alarm system. Typically, it can be found on the panel or keypad of the system. Refer to your device’s manual for specific instructions on how to access and use the tamper button. If you need clarification, contact your security company for assistance.
Another option is to search for the specific model of your alarm system online. Many manufacturers provide user manuals and guides to help you locate and use the tamper button effectively.
Lastly, if all else fails, contacting your security company for assistance is always recommended. They have trained professionals who can guide you through the process or send a technician to assist in person.
Conclusion
In conclusion, understanding how to reset tamper alarm is essential for any homeowner or landlord. After reading this blog post, you should be capable of resetting the tamper alarm yourself in just a few steps.
However, if it seems too complex or overwhelming, feel free to call in the help of a professional technician. They can quickly evaluate and fix the problem, so don’t hesitate. Taking quick action and knowing who to contact are paramount when dealing with your home’s security system -so don’t let a simple tamper alarm become stressful!
With these solutions, you can reset your tamper alarms quickly, letting you rest easy knowing that your property and loved ones are safe and secure.
About
Safety Fic is a distinguished figure in the world of Diy design, with a decade of expertise creating innovative and sustainable Diy solutions. His professional focus lies in merging traditional craftsmanship with modern manufacturing techniques, fostering designs that are both practical and environmentally conscious. As the author of diy, Safety Fic delves into the art and science of Safety Fic-making, inspiring artisans and industry professionals alike.
Education RMIT University
(Melbourne, Australia) Associate Degree in Design (Safety Fic) Focus on sustainable design, industry-driven projects, and practical craftsmanship. Gained hands-on experience with traditional and digital manufacturing tools, such as CAD and CNC software.
Nottingham Trent University
(United Kingdom) Bachelor’s in diyfastly.com and Product Design (Honors) Specialized in product design with a focus on blending creativity with production techniques. Participated in industry projects, working with companies like John Lewis and Vitsoe to gain real-world insights.
Publications and Impact
In diy, Safety Fic his insights on indoor design processes, materials, and strategies for efficient production. His writing bridges the gap between artisan knowledge and modern industry needs, making it a must-read for both budding designers and seasoned professionals.