

Are you having problems with your car’s oil pressure sensor? Don’t worry; it’s a common issue that many car owners face. The good news is that it can be easily fixed by resetting the oil pressure sensor.
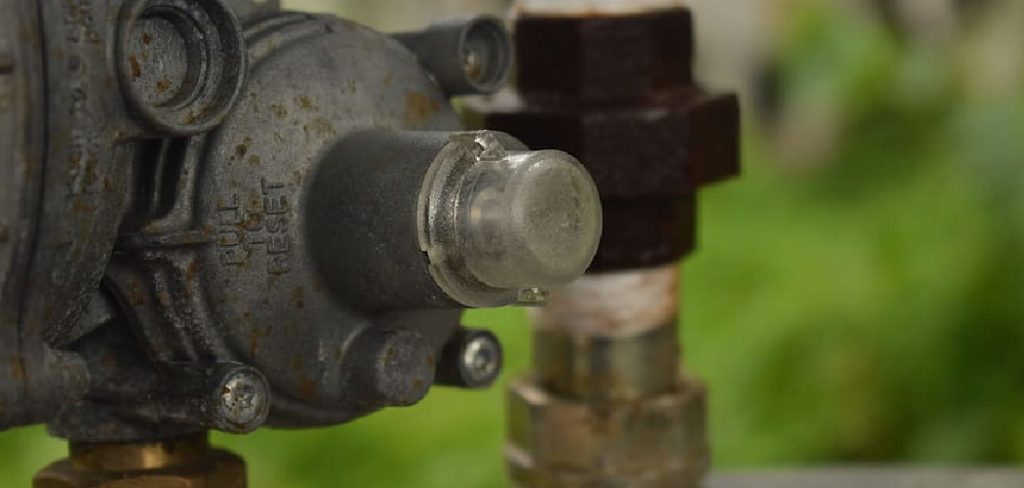
How to reset the oil pressure sensor is an essential maintenance task that ensures your vehicle’s engine runs smoothly and efficiently. The oil pressure sensor plays a critical role in monitoring the oil pressure within the engine and alerting you if it falls below safe levels. When the sensor malfunctions or needs resetting, it can lead to inaccurate readings on your dashboard, causing unnecessary concern or masking real issues. Understanding how to reset the sensor properly can help maintain engine health and prevent potential damage.
This guide will provide step-by-step instructions to reset the oil pressure sensor effectively and safely.
What Are the Causes of Oil Pressure Sensor Malfunction?
There are several potential reasons why the oil pressure sensor may malfunction, including:
- Loose Connections or Damaged Wiring: If the sensor is not receiving proper power or ground, it may give inaccurate readings.
- Faulty Sensor: Sensors can wear out over time and become less sensitive. They may also get clogged with debris, causing them to malfunction.
- Low Oil Levels: If your engine is low on oil, it can affect the sensor’s accuracy and cause other issues within the engine.
- Electrical System Issues: Problems with your vehicle’s electrical system, such as a weak battery or faulty alternator, can impact the functioning of the oil pressure sensor.
- Malfunctioning Gauge: Sometimes, the issue may not lie with the sensor itself but rather with the gauge on your dashboard. If the gauge is faulty, it can give incorrect oil pressure readings.
- Worn Engine Parts: As your engine ages and its components wear out, it can affect the overall oil pressure in your vehicle. This can lead to inaccurate readings from the oil pressure sensor.
- Improper Oil Viscosity: Using the wrong type of oil for your vehicle can also cause issues with oil pressure readings. If the viscosity is too high or too low, it can affect how well the sensor can measure pressure.
These are just a few examples of factors that can contribute to faulty oil pressure readings. It’s important to regularly check and maintain your engine to avoid potential issues with the oil pressure sensor.
What Will You Need?
- A new oil pressure sensor
- Socket set and wrenches
- New engine oil
- Oil filter
- Clean rags or towels
- Oil catch pan
You will need a few things before you start the process of replacing your oil pressure sensor. The most important item is, of course, the new sensor itself. It’s essential to ensure you have the correct vehicle model for your vehicle.
8 Easy Steps on How to Reset the Oil Pressure Sensor
Step 1: Prepare Your Workspace
Before you begin, it’s essential to ensure that your workspace is clean, well-lit, and organized. A clutter-free area will make the replacement process smoother and reduce the risk of losing small parts or tools. Gather all the tools and materials listed above and lay them out within arm’s reach.
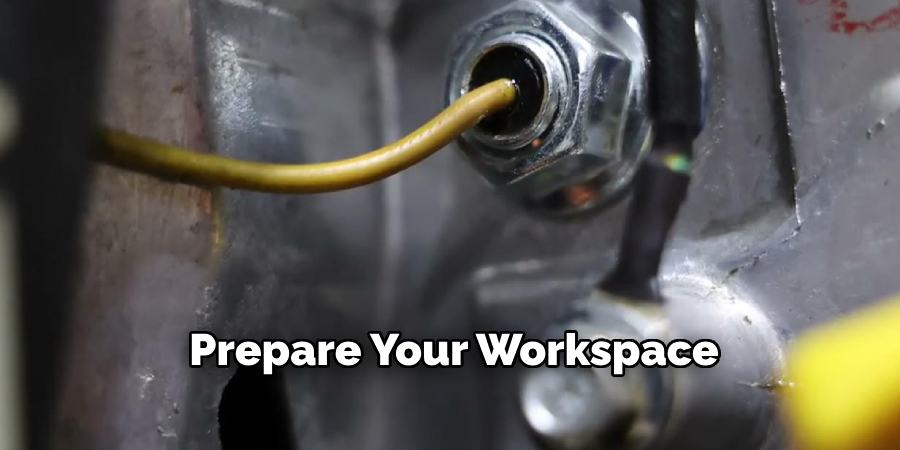
Use a stable surface for your equipment, and ensure your vehicle is parked on a flat, level surface with the parking brake engaged to prevent movement. If you are working indoors, ensure the area has adequate ventilation, especially if you are running the engine at any point. Proper preparation is the key to a safe and efficient repair.
Step 2: Secure the Vehicle
Begin by securing your vehicle to ensure safety throughout the repair process. Place wheel chocks behind and in front of the tires to prevent accidental rolling. Double-check that the parking brake is fully engaged. If you raise the vehicle with a jack, ensure that it is positioned on a stable, flat surface and use jack stands to support it securely. Never rely solely on the jack to hold the vehicle’s weight while you work underneath it. Safety should always be your first priority before proceeding.
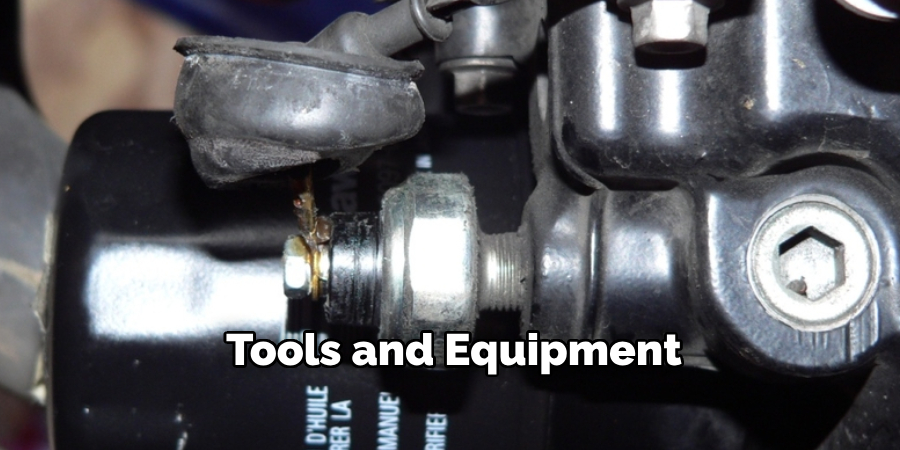
Step 3: Gather Your Tools and Equipment
Before starting any repair, ensure you have all the necessary tools and equipment. Common tools include a socket wrench set, screwdrivers, pliers, and any specific tools required for the repair task. Additionally, gather safety gear such as gloves and safety glasses to protect yourself while working. Having everything prepared beforehand will save time and ensure a smoother repair process.
Step 4: Follow the Repair Instructions Carefully
Once your tools are ready, follow the repair instructions step by step. Refer to the manufacturer’s manual or trusted guides to ensure accuracy. Pay close attention to any details, such as torque specifications or assembly sequences, as these can be critical to the success of the repair. Avoid skipping steps and double-check your work to ensure everything is reassembled correctly. Taking your time and being thorough will help prevent mistakes and provide a durable repair.
Step 5: Final Step
Once the repair is complete, carefully inspect your work to ensure everything is securely fastened and functioning as intended. Test the repaired item in a controlled manner to verify that it operates correctly. Clean up your workspace and safely store any tools or leftover parts if applicable. Properly disposing of damaged components is crucial to maintaining a safe and organized environment. Taking these final steps ensures the repair is both effective and long-lasting.
Step 6: Preventative Maintenance
In addition to knowing how to repair items, it’s important also to understand preventative maintenance. This involves regularly checking and maintaining items to prevent them from breaking or malfunctioning in the first place.
Some simple examples of preventative maintenance include:
- Regularly cleaning and lubricating moving parts
- Checking for loose screws or bolts
- Replacing worn-out parts before they fail entirely
By staying on top of preventative maintenance, you can save time and money in the long run by avoiding costly repairs or replacements.
Step 7: Knowing When to Call a Professional
While performing maintenance tasks yourself can often save money and provide a sense of accomplishment, it is equally important to understand your limitations and know when to call a professional. Some issues require specialized tools, advanced knowledge, or certified expertise that may be beyond the scope of a typical DIY effort.
For instance, electrical work, complex mechanical repairs, or tasks involving hazardous materials can pose serious risks if handled incorrectly. Additionally, attempting to perform such tasks without proper training can cause more damage, leading to even higher repair costs. Reaching out to a qualified professional ensures that the job is done safely, correctly, and efficiently. It’s always a wise choice to prioritize safety and long-term solutions over short-term savings.
Step 8: Keep Up with Regular Maintenance
Maintenance is a crucial aspect of home ownership that should not be overlooked. Neglecting regular maintenance can lead to more significant issues down the line and potentially costly repairs. It’s important to keep up with routine tasks such as changing air filters, cleaning gutters, and inspecting the roof for any damage.
Regular maintenance also includes checking for leaks, cracks, or other signs of wear and tear on appliances and fixtures. Catching these issues early on can prevent them from becoming larger problems.
By following a regular maintenance schedule, you will save money in the long run and ensure that your home is functioning at its best.
5 Things You Should Avoid
- Avoid Resetting Without Diagnosing the Issue
Before resetting the oil pressure sensor, ensure you have identified and addressed the root cause of any oil pressure warning. Resetting without proper diagnostics can mask underlying problems and lead to severe engine damage.
- Avoid Using Improper Tools
Using the wrong tools to reset or replace the oil pressure sensor can damage the sensor or surrounding components. Always use appropriate tools and refer to the manufacturer’s specifications.
- Avoid Neglecting the Manufacturer’s Guidelines
Each vehicle has specific instructions for resetting or handling the oil pressure sensor. Ignoring these guidelines might result in improper functioning, voiding warranties, or further complications.
- Avoid Handling the Sensor with Dirty or Oily Hands
Oil pressure sensors are delicate components, and dirt or debris can interfere with their operation. Ensure your hands or gloves are clean to prevent contamination during resetting.
- Avoid Ignoring Safety Precautions
Resetting the oil pressure sensor often involves working near the engine or electrical systems. Failing to disconnect the battery or neglecting other safety measures can lead to accidental injuries or electrical hazards. Always prioritize safety during maintenance activities.
By avoiding these common mistakes, you can successfully reset your oil pressure sensor without causing further damage to your vehicle.
Conclusion
How to reset the oil pressure sensor requires careful attention to detail, the right tools, and adherence to safety protocols.
By identifying the problem accurately, consulting your vehicle’s manual, and following the step-by-step process, you can ensure the sensor is reset effectively. Avoid common mistakes such as ignoring warning signs, skipping proper diagnostics, or neglecting essential safety precautions. With patience and careful execution, this maintenance task will contribute to your vehicle’s smooth operation and longevity.
Always remember, if you’re unsure, seeking professional assistance is a wise choice.