

Are you tired of constantly seeing the tire pressure light on your car’s dashboard? Don’t worry; you’re not alone! Many drivers experience this issue, and it can be quite frustrating. But don’t panic; how to reset tire pressure light is actually a quick and easy process.
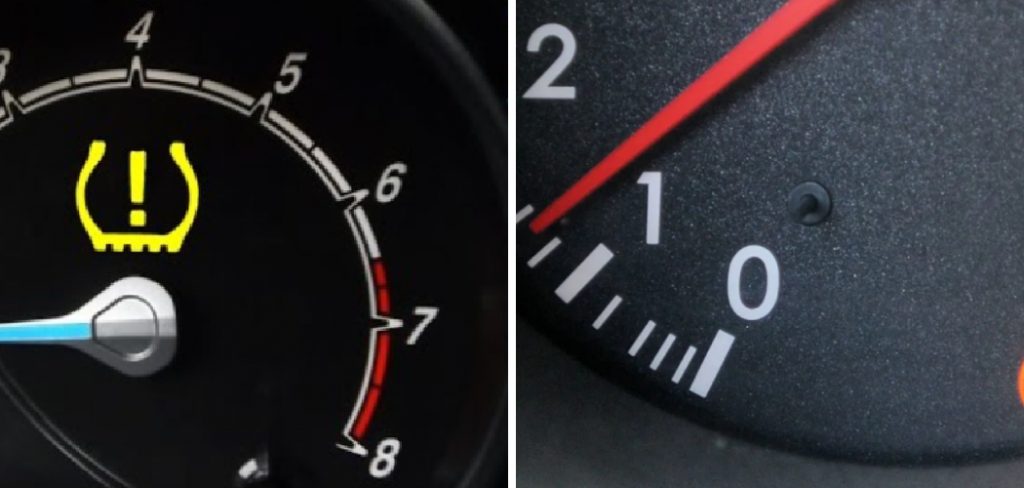
The tire pressure light is an essential feature in modern vehicles, designed to alert drivers when there may be an issue with tire inflation. Properly inflating your tires is crucial for safety, fuel efficiency, and overall vehicle performance. However, the tire pressure light can sometimes stay on even after addressing the issue by inflating the tires to their correct pressure.
Resetting this light is a straightforward process, and in this guide, we will walk you through the steps to ensure your dashboard is clear and your vehicle is ready for the road.
What Are the Causes of a Tire Pressure Light Staying On?
Several reasons exist for a tire pressure light to stay on even after inflating the tires. Some common causes include:
- A Faulty Sensor: Modern vehicles use sensors to measure tire pressure and alert the driver when it falls below a certain threshold. If one of these sensors malfunctions, it could falsely trigger the tire pressure light.
- Temperature Changes: Air inside your tires expands or contracts depending on temperature changes. If you inflate your tires while they are warm but then drive in colder temperatures, the air will cool down and contract, causing a decrease in tire pressure. This change may trigger the tire pressure light.
- Slow Leaks: Even a tiny puncture or damage to the tire can cause a slow leak over time. This gradual decrease in tire pressure may not be noticeable initially, but eventually, it will trigger the tire pressure light.
- Faulty Tire Pressure Monitoring System (TPMS): In some cases, the issue may not be with your tires but rather with the TPMS itself. If faulty or incorrectly calibrated, the sensors may send incorrect readings and trigger the tire pressure light.
What Will You Need?
- Tire Pressure Gauge: This tool measures the air pressure in your tires and allows you to compare it to the recommended pressure for your specific vehicle.
- Air Compressor: If your tire pressure is low, you will need an air compressor to add more air. Some gas stations have free air pumps available for use.
- Owner’s Manual: This contains essential information about your vehicle, including the recommended tire pressure and how to reset the TPMS.
- Spare Tire or Patch Kit: If you suspect a puncture or damage to one of your tires, having a spare on hand or a patch kit as a backup plan is always a good idea.
Once you have gathered all the necessary tools, follow these steps to check your tire pressure.
8 Easy Steps on How to Reset Tire Pressure Light
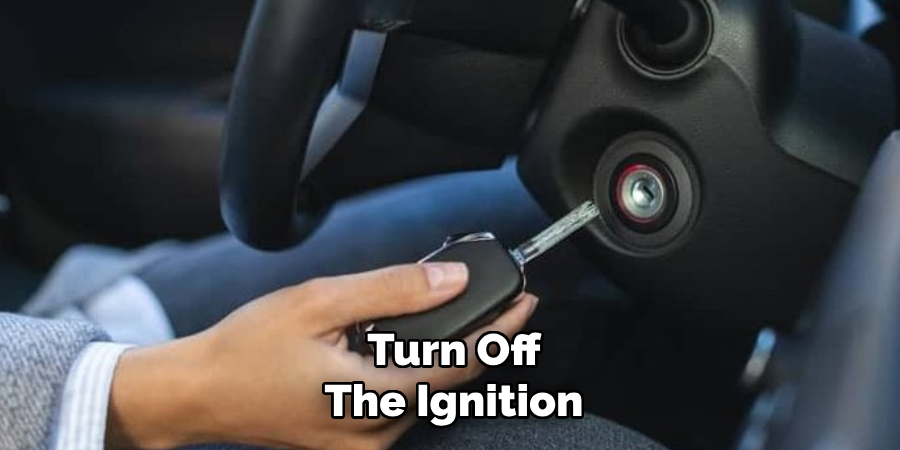
Step 1. Turn on the Ignition:
Start by inserting your key into the ignition and turning it to the “On” position without starting the engine. For vehicles with a push-start button, press the button without holding the brake pedal to ensure the engine doesn’t start. This step powers up the electronic system in your vehicle, including the sensors that monitor tire pressure. Ensure all dashboard warning lights illuminate momentarily, indicating that the system is active and ready for resetting. Do not proceed if the dashboard does not light up, as this may indicate an issue with the car’s electrical system.
Step 2: Locate the Tire Pressure Monitoring System (TPMS) Reset Button
Find the TPMS reset button, which is typically located beneath the steering wheel or near the driver’s side footwell. Consult your vehicle’s manual if you are unsure of its exact location. Once located, press and hold the reset button until the TPMS indicator light on the dashboard flashes. This action signals that the system is initiating the reset process. Release the button once the light begins flashing, and ensure no additional flashing or warning lights remain active.
Step 3: Drive to Complete the Reset
After initiating the reset process, take your vehicle for a short drive at a speed of at least 15 to 20 miles per hour for around 10 minutes. This allows the TPMS sensors to recalibrate and communicate accurate tire pressure readings to the system. During the drive, monitor the dashboard to ensure the TPMS indicator light turns off and confirm the reset was successful. If the light remains on, recheck the tire pressure and repeat the process if necessary.
Step 4: Verify the TPMS Reset
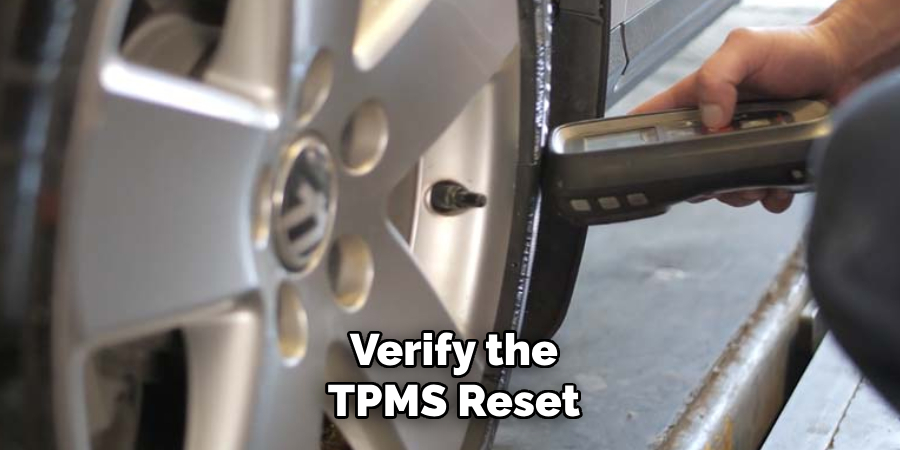
Once the drive is complete, park the vehicle in a safe location and turn off the engine. Power the vehicle back on and check the TPMS indicator light on the dashboard. If the light stays off, the reset process was successful, and your TPMS is now functioning correctly. If the light remains illuminated, refer to your vehicle’s owner manual or consult a professional technician to address any potential sensor or system issues.
Step 5: Regularly Maintain Your TPMS
To ensure the Tire Pressure Monitoring System continues to function reliably, incorporate regular maintenance into your vehicle care routine. Check tire pressure manually at least once a month to confirm accuracy, as TPMS sensors can sometimes provide incorrect readings due to wear or damage. Also, ensure all sensors are inspected during routine tire rotations or replacements. Timely sensor battery replacements and repairs will help extend the life of your TPMS and ensure your vehicle operates safely.
Step 6: Check Fluid Levels and Quality
In addition to checking tire pressure, regularly monitoring all fluid levels and quality will help keep your vehicle running smoothly. This includes engine oil, transmission fluid, brake fluid, coolant, power steering fluid, and windshield washer fluid.
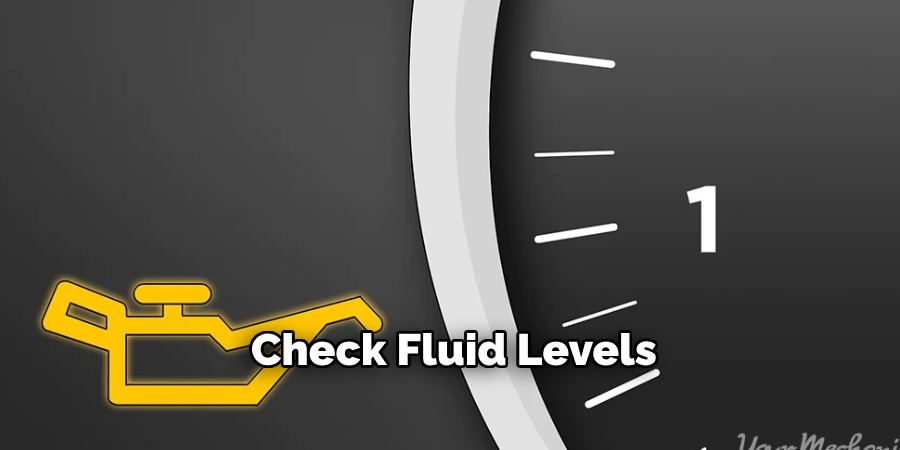
To check these levels, consult your vehicle’s owner manual for specific instructions on where the dipstick or reservoir is located. Ensure the car is parked on a level surface before checking each fluid.
If any fluids are low or appear dirty or discolored, it’s essential to top them off with the appropriate type of fluid as the manufacturer recommends. If you notice any leaks or consistently have to refill a certain fluid, it may indicate an underlying issue that a professional mechanic should address.
Step 7: Tire Maintenance
Proper tire maintenance is essential for ensuring safety, improving fuel efficiency, and prolonging the lifespan of your tires. Start by inspecting the tire pressure using a reliable tire pressure gauge. Refer to your vehicle’s owner manual or the driver’s side door frame sticker for the correct tire pressure levels. Proper inflation is crucial, as under-inflated tires can cause excessive wear and reduce gas mileage. In contrast, over-inflated tires may lead to a harsh ride and uneven tread wear.
Next, examine the tread depth of each tire to ensure they are not excessively worn. A simple way to check is by using the penny test—insert a penny into the tire’s tread with Lincoln’s head facing down. If you can see the top of Lincoln’s head, it’s time to replace the tires. Additionally, look out for any visible signs of damage, such as cracks, bulges, or embedded objects, as these could compromise safety.
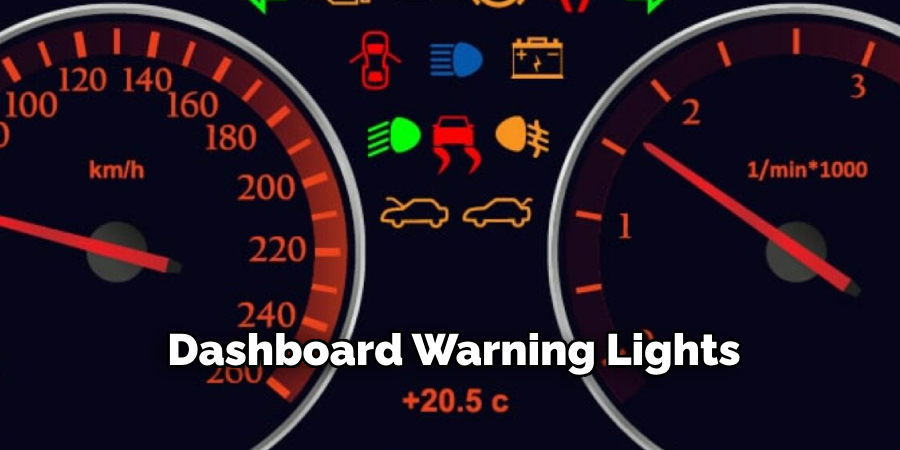
Step 8: Keep an Eye on Dashboard Warning Lights
Modern cars are equipped with various dashboard warning lights that alert you to potential issues with your vehicle. These lights may include indicators for low tire pressure, engine problems, or brake issues. Pay attention to these warning lights and address them promptly to avoid further damage or safety hazards.
If a warning light turns on while driving, pull over as soon as it is safe and consult your owner’s manual for guidance on what the light means and how to proceed. Ignoring warning lights can lead to more expensive repairs down the road.
Following your vehicle’s recommended maintenance schedule and promptly addressing any warning lights can help keep your car running smoothly and avoid costly repairs.
5 Things You Should Avoid
- Ignoring the Owner’s Manual
Always consult your vehicle’s owner’s manual before resetting the tire pressure light. Skipping this step can lead to improper handling or damage your vehicle’s systems.
- Driving Without Checking Tire Pressure
Resetting the light without physically verifying the tire pressure can be dangerous. Ensure all tires are inflated to the recommended PSI levels to avoid potential safety issues while on the road.
- Using Incorrect Tools
Relying on inaccurate or incompatible tools, like pressure gauges that don’t match your vehicle’s requirements, can result in faulty readings or ineffective resets.
- Resetting Without Repairing Tire Issues
If a tire is damaged, simply resetting the light without addressing the problem won’t fix the issue and may worsen it over time. Always inspect for leaks, punctures, or other damage before proceeding.
- Ignoring System Malfunctions
If the tire pressure light doesn’t turn off after resetting and confirming proper tire pressure, the issue may be with the Tire Pressure Monitoring System (TPMS). Avoid ignoring this, as it could indicate a more significant problem requiring professional attention.
Conclusion
How to reset tire pressure light, it is crucial to first address any underlying issues such as incorrect tire pressure or potential damages.
Begin by inflating all tires to the recommended pressure levels, as stated in your vehicle’s manual or on the driver’s side door jamb. If the light persists, attempt a reset by using the reset button, typically located beneath the steering wheel, or by following the specific instructions for your vehicle model. For more complex issues, such as potential malfunctions with the TPMS, seek assistance from a professional technician.
Proper maintenance and timely action ensure the light resets and contribute to overall vehicle safety and efficiency.
About
Safety Fic is a distinguished figure in the world of Diy design, with a decade of expertise creating innovative and sustainable Diy solutions. His professional focus lies in merging traditional craftsmanship with modern manufacturing techniques, fostering designs that are both practical and environmentally conscious. As the author of diy, Safety Fic delves into the art and science of Safety Fic-making, inspiring artisans and industry professionals alike.
Education RMIT University
(Melbourne, Australia) Associate Degree in Design (Safety Fic) Focus on sustainable design, industry-driven projects, and practical craftsmanship. Gained hands-on experience with traditional and digital manufacturing tools, such as CAD and CNC software.
Nottingham Trent University
(United Kingdom) Bachelor’s in diyfastly.com and Product Design (Honors) Specialized in product design with a focus on blending creativity with production techniques. Participated in industry projects, working with companies like John Lewis and Vitsoe to gain real-world insights.
Publications and Impact
In diy, Safety Fic his insights on indoor design processes, materials, and strategies for efficient production. His writing bridges the gap between artisan knowledge and modern industry needs, making it a must-read for both budding designers and seasoned professionals.