

Are you experiencing issues with your Xfinity camera? Is it not working as expected or not connecting to your home network? Don’t worry; you are in the right place.
Resetting Xfinity cameras can be a tricky task for many people. If you’re having trouble getting your camera to work, then watching the wrong video tutorial could waste a lot of time and energy. That’s why we’re here to help!

In this blog post, we’ll dive into all the details on how to reset xfinity camera and get it up and running in no time! Whether you want to delete an old configuration or just give the device a fresh start, our easy-to-follow steps will have your camera ready to go faster than ever. So, let’s get started by breaking down exactly what tools and supplies are needed!
What Will You Need?
To reset your Xfinity camera, you’ll need a few things to get started.
- Your Xfinity camera
- A paperclip or small pin
- A strong and stable internet connection
- A computer or smartphone to access the camera’s settings
- Patience and determination!
Once you’ve gathered all the necessary items, you’re ready to begin.
10 Easy Steps on How to Reset Xfinity Camera
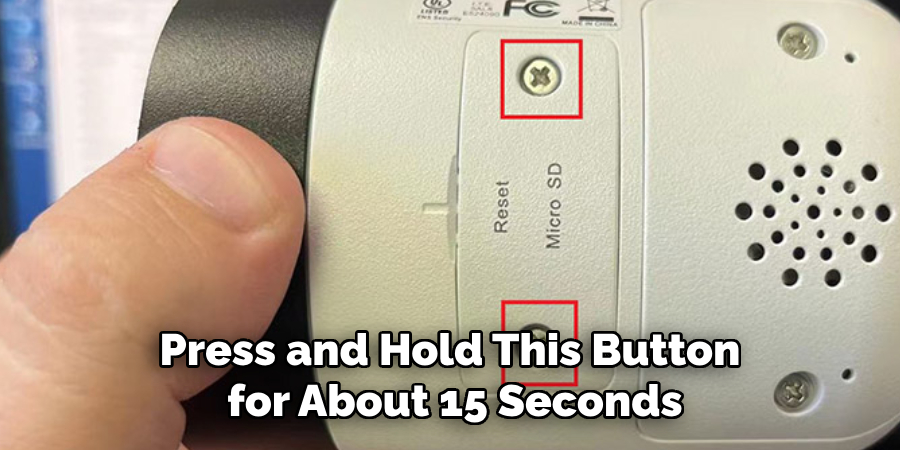
Step 1. Locate the Reset Button.
The reset button on your Xfinity camera is usually found on the bottom or back of the device. Look for a tiny hole labeled ‘reset.’ This is where you’ll be using the paperclip or pin. If you can’t find it, refer to your camera’s manual.
Step 2. Press and Hold the Reset Button.
Gently insert the paperclip or pin into the reset hole. You should feel a small button inside. Press and hold this button for about 10-15 seconds. This may vary depending on the model of your Xfinity camera, so check the manual if you’re unsure. You’ll know the camera is resetting when the light indicators start to flash or change color. Once this happens, you can release the button.
Step 3. Wait for the Camera to Reboot.
After releasing the reset button, the camera will begin to reboot. This process may take up to a couple of minutes. You will notice the lights on the camera flashing or changing colors during this time. It’s essential to leave the camera undisturbed while this is happening.
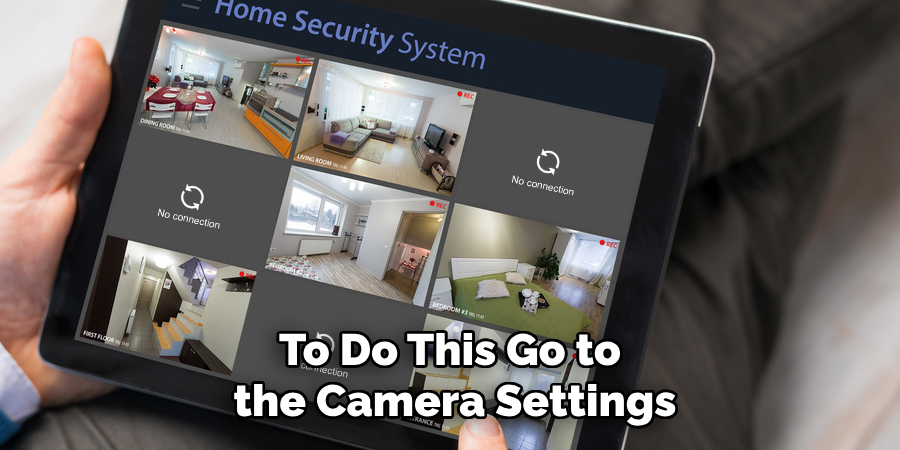
Step 4. Reconnect to Your Network.
Once the camera has rebooted, it’s time to reconnect it to your home network. Open the camera settings on your computer or smartphone, select the option to add a new device, and follow the prompts. You’ll need to input your wifi network name and password.
Step 5. Verify the Camera is Working.
After successfully connecting the camera to your network, check that it’s working correctly. You should be able to view the live feed from your Xfinity camera on your device. If you still have issues, you may need to repeat the reset process or contact Xfinity customer support for further assistance.
Step 6. Update Your Camera’s Firmware.
After resetting and reconnecting your Xfinity camera, it’s essential to ensure it’s running the latest firmware version. The firmware is the built-in software that controls your camera, and updates often include bug fixes and improvements.
To update, go to the camera’s settings on your device, look for a ‘software update’ or ‘firmware update’ option, and follow the prompts. If an update is available, Install and install it. Once the update is complete, your camera should be good to go!
Step 7. Customize Your Camera Settings.
After updating the firmware, navigate back to the camera settings. Here, you can adjust various options to suit your needs best. These may include video resolution, motion detection sensitivity, and alert settings. Customize these to your preference and save your changes. Remember, these settings can be modified anytime if you need to fine-tune your camera’s operations.
Step 8. Test Your Camera’s Functionality.
Now that your Xfinity camera is reset, reconnected, and customized to your liking, it’s crucial to test its functionality. Check the live feed, test the motion detection capability, and ensure alert settings work correctly. This will confirm that the camera is operating as desired. If you encounter any issues during this step, refer back to the specific settings or consider a secondary reset.
Step 9. Secure Your Camera.
For your security, it’s advisable to change the default username and password of your camera. To do this, go to the camera settings, find the account or user settings, and there, you can update your login credentials. Remember to choose a strong password to ensure your security camera stays secure.
Step 10. Regular Maintenance.
Regular maintenance on your Xfinity camera ensures it stays in optimal working condition. This could include periodic checks of the camera feed, periodically updating the firmware, and keeping the camera clean from dust and dirt. If you experience any issues, don’t hesitate to contact Xfinity support. And that’s it! You now know how to reset your Xfinity camera with these ten easy steps.
By following these steps, you can quickly and easily reset your Xfinity camera and have it running smoothly in no time. Remember to refer to this guide whenever needed, and always prioritize your safety by securing your device with a strong password.
5 Additional Tips and Tricks
- Ensure Stable Power Supply: Before the resetting process, make sure your Xfinity camera is connected to a stable power supply. A sudden power cut could interrupt the process, causing potential damage to the camera system.
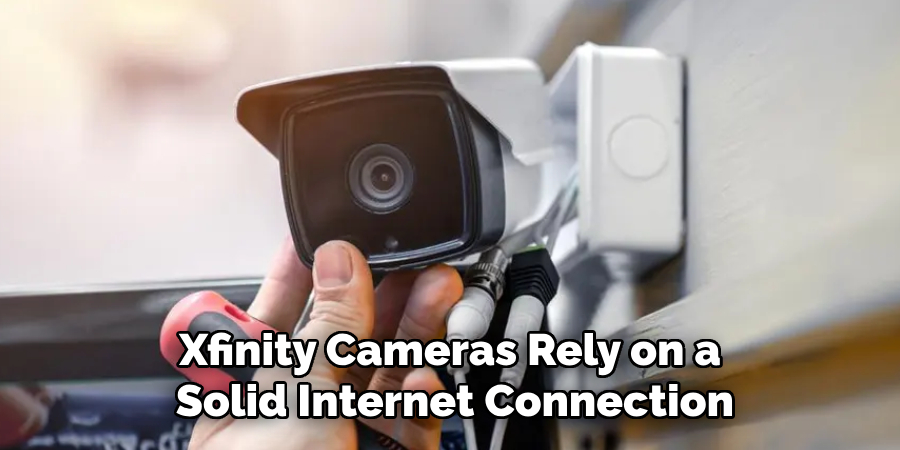
- Internet Connectivity: Xfinity cameras rely on use solid internet connection for many of their features. Check your Wi-Fi’s strength and stability before initiating the reset process.
- Backup Important Footage: If your camera has recorded any important footage, back it up before resetting, as the process typically deletes all locally stored data.
- Factory Reset Only as Last Resort: A factory reset should be your last resort. It’s preferable to troubleshoot minor issues independently or with the help of Xfinity support rather than resort to a full reset.
- Reach Out to Support: If you’re having trouble resetting your Xfinity camera or if the problem persists after resetting, don’t hesitate to contact Xfinity’s customer support. Their team can provide valuable guidance and potentially save you from unnecessary hassle.
With these additional tips and tricks in mind, you can confidently reset your Xfinity camera without any complications.
5 Things You Should Avoid
- Avoid Resetting Without Reason: Don’t reset your Xfinity camera unless necessary. Frequent resets without a valid reason could harm the device.
- Avoid Ignoring Software Updates: Regular software updates are crucial for the proper functioning of your Xfinity camera. Ignoring them could lead to issues that necessitate a reset.
- Avoid Resetting Without Backup: Always back up important data before initiating a reset. Once the reset is complete, all previous data will be permanently deleted.
- Avoid Relying Solely on Wi-Fi: Although Xfinity cameras require an internet connection, don’t rely solely on Wi-Fi during resetting. Consider a wired connection if possible, to ensure stability.
- Avoid Skipping Steps in the Reset Process: Each step in the reset process serves a purpose. Skipping steps can lead to issues with the reset or even damage the camera. Make sure to follow all steps as instructed.
By avoiding these common mistakes, you can ensure a smooth and successful reset of your Xfinity camera. If you face any difficulties or have further questions, please reach out for support.
When Should You Reset Your Xfinity Camera?
In general, a reset should be used as a last resort when troubleshooting other methods fail. Some specific instances where resetting the camera may be necessary include:
- Experiencing frequent connectivity issues
- Consistent software glitches or errors
- Forgot your login credentials and can’t access the camera’s settings
- Moving the camera to a new location and needing to reconfigure it for set up
Overall, it’s best to use resets sparingly and only when all other options have been exhausted. This will help preserve the longevity of your Xfinity camera and ensure it continues functioning properly.
Why is Your Xfinity Camera Not Working?
Are you having trouble with your Xfinity camera even after resetting? There could be various reasons why your camera is not functioning correctly. Some common causes include:
- Power Supply Issues: Ensure that the camera receives a stable power supply and that the outlet or power source is not faulty.
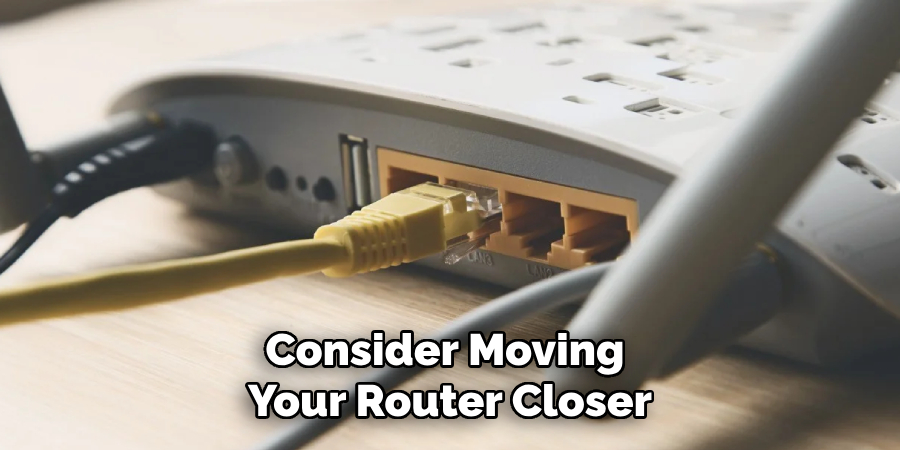
- Internet Connectivity Problems: If your internet connection is unstable, it could affect the performance of your Xfinity camera. Consider moving your router closer to the camera or investing in a Wi-Fi extender.
- Hardware Damage: Accidents happen, and sometimes hardware damage can occur to your Xfinity camera. Check for any visible signs of damage and contact support if necessary.
- Software Glitches: Even with regular updates, software glitches can still occur. Try reinstalling the Xfinity camera app or contacting support for further assistance.
If none of these seem to be the root cause of your issue, it’s best to contact Xfinity support for personalized help and troubleshooting. With their guidance, you can get your camera up and running quickly. Overall, understanding how to reset your Xfinity camera correctly and avoiding common mistakes can save you time and frustration in the long run.
Why is Your Xfinity Camera Blue?
You may have noticed that your Xfinity camera has a blue light indicator. This indicates that the camera is in pairing mode and ready to be connected to your home network. If the blue light is blinking, it means that the camera is actively trying to connect to the network. Once successfully connected, the blue light will turn off or remain solid.
If your Xfinity camera’s blue light persists even after connecting to the network, there may be an issue with the connection. Try moving your router closer to the camera or resetting your Wi-Fi extender if you have one. If the problem continues, contact Xfinity support for further assistance.
Occasionally, you may also see a red light on your Xfinity camera. This could indicate a power or connectivity issue. Ensure that the camera receives a stable power supply and that all connections are secure. If the problem persists, contact support for further troubleshooting.
Conclusion
After reading this blog post, you should have a better understanding of how to reset an Xfinity camera. It may seem daunting at first, but with several simple steps, you can safely and quickly reset your Xfinity camera to its factory settings in no time. However it is important to note that resetting your device will clear any data stored on it.
Follow the manufacturer’s instructions carefully when cleaning or running any maintenance tasks on your camera for best results. If you ever encounter any technical issues, you may need an expert’s help—hopefully, this article has provided some helpful advice when it comes to resetting Xfinity cameras.
Now that you’ve read up on how to reset xfinity camera, go ahead and take a step toward solving any of your security concerns—you’ll be glad you did!
About
Safety Fic is a distinguished figure in the world of Diy design, with a decade of expertise creating innovative and sustainable Diy solutions. His professional focus lies in merging traditional craftsmanship with modern manufacturing techniques, fostering designs that are both practical and environmentally conscious. As the author of diy, Safety Fic delves into the art and science of Safety Fic-making, inspiring artisans and industry professionals alike.
Education RMIT University
(Melbourne, Australia) Associate Degree in Design (Safety Fic) Focus on sustainable design, industry-driven projects, and practical craftsmanship. Gained hands-on experience with traditional and digital manufacturing tools, such as CAD and CNC software.
Nottingham Trent University
(United Kingdom) Bachelor’s in diyfastly.com and Product Design (Honors) Specialized in product design with a focus on blending creativity with production techniques. Participated in industry projects, working with companies like John Lewis and Vitsoe to gain real-world insights.
Publications and Impact
In diy, Safety Fic his insights on indoor design processes, materials, and strategies for efficient production. His writing bridges the gap between artisan knowledge and modern industry needs, making it a must-read for both budding designers and seasoned professionals.