

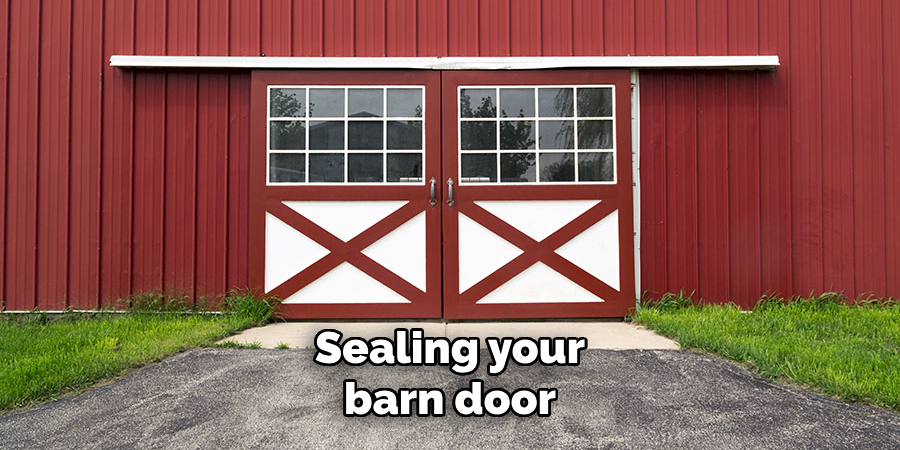
Are you looking for a way to seal your barn door and protect it from the elements? Look no further! In this guide, we will provide you with step-by-step instructions on how to seal a barn door .

Properly sealing a barn door is essential for maintaining the barn’s integrity and ensuring its contents’ protection from harsh weather conditions and pests.
An adequately sealed barn door helps to prevent drafts, water leakage, and unwanted critters from entering the barn, thus preserving the structural stability of the barn and the well-being of its occupants.
In this guide, we will outline the necessary materials and step-by-step instructions to seal your barn door effectively, ensuring it remains durable and functional for years to come. Whether you are a seasoned farmer or a DIY enthusiast, following these steps will make the task straightforward and efficient.
What Will You Need?
Before you begin sealing your barn door, it is essential to gather all the necessary materials. Having everything on hand will save you time and prevent any interruptions.
- A high-quality weatherstripping material
- Caulk gun
- Silicone caulk or exterior-grade sealant
- Rubber gaskets or foam tape
- Screwdriver
- Sandpaper
- Paintbrush
- Paint or stain (optional)
Once you have all the materials prepared, let’s get started on sealing your barn door.
10 Easy Steps on How to Seal a Barn Door
Step 1: Clean and Prepare the Door
Before applying sealant or weatherstripping material, it is crucial to thoroughly clean the door’s surface. Use a mild soap and water solution to remove dirt, dust, or debris from the door. After cleaning, allow the surface to dry completely before proceeding.
Next, use sandpaper to smooth out any rough spots or imperfections on the door’s surface. This step will ensure that the sealant adheres properly and provides an even finish.
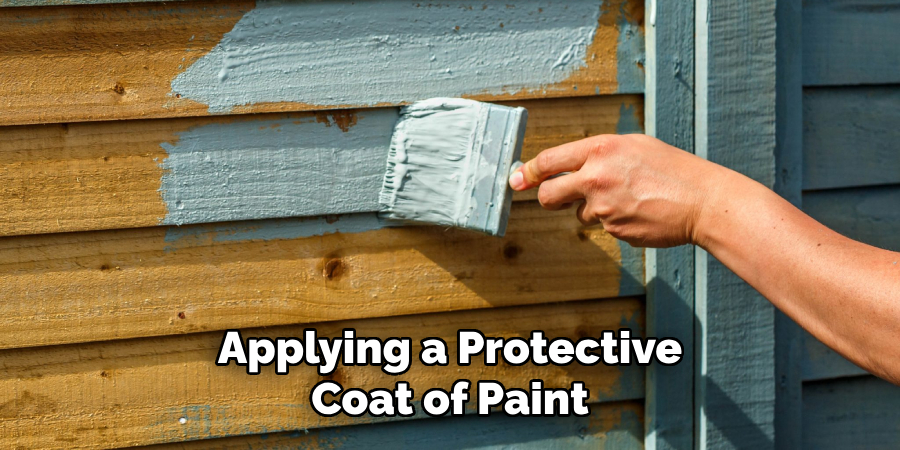
If desired, now is also the time to paint or stain your barn door before sealing it. Applying a protective coat of paint or stain can add an extra layer of protection and enhance the appearance of the door.
Step 2: Install Weatherstripping
Weatherstripping is essential in sealing a barn door as it creates a tight seal between the door and the frame, preventing drafts and water from entering.
There are various types of weatherstripping available, including adhesive foam tape, rubber gaskets, and metal strips with screws.
Measure the length and width of your barn door to determine how much weatherstripping you will need. Carefully follow the manufacturer’s instructions to install the weatherstripping, ensuring it is placed evenly along the edges of the door.
Step 3: Apply Caulk or Sealant
Using a caulk gun, apply a thin layer of silicone caulk or exterior-grade sealant along the edges of the door where it meets the frame. This step helps fill in gaps and cracks, further preventing drafts and water from seeping through.
Be sure to smooth out the caulk using a wet finger or a caulking tool for a neat and even finish. Allow the caulk to dry according to the manufacturer’s instructions.
Step 4: Seal the Bottom of the Door
The bottom of a barn door is often overlooked for sealing, but it is a crucial area that needs attention. Use rubber gaskets or foam tape to create a seal between the bottom of the door and the ground. This will prevent pests, debris, and water from entering through this gap.
Step 5: Install a Door Sweep (Optional)
For added protection against drafts and pests, you can install a door sweep on the bottom edge of your barn door. This simple device consists of an aluminum or rubber strip that attaches to the bottom of the door and seals against the ground.
If desired, you can also attach a brush to the door sweep to help keep out debris and critters.
Step 6: Seal Any Windows or Vents
Barn doors often have small windows or vents to allow for ventilation and natural light. However, if not properly sealed, these openings can also become entry points for drafts, moisture, and pests. To address this, ensure that any windows or vents in your barn door are tightly sealed.

Start by examining the frames of the windows or vents for any cracks or gaps. Use the caulk gun to apply a bead of silicone caulk or exterior-grade sealant around the edges of the frame. Smooth the caulk for an even and professional finish, and let it dry according to the manufacturer’s instructions.
If the window or vent has a movable pane or covering, ensure it fits snugly. You may need to add weatherstripping around the movable parts to create a more secure seal.
Weatherstripping foam tape or rubber gaskets work well in these areas, effectively blocking drafts and preventing water ingress.
For added protection, consider installing storm windows or shutters on the exterior of the barn door windows. These can provide an additional barrier against harsh weather conditions and further insulate the barn.
When choosing storm windows or shutters, ensure they are compatible with the size and type of your existing windows or vents.
Step 7: Inspect and Seal Hinges and Hardware
Hinges and other hardware on the barn door can also be potential entry points for drafts and moisture. Inspect the hinges, handles, and any other hardware for gaps or spaces where air and water could seep through.
Use a screwdriver to tighten any loose screws and ensure all hardware is securely fastened.
If needed, apply a small amount of silicone caulk around the edges of the hardware to seal any gaps. Smooth out the caulk for a clean finish. This step will not only improve the seal of your barn door but also enhance the overall durability of the hardware by protecting it from the elements.
Step 8: Check the Door Alignment
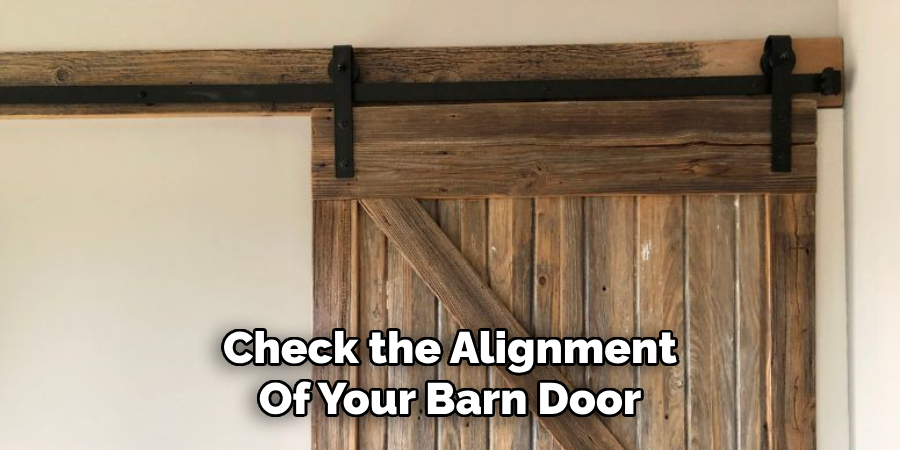
An improperly aligned door can compromise the sealing efforts, allowing drafts and moisture to enter. Check the alignment of your barn door by opening and closing it several times. The door should move smoothly and fit snugly within the frame without any visible gaps.
If you notice any misalignment, adjust the hinges or hardware accordingly to achieve a proper fit. Sometimes, you may need to plane the edges of the door slightly to ensure it sits flush with the frame.
Taking the time to align your door correctly will enhance the effectiveness of the sealing materials and provide better insulation.
Step 9: Perform Regular Maintenance
Sealing a barn door is not a one-time task; regular maintenance is essential to ensure the seal’s longevity. Periodically inspect the weatherstripping, caulk, and other sealing materials for any signs of wear or damage.
Replace any worn-out weatherstripping or reapply caulk as needed to maintain a secure seal.
Keep the area around the barn door clean and free of debris. Dirt and grime can accumulate over time, potentially affecting the performance of the sealing materials. Regular upkeep will ensure that your barn door remains sealed and protected against the elements.
Step 10: Test the Seal
Once you have completed all the sealing steps, it’s important to test the effectiveness of your work. Wait for a day with windy or rainy weather and check for any signs of drafts or water ingress around the door.
Light a candle and hold it near the edges of the door on a windy day; if the flame flickers, it indicates a draft that needs addressing.
Make any necessary adjustments or reapply sealing materials to address any problem areas. Ensuring a proper seal will help protect your barn’s contents and maintain a comfortable environment.
By following these steps, you can effectively seal your barn door, enhancing its durability and functionality while safeguarding your barn’s interior from harsh weather and pests.
5 Things You Should Avoid
- Using Inferior Quality Materials: Avoid using low-quality caulks, sealants, and weatherstripping. These materials may provide a temporary fix but will deteriorate quickly, leading to gaps and leaks.
- Ignoring Regular Maintenance: Sealing your barn door is not a one-time job. Failing to perform regular maintenance can result in the deterioration of seals and the ingress of moisture and pests over time.
- Skipping the Bottom Seal: It’s a common mistake to overlook the bottom of the door when sealing. Leaving this area unsealed can allow water, debris, and pests to enter. Always ensure that the bottom of the door is properly sealed with rubber gaskets, foam tape, or a door sweep.
- Neglecting Proper Surface Preparation: Applying sealant or caulk on dirty or damp surfaces can undermine its effectiveness. Always clean and dry the surfaces before application to ensure a strong and lasting seal. Any dust, debris, or moisture can prevent the sealant from adhering properly.
- Not Checking Door Alignment: Sealing efforts are wasted if the door is not properly aligned within its frame. Misalignment can create gaps that allow drafts and moisture to infiltrate. Always check and correct the alignment of your barn door to enhance the effectiveness of your sealing work.
Conclusion
How to seal a barn door is a crucial step in protecting your barn from the elements and ensuring a comfortable and secure environment inside.
By meticulously following each step—from assessing the condition of your door to applying high-quality sealing materials and performing regular maintenance—you can significantly enhance the durability and effectiveness of your barn door’s seal.
Pay close attention to common pitfalls, such as using inferior materials or overlooking critical areas like the bottom seal and alignment. Properly sealed, your barn door will provide a robust barrier against moisture, drafts, and pests, effectively safeguarding your barn’s interior.
With diligence and care, you can maintain a well-sealed barn door for years to come, providing peace of mind and protecting your investment.
About
Safety Fic is a distinguished figure in the world of Diy design, with a decade of expertise creating innovative and sustainable Diy solutions. His professional focus lies in merging traditional craftsmanship with modern manufacturing techniques, fostering designs that are both practical and environmentally conscious. As the author of diy, Safety Fic delves into the art and science of Safety Fic-making, inspiring artisans and industry professionals alike.
Education RMIT University
(Melbourne, Australia) Associate Degree in Design (Safety Fic) Focus on sustainable design, industry-driven projects, and practical craftsmanship. Gained hands-on experience with traditional and digital manufacturing tools, such as CAD and CNC software.
Nottingham Trent University
(United Kingdom) Bachelor’s in diyfastly.com and Product Design (Honors) Specialized in product design with a focus on blending creativity with production techniques. Participated in industry projects, working with companies like John Lewis and Vitsoe to gain real-world insights.
Publications and Impact
In diy, Safety Fic his insights on indoor design processes, materials, and strategies for efficient production. His writing bridges the gap between artisan knowledge and modern industry needs, making it a must-read for both budding designers and seasoned professionals.