

Safety glass is a durable material designed to reduce the risk of injury by preventing sharp shards in the event of breakage. However, sealing the edges of safety glass is essential to enhance its longevity, prevent moisture infiltration, and protect against potential damage.

This process not only maintains the structural integrity of the glass but also ensures it continues to perform its safety functions effectively. Understanding the steps and materials involved in edge sealing is crucial for both professionals and DIY enthusiasts.
In this blog post on How to seal edges of safety glass, we will discuss the importance of edge sealing, the materials required, and the step-by-step process to seal safety glass effectively.
Importance of Edge Sealing
Edge sealing is a vital part of the installation process for safety glass. Without proper edge sealing, moisture can seep into the edges of the glass, causing damage over time. This can result in discoloration, corrosion, and even structural weakness.
Moreover, edge sealing also helps to prevent any potential cracks or chips from spreading further. Creating a barrier between the glass and external elements reduces the risk of further damage and extends the lifespan of the safety glass.
Materials Required
Before starting with the edge sealing process, ensure that you have all the necessary materials at hand. These include:
Safety Glass:
This can be either tempered or laminated safety glass, depending on the application and requirements.
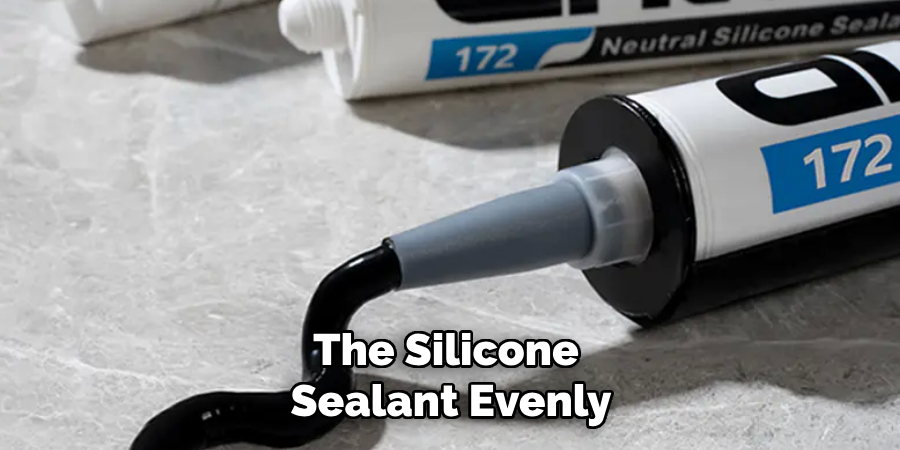
Silicone Sealant:
Choose a high-quality silicone sealant specifically designed for glass surfaces. It should be waterproof, weather-resistant, and able to withstand variations in temperature.
Caulking Gun:
This tool is used to apply the silicone sealant evenly and efficiently.
Cleaning Supplies:
To ensure a clean surface, you will need a glass cleaner, lint-free cloths, and rubbing alcohol.
10 Step-by-step Guide on How to Seal Edges of Safety Glass
Step 1: Prepare the Area
Start by thoroughly cleaning the edges of the safety glass to ensure proper adhesion of the sealant. Use a glass cleaner and a lint-free cloth to remove dust, dirt, and grime. After cleaning, wipe the edges with rubbing alcohol to eliminate any remaining residue or oils.
Allow the glass to dry completely before proceeding to the next step. Ensuring a clean and dry surface is critical for achieving a strong and durable seal.
Step 2: Cut the Nozzle
Take the silicone sealant and carefully cut the nozzle of the sealant tube at a 45-degree angle. Make sure the opening matches the desired thickness of the sealant bead you want to apply.
A smaller opening is recommended for precision, especially for narrow edges, while a slightly larger one is better for wider edges. Insert the tube into the caulking gun and ensure it is securely in place before proceeding to the sealing process.
Step 3: Start Sealing
Hold the caulking gun at a 45-degree angle and slowly squeeze the trigger to begin applying the sealant. Ensure that you apply consistent pressure, moving in a slow and steady motion along the edge of the glass.
For best results, start from one corner of the glass and work your way towards the opposite end. Make sure to cover all edges evenly with a thick and continuous bead of sealant.
Step 4: Smooth Out the Sealant
Once you have applied the sealant, use a gloved finger or a caulk smoothing tool to smooth out the sealant bead. This will help remove any excess and ensure an even and consistent layer of sealant along the edges.
But be careful not to press too hard, as it may thin out the sealant or cause it to break.
Step 5: Clean Up Excess Sealant
After smoothing out the sealant, use a clean cloth dampened with rubbing alcohol to wipe away any excess sealant from the glass surface. This will give your final product a cleaner and more professional look.
The sealant will start to dry quickly, so make sure to clean up any excess promptly.
Step 6: Allow the Sealant to Cure
After completing the sealing process, allow the sealant to cure for at least 24 hours before handling or moving the glass. Make sure the room is well-ventilated and free from moisture during this time.
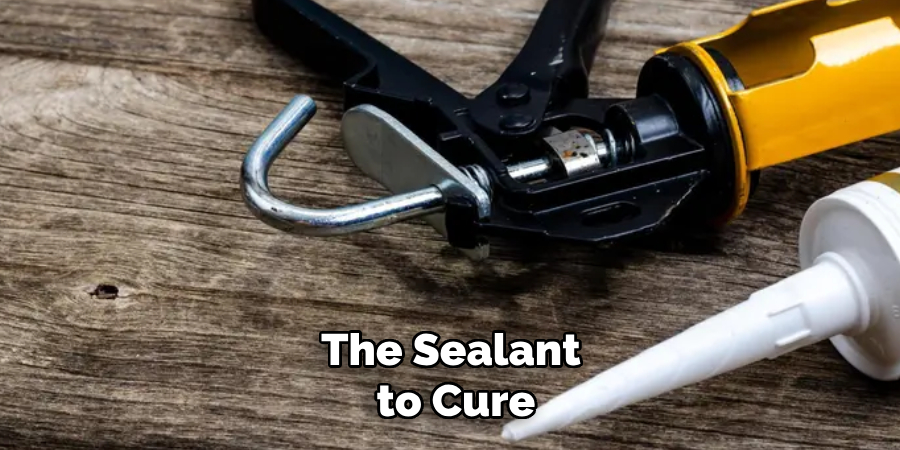
Curing time may vary based on the type of silicone sealant used, so refer to the manufacturer’s instructions for specific guidelines.
Step 7: Check for Gaps or Imperfections
Once the sealant has cured, inspect the edges of the safety glass for any gaps or imperfections in the seal. If necessary, reapply sealant to any areas that may require additional coverage.
It is essential to have a completely sealed edge to ensure maximum protection and longevity of the safety glass.
Step 8: Allow for Final Curing
After addressing any gaps or imperfections, allow for a final curing time of at least 24 hours before using or installing the safety glass. This will ensure that the sealant has fully cured and is ready for use.
It is important not to rush this step as it can compromise the effectiveness of the edge seal.
Step 9: Clean and Inspect
Before using or installing the safety glass, it is crucial to clean and inspect it one last time. Use a glass cleaner and lint-free cloth to remove any residue from the sealing process.
Inspect the edges for any remaining imperfections or gaps and address them accordingly if necessary.
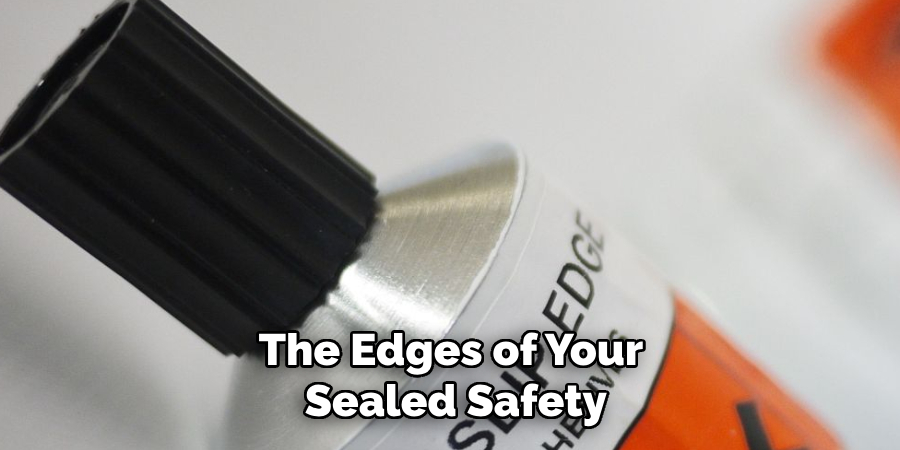
Step 10: Enjoy Your Sealed Safety Glass!
Congratulations, you have successfully sealed the edges of your safety glass! Now, you can use or install it with confidence, knowing that it is protected against moisture and potential damage.
Regular maintenance and care are still necessary to ensure the longevity and effectiveness of the edge seal. It is recommended that the edges be inspected and resealed every few years, depending on the wear and tear of the safety glass.
Following these steps on How to seal the edges of safety glass will help ensure a strong and durable edge seal for your safety glass, providing maximum protection and extending its lifespan. Remember to always prioritize safety when working with glass materials, and seek professional help if needed. Happy sealing!
Additional Tips for Edge Sealing
- Always use high-quality materials, including silicone sealant specifically designed for glass surfaces.
- Choose a suitable sealant color based on your preference or the aesthetics of the surrounding area.
- Make sure to work in a well-ventilated area when applying sealant to avoid inhaling fumes.
- Do not touch the sealant with bare hands, as it may cause skin irritation or allergic reactions. Always wear gloves for protection.
- If you are unsure about how to properly seal the edges of your safety glass, seek professional assistance.
- Regularly inspect and maintain the edges of your safety glass to ensure maximum protection and longevity.
- Re-seal any gaps or imperfections as needed.
- Clean the edges regularly to remove any dirt or debris that may compromise the seal.
- Never use damaged or cracked safety glass, as it may weaken the overall structure and effectiveness of the edge seal.
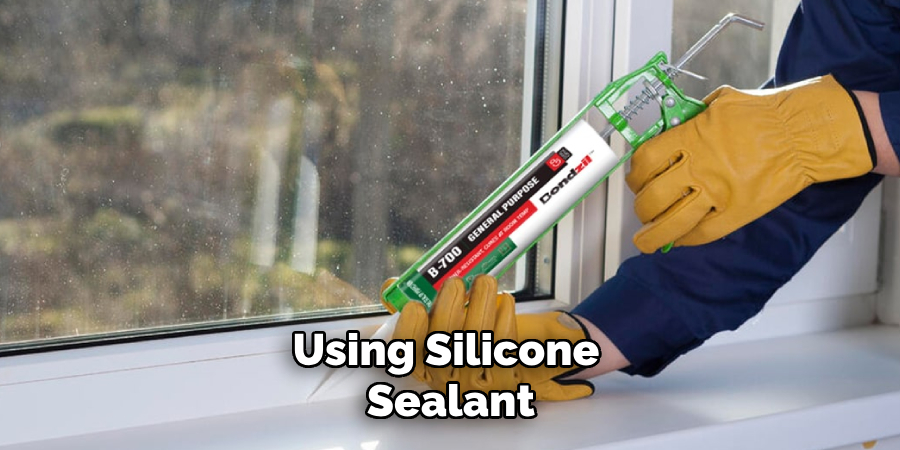
- When using silicone sealant, make sure to follow all manufacturer’s instructions and recommendations for best results.
- Always prioritize safety when handling or working with glass materials. Enjoy your sealed safety glass!
Frequently Asked Questions
Q: Can I Use a Different Type of Sealant for Sealing the Edges of My Safety Glass?
A: It is recommended to use silicone sealant specifically designed for glass surfaces for best results. Other types of sealants may not provide the same level of protection and durability.
Q: How Often Should I Re-Seal the Edges of My Safety Glass?
A: It is recommended that the edges be inspected and resealed every few years, depending on the wear and tear of the safety glass. Regular maintenance and care can help extend the lifespan of the edge seal.
Q: Can I Use a Caulking Gun to Smoothing Out the Sealant?
A: While it is possible to use a caulking gun to smooth out the sealant, it may be more challenging to control the pressure and achieve an even layer. It is generally recommended to use a gloved finger or caulk smoothing tool for better results.
Q: Can I Install or Use the Safety Glass Immediately After Sealing the Edges?
A: It is important to allow for at least 24 hours of curing time before using or installing the safety glass. Rushing this step may compromise the effectiveness of the edge seal.
Q: How Do I Maintain and Clean My Sealed Safety Glass?
A: Regularly cleaning and inspecting the edges of your sealed safety glass can help maintain its effectiveness and durability. Use a glass cleaner and lint-free cloth to remove any residue from the sealing process, and re-seal any gaps or imperfections as needed. Remember to prioritize safety when handling or working with glass materials. Happy sealing!
Conclusion
Sealing the edges of your safety glass is a crucial process to ensure its durability, functionality, and resistance to damage. By following the outlined steps on How to seal edges of safety glass, using the right materials, and allowing sufficient curing time, you can achieve a strong, reliable edge seal. Regular maintenance, including cleaning and re-sealing as needed, will further prolong the lifespan of your safety glass and maintain its protective qualities.
Always prioritize safety when working with glass, and don’t hesitate to consult a professional if you’re uncertain about any step in the process. With proper care and attention, your sealed safety glass will provide long-lasting protection and peace of mind. Happy sealing!
About
Safety Fic is a distinguished figure in the world of Diy design, with a decade of expertise creating innovative and sustainable Diy solutions. His professional focus lies in merging traditional craftsmanship with modern manufacturing techniques, fostering designs that are both practical and environmentally conscious. As the author of diy, Safety Fic delves into the art and science of Safety Fic-making, inspiring artisans and industry professionals alike.
Education RMIT University
(Melbourne, Australia) Associate Degree in Design (Safety Fic) Focus on sustainable design, industry-driven projects, and practical craftsmanship. Gained hands-on experience with traditional and digital manufacturing tools, such as CAD and CNC software.
Nottingham Trent University
(United Kingdom) Bachelor’s in diyfastly.com and Product Design (Honors) Specialized in product design with a focus on blending creativity with production techniques. Participated in industry projects, working with companies like John Lewis and Vitsoe to gain real-world insights.
Publications and Impact
In diy, Safety Fic his insights on indoor design processes, materials, and strategies for efficient production. His writing bridges the gap between artisan knowledge and modern industry needs, making it a must-read for both budding designers and seasoned professionals.