

Are you a new parent on the hunt for ways to secure your changing pad to your dresser? Do you have a changing pad, or are you considering purchasing one? If so, then there’s no doubt that one of your main concerns is how to securely attach it to the dresser. With so many hidden dangers in and around the home, it’s important that baby-proofing is done right.
Thankfully, there are several solutions available that can help ensure your little one remains safe while using their changing pad. In this article, we’ll break down some of the best methods for attaching a changing pad to any type of dresser securely and effectively. Read on as we arm you with all the knowledge on how to secure changing pad to dresser needed to make sure your baby stays safe!
The Benefits of Changing Pad to Dresser Attachment
1. Add Safety
Securing the changing pad to the dresser ensures that your baby is safe while being changed. It prevents them from accidentally rolling off their changing station and suffering an injury. Additionally, it stops the pad from slipping or sliding around on slick surfaces, which can also be hazardous. Moreover, by securely attaching a changing pad to the dresser using the methods outlined below, you can be sure that all edges of the pad are properly supported.
2. Added Convenience
Having your changing pad secured to the dresser also makes things much more convenient for parents. With a firmly secured pad, it’s easy to move from one side to the other without having to worry about unsafe shifting or slipping. You can also slide the changing pad to a different spot on the dresser if necessary.
Required Items
Before securing a changing pad to a dresser, it’s important to have all the right items handy. Here is what you will need:
- Changing pad
- Screws (that fit the changing pad and the dresser)
- Screwdriver
- Measuring tape
- Leveler
How to Secure Changing Pad to Dresser in 10 Steps
Step 1: Measurement
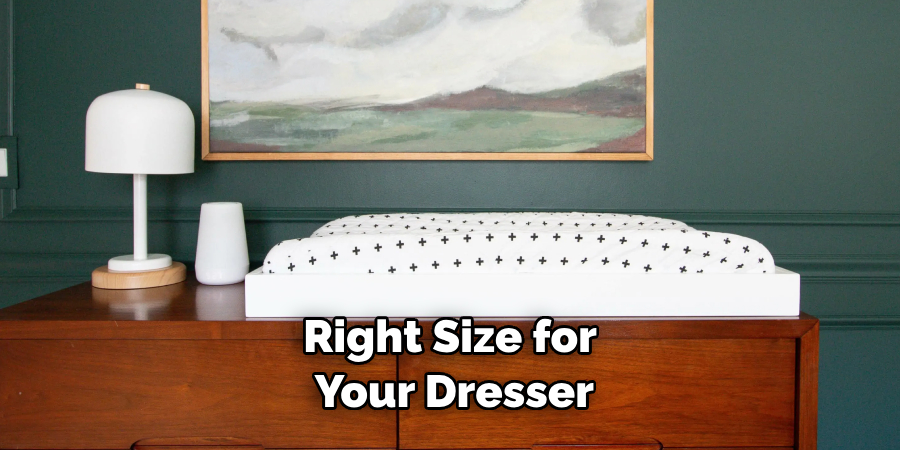
Start by measuring the surface area of the dresser top. This will determine the size and how you need to secure the changing pad. Also, measure the changing pad to make sure it’s the right size for your dresser top.
Step 2: Placement
Place the changing pad on top of the dresser and mark where you will need to place the screws. Make sure to follow any instructions that come with the changing pad for optimal placements.
Step 3: Screws
Using the screws provided with the changing pad, screw it into the dresser. Make sure to follow all instructions for installation as outlined in the product’s manual.
Step 4: Leveler
Once you have secured a few screws, check to make sure that your changing pad is level by using a leveler. If the changing pad is not level, adjust the screws until it is.
Step 5: Finish Securing
Once you have ensured that your changing pad is level and secure, finish securing all the remaining screws into place. Make sure to double-check that each screw is properly tightened.
Step 6: Check Stability
Give your changing pad a gentle push to make sure it’s completely stable. If there is any movement, adjust the screws until the changing pad is secure and does not move.
Step 7: Test the Pad
Now that you have finished securing your changing pad to your dresser test it out by placing a few of your baby items on the surface. Make sure to check that everything is securely placed and does not move.
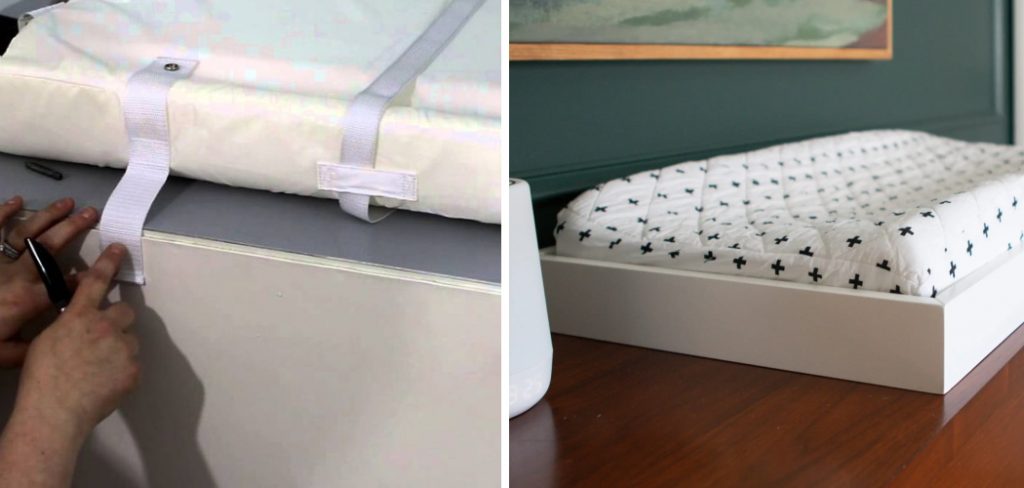
Step 8: Safety Straps
Most changing pads come with safety straps, which should be used for extra security. Attach the safety straps according to the instructions and make sure they are securely fastened.
Step 9: Check Regularly
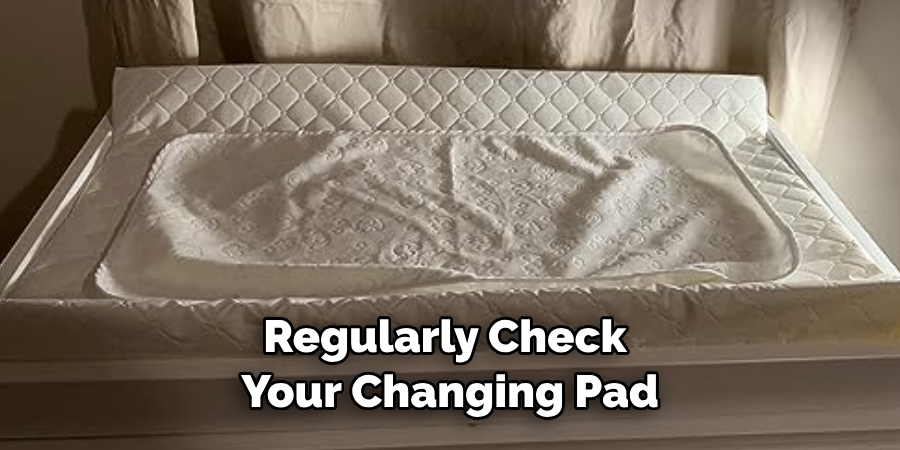
For optimal safety, it’s important to regularly check your changing pad and the screws that are securing it to the dresser. Make sure they are all securely fastened and in place.
Step 10: Enjoy!
Now that you have successfully secured your changing pad to the dresser, you can enjoy using it for changing times with your little one. Have fun and enjoy the moments with your baby!
Tips & Tricks
- Make sure to use the right size screws for both the changing pad and the dresser.
- Measure your surface area before you start so that you know exactly what size-changing pad to get.
- Always follow all instructions provided by the product manual for optimal safety.
- Don’t forget to use the safety straps if provided with your changing pad.
- Regularly check that all screws are securely fastened and in place.
- Check the stability of the changing pad by gently pushing it to make sure it doesn’t move.
8 Common Mistakes to Avoid
- Not measuring the surface area of your dresser. If you don’t know the size, you won’t be able to get the right size changing pad. Also, all the items may not fit on top of it.
- Not using the right-sized screws for both the changing pad and your dresser. Using wrong-size screws can cause instability or even damage to your furniture or changing pad.
- Not following the instructions for installation provided in the product manual. This could lead to improper attachment and potentially unsafe conditions.
- Forgetting to use safety straps if included with your changing pad. Safety straps provide additional security and should not be overlooked!
- Using too many screws, which can cause damage to the dresser top or changing pad.
- Not checking the levelness of your changing pad after securing it with a few screws, as it might not be properly supported.
- Not double-checking that all screws are securely fastened and in place after finishing installation.
- Forgetting to regularly check for loose or missing screws, as they can cause instability or even accidents.

When it comes to securing a changing pad to the dresser, following these tips and avoiding these common mistakes will ensure that your baby stays safe and secure during changing times. With the right items, knowledge of how to properly install it, and regular maintenance checks, you can enjoy many happy, changing moments with your little one!
8 Maintenance Tips
- Make sure the changing pad is secured to the dresser by using safety straps that are provided with the product or purchased separately. The change pad should be snug and secure to help prevent it from slipping.
- Inspect the straps regularly for any wear or tear that would compromise their effectiveness in keeping the changing pad securely fastened to the dresser. Replace any faulty straps immediately.
- If there is a chance of tipping, make sure the changing pad is secured to the wall with anti-tip brackets or furniture straps for added security.
- Check if the dresser was designed and constructed with an anti-tip feature, such as adjustable feet that can be adjusted from side to side so it remains stable on any surface.
- Make sure the changing pad is always used on a flat, level surface. Also, make sure there is nothing on the changing pad that could be a hazard, such as small objects or sharp edges.
- Check for any loose hardware, such as screws and nuts, to ensure all components are securely fastened in place. Also, inspect the frame and structure of the changing pad for any weak points that could compromise its strength.
- Make sure all parts are kept clean, free from dirt and debris, and wiped down regularly with an appropriate cleaning solution or cloth.
- Inspect the safety straps periodically to make sure they are in good condition and secure enough to hold the changing pad firmly.
If the changing pad is not properly secured to the dresser, it could cause serious injury. Therefore, it is important to check all components regularly and ensure that they are in good condition so that your little one can be as safe as possible. It’s also important to keep an eye on your baby while they’re using the changing pad – even if it is well secured.
Always use the utmost caution when handling and securing your changing pad to the dresser. By following these simple maintenance tips on how to secure changing pad to dresser, you can ensure that your baby stays happy and safe!
Frequently Asked Questions
How to Choose the Best Material?
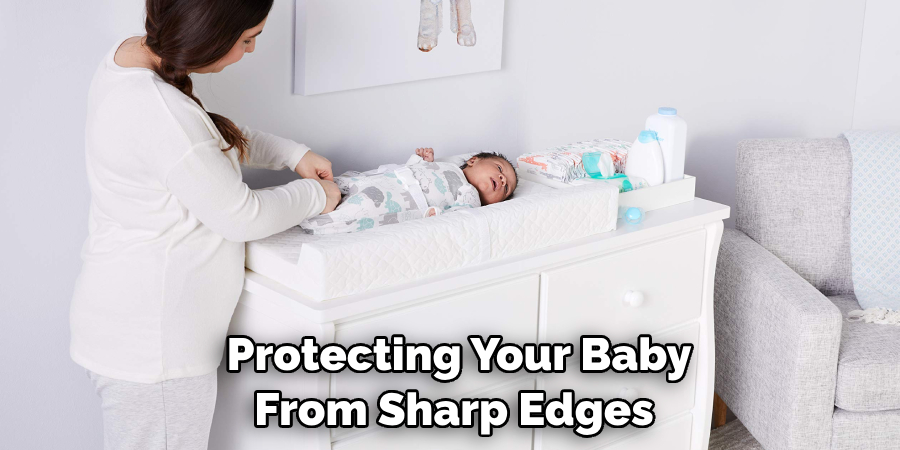
When selecting the best material for your changing pad, be sure to consider factors such as safety, comfort, durability, and ease of cleaning. You want something that is soft and provides cushioning while protecting your baby from sharp edges or slipping off the edge of the pad.
Look for materials like memory foam, which can provide extra protection against this kind of accident. Other materials like vinyl, polyester, and cotton are also popular choices.
How Often Should I Wash My Changing Pad?
It’s important to keep your changing pad clean and hygienic. It is recommended that you wash your changing pad at least once a week with mild detergent and warm water. For spot cleaning, use an all-purpose cleaner on the area to remove stains or spills quickly and easily.
Be sure to allow the pad to air dry completely before using it again to prevent bacteria from growing. It’s also a good idea to inspect the pad for any rips or tears before each use and replace it as needed.
What Other Measures Can I Take?
In addition to securing your changing pad, there are other measures you can take to ensure your baby’s safety. Place a soft, thick blanket over the changing pad to give extra cushioning and to keep your baby warm. It’s also important to never leave your baby unattended on the changing pad, even if it is secured in place. Finally, don’t forget the essential items such as wipes, diaper cream, and clean clothes, which will make diapering much easier.
With these tips on how to secure changing pad to dresser in mind, you can be sure that your baby is safe and comfortable during diaper changes. Letting your little one know that it’s okay to make a mess and not worry about being perfect will help make diapering time more enjoyable for both of you. With the right equipment, proper safety measures, and a few essentials like wipes and
Conclusion
To wrap it all up, securing your changing pad to a dresser is a great way to keep the pad in place while also ensuring that your baby is safe. Once you’ve done the work of securing the pad, you can sit back and enjoy all the added peace of mind that comes with having it safely secured so no accidents occur.
It may take some time and effort, but the satisfaction you get from making sure your baby’s safety is not compromised will be worth it in the end! So take the time to follow these steps on how to secure changing pad to dresser today – your little one deserves nothing less. Plus, by investing this time now, you’ll ensure your changing station is secure for years to come.
About
Safety Fic is a distinguished figure in the world of Diy design, with a decade of expertise creating innovative and sustainable Diy solutions. His professional focus lies in merging traditional craftsmanship with modern manufacturing techniques, fostering designs that are both practical and environmentally conscious. As the author of diy, Safety Fic delves into the art and science of Safety Fic-making, inspiring artisans and industry professionals alike.
Education RMIT University
(Melbourne, Australia) Associate Degree in Design (Safety Fic) Focus on sustainable design, industry-driven projects, and practical craftsmanship. Gained hands-on experience with traditional and digital manufacturing tools, such as CAD and CNC software.
Nottingham Trent University
(United Kingdom) Bachelor’s in diyfastly.com and Product Design (Honors) Specialized in product design with a focus on blending creativity with production techniques. Participated in industry projects, working with companies like John Lewis and Vitsoe to gain real-world insights.
Publications and Impact
In diy, Safety Fic his insights on indoor design processes, materials, and strategies for efficient production. His writing bridges the gap between artisan knowledge and modern industry needs, making it a must-read for both budding designers and seasoned professionals.