

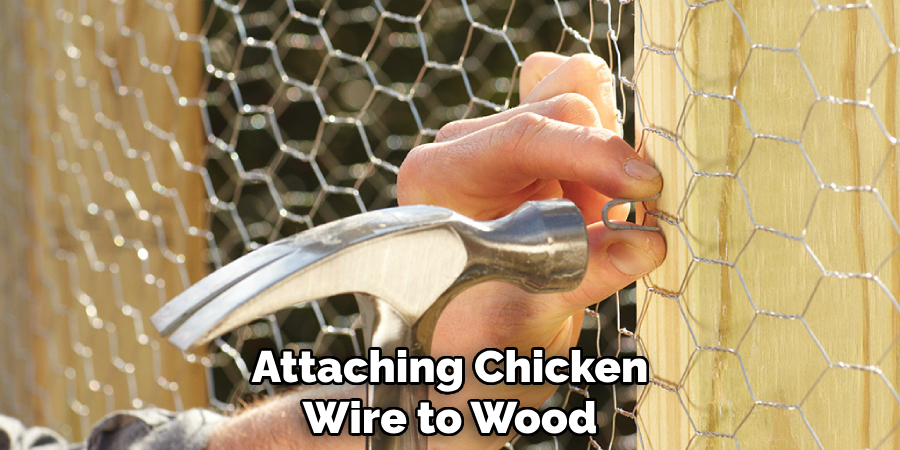
Securing chicken wire to wood is fundamental for many outdoor projects, ranging from constructing poultry enclosures to crafting garden fences. This introductory guide aims to equip you with the essential knowledge and techniques on how to secure chicken wire to wood effectively.

Understanding the importance of properly securing chicken wire is crucial for the durability and functionality of enclosures and fencing. Ensuring that your chicken wire is fastened securely prevents potential escapes or breaches, providing peace of mind regarding the safety of your chickens or the integrity of your garden barriers.
This guide will overview various methods and techniques for attachment, giving you the confidence to tackle your project with assurance that you know how to secure chicken wire to wood efficiently and reliably.
Selecting the Right Materials
Selecting the appropriate materials is a critical step in ensuring the success and durability of your chicken wire attachment project.
A. Choosing Suitable Chicken Wire
The first step involves selecting the appropriate gauge and mesh size of chicken wire for your specific application. Chicken wire comes in various gauges; thinner gauges are more flexible and easier to work with but are less durable, which means they may not be suitable for enclosures designed to protect against predators.
The mesh size also matters; smaller mesh sizes are ideal for keeping smaller animals or birds contained or excluded, while larger mesh sizes may be suitable for larger animals but could allow smaller creatures to pass through or get trapped. Consider the purpose of your enclosure or fence and choose the wire that best meets those needs.
B. Acquiring Wood Fasteners
Next, gather the staples, nails, or screws suitable for attaching chicken wire to wood. Staples are commonly used for their ease of installation and ability to hold the wire snugly against the wood; however, nails or screws may provide a more secure attachment in situations where the enclosure will be under greater stress or where durability is a paramount concern.
Optional for galvanized fasteners as they are resistant to rust and corrosion, ensuring a longer lifespan for your construction.
C. Optional Tools
Though not strictly necessary, certain tools can make the installation process considerably more efficient. A staple gun (manual, electric, or pneumatic) can drastically speed up the process of attaching chicken wire, providing a consistent and secure attachment. Nail guns and electric screwdrivers can also be helpful, significantly reducing the manual labor involved in the project.
If you’re planning to use screws, a drill might be necessary to pre-drill pilot holes to prevent the wood from splitting. Having the right tools can transform a laborious task into a manageable and enjoyable project.
By carefully selecting the right chicken wire, fasteners, and optional tools, you can ensure that your chicken wire attachment project is built to last, keeping your chickens safe and your garden protected.
Preparing the Wood Surface
Preparing the wood surface correctly is just as important as selecting the right materials when securing chicken wire to wood. This stage sets the foundation for a secure and lasting installation, ensuring that the chicken wire is attached efficiently and effectively.
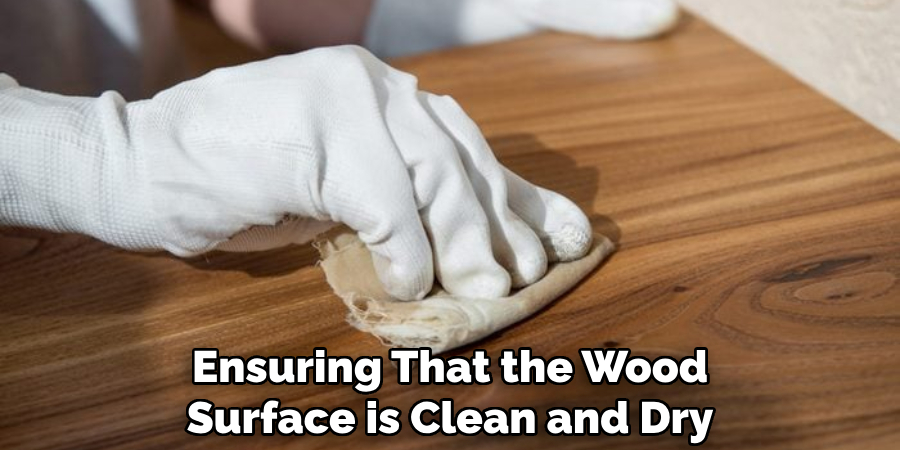
A. Cleaning and Prepping
Before beginning the installation process, ensuring that the wood surface is clean, dry, and debris-free is crucial. Any dirt, moisture, or remnants from previous projects can interfere with the attachment, leading to potential vulnerabilities in the enclosure or fence. Start by brushing off any loose debris from the wood surface.
Use a mild cleaning solution to remove dirt or residue, then allow the wood to dry completely. This step promotes better adhesion of the chicken wire and helps prevent wood decay or corrosion, particularly when using metal fasteners.
B. Marking Attachment Points
For an even and secure attachment of the chicken wire, it is essential to mark or measure where it will be fastened to the wood. Use a tape measure and a pencil or chalk to indicate the points along the wood where the chicken wire will be attached.
This ensures that the wire is stretched evenly across the surface, preventing sagging or bulging, which could compromise the security or aesthetics of the final project. Accurate marking helps maintain consistent spacing between fasteners, which is key to the durability and effectiveness of the chicken wire attachment.
C. Optional Reinforcement
In some cases, adding additional wood supports or bracing may be necessary to stabilize the chicken wire, especially for larger enclosures or areas subject to high stress or wear. This might involve affixing horizontal or vertical wood beams at intervals along the area where the chicken wire will be attached.
Reinforcement not only aids in supporting the weight and tension of the chicken wire but also in fortifying the overall structure against impacts or pressure. While this step may require additional materials and labor, the added stability can significantly extend the lifespan and functionality of the chicken wire installation.
By meticulously cleaning and prepping the wood surface, marking attachment points accurately, and reinforcing the structure if necessary, you can create a solid foundation for effectively securing the chicken wire to wood, ensuring that your project remains robust and durable over time.
How to Secure Chicken Wire to Wood: Attaching Chicken Wire with Staples
A. Staple Gun Method
Using a heavy-duty staple gun is the most straightforward and efficient method for attaching chicken wire to wood surfaces. Begin by aligning one edge of the chicken wire with your pre-marked attachment points on the wood. Position the staple gun at the start of your line and firmly press the trigger to insert the first staple into the wood, securing the chicken wire.
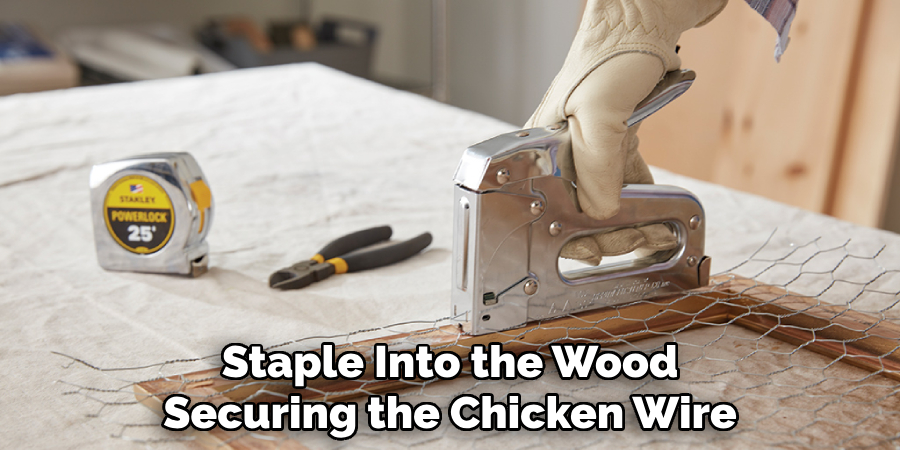
Continue this process at regular intervals—roughly every 5 to 10 centimeters—along the edges of the chicken wire. This consistent spacing ensures that the wire is evenly supported and prevents sagging or gaping, which could undermine the enclosure’s integrity.
B. Ensuring Tautness
Achieving a secure and snug fit requires maintaining tension in the chicken wire as you attach it to the wooden surface. After affixing the first few staples, gently but firmly pull the wire taut before inserting the next staple.
It’s crucial to strike a balance; while you want the chicken wire to be tight against the wood, overly aggressive pulling could warp the wire or cause it to break. This method prevents slack and ensures the stability and effectiveness of your fence or enclosure.
C. Overlapping and Securing Ends
In cases where your project spans longer than a single stretch of chicken wire, you’ll need to join multiple sections together. To ensure continuity and strength, overlap the ends of adjacent sections by at least 10 to 15 centimeters. Staple both layers of the overlap area securely to the wood, paying extra attention to the edges.
This overlapping technique reinforces the connection points between sections, providing a seamless barrier that maintains the enclosure’s integrity. Secure the overlapping wire ends with staples at varied angles to maximize attachment strength and prevent any gaps or weak points.
By carefully applying these steps, utilizing a staple gun for attaching chicken wire to wood becomes a highly effective method. This approach simplifies the process and ensures a durable and reliable enclosure suitable for a wide range of applications, from garden fencing to animal containment.
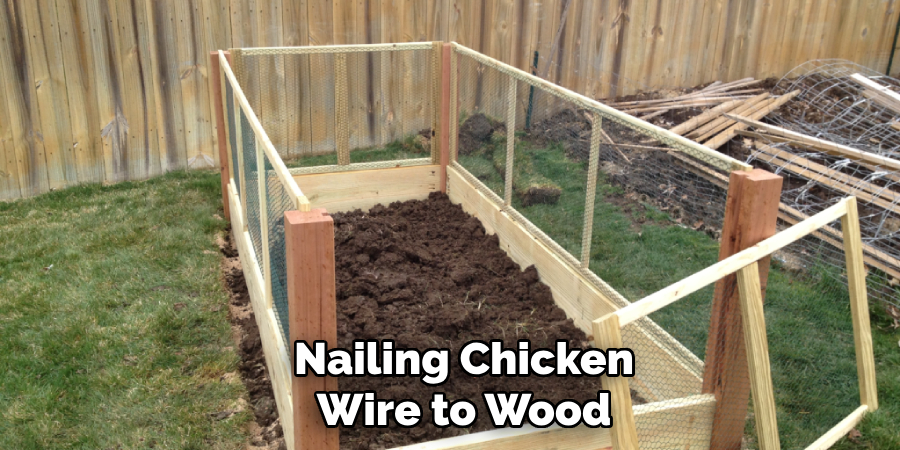
How to Secure Chicken Wire to Wood: Nailing Chicken Wire to Wood
Nailing chicken wire to wood is an alternative method that, while more labor-intensive than using staples, can offer substantial holding power, particularly in applications where the chicken wire will bear weight or withstand force.
This method relies on precise placement and skilled technique to ensure a strong, durable attachment that can meet the demands of garden enclosures, pet barriers, or chicken coops.
A. Nail Placement
To begin, lay out the chicken wire over the wood surface, aligning it according to your project’s specifications and ensuring it covers the intended area completely. Select galvanized nails, which are resistant to rust and corrosion, for a long-lasting installation.
Position the nails at strategic points where the chicken wire mesh intersects with the wood, ensuring that each nail goes through a section of the mesh and into the wood underneath. This method secures the wire directly to the wood surface, providing a firm anchor.
B. Even Distribution
For the chicken wire to maintain its shape and function effectively as a barrier or enclosure, it is essential to distribute the nails evenly along the edges and at key intersections within the mesh. Spacing nails too far apart can lead to sagging or bulging chicken wire, while placing them too close may cause unnecessary damage to the wood or the wire itself.
A general guideline is to place nails every 10 to 15 centimeters along the perimeter and at major intersection points across the chicken wire, ensuring that each section is securely attached to the wood.
C. Hammering Technique
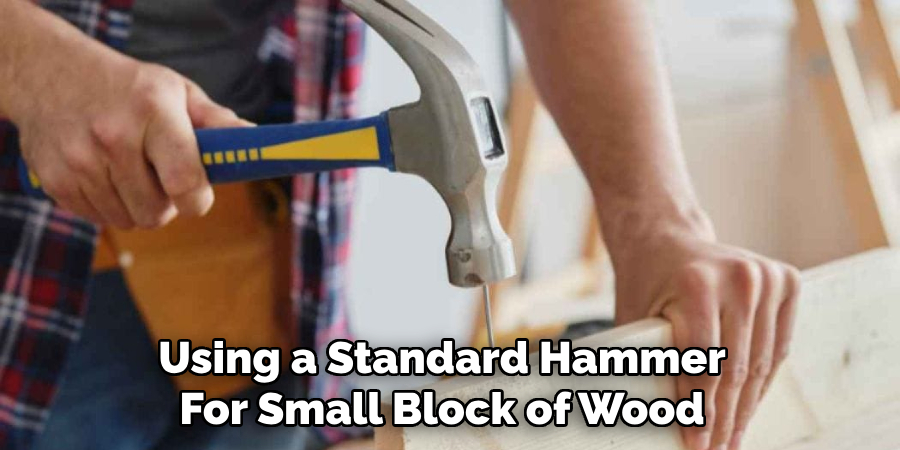
The technique used to hammer the nails into place is critical to the success of this attachment method. Use a steady, controlled motion to drive each nail straight through the chicken wire and into the wood, taking care not to bend or distort the mesh in the process.
A warped or damaged mesh can compromise the structural integrity of your project. If using a standard hammer, consider placing a small block of wood over the nail head as you hammer to distribute the force more evenly and prevent tearing the chicken wire.
By following these steps—careful nail placement, ensuring even distribution, and applying a controlled hammering technique—you can effectively nail chicken wire to wood. While this method requires a bit more effort and precision, it produces a robust and dependable attachment that will serve your project needs for years to come.
How to Secure Chicken Wire to Wood: Screwing Chicken Wire to Wood
Screwing chicken wire to wood offers another effective attachment method, combining ease of use with strong and reliable results. This approach is particularly useful for heavy-duty applications where the chicken wire must withstand significant forces or weight.
A. Drill Pilot Holes
The first step in this method is to pre-drill small pilot holes in the wood surface. This step is crucial as it prevents the wood from splitting when you insert the fasteners. Choose a drill bit that is slightly smaller than the diameter of the screws or bolts you plan to use.
Position these pilot holes at strategic points along your marked lines, ensuring they align with the mesh intersections of the chicken wire for optimal attachment.
B. Using Screws or Bolts
Once the pilot holes are prepared, lay the chicken wire over the wood surface, aligning it carefully with your project’s specifications. Then, using galvanized screws or bolts—which are resistant to rust and corrosion—attach the chicken wire to the wood by securing it through the pre-drilled holes.
Make sure the screws or bolts pass through intersections in the chicken wire mesh for a stable attachment. Galvanized hardware is essential for outdoor or moisture-prone environments to ensure the longevity and durability of the attachment.
C. Tightening and Finishing
After inserting the screws or bolts, firmly tighten them to ensure a secure connection between the chicken wire and the wood without over-tightening and potentially damaging the wire. The goal is to achieve a snug fit that firmly holds the chicken wire in place without warping or damaging it.
Once all fasteners are securely tightened, inspect the perimeter and intersections to ensure there are no loose sections or potential escape points for smaller animals if the chicken wire is being used for containment.
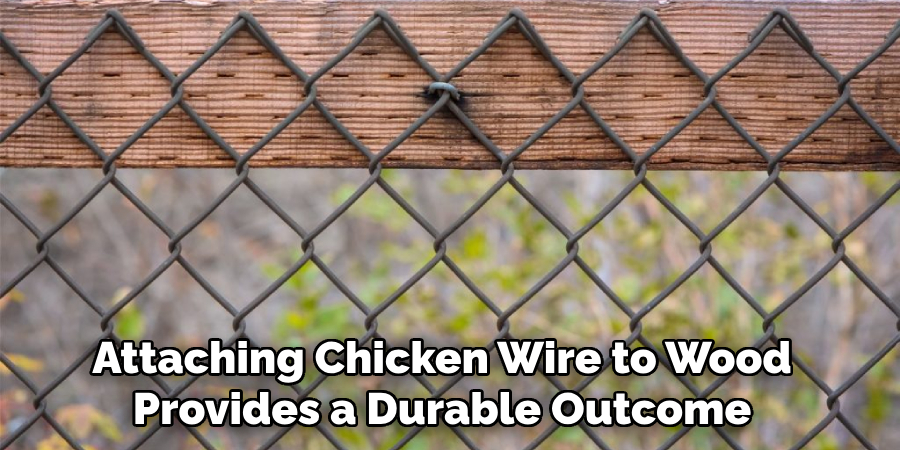
When executed properly, this method of attaching chicken wire to wood provides a durable and reliable outcome suitable for various projects, including protective garden fencing, animal enclosures, and more.
Safety Precautions and Considerations
Ensuring safety during the installation of chicken wire to wood is paramount. Taking the proper precautions helps prevent personal injury and ensures a smooth and effective installation process. Below are key safety considerations to keep in mind:
A. Protective Gear
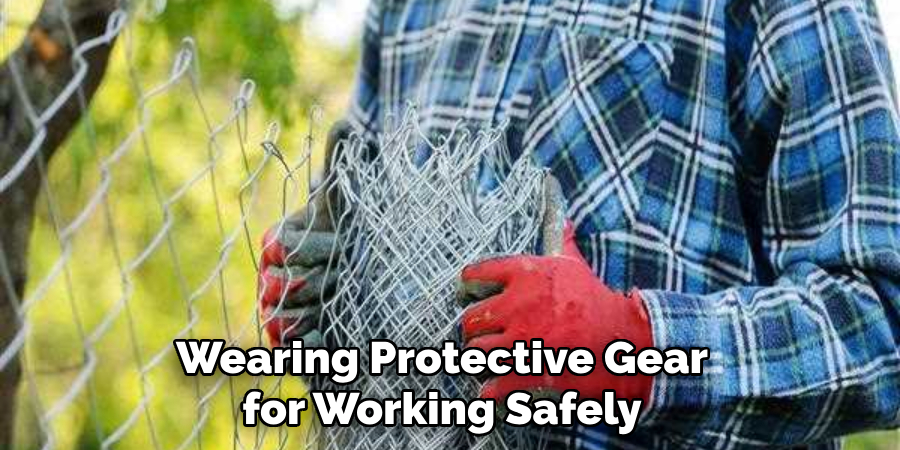
When working with chicken wire, wearing the appropriate protective gear is essential. Gloves are a must to protect your hands from the sharp edges of the wire, which can easily cause cuts or scrapes. Additionally, safety glasses should be worn to shield your eyes from flying debris, especially when cutting the wire or hammering nails.
These simple pieces of personal protective equipment can greatly reduce the risk of injury.
B. Working Safely
Proper tool and equipment handling is crucial to preventing accidents and injuries during the installation process. Always use tools for their intended purposes and follow the manufacturer’s instructions.
Be particularly cautious with power tools, ensuring they are properly maintained and familiar with their operation before use. Stay focused on the task at hand and avoid distractions to minimize the risk of mishaps.
C. Environmental Considerations
Be mindful of the environmental conditions that may affect the safety and effectiveness of your installation. High winds can make managing and securing the chicken wire more challenging and potentially hazardous.
Additionally, wet or icy conditions can make surfaces slippery, increasing the risk of falls or tool mishaps. Plan your project for a day with favorable weather conditions, and take necessary precautions to mitigate any environmental risks.
By adhering to these safety precautions and considerations—wearing protective gear, working safely with tools, and being mindful of environmental conditions—you can ensure a safer installation process while achieving a secure and effective attachment of chicken wire to wood.
Conclusion
In summary, we have explored various methods and techniques on how to secure chicken wire to wood, including the use of staples, nails, and screws. Each method requires careful execution—from drilling pilot holes to ensure the wood doesn’t split to hammering or screwing the chicken wire in place for a firm hold.
The importance of secure attachment cannot be overstated; it is critical for creating durable and effective enclosures and fencing that stand the test of time and protect against external elements.
Remember, the success of your project hinges on proper preparation, the right material selection, and meticulous attachment techniques. Whether you are building a garden fence, an animal enclosure, or any other project requiring chicken wire, these guidelines will help ensure a robust and lasting installation.
We wish you success in your chicken wire installation projects and hope that our insights on how to secure chicken wire to wood assist you in achieving the best possible outcomes. Happy building!