Are you concerned about the security of your crawl space vents? If so, you’re not alone. Securing crawl space vents is a crucial step in maintaining your home’s integrity and safety. These vents play a vital role in air circulation under your home, helping to prevent moisture buildup that can lead to mold growth, wood rot, and a host of other issues.
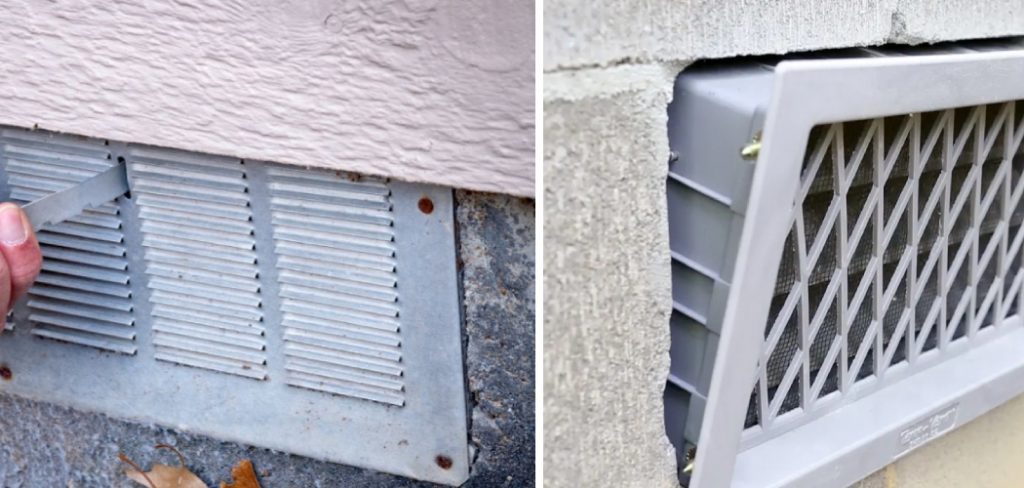
However, they can also be entry points for pests and can compromise your home’s energy efficiency if not properly managed. This guide will walk you through various methods on how to secure crawl space vents effectively, ensuring they continue to provide the necessary ventilation while protecting your home from potential intruders and energy loss.
Whether you’re dealing with critters, cold drafts, or moisture concerns, securing your crawl space vents is a proactive step towards a healthier, safer home environment.
What are the Benefits of Securing Crawl Space Vents?
Securing crawl space vents offers numerous benefits for both the structural integrity and energy efficiency of your home.
- Keeping Pests Out: One of the main reasons to secure your crawl space vents is to prevent pests from entering your home. These openings can be easy access points for rodents, insects, and other unwanted visitors. Once inside, these pests can cause damage to your home’s insulation, wiring, and even structural components.
- Reducing Moisture Buildup: Crawl space vents are essential for proper air circulation beneath your home. However, they can also allow excess moisture to enter during periods of high humidity or heavy rainfall. This moisture buildup can lead to mold growth, wood rot, and other issues that can compromise the structural integrity of your home.
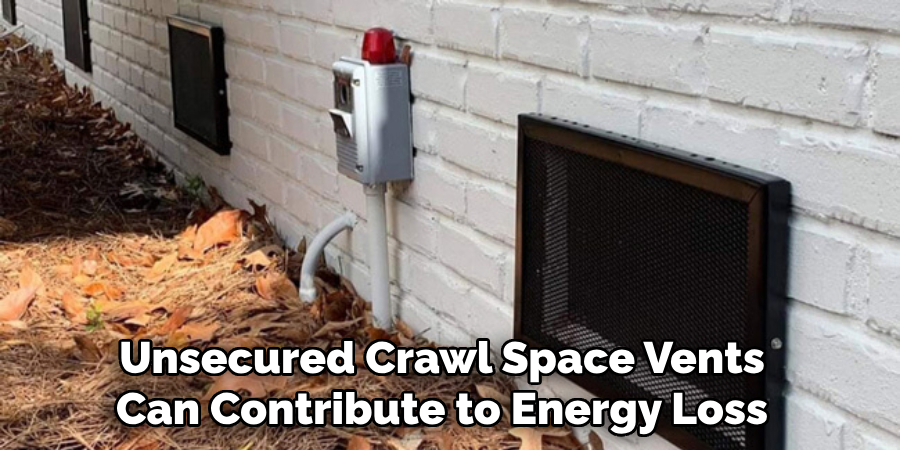
- Enhancing Energy Efficiency: Unsecured crawl space vents can also contribute to energy loss in your home. During the colder months, cold drafts can enter through these openings, making it harder for your HVAC system to maintain a consistent temperature. This, in turn, leads to higher energy bills and potential discomfort for you and your family.
These are just a few of the benefits of securing crawl space vents. Now, let’s explore some effective methods for achieving this.
What Will You Need?
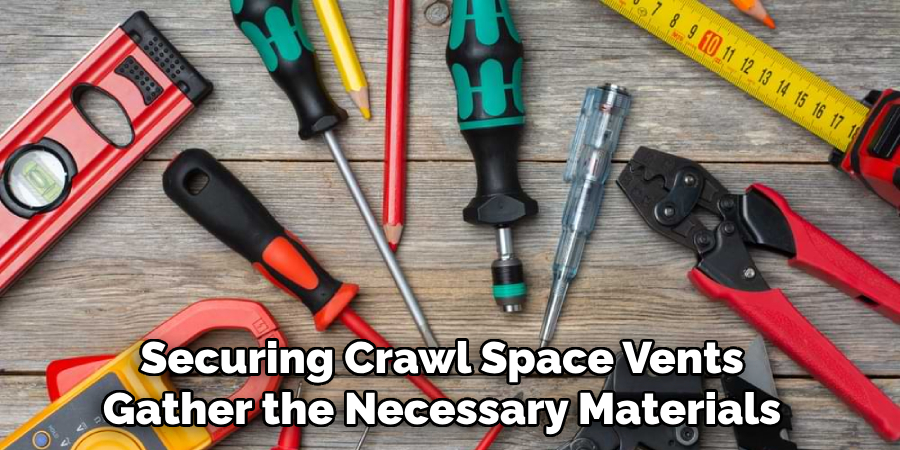
Before securing your crawl space vents, gather the necessary materials to complete the job. The specific tools and supplies needed may vary depending on the method you choose, but here are some general items you may need:
- Flashlight: A flashlight will come in handy when inspecting your crawl space and identifying potential issues.
- Measuring Tape: Accurate measurements are crucial when securing crawl space vents, so a measuring tape is necessary.
- Screwdriver: Many methods for securing crawl space vents involve screws, so having a screwdriver on hand is essential.
- Wire Mesh or Hardware Cloth: These materials are commonly used to cover the openings of crawl space vents and prevent pests from entering.
- Stapler and Staples: If you’re using wire mesh or hardware cloth to secure your vents, a stapler and staples will be needed to attach the material.
- Weatherstripping or Caulk: For methods that involve sealing off the vents completely, weatherstripping or caulk will be necessary to create an airtight barrier.
Now that you have all the necessary tools and materials let’s explore some methods for securing crawl space vents.
10 Easy Steps on How to Secure Crawl Space Vents
Step 1. Inspect Each Vent:
Start by inspecting each crawl space vent around your home. Use your flashlight to look for any signs of damage, wear, or pest activity. This initial inspection will help you determine the best course of action for securing each vent. Also, measure each vent opening to ensure you have the correct size materials.
Step 2. Clean and Repair Vents:
Before proceeding with any modifications, cleaning and repairing the existing vents is essential. Remove any debris, dust, or cobwebs that may have accumulated around the vent openings. If you notice any signs of rust or damage on the vent covers, take the time to address these issues.
Small holes or tears can be patched with wire mesh or hardware cloth, while more significant damage might require replacing the vent cover entirely. Ensuring your vents are in good condition is crucial for both securing and maintaining proper ventilation beneath your home.
Step 3. Measure and Cut Wire Mesh or Hardware Cloth:
Once your crawl space vents are clean and repaired, the next step is to prepare the wire mesh or hardware cloth that will be used to secure them. Cut pieces of wire mesh or hardware cloth to size using the measurements taken earlier. Ensure that the pieces are slightly larger than the vent openings to provide a secure fit.
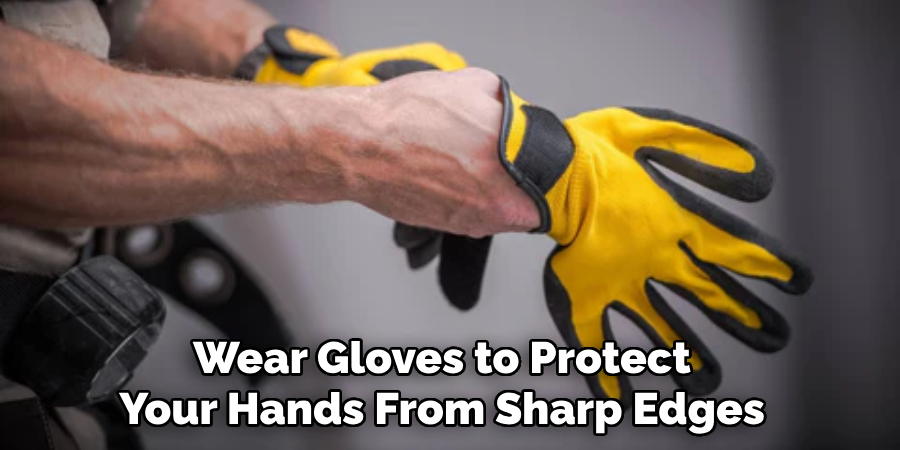
Wear gloves to protect your hands from sharp edges and use heavy-duty scissors or wire cutters for best results when cutting the material. This reinforcing layer will act as a barrier, preventing pests from entering the vents while allowing air to circulate beneath your home.
Step 4. Attach the Wire Mesh or Hardware Cloth to the Vents:
With your wire mesh or hardware cloth cut to the correct size, the next step is to secure it to the crawl space vents. Position the material over the vent opening and use a stapler to attach it firmly in place. Ensure the mesh covers the entire opening and extends slightly beyond the edges for a tight fit.
For added security, you can also use screws to fasten the corners of the mesh to the vent frame. This method not only keeps pests out but also allows for continued airflow, which is essential for preventing moisture buildup under your home.
Step 5. Seal Edges with Weatherstripping or Caulk:
After attaching the wire mesh or hardware cloth to the vents, seal the edges with weatherstripping or caulk to prevent any small pests from squeezing through gaps. Weatherstripping is ideal for creating a tight seal around the edges of the mesh, while caulk can be used to fill in any small openings or crevices.
Be sure to apply the weatherstripping or caulk smoothly and evenly for the most effective barrier. This step not only aids in pest control but also contributes to the overall energy efficiency of your home by blocking drafts.
Step 6. Evaluate Ventilation Needs:
Evaluating your home’s ventilation needs is an essential step in the process. After securing the crawl space vents, ensuring that your home still has sufficient airflow to prevent moisture accumulation is important.
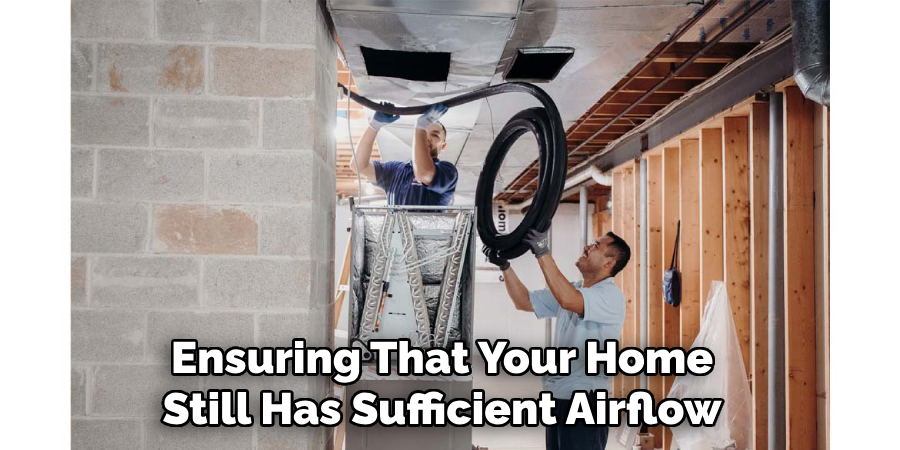
Consider consulting with a professional to assess the crawl space’s ventilation and determine if additional measures, such as installing a dehumidifier or vents with adjustable louvers, are needed. This proactive approach will help maintain a healthy environment beneath your home by balancing the need for security with adequate ventilation.
Step 7. Check for Air Leaks:
After securing and sealing your crawl space vents, checking for air leaks is crucial. Use your hand or a smoke pen to detect airflow around the sealed vents. Identifying and addressing any leaks is important for maintaining energy efficiency and ensuring no unfiltered air enters your home.
If leaks are found, apply additional weatherstripping or caulk as needed to seal these areas completely. This step ensures that your efforts to secure the crawl space contribute positively to your home’s overall climate control and energy conservation.
Step 8. Regular Maintenance:
Regular maintenance is essential to ensure that the measures you’ve implemented to secure your crawl space vents remain effective. Set a schedule to inspect the vents periodically for any signs of wear, damage, or pest intrusion. Check the integrity of the wire mesh or hardware cloth, ensuring it remains firmly attached and free from tears or gaps.
Also, re-evaluate the effectiveness of the weatherstripping or caulk, replacing it as necessary to maintain an airtight seal. This ongoing vigilance will help protect your home from pests, moisture, and energy loss, ensuring the longevity of your crawl space’s security measures.
Step 9. Monitor Humidity Levels:
Monitoring humidity levels within your crawl space is a critical step following the securement of your crawl space vents. High humidity can lead to mold growth, wood rot, and increased pest activity, which can compromise the structural integrity of your home. Invest in a hygrometer to regularly check the moisture levels in this area.
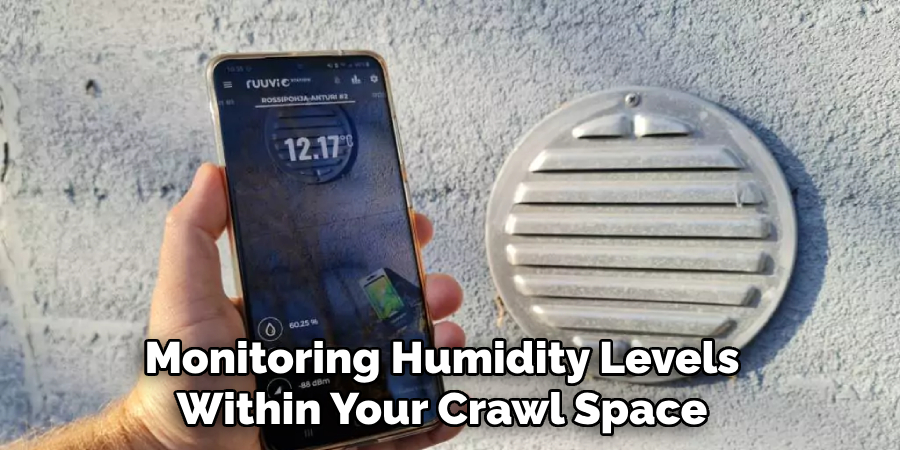
If humidity levels consistently exceed 50-60%, consider implementing additional moisture control measures such as a crawl space dehumidifier. This proactive monitoring ensures that the environment beneath your home remains dry and healthy, safeguarding against potential moisture-related issues.
Step 10. Evaluate the Need for Professional Inspection:
Despite diligent efforts to secure and maintain your crawl space, certain situations may necessitate a professional inspection. If you observe signs of persistent moisture, mold growth, or structural damage, or if the humidity levels remain high despite your best efforts, it’s wise to seek expert advice.
A professional can comprehensively assess your crawl space, identifying underlying issues that DIY methods might not address. They can also recommend advanced solutions, such as additional waterproofing or structural repairs, to ensure your home’s long-term health and safety.
Regular professional evaluations, especially after major weather events or if your home is in a high-moisture area, can prevent significant damage and maintain an optimal living environment. By following these ten steps, you can effectively secure your crawl space vents and protect your home from pests, moisture, and energy loss.
5 Additional Tips and Tricks
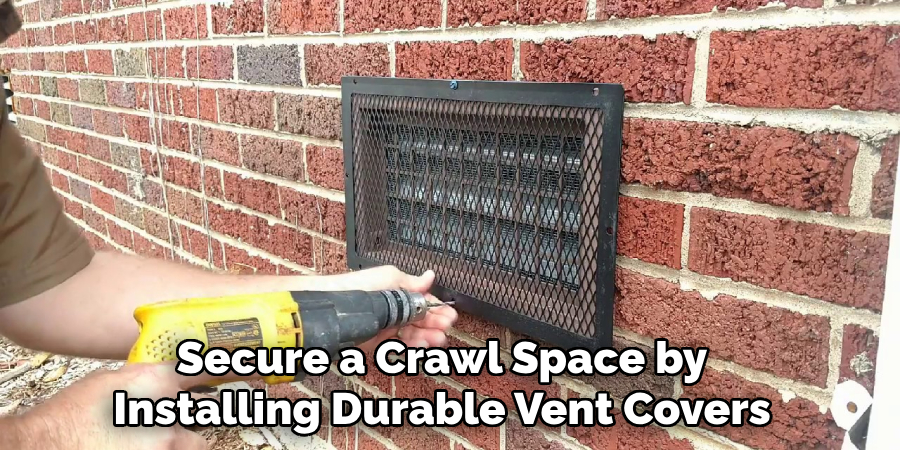
- Install Vent Covers: Secure your crawl space by installing durable vent covers made from materials resistant to rust and corrosion. These covers effectively block unwanted pests while still allowing for ventilation.
- Use Hardware Cloth: For added security, cover vents with hardware cloth before installing the vent covers. Choose a cloth with small mesh sizes to prevent smaller pests from squeezing through.
- Incorporate Gravel Barriers: Surround the perimeter of your crawl space vents with a thick layer of gravel. This can deter burrowing animals and help with drainage, reducing moisture levels near the vents.
- Apply Weatherstripping: Seal the edges of your crawl space vents with weatherstripping to prevent moisture and drafts. This not only improves your home’s energy efficiency but also keeps your crawl space’s internal environment stable.
- Regular Inspection and Maintenance: Inspect your crawl space vents frequently for signs of damage or wear and tear. Promptly repair or replace damaged vent covers to maintain a secure barrier against pests and environmental elements.
With these additional tips and tricks, you can ensure that your crawl space vents are secure and well-maintained.
5 Things You Should Avoid
- Ignoring Local Building Codes: Avoid ignoring local building codes when securing your crawl space vents. These codes are in place to ensure safety and efficiency, and non-compliance can lead to legal issues and fines.
- Blocking All Ventilation: While securing vents against pests and moisture is crucial, completely blocking all ventilation can lead to air quality issues and moisture buildup inside the crawl space. Ensure there’s adequate airflow according to recommended standards.
- Using Non-Durable Materials: Avoid using materials that are not weather-resistant or durable for vent covers and barriers. Materials that easily rust, corrode, or deteriorate can compromise the security of your crawl space over time.
- DIY Solutions Without Research: While do-it-yourself measures can be cost-effective, undertaking crawl space vent security without proper research or understanding can lead to inadequate protection. It’s important to do thorough research or consult with professionals.
- Neglecting Wildlife Considerations: In areas prone to wildlife intrusion, simply installing a vent cover may not be enough. Avoid underestimating the determination of wildlife by not incorporating additional deterrents like hardware cloth or gravel barriers designed to keep animals at bay.
By steering clear of these common pitfalls, homeowners can effectively secure their crawl space vents while maintaining proper ventilation and complying with local regulations.
How Do Automatic Crawl Space Vents Work?
Automatic crawl space vents work by utilizing a built-in thermostat and/or humidistat to regulate the flow of air into the crawl space. When temperatures or humidity levels reach a certain threshold, the vent will open to allow fresh air to enter and circulate, helping to prevent moisture buildup and improve air quality.
These types of vents are typically powered by electricity or solar energy and can be programmed to open and close at specific times or based on certain environmental conditions. Some automatic vents also come with a backup battery for emergency situations.
Overall, these vents provide homeowners convenience and peace of mind by automatically regulating ventilation in the crawl space without needing manual adjustments. They can also help to save energy costs by only opening when necessary rather than constantly allowing air to flow in and out of the crawl space.
So, they are a worthwhile investment for those looking to secure their crawl space while maintaining proper ventilation.
Should Crawl Space Be Airtight?
While securing crawl space vents against pests and moisture is important, completely sealing off the crawl space can be detrimental. Airtight crawl spaces can build up harmful gases like radon and increase humidity levels, which can cause mold growth and damage to wooden structures.
It’s recommended to maintain some level of ventilation in the crawl space for proper air circulation and to prevent these potential issues. However, the amount of ventilation required may vary depending on factors such as climate and the age/type of home.
Consulting with a professional can help determine the best approach for your specific crawl space. Overall, while keeping crawl space vents secure is important, achieving complete airtightness should not be the goal.
Where Should Crawl Space Vents Be Placed?
The placement of crawl space vents is crucial for proper air circulation and moisture control. In general, they should be evenly spaced around the perimeter of the crawl space, with at least one vent on each side of the house. However, there are a few factors to consider when determining exact placement:
- Climate: Depending on your climate, you may need more or fewer vents to regulate moisture levels properly. For example, in humid climates, more vents may be necessary to reduce the risk of mold growth.
- Size and Age of Home: Larger homes or older homes with a larger crawl space area may require more vents for proper ventilation.
- Soil Type and Elevation: If your home is built on clay soil that retains moisture or is in a low-lying area that is prone to flooding, additional vents may be necessary to prevent excessive humidity levels.
Based on these factors, consulting with a professional can also help determine the best placement for crawl space vents. Properly placed vents ensure adequate air circulation and moisture control, promoting a healthy crawl space environment.
Overall, strategic placement of crawl space vents is crucial for effective vent security and maintaining a stable crawl space environment.
Conclusion
How to secure crawl space vents is an essential step in protecting your home from pests, moisture, and environmental elements that can lead to structural damage and compromised air quality. Homeowners can effectively safeguard their crawl space by understanding the importance of proper vent placement, adhering to local building codes, ensuring adequate ventilation, and selecting durable materials.
Automatic vents offer a convenient solution for maintaining ideal conditions, reacting dynamically to changes in temperature and humidity. However, the pursuit of airtightness can be counterproductive, highlighting the need for a balanced approach considering ventilation and security.
Consulting with professionals and conducting thorough research are key steps in identifying the best crawl space vent security strategies. Implementing these measures will enhance the durability and safety of your home and contribute to a healthier living environment.
About
Safety Fic is a distinguished figure in the world of Diy design, with a decade of expertise creating innovative and sustainable Diy solutions. His professional focus lies in merging traditional craftsmanship with modern manufacturing techniques, fostering designs that are both practical and environmentally conscious. As the author of diy, Safety Fic delves into the art and science of Safety Fic-making, inspiring artisans and industry professionals alike.
Education RMIT University
(Melbourne, Australia) Associate Degree in Design (Safety Fic) Focus on sustainable design, industry-driven projects, and practical craftsmanship. Gained hands-on experience with traditional and digital manufacturing tools, such as CAD and CNC software.
Nottingham Trent University
(United Kingdom) Bachelor’s in diyfastly.com and Product Design (Honors) Specialized in product design with a focus on blending creativity with production techniques. Participated in industry projects, working with companies like John Lewis and Vitsoe to gain real-world insights.
Publications and Impact
In diy, Safety Fic his insights on indoor design processes, materials, and strategies for efficient production. His writing bridges the gap between artisan knowledge and modern industry needs, making it a must-read for both budding designers and seasoned professionals.
