

Do you ever feel like the air in your home just isn’t being circulated properly? If you’re looking to protect your home from unnecessary drafts and heat loss, one of the best places to start is by properly securing your floor vents. Not only can a loose vent lead to poor airflow, but it can also become a safety hazard by causing bumps and cracks in your floors that no one wants.
Thankfully, securing your floor registers has never been easier with our simple how-to guide! In this article, we’ll walk you through each step on how to secure floor vents of the process so that you can easily secure any leaking register in no time at all – without breaking the bank or sacrificing style.
Securing your floor vents can help better regulate airflow and minimize dust buildup around your home—here’s how you can do it! So read on for some easy tips and tricks for finding success when it comes to improving airflow around the house.
Why Do You Need to Secure Floor Vents?
1. Warm Air
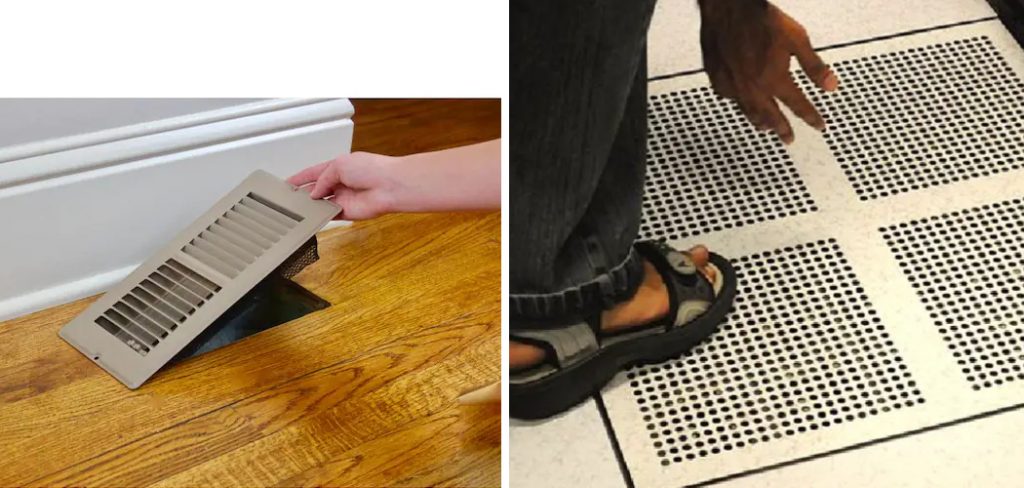
The first step to understanding why you need to secure your floor vents is to understand how they’re designed. Floor vents are usually made of two pieces: a base that attaches directly to the floor and a register cover that sits on top.
This setup creates an airtight seal, which is important for keeping warm air in during the winter or being energy efficient in any season. If the base isn’t properly secured to the floor, this seal can be easily broken, and warm air will escape from underneath the register cover.
2. Air Flow
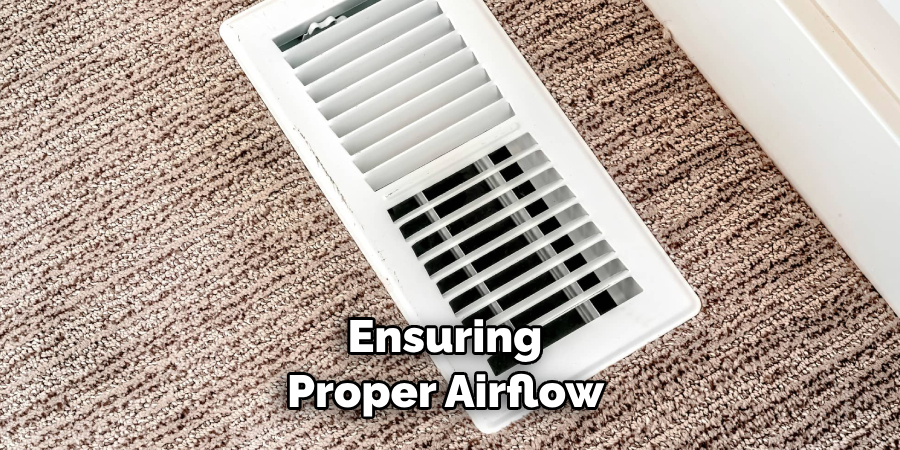
The second reason why you need to secure your floor vents is for airflow. Without properly securing it in place, the vent may not be able to move as much air as it needs to—which can lead to poor air circulation. This means the room won’t be comfortable, and you may end up having to turn on extra fans or air conditioning units in order to cool down the space.
3. Safety Hazards
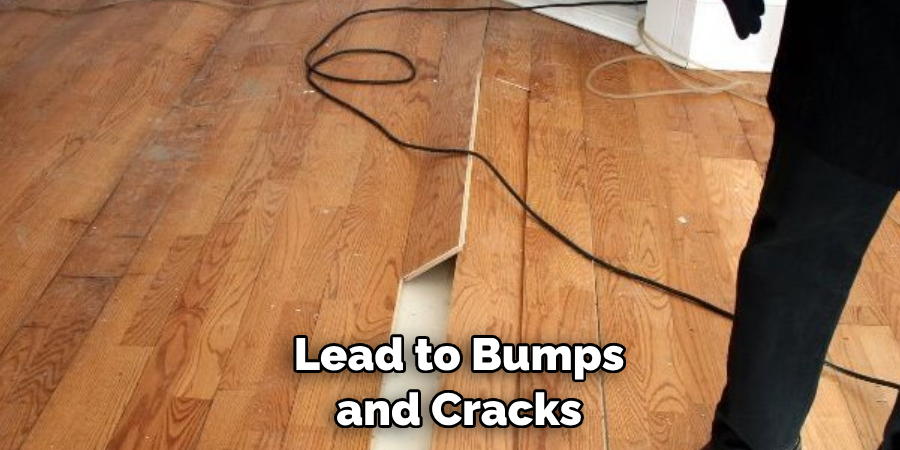
The third reason why you need to secure your floor vents is for safety reasons. If the base of the vent isn’t properly secured, it can become a tripping hazard and could lead to bumps and cracks in your floor. This is especially true if you have pets or small children running around—so be sure to check all of your vents to make sure they’re secure.
Required Items
The good news is that you don’t need a lot of tools or supplies to secure your floor vents. All you really need is some basic hardware like:
- Screws
- Screwdriver
- Hammer
- Nails
- Putty Knife (optional)
And you’re ready to get started! Depending on how your vent is set up, you may also need some extra hardware like a drill or a small pry bar.
How to Secure Floor Vents in 10 Steps
Step 1: Inspect the Area
First, you’ll want to inspect the area around your floor vent to make sure there are no drafts or leaks. You can do this by feeling around the edges with your hand—or use a putty knife if you need a little extra help.
Step 2: Unscrew the Register Cover
Once you’ve inspected the area, it’s time to remove the register cover. This is usually as simple as unscrewing a few screws and lifting off the top portion of the vent. Be sure to save all of your screws in case you need them later!
Step 3: Remove the Base
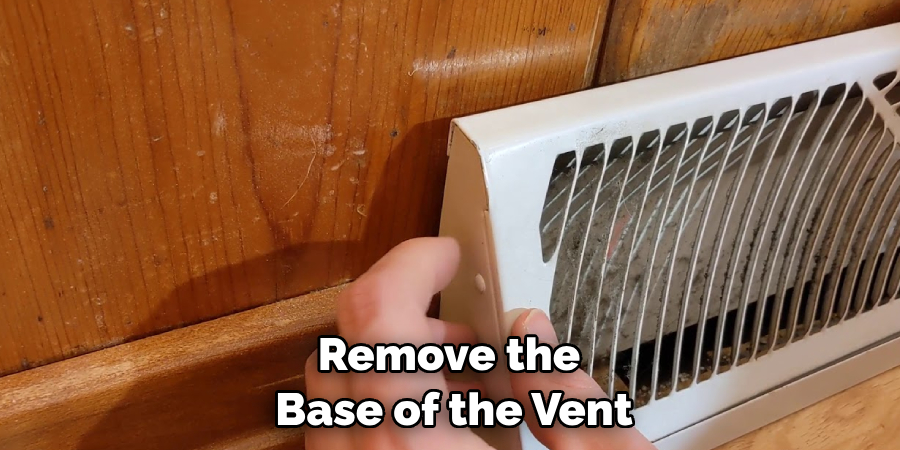
Next, you’ll want to remove the base of the vent. This is usually attached to the floor with some kind of adhesive or nails, so you may need to use a hammer and pry bar if necessary. Removing the base will also expose the holes and screws that were used to attach the vent in the first place.
Step 4: Measure and Mark the Holes
Once you’ve exposed the holes in the floor, it’s time to mark where you want to put your new screws. To do this, measure out from each corner of the vent and make a small mark. This will ensure that your screws are all in the same spot and placed at equal distances apart.
Step 5: Drill Holes and Insert Screws
Now that you’ve marked where your screws should go, it’s time to start drilling! Using a drill bit of appropriate size for your screw type, drill a hole in each corner of the vent. Then, insert your screws and use a screwdriver to make sure they’re tightened properly.
Step 6: Place the Base Back into Position
Once you’ve drilled all of your holes and inserted your screws, it’s time to place the base back into position. Make sure that all of the screws are lined up in their right spots, and then press down as hard as you can to ensure a good seal.
Step 7: Re-attach the Register Cover
Next, it’s time to re-attach the register cover. This should be fairly straightforward—just make sure all of the screws are in their right spots, and then use a screwdriver to tighten them.
Step 8: Test the Air Flow
Once you’ve re-attached the register cover, it’s time to test the airflow. Take a few minutes to feel around the edges of the vent and make sure there are no drafts or leaks. If everything is in order, then your airflow should be improved!
Step 9: Clean Up
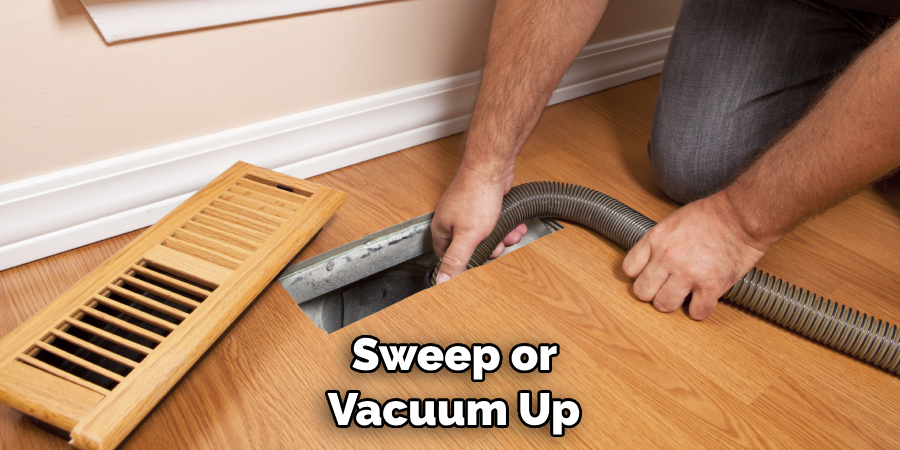
Now that you’re finished with the job, it’s time to clean up any mess or debris left behind. Sweep or vacuum up any nails or screws that may have fallen out during the process, and make sure no one trips on them later.
Step 10: Enjoy Your Improved Air Flow!
And that’s it—you’ve just secured your floor vents and improved the airflow in your home! Now all you have to do is sit back, relax, and enjoy the increased comfort of a well-ventilated room. Just remember to check your vents once in a while to make sure they’re still secure—or else you may find yourself having to start the whole process over again!
Securing your floor vents is an easy and inexpensive way to improve airflow in any room. Whether you just want a more comfortable space or are looking for ways to increase energy efficiency, following these simple steps will help ensure that your vents are secured and your air is flowing freely. So get to it—it’s time to start enjoying the benefits of a well-ventilated home!
8 Maintenance Tips
To ensure that floor vents are securely sealed and in good condition, there are a few maintenance tips that should be followed:
- Check for dust buildup regularly. Dust can accumulate over time and block the return airflow of your vent, so it is important to clean them out as needed. Also, check for any loose screws, bolts, or other pieces that may have come undone.
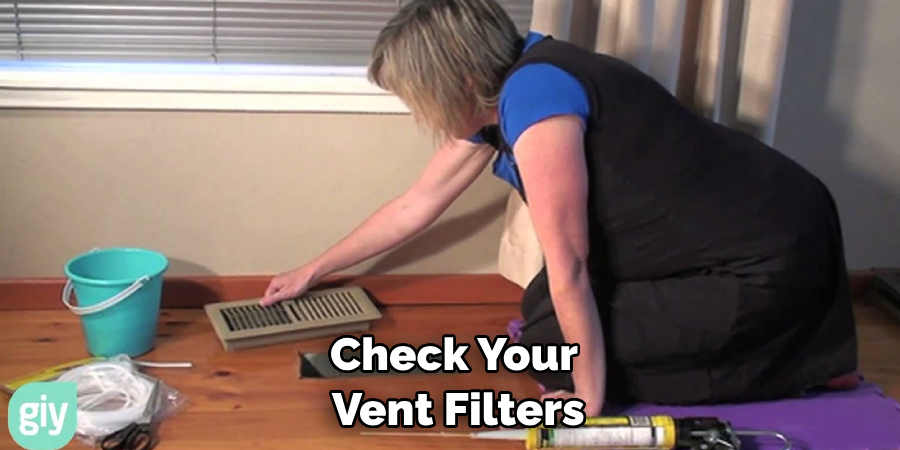
- Check your vent filters and replace them as needed. Some air vents require special filters, so be sure to read the manufacturer’s instructions for proper replacement.
- Check the area around your vents for any damage or gaps that need to be filled in with putty or caulk. This will help ensure proper airflow and keep pests from entering your home.
- Inspect the grille of your floor vent for any signs of wear and tear. If there are any damaged portions, replace them as soon as possible.
- Make sure to inspect any nearby furniture, carpets, or rugs for signs of wear and tear that may be blocking your vent. This includes ensuring all legs of the furniture are securely sealed to the floor so as not to disrupt airflow.
- Check for any pests near your vents, as they can be carriers of harmful allergens and bacteria. If you notice any, contact a pest specialist for help removing them.
- Replace your floor vents if necessary. If they become damaged or are difficult to clean, it may be time to invest in new ones.
- Make sure your air conditioning and heating system is running efficiently by having it serviced regularly. This will also help ensure that your vents will remain securely sealed.
By following these simple maintenance tips, you can rest assured that your floor vents are secure and in good working condition. With just a few minutes of maintenance every now and then, you can help make sure your entire home remains safe and healthy for many years to come!
How to Maintain the Floor Vents
Maintaining the floor vents in your home is essential to ensuring proper airflow and preventing heat loss. Here are some tips on how to keep them in top-notch condition:
- Clean out dust, debris, and pet hair from the vents regularly. This will help ensure that no blockages form in the vent and disrupt the airflow.
- Check the grille of the vent for any signs of damage or wear. If there are any, replace them as soon as possible.
- Inspect the area around your vents for any gaps or cracks that may be letting air escape. Use caulk or putty to seal these up and ensure a secure fit.
- Make sure to periodically check the screws or bolts on your floor vents. If they become loose, tighten them as soon as possible.
Conclusion
To sum up, securing your floor vents is an important step to ensure the health and well-being of yourself, your family and ultimately, your home. Whether you decide to call in a professional or opt for a DIY project solution, it’s vital that you adhere to the necessary safety protocols designed to prevent hazardous situations from occurring.
Not only will they help keep your vents secure and safe for use, but rest easy knowing that if any issues arise with them down the road, they’ll be taken care of quickly and efficiently. Instead of falling victim to costly repair fees—or worse—it’s always better to take a few proactive measures instead.
Secure your floor vents today for a more efficient living environment tomorrow! Following these guidelines on how to secure floor vents can help you keep your home safe and secure for years to come.
About
Safety Fic is a distinguished figure in the world of Diy design, with a decade of expertise creating innovative and sustainable Diy solutions. His professional focus lies in merging traditional craftsmanship with modern manufacturing techniques, fostering designs that are both practical and environmentally conscious. As the author of diy, Safety Fic delves into the art and science of Safety Fic-making, inspiring artisans and industry professionals alike.
Education RMIT University
(Melbourne, Australia) Associate Degree in Design (Safety Fic) Focus on sustainable design, industry-driven projects, and practical craftsmanship. Gained hands-on experience with traditional and digital manufacturing tools, such as CAD and CNC software.
Nottingham Trent University
(United Kingdom) Bachelor’s in diyfastly.com and Product Design (Honors) Specialized in product design with a focus on blending creativity with production techniques. Participated in industry projects, working with companies like John Lewis and Vitsoe to gain real-world insights.
Publications and Impact
In diy, Safety Fic his insights on indoor design processes, materials, and strategies for efficient production. His writing bridges the gap between artisan knowledge and modern industry needs, making it a must-read for both budding designers and seasoned professionals.