

Are you tired of seeing the wrong time and date on your CPI panel? Do you constantly have to manually adjust it? Don’t worry—we’ve got you covered.
Adjusting the time and date on your CPI panel is a basic yet crucial aspect of managing your security system. This ensures that all event logs are accurately timestamped, making it easier to review incidents should the need arise. It also helps in maintaining the accuracy of scheduled tasks, such as arming or disarming the system at predetermined times.
In this guide on how to set time and date on CPI panel, we’ll walk you through the simple steps to set the time and date on your CPI panel, ensuring your system’s functionality is optimized for your security needs.
What are the Use Cases for Setting Time and Date on CPI Panel?
Before we dive into the steps of setting the time and date, it’s essential to understand why this is an important task. As mentioned earlier, having the correct time and date on your CPI panel ensures that all event logs are accurately timestamped. But there are also other use cases for setting the time and date, such as:
- Facilitating Accurate Remote Monitoring: With the correct time and date set, you can remotely monitor your security system’s activity through the CPI app or website without any discrepancies.
- Keeping Track of Scheduled Tasks: Having the right time and date ensures that all scheduled tasks are executed accurately.
- Troubleshooting Potential Issues: In some cases, incorrect time and date settings can cause issues with your security system’s functionality. By setting the correct time and date, you can eliminate this as a potential problem while troubleshooting.
Now that we understand the importance of setting the time and date on your CPI panel let’s get into the steps to do so.
What Will You Need?
Before we dive into the steps, make sure you have the following on hand:
- Your CPI panel’s Master Code
- Access to your security system’s control panel
Note: Your security provider typically provides the Master Code during installation. If you do not have it, contact them for assistance.
10 Easy Steps on How to Set Time and Date on CPI Panel
Step 1: Accessing the Control Panel
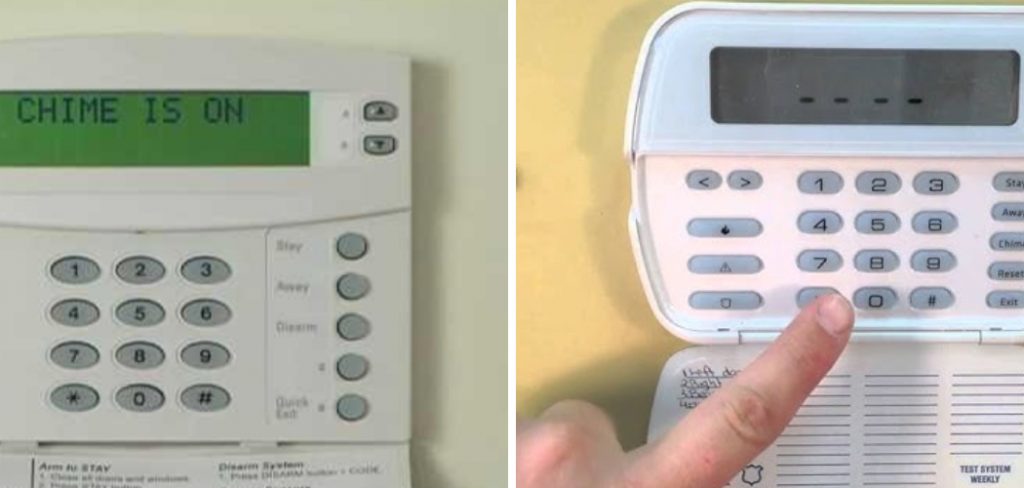
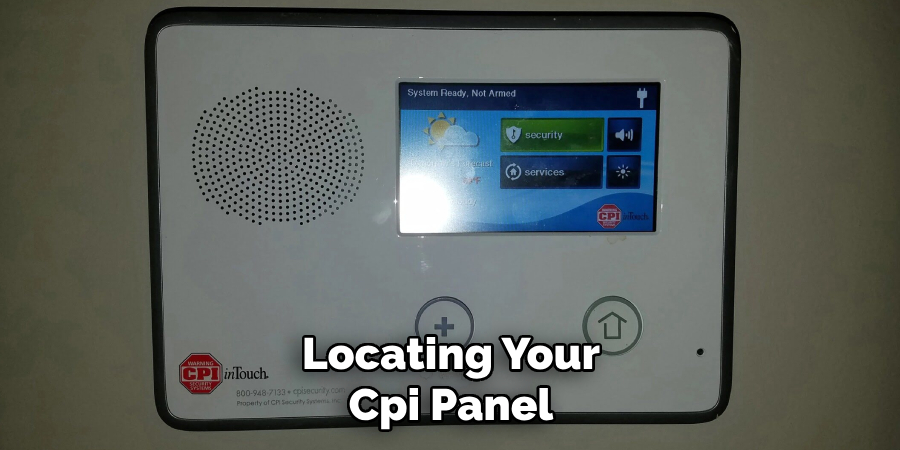
Begin by locating your CPI panel, which is commonly placed near the main entrance of your home or in an easily accessible area. Once you’ve found the panel, you’ll need to access the control settings.
To do this, input your Master Code, which will unlock the panel settings and allow you to make changes. This step is crucial for ensuring that only authorized individuals have the ability to adjust the system settings, maintaining the security of your home.
Step 2: Navigating to Time and Date Settings
Once the control panel is unlocked, look for the “Settings” or “System Settings” option on the display screen. Use the navigation buttons on your panel to scroll through the menu options until you find the “Time and Date” settings.
This option may be listed directly, or it could be under a broader category such as “System Preferences” or “General Settings.” Selecting this option will take you to the screen where you can adjust the time and date.
Step 3: Adjusting the Time
Once you’ve navigated to the “Time and Date” settings screen, you will see options to adjust both the time and date. Start with the time adjustment by selecting “Time.” Here, you can use the keypad to enter the current time.
Be sure to set the AM/PM correctly to avoid any confusion. Confirm your selection after the correct time is entered to ensure the system updates accordingly. Depending on your CPI panel model, this process might differ slightly, so refer to your user manual if necessary.
Step 4: Adjusting the Date
After setting the correct time, proceed to adjust the date. In the “Time and Date” settings screen, select “Date.” This will allow you to enter the current date, including the month, day, and year.
Use the keypad to input the correct figures, ensuring accuracy for effective log maintenance and scheduled task performance. Confirm your selection once the correct date is entered. If you experience any difficulties, consult the user manual specific to your CPI panel model for detailed instructions.
Step 5: Confirming Changes
Once the time and date have been adjusted, you’ll often find a “Save” or “Confirm” option on the screen. Selecting this is crucial to ensure that all your changes are applied and saved correctly. Failure to confirm changes might result in the panel reverting to its previous settings, nullifying your adjustments.
After saving, the system might take a few seconds to update, reflecting the new time and date on the display. Always double-check to ensure the correctness of the settings to maintain the accuracy of event logs and scheduled tasks.
Step 6: Verifying System Synchronization
After saving your changes, it’s advisable to verify that the time and date have been correctly synchronized across the entire security system. This includes checking any connected devices, such as cameras or motion sensors, that might also display time and date information.
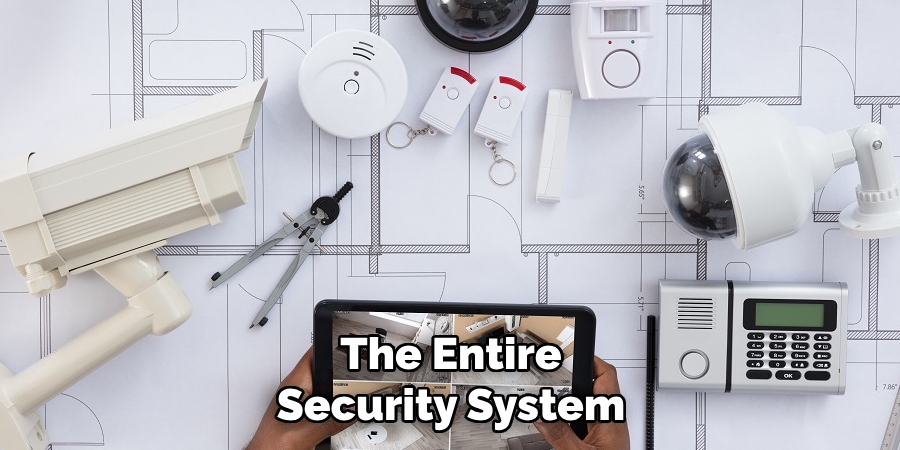
To do this, access each device’s settings through the main CPI panel or individual device interfaces. Ensuring synchronized time and date across all devices enhances activity logs’ precision and time-based security protocols’ effectiveness.
Step 7: Regularly Review and Update
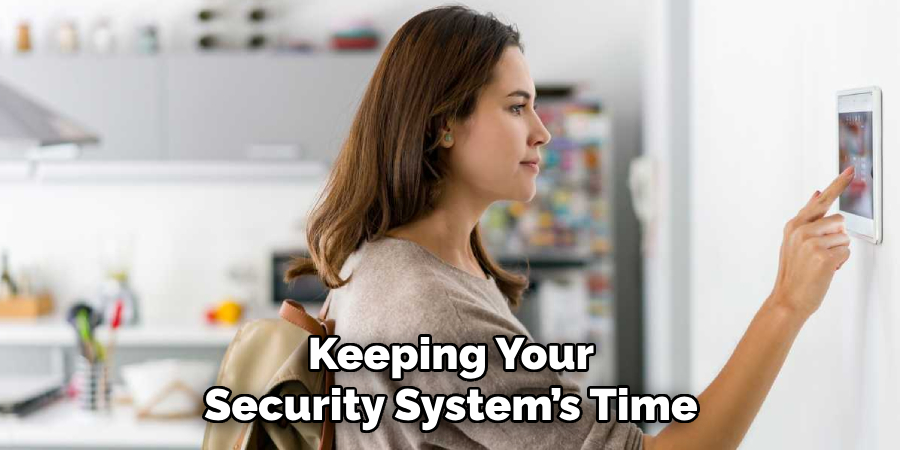
Maintaining the correct time and date on your CPI panel isn’t a “set it and forget it” task. Daylight Saving Time adjustments, power outages, or even occasional system glitches can result in inaccuracies over time. It’s recommended to periodically review the time and date displayed on your CPI panel, ideally every few months or following any event that might disrupt the system’s power supply.
This proactive approach ensures ongoing accuracy and the effective management of your security system, keeping your home and loved ones protected without fail.
Step 8: Troubleshooting Common Issues
In certain instances, you might need help with trying to set the time and date, such as the CPI panel not saving your changes or displaying an incorrect time after you’ve set it correctly. If this happens, a simple system reboot can resolve the issue. To reboot your CPI panel, locate the power source and disconnect it for a few minutes, then reconnect it.
This process can help clear any temporary glitches affecting the system’s functionality. Always ensure to follow safety instructions while handling the power source to prevent any accidents. If the problem persists even after a reboot, contacting your security provider’s technical support team is advisable for further assistance.
Step 9: Contacting Support for Advanced Help
Should the above steps fail to resolve your time and date-setting issues, it may be necessary to seek professional assistance. Contact your security provider’s customer support or technical service department for help. Be ready with your system details, including the model number and a description of your problem.
Often, they can guide you through more advanced troubleshooting steps or, if needed, schedule a service visit. Remember, keeping your security system’s time and date accurate is crucial for ensuring its optimal performance and reliability, so don’t hesitate to ask for professional support if needed.
Step 10: Conducting a Final System Check
After all the adjustments and troubleshooting, conducting a final comprehensive system check is beneficial. Review all connected devices and settings to verify their correct operation and ensure they accurately display the updated time and date.
Check the system’s log files, if available, to see if they reflect the recent changes and confirm that scheduled tasks (such as automated arm/disarm routines) are set according to the new time settings. This final step solidifies the success of your adjustments, ensuring your entire security system operates in seamless harmony, bolstering the safety and integrity of your home environment.
By following these simple steps and best practices, you can easily adjust the time and date on your CPI panel, ensuring accurate reporting and effective management of your security system.
5 Additional Tips and Tricks
- Check for Automatic Updates: Some CPI panels may offer automatic time and date updates by tapping into Internet or network-based time servers. Explore your panel’s settings to see if this feature is available and ensure it’s activated to minimize manual adjustments.
- Use a Reference: To ensure accuracy, use a reliable source, like a smartphone or computer, to verify the current time and date before setting your CPI panel. This ensures you’re aligned with standard time, which is especially important during Daylight Saving Time changes.
- Backup & Restore: If your system allows, create a backup of your settings once you’ve correctly set the time and date. In case of any system reset, this can help quickly restore your settings without needing to reconfigure everything from scratch.
- Manual Override for Daylight Saving Time: Not all systems automatically adjust for Daylight Saving Time. If yours doesn’t, set a reminder for yourself to manually update the time in spring and fall to avoid any discrepancies in time-based security tasks.
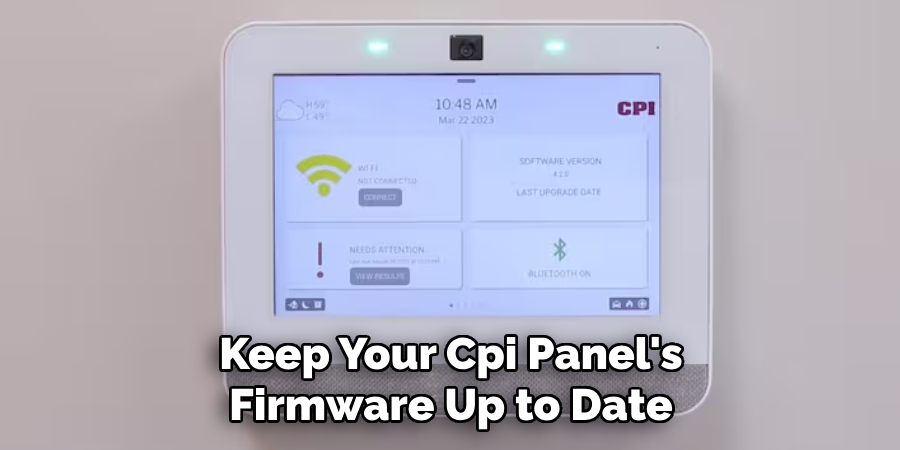
- Regularly Check Firmware Updates: Firmware updates may occasionally include the capability to manage time and date settings more efficiently or correct related issues. Keep your CPI panel’s firmware up to date to take advantage of these improvements and ensure smoother overall operation.
With these additional tips and tricks, you can further enhance your CPI panel’s time and date management capabilities, ensuring the most precise and reliable security system possible.
5 Things You Should Avoid When Setting Time and Date on CPI Panel
- Ignoring Time Zones: Consider your specific time zone before setting the time. Incorrect time zone settings can lead to significant discrepancies in your security system’s timing, affecting scheduled tasks and log accuracy.
- Neglecting Daylight Saving Time: Overlooking the adjustment for Daylight Saving Time is a common mistake. Ensure that you manually adjust the time if your system does not automatically account for these changes, as failing to do so will result in incorrect time displays for half the year.
- Skipping Manual Verification: Relying solely on the system’s automatic time update without manual verification can sometimes lead to inaccuracies. Always cross-verify the time and date after setting them or after any automatic adjustments.
- Forgetting to Save Changes: One of the simplest yet most frequent errors is forgetting to save changes after setting the time and date. Always double-check that your adjustments have been saved properly before exiting the settings menu.
- Disregarding System Reboots: Avoid the assumption that your settings will immediately take effect without a system reboot. Some changes might require a restart of your CPI panel to properly apply, ensuring the system accurately reflects the new time and date settings.
By avoiding these common mistakes, you can ensure the most accurate and reliable time and date settings on your CPI panel for optimal security system performance.
How Do You Reset Your CPI Panel?
Resetting your CPI panel often rectifies common operational issues, restoring its functionality to optimal condition. This process involves clearing all preset configurations and returning the system to its default settings, which can be particularly beneficial in scenarios where troubleshooting steps have failed to resolve recurrent problems. To initiate a reset, you typically need to locate the panel’s main console.
Look for a reset button or a specific combination of buttons that, when pressed simultaneously, will trigger the reset process. It’s imperative to consult the user manual or contact customer support to ensure that you follow the correct procedure tailored to your specific panel model.
Remember, resetting the panel will erase all customized settings, including passwords, schedules, and configurations, so it’s advisable to back up this information beforehand, if possible. After the reset, you will need to reconfigure your system, inputting all necessary adjustments to align with your security needs.
This process, while somewhat time-consuming, can significantly enhance your system’s performance and reliability.
What are the Master Code and Installer Code for CPI Panels?
The Master Code and Installer Code are essential security codes used to access various settings, features, and configurations on CPI panels. The owner of the security system typically uses the Master Code to arm or disarm it while also having access to general settings and bypass functions.

On the other hand, the Installer Code is utilized by professional technicians during system installation or maintenance to access advanced settings and configurations. These codes are typically customizable for added security but can also be reset to default values if needed.
To find your Master Code and Installer Code, check your user manual or contact CPI customer support. Remember to keep these codes confidential, sharing them only with trusted individuals who may need access to your security system. Regularly updating and changing these codes can also enhance the security of your CPI panel.
What are the Convenient Features of CPI Panels?
In addition to their advanced time and date management capabilities, CPI panels also offer a range of convenient features for an optimal security experience. These include:
- Mobile Control: The MyCPI mobile app lets you remotely control your system from anywhere, receiving real-time alerts and notifications.
- Home Automation Integration: CPI panels are compatible with various home automation devices, allowing for seamless integration and control of your security system alongside other smart home features.
- Voice Control: Through Amazon Alexa or Google Home, you can use voice commands to arm or disarm your CPI panel and control various connected devices.
- Video Monitoring: CPI panels offer video monitoring capabilities, letting you view live footage and recorded clips from your security cameras through the MyCPI app.
- Z-Wave Technology: With Z-Wave technology, you can expand your security system to include additional devices like smart locks, lights, and thermostats for added convenience and control.
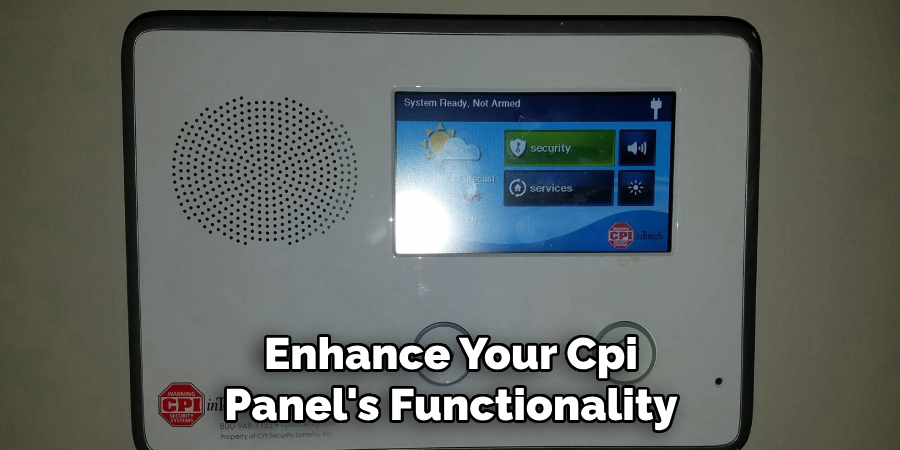
By taking advantage of these features, you can further enhance your CPI panel’s functionality and streamline your home security experience. Overall, keeping up with proper time and date settings, performing regular maintenance, and utilizing convenient features can help you get the most out of your CPI panel and ensure a safe and secure home environment.
Conclusion
Setting the time and date on your CPI panel is a straightforward yet crucial step in maintaining the accuracy and effectiveness of your home security system.
By carefully avoiding common pitfalls such as ignoring time zone settings, neglecting Daylight Saving Time adjustments, skipping manual verifications, forgetting to save changes, and disregarding the need for system reboots, you can ensure your CPI panel operates with the utmost reliability.
Furthermore, leveraging the convenient features of CPI panels, such as mobile control, home automation integration, voice control, video monitoring, and Z-Wave technology, enhances the overall security and functionality of your system.
Always remember to consult your user manual or contact customer support for specific guidance related to your panel model. Regular updates, proper maintenance, and mindful usage of the features your CPI panel offers will contribute to a safer, more secure home environment.
Hopefully, the article on how to set time and date on cpi panel has provided you with the necessary information and steps to keep your system running smoothly. Stay vigilant, stay safe!
About
Safety Fic is a distinguished figure in the world of Diy design, with a decade of expertise creating innovative and sustainable Diy solutions. His professional focus lies in merging traditional craftsmanship with modern manufacturing techniques, fostering designs that are both practical and environmentally conscious. As the author of diy, Safety Fic delves into the art and science of Safety Fic-making, inspiring artisans and industry professionals alike.
Education RMIT University
(Melbourne, Australia) Associate Degree in Design (Safety Fic) Focus on sustainable design, industry-driven projects, and practical craftsmanship. Gained hands-on experience with traditional and digital manufacturing tools, such as CAD and CNC software.
Nottingham Trent University
(United Kingdom) Bachelor’s in diyfastly.com and Product Design (Honors) Specialized in product design with a focus on blending creativity with production techniques. Participated in industry projects, working with companies like John Lewis and Vitsoe to gain real-world insights.
Publications and Impact
In diy, Safety Fic his insights on indoor design processes, materials, and strategies for efficient production. His writing bridges the gap between artisan knowledge and modern industry needs, making it a must-read for both budding designers and seasoned professionals.