

Are you tired of trying to figure out how to set up your Arlo camera without a base station? Are you unsure of what steps you need to take and feeling overwhelmed by the process? Don’t worry, we’re here to help! This blog post will provide detailed instructions on setting up an Arlo camera without a base station. We’ll cover everything from selecting the correct hardware setup, configuring both software settings, and troubleshooting common errors or problems.
With these steps on how to set up arlo camera without base station, anyone should be able to install their own system quickly and easily–so no matter your technical background, read on!
What is Arlo?
For those who may not know, Arlo is a brand of wireless security cameras created by Netgear. They are known for their high-quality video and audio capabilities, as well as their user-friendly interface. One of the main selling points of Arlo cameras is that they can be used without a base station, making them ideal for smaller spaces or those on a budget. It also allows for more flexibility in camera placement.
Hardware Requirements
To set up an Arlo camera without a base station, you will need the following hardware:
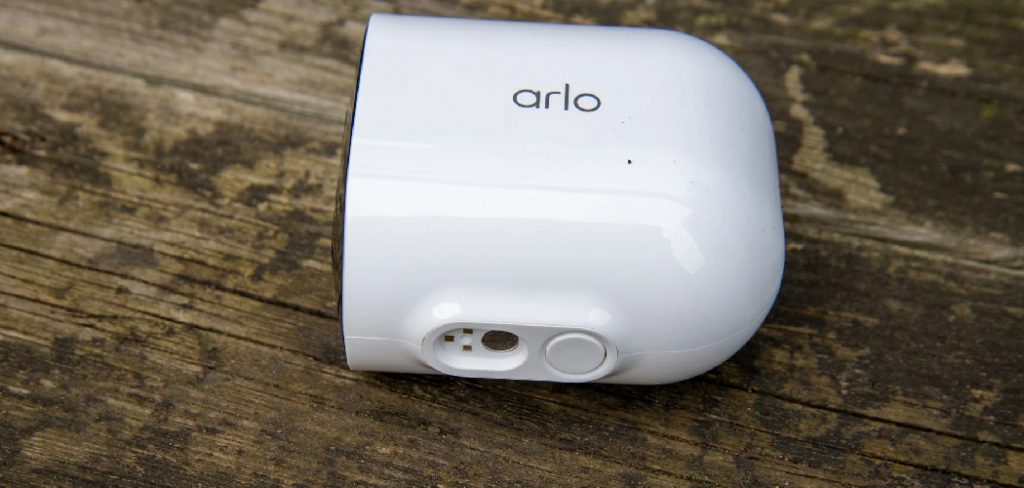
- An Arlo Camera (Either Pro or Pro 2)
- A Power Adapter and Cable
- An Ethernet Cable (Optional)
- A Wireless Network Connection
11 Step-by-step Guidelines on How to Set Up Arlo Camera Without Base Station
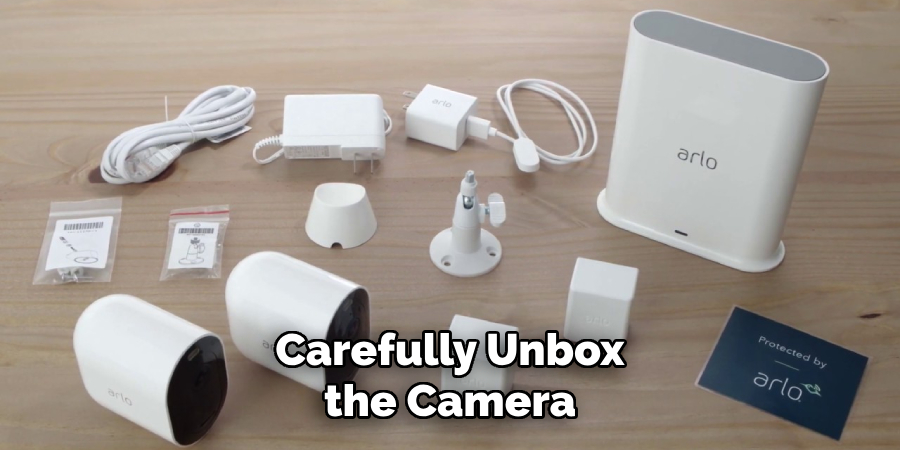
Step 1: Unbox the Camera
Carefully unbox the camera and all included accessories from the packaging. Make sure to keep any manuals or instructions for reference. It’s always a good idea to double-check that you have all the necessary components before beginning the setup process. You should have the camera, power adapter and cable, and ethernet cable (if using). But, the ethernet cable is only needed if you are not connecting to a wireless network.
Step 2: Choose a Location for Your Camera
Decide where you want to place your Arlo camera. Keep in mind that it should be placed near a power outlet and have a clear view of the area you want to monitor. Once you’ve found the perfect spot, proceed to the next step. This is a great time to also consider any additional accessories you may need, such as mounts or skins for outdoor use.
Step 3: Power On the Camera
Connect the power adapter and cable to the camera. Then plug it into a power outlet. The camera will automatically turn on and enter setup mode. Setup mode is indicated by a rapidly flashing amber LED light on the front of the camera. It may take a few minutes for the camera to fully power on and enter setup mode. It’s important to note that if the LED light does not turn on, try using a different outlet or power adapter.
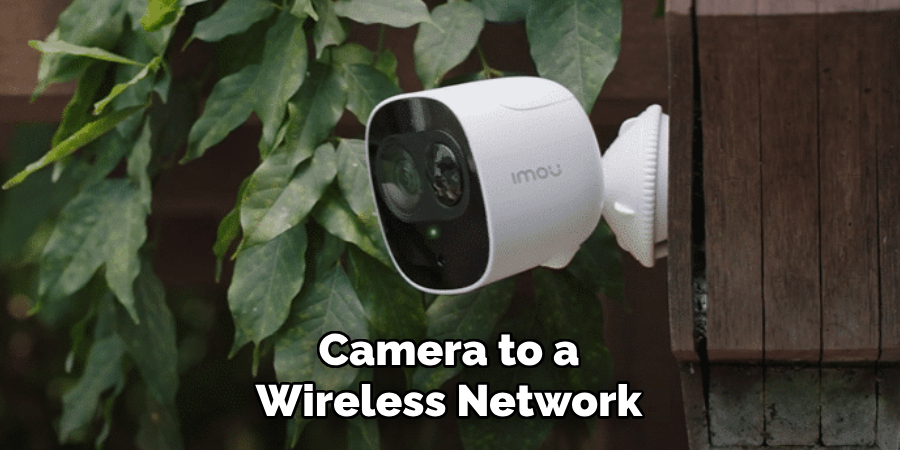
Step 4: Connect to a Wireless Network (Optional)
If you are not using an ethernet cable, you will need to connect your camera to a wireless network. It’s recommended to have the camera close to your wireless router during this step. To do this, press and release the Sync button on the top of the camera. The LED light will start flashing blue, indicating it is ready to be connected to a network.
Step 5: Install and Open the Arlo App
The next step is to Install and open the Arlo app on your smartphone or tablet. You can find it in the App Store for iOS devices or Google Play Store for Android devices. You will need to create an account or log in with your existing Arlo account. It’s essential to ensure that your phone or tablet is connected to the same wireless network you want the camera to be connected to.
Step 6: Add a New Device
In the app, select the “Add Device” option and then choose “Arlo Camera.” Follow the instructions on the screen to add your camera. You may have to enter a serial number manually if it does not automatically detect your camera.
The serial number can be found on a sticker on the bottom of the camera or on the packaging. Once added, give your camera a name and select any additional features you want, such as motion detection or video recording options.
Step 7: Test Your Camera
After setting up your camera in the app, it’s time to test it out! Make sure your camera is in the desired location and has a clear view of the area you want to monitor. You can use the app to adjust the position and angle of the camera if needed. Once you are satisfied with its placement, select “Live View” from the app to see a live feed from your camera.
Step 8: Configure Settings
In the Arlo app, go to “Settings” and select your newly added camera. From there, you can configure various settings such as video quality, motion detection sensitivity, and more. Take some time to explore these options and choose what works best for you. But, keep in mind that some advanced features may require a subscription to Arlo’s cloud storage service.
Step 9: Troubleshooting Common Issues
If you encounter any issues during the setup process or while using your camera, don’t panic! Arlo has a comprehensive support page on their website with troubleshooting guides and an FAQ section. You can also contact their customer support for further assistance if needed. It’s always a good idea to familiarize yourself with these resources beforehand so that you can quickly resolve any issues that may arise.
Step 10: Enjoy Your New Camera!
Congratulations, you have successfully set up your Arlo camera without a base station! Now you can enjoy all the benefits of having a high-quality security camera installed in your home or office. Remember to regularly check and update your settings as needed and have fun monitoring your space with ease. Happy recording
Step 11: Add Additional Cameras (Optional)
If you have multiple Arlo cameras that you want to use without a base station, you can easily add them using the same process outlined above. Simply repeat steps 1-8 for each additional camera.
However, keep in mind that having multiple cameras connected wirelessly may affect your network’s performance and speed. If this becomes an issue, you may need to consider using an ethernet cable or purchasing a base station for better connectivity.
Following these 10 simple steps on how to set up arlo camera without base station, you can easily set up your Arlo camera without a base station and start monitoring your space. It’s a convenient and cost-effective solution for those who don’t want to invest in a full Arlo system or have limited space. Enjoy the benefits of having a reliable security camera without the extra hassle of setting up a base station. Happy recording!
How Much Could It Cost?
The cost of setting up an Arlo camera without a base station is relatively minimal compared to purchasing a full Arlo system. You will only need to purchase the camera itself, which ranges in price depending on the model and features. Additionally, you may need to purchase additional accessories such as mounts or skins for outdoor use, but these are optional.
Arlo also offers a free basic subscription plan that allows you to store up to 7 days of footage for one camera. However, if you want more storage or advanced features such as continuous video recording, you will need to purchase a subscription plan starting at $2.99 per month. Overall, setting up an Arlo camera without a base station can be a budget-friendly option for those seeking home security solutions.
Frequently Asked Questions:
Q1: Can I Use My Arlo Camera Without a Base Station?
A: Yes, you can set up and use an Arlo camera without a base station by following the steps outlined above. It’s a convenient and cost-effective solution for those who want to use Arlo cameras in a small space or don’t want to invest in a full system.
Q2: Can I Add Multiple Cameras Without a Base Station?
A: Yes, you can add multiple Arlo cameras without a base station by following the same process outlined above for each camera. However, keep in mind that having multiple cameras connected wirelessly may affect your network’s performance and speed.

Q3: Do I Need an Internet Connection to Use My Arlo Camera?
A: Yes, an internet connection is required to set up and use your Arlo camera. It’s recommended to have at least 1 Mbps upload speed for optimal performance.
Conclusion
Now that you have a clear understanding of how to set up Arlo Camera without Base Station, what are you waiting for? From the short setup described here, your surveillance system can be up and running in no time. With the extra flexibility, you’ll never have to worry about missing any of your home security cameras. Trust us; once it’s all installed and running, you won’t regret taking the time to follow this protocol.
Additionally, thanks to Arlo’s renowned tech support, you have access to answer all your questions and address any issues that may arise at virtually any hour of the day. So don’t wait—get out there and upgrade your security system with an easy-to-install Arlo Camera without Base Station today!
About
Safety Fic is a distinguished figure in the world of Diy design, with a decade of expertise creating innovative and sustainable Diy solutions. His professional focus lies in merging traditional craftsmanship with modern manufacturing techniques, fostering designs that are both practical and environmentally conscious. As the author of diy, Safety Fic delves into the art and science of Safety Fic-making, inspiring artisans and industry professionals alike.
Education RMIT University
(Melbourne, Australia) Associate Degree in Design (Safety Fic) Focus on sustainable design, industry-driven projects, and practical craftsmanship. Gained hands-on experience with traditional and digital manufacturing tools, such as CAD and CNC software.
Nottingham Trent University
(United Kingdom) Bachelor’s in diyfastly.com and Product Design (Honors) Specialized in product design with a focus on blending creativity with production techniques. Participated in industry projects, working with companies like John Lewis and Vitsoe to gain real-world insights.
Publications and Impact
In diy, Safety Fic his insights on indoor design processes, materials, and strategies for efficient production. His writing bridges the gap between artisan knowledge and modern industry needs, making it a must-read for both budding designers and seasoned professionals.