

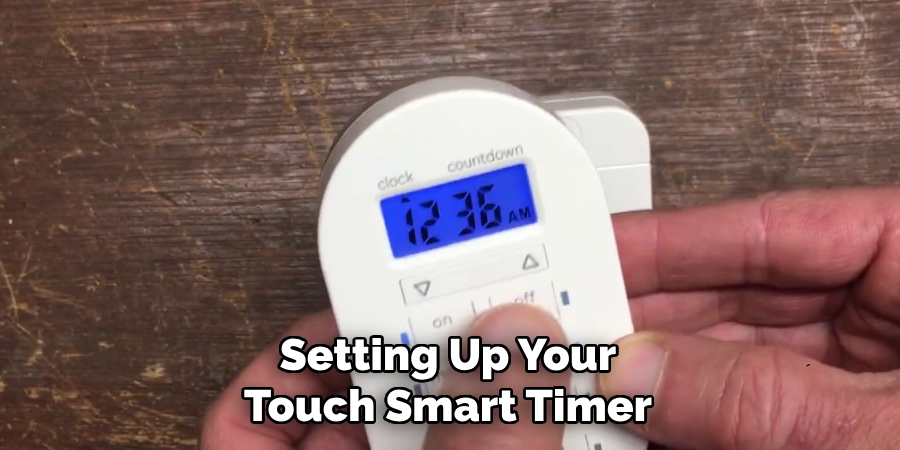
A touch smart timer is a convenient and efficient way to control the lighting in your home. It allows you to schedule when your lights turn on and off, making it easier to save energy and automate your daily routine.
Setting up a touch smart timer can seem like an overwhelming task, but with the right instructions and tips, it can be a simple process. In this guide on how to set up my touch smart timer, we will walk you through the steps to properly set up your touch smart timer so you can start using it efficiently.
Necessary Items
Before you begin setting up your touch smart timer, make sure you have all the necessary items.
- A compatible touch smart timer model (such as Leviton or Lutron)
- Wi-Fi connection (if applicable)
- Smartphone or tablet for remote control access (if applicable)
- Light fixtures and bulbs that are compatible with the touch smart timer
12 Steps on How to Set Up My Touch Smart Timer
Step 1: Gather Necessary Materials
Before starting the setup process, make sure to gather all the necessary items mentioned above. This will ensure you have everything you need within reach during the setup process.
Step 2: Read the Instruction Manual
It is important to read and understand the instruction manual that comes with your touch smart timer. The manual will provide detailed information on how to properly set up and use your specific model, as well as any safety precautions.
Step 3: Turn Off the Power
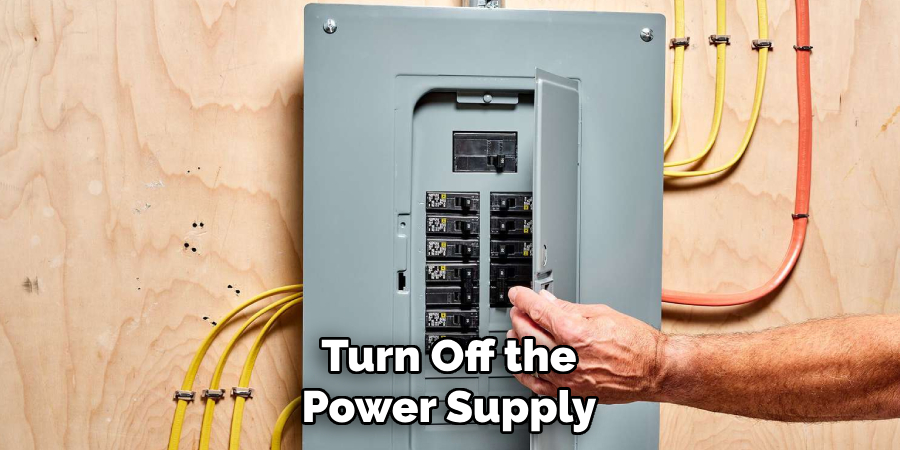
Before installing the touch smart timer, make sure to turn off the power supply to the light fixtures you will be controlling with the timer. This is important for your safety and to prevent any damage to the devices.
Step 4: Install Batteries (if applicable)
If your touch smart timer requires batteries, install them according to the instructions provided in the manual. Make sure they are inserted correctly to ensure the proper functioning of the timer. So, it is essential to carefully read and follow the instructions.
Step 5: Choose a Location
Select a suitable location for your touch smart timer. It should be easily accessible and close to the light fixtures you will be controlling with the timer. Make sure there is an electrical outlet nearby as well.
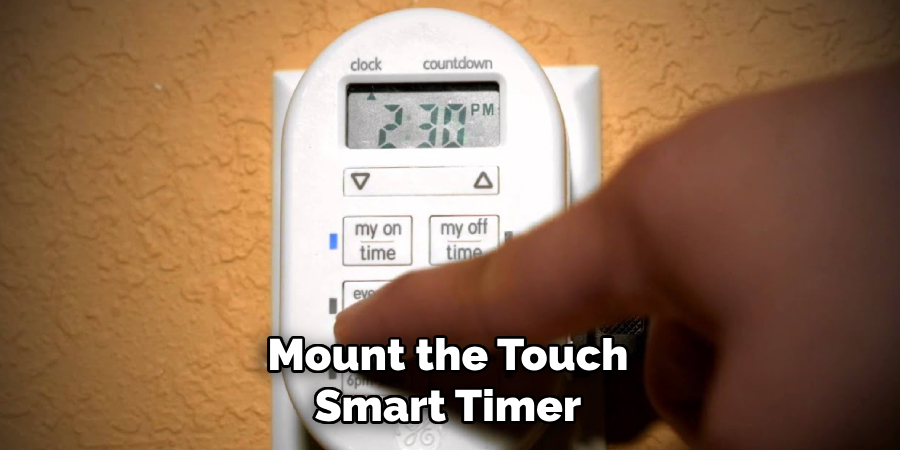
Step 6: Mount the Touch Smart Timer
Using screws and a screwdriver, mount the touch smart timer onto the wall or surface. Make sure it is securely attached and level. So, the touch smart timer will not accidentally fall or get damaged. As an alternative, some models also come with adhesive strips for easy mounting.
Step 7: Connect the Wires
Carefully connect the wires from the light fixtures to the touch smart timer according to the manual instructions. Make sure they are securely connected, and there are no loose ends. When in doubt, consult a professional electrician for assistance.
Step 8: Set the Time and Date
Follow the instructions in the manual to set the time and date on your touch smart timer. This is important for accurately scheduling when your lights turn on and off. If your model has a Wi-Fi connection, make sure to connect it at this step as well.
Step 9: Set the Schedule
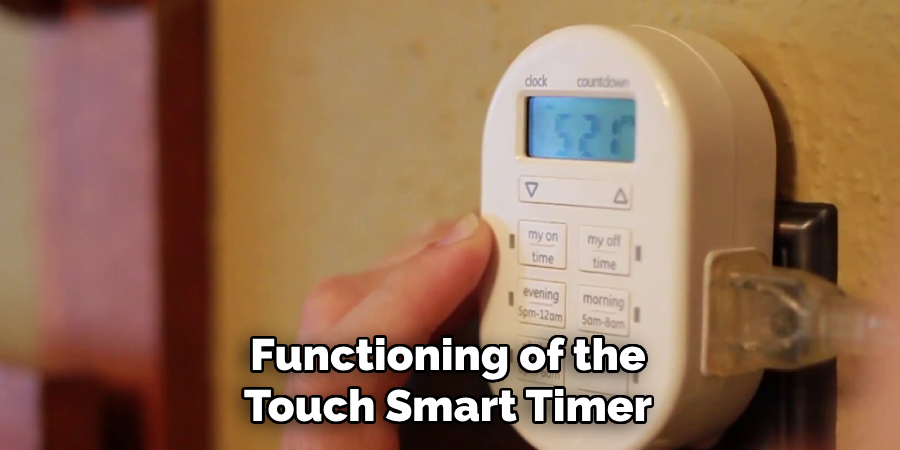
Using the timer’s interface or through the corresponding app on your smartphone or tablet, set the schedule for when you want your lights to turn on and off. You can set different schedules for each day of the week if desired.
Step 10: Test the Timer
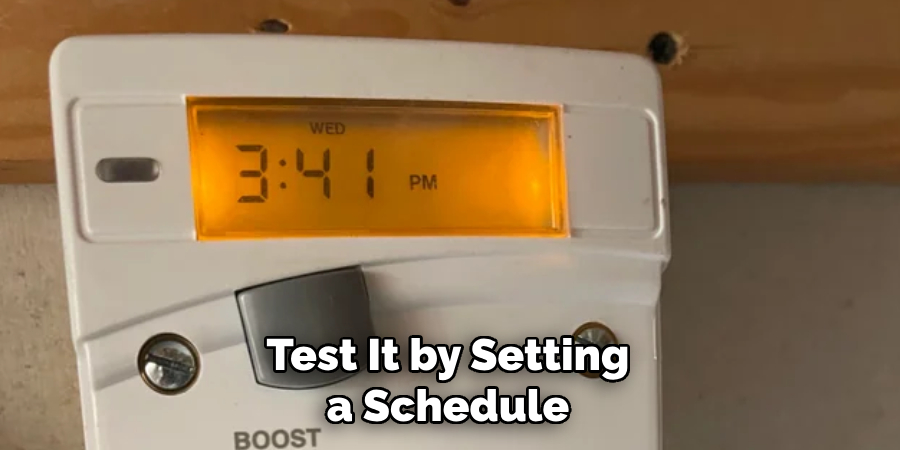
Before relying on the timer for your daily routine, test it by setting a schedule to turn on and off the lights at a specific time. Make sure everything is working correctly. Then, adjust the schedule as needed.
Step 11: Adjust Settings (if applicable)
Most touch smart timers come with additional settings that allow you to customize how your lights are controlled. This can include options such as dimming and motion detection. Explore these settings and adjust them according to your preferences.
Step 12: Enjoy Your Touch Smart Timer
Congratulations, you have successfully set up your touch smart timer! Now, you can enjoy the convenience and energy-saving benefits it provides. Make sure to regularly check and adjust the schedule as needed, and consult the manual for any troubleshooting tips if necessary.
A touch smart timer is a wonderful addition to any home, providing convenience, energy efficiency, and automation. By following these 12 simple steps on how to set up my touch smart timer, you can easily set up your touch smart timer and start enjoying its benefits in no time. Make sure to also regularly check for updates and new features for your specific model to maximize its potential.
9 Safety Measures to Follow While Setting Up a Touch Smart Timer
1) Turn Off the Power
As mentioned in Step 3, always make sure to turn off the power supply before installing or working on a touch smart timer. This will prevent any risk of electrical shock. As an additional safety precaution, wear safety gloves while handling any wires or electrical components.
2) Read the Manual Thoroughly
The instruction manual is not only a guide for setting up your touch smart timer but also contains important safety information. Make sure to read and understand it thoroughly before starting the setup process.
3) Use Compatible Devices
To avoid any complications or damage, always use light fixtures and bulbs that are compatible with your touch smart timer. Consult the manual or manufacturer’s website for a list of recommended devices.
4) Avoid Water Exposure
Do not install the touch smart timer in an area where it may come into contact with water. This includes bathrooms, kitchens, and outdoor areas. If you need to install a timer in these areas, make sure to use a waterproof model.
5) Keep Away from Children
When setting up the touch smart timer, make sure to keep it out of reach of children. This will prevent any accidents or tampering with the device. So, choose a mounting location and secure the timer accordingly.
6) Use Caution with Tools
If you need to use any tools during the setup process, make sure to handle them carefully and follow all safety precautions. This includes using protective eyewear when drilling or using a screwdriver. Therefore, this will prevent any injuries or damage.
7) Do Not Overload the Timer
Make sure not to overload the timer by connecting too many devices. Consult the manual for the maximum wattage, and make sure to stay within that limit. This will prevent overheating and potential electrical hazards.
8) Regularly Check and Maintain
To ensure the safe and proper functioning of the touch smart timer, make sure to regularly check and maintain it. This includes changing batteries if applicable, checking for any loose wires, and cleaning the device as needed.
9) Consult a Professional
If you are unsure about any step in the setup process or encounter any issues with the touch smart timer, do not hesitate to consult a professional electrician. They can provide guidance and assistance to ensure everything is set up correctly. So, your safety should always be the top priority when setting up any electrical device, including a touch smart timer.
Make sure to follow these safety measures and consult the manual for any additional precautions specific to your model. By doing so, you can enjoy the benefits of a touch smart timer without any worry. So, have fun with your new touch smart timer and enjoy the convenience and energy-saving it provides.
8 Things to Avoid When Setting Up a Touch Smart Timer
1) Improper Mounting
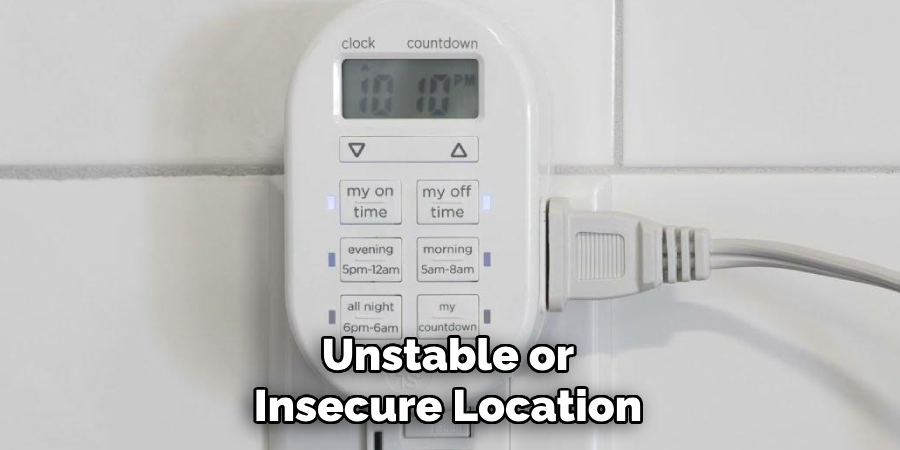
Avoid mounting the touch smart timer in an unstable or insecure location. This can cause the device to fall and potentially get damaged or cause injuries. Then, make sure to follow the instructions in the manual for proper mounting.
2) Skipping Steps
Do not skip any steps while setting up your touch smart timer. Each step is important, and skipping any of them can result in errors or malfunctioning of the device. Moreover, always read the manual thoroughly and follow all instructions carefully.
3) Using Excessive Force
Handle the touch smart timer with care and avoid using excessive force. This can damage the device or cause it to malfunction. If you encounter any difficulty during the setup process, refer to the troubleshooting section in the manual or consult a professional for assistance.
4) Not Testing the Timer
Skipping the testing process can lead to unexpected issues with your touch smart timer. Always test the device after setting up the schedule and adjust it as needed before relying on it for your daily routine.
5) Using Incompatible Devices
Using devices that are not recommended or compatible with your touch smart timer can cause damage or malfunctions. Consult the manual or manufacturer’s website for a list of recommended devices, and make sure to use them accordingly.
6) Neglecting Maintenance

Regular maintenance is important for the proper functioning and safety of your touch smart timer. Neglecting it can result in issues or potential hazards. Make sure to follow the maintenance instructions in the manual and regularly check the device for any signs of wear or damage.
7) Not Consulting the Manual
The manual contains important safety and setup information specific to your touch smart timer model. Avoid not consulting it or assuming you know all the steps. Always refer to the manual for any questions or uncertainties.
8) Modifying the Device
Do not attempt to modify or alter your touch smart timer in any way. This can void the warranty and potentially cause damage or safety hazards. If you need any modifications, consult the manufacturer or a professional electrician for assistance.
So, by avoiding these common mistakes on how to set up my touch smart timer, you can ensure a safe and successful setup of your touch smart timer. Remember to always prioritize safety and follow all instructions carefully for optimal performance of your device. Enjoy the convenience and energy-saving benefits of your new touch smart timer with peace of mind.
8 Additional Tips for Maximizing the Benefits of a Touch Smart Timer
1) Customize Your Schedule
Take advantage of the customizable scheduling feature on your touch smart timer to fit your specific needs and lifestyle. This can help you save energy and money by only using devices when needed. So, experiment with different schedules and see what works best for you.
2) Use Grouping Feature
Some touch smart timers have a grouping feature that allows you to control multiple devices at once. This can be especially useful for controlling all the lights in a room or appliances in your kitchen. So, take advantage of this feature to simplify your daily routine.
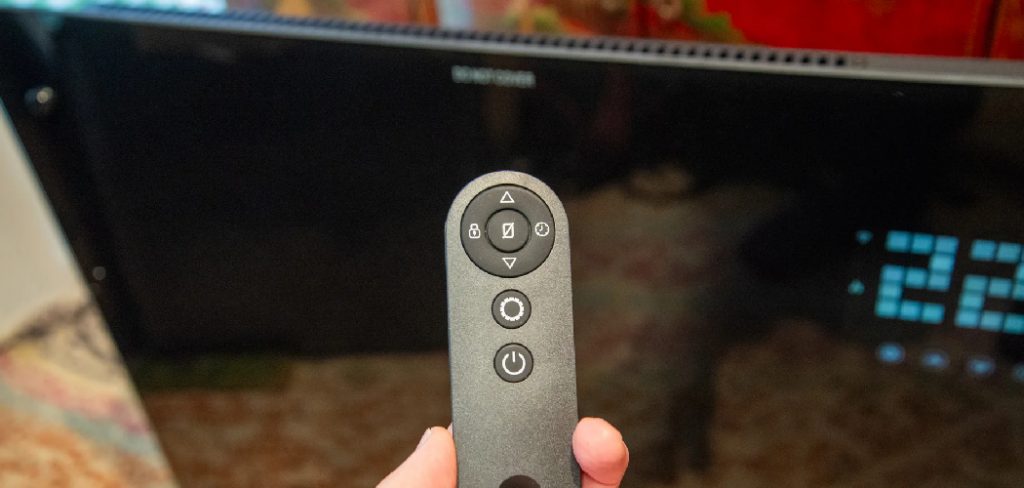
3) Utilize Remote Control
If your touch smart timer comes with a remote control, make sure to keep it in a convenient location. This can allow you to easily turn devices on or off without having to physically go to the timer. For example, you can turn off your bedroom lights from your bed using the remote before going to sleep.
4) Switch to LED Bulbs
For maximum energy-saving benefits, consider switching to LED bulbs for the devices connected to your touch smart timer. These bulbs are more energy-efficient and last longer than traditional incandescent or fluorescent bulbs. So, by pairing them with your touch smart timer, you can save even more on your energy bills.
5) Use Vacation Mode
If you’re going away for an extended period of time, use the vacation mode feature on your touch smart timer. This will turn off all devices connected to the timer and help conserve energy while you’re away. Plus, it gives the illusion that someone is still home, which can deter potential burglars.
6) Take Advantage of Voice Control
If your touch smart timer is compatible with voice control systems like Alexa or Google Assistant, take advantage of this feature. It can make controlling devices even more convenient and hands-free.
7) Monitor Your Energy Usage
Some touch smart timers come with energy monitoring features that allow you to track your energy usage and see how much you’re saving. Use this information to make adjustments to your schedule or devices as needed.
8) Update Firmware
Make sure to regularly check for firmware updates for your touch smart timer and install them if available. These updates can improve performance, add new features, and fix any bugs or glitches. This will ensure that you’re getting the most out of your device.
By following these tips, you can maximize the benefits of your touch smart timer and enjoy a more convenient and energy-efficient lifestyle. Take advantage of all the features and functions of your device to create a personalized and efficient home environment. So, don’t just stop at setting up your touch smart timer – continue exploring its capabilities for a better and smarter living experience.
Frequently Asked Questions
Can I Use a Touch Smart Timer With All Types of Devices?
No, it’s important to check the compatibility of your devices with a touch smart timer before using them. Some devices, such as high-powered appliances, may not be suitable or recommended for use with these timers. Refer to the manual or manufacturer’s website for a list of compatible devices.
Can I Control My Touch Smart Timer Remotely?
It depends on the specific features of your touch smart timer. Some models have a built-in remote control, while others may be compatible with voice control systems like Alexa or Google Assistant. Check the manual for more information on the capabilities of your device.
Do I Need an Electrician to Install a Touch Smart Timer?
It’s recommended to hire a professional electrician for the installation of a touch smart timer, especially if you’re not familiar with electrical work. This will ensure proper and safe installation of the device.
How Do I Reset My Touch Smart Timer?
If your touch smart timer is experiencing issues or needs to be reset, refer to the manual for specific instructions. In general, you can usually reset the timer by pressing and holding the reset button for a few seconds or using the power switch to turn it off and back on again.
How Can I Ensure My Touch Smart Timer Lasts a Long Time?
To ensure the longevity of your touch smart timer, refer to the maintenance instructions in the manual and follow them regularly. This may include cleaning, updating firmware, and avoiding any modifications or improper use of the device. Also, the timer must be handled carefully to avoid any damage. Remember, taking proper care of your touch smart timer will prolong its lifespan and ensure optimal performance for years to come.
Conclusion
A touch smart timer can be a valuable addition to your home, providing convenience, energy savings, and automation. By following the tips on how to set up my Touch smart timer and utilizing all its features, you can maximize the benefits of your Touch smart timer and make your daily routine more efficient.
So, take the time to set up and explore the capabilities of your device for a smarter and more comfortable living experience.
However, keep in mind that technology is always evolving, and new features may be added to your touch smart timer in the future. Stay updated with any firmware updates or new models that may offer even more advanced capabilities. With a touch smart timer, the possibilities for creating an efficient and convenient home are endless.
About
Safety Fic is a distinguished figure in the world of Diy design, with a decade of expertise creating innovative and sustainable Diy solutions. His professional focus lies in merging traditional craftsmanship with modern manufacturing techniques, fostering designs that are both practical and environmentally conscious. As the author of diy, Safety Fic delves into the art and science of Safety Fic-making, inspiring artisans and industry professionals alike.
Education RMIT University
(Melbourne, Australia) Associate Degree in Design (Safety Fic) Focus on sustainable design, industry-driven projects, and practical craftsmanship. Gained hands-on experience with traditional and digital manufacturing tools, such as CAD and CNC software.
Nottingham Trent University
(United Kingdom) Bachelor’s in diyfastly.com and Product Design (Honors) Specialized in product design with a focus on blending creativity with production techniques. Participated in industry projects, working with companies like John Lewis and Vitsoe to gain real-world insights.
Publications and Impact
In diy, Safety Fic his insights on indoor design processes, materials, and strategies for efficient production. His writing bridges the gap between artisan knowledge and modern industry needs, making it a must-read for both budding designers and seasoned professionals.