

Have you ever wondered why criminals continue to commit crimes even with more security cameras covering every square inch of public space? Perhaps they’ve grown savvier at selecting their targets and times to evade detection, or maybe the cameras are outdated or poorly positioned to capture what matters. As technology improves, so do our options for protecting our homes and property in meaningful ways.
In this post, I’ll share my experience of how to set up Swann security cameras at my home to give me peace of mind without breaching my privacy or sense of safety within the walls I know and trust. From selecting the right cameras and equipment to installing the app and customizing alerts, I’ll outline the straightforward process so you can start monitoring what’s important to you too.
Why Choose Swann Security Cameras?
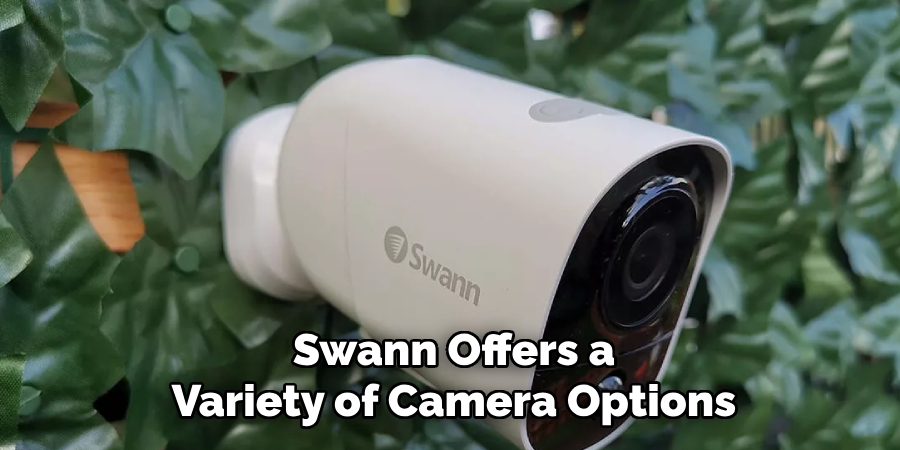
After researching and comparing several brands, I ultimately decided on Swann security cameras for a few reasons. First, they offer a wide range of high-quality camera options suitable for both indoor and outdoor use. From basic motion sensor cameras to more advanced thermal-sensing models.
Swann has something for every need and budget. Next, their wireless capabilities make installation and setup quick and easy, eliminating the need for extensive wiring or professional installation. Lastly, Swann’s user-friendly mobile app allows for remote viewing and control of your cameras from anywhere with an internet connection.
Tools and Materials You Will Need to Set Up Swann Security Cameras
- Swann security cameras of your choice
- Monitor or TV with HDMI input for initial setup and viewing
- Power adapter(s) for each camera
- Ethernet cable (if using a wired connection)
- Internet router and modem to connect to the Swann app and receive alerts
- Smartphone or tablet to download the Swann app
- Mounting hardware (screws, anchors, etc.) for installation
Step-by-step Guidelines on How to Set Up Swann Security Cameras
Step 1: Choose and Purchase Your Cameras
As mentioned, Swann offers a variety of camera options to suit different needs and preferences. Consider what areas of your home you want to monitor, whether you prefer wireless or wired connections and any special features (such as night vision or two-way audio) that may be important to you. Once you’ve made your selection, purchase the cameras directly from Swann’s website or through a reputable retailer.
Step 2: Prepare for Installation
Before you start setting up your cameras, it’s essential to have all of the necessary tools and materials ready. Find a convenient location near an electrical outlet for each camera, as well as access to your internet router and modem if using wireless cameras. If using wired connections, make sure to have an Ethernet cable long enough to reach from each camera to your router.
Step 3: Install the Swann App on Your Smartphone or Tablet
To view and control your cameras remotely, you’ll need to download the Swann app onto your smartphone or tablet. The app is available for free on both the App Store and Google Play. Once downloaded, create an account and log in to get started. You’ll also need to make sure your phone or tablet has an active internet connection.
Step 4: Connect Your Cameras to Power
Using the provided power adapters, plug each camera into an electrical outlet near their desired location. For outdoor cameras, make sure the power cord is securely sealed to protect against weather elements. If using a wired connection, connect the Ethernet cable from each camera to your router. While the cameras are powered on, connect your monitor or TV to the Swann DVR/NVR using an HDMI cable.
Step 5: Position and Mount Your Cameras
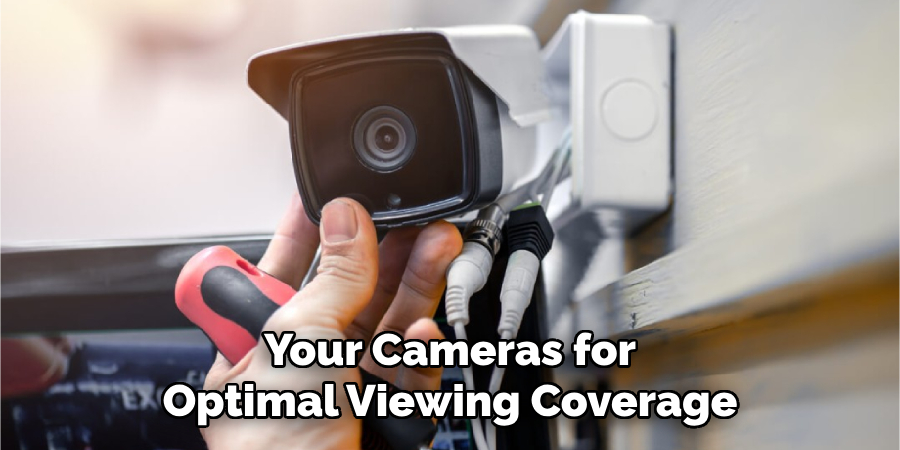
Now it’s time to strategically place your cameras for optimal viewing coverage. Swann cameras come with mounting hardware, so decide whether you want to attach them to a wall or ceiling, then secure the camera in place using screws and anchors. For best results, aim the camera slightly downwards towards the area you want to monitor.
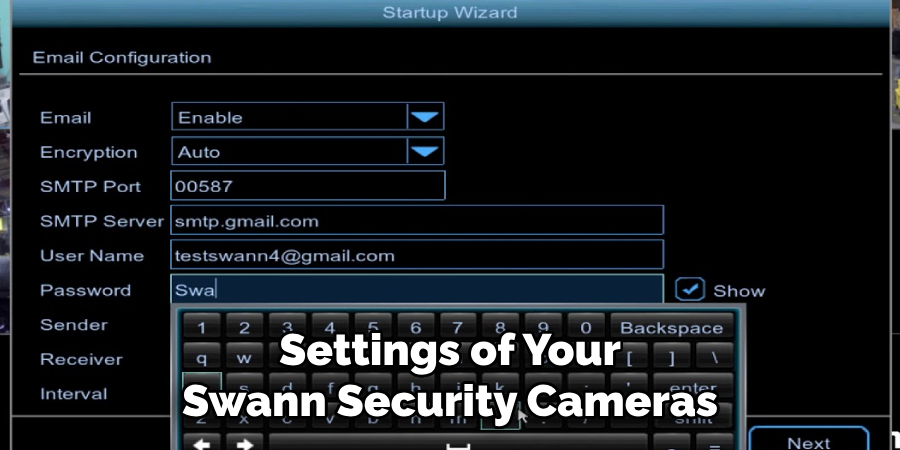
Step 6: Configure Your Cameras Using the Swann App
Open your Swann app and select the ‘Add Device’ option to begin configuring your cameras. Follow the in-app instructions to connect each camera to your network by scanning its unique QR code or manually entering its serial number.
Once connected, you can customize settings such as motion detection sensitivity, recording schedules, and notification alerts. You can also adjust camera angles and view live footage from your cameras in real-time through the app.
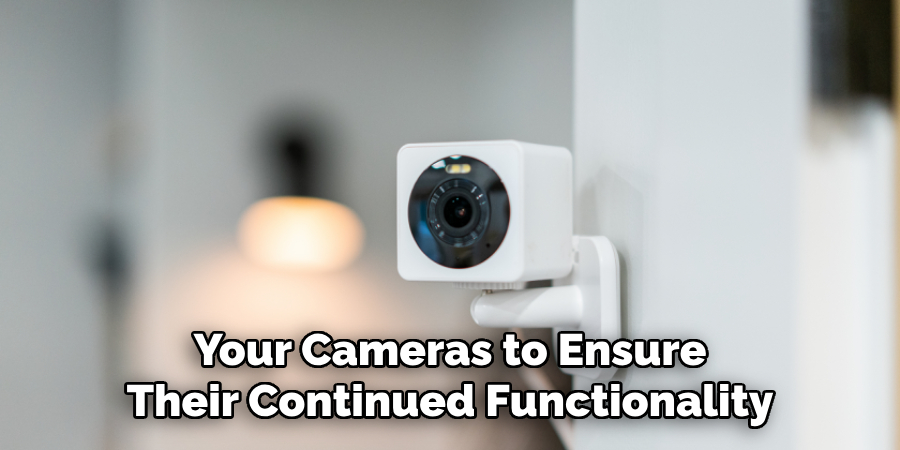
Congratulations! You have successfully set up your Swann security cameras to protect your home and property. Remember to periodically check for firmware updates and test your cameras’ functionality to ensure continued surveillance. With Swann’s reliable technology at your fingertips, you can rest easy knowing that your home and loved ones are safe and secure.
Additional Tips and Tricks to Set Up Swann Security Cameras
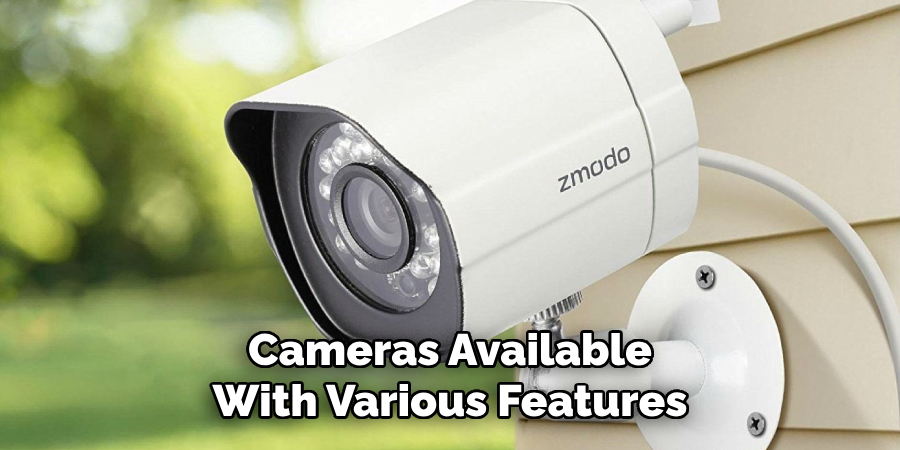
1. If you are planning on purchasing Swann security cameras, make sure to do your research beforehand. There are many different types of cameras available with various features and specifications. Take some time to figure out which type of camera would best suit your needs.
2. Before setting up your cameras, it is important to create a layout or map of the area you want to monitor. This will help you determine the number of cameras you need and where they should be placed for maximum coverage.
3. When installing your cameras, make sure to place them out of reach from potential tampering or vandalism. This can include mounting them high up on walls or using protective casings.
4. It is recommended to connect your Swann security cameras to a dedicated circuit that is not shared with other devices. This will ensure that your cameras are receiving a stable and consistent power supply.
5. Consider using security camera mounts or brackets to securely install your cameras. These can often be purchased separately and provide an easy way to adjust the angle of your cameras for optimal coverage.
6. Keep in mind any potential obstacles or interference when choosing where to place your cameras. For example, trees or other objects may block the camera’s view or cause false alarms.
7. If you are using wireless cameras, make sure they are placed in a location with good signal strength. This will ensure that your cameras can communicate effectively with the receiver.
8. It is recommended to periodically check and clean your cameras for any dust, debris, or spiderwebs that may accumulate. This will help maintain the quality of your camera’s footage.
9. Set up a regular maintenance schedule for your cameras to ensure they are functioning properly and capturing clear footage. This can include checking connections, changing batteries, or making any necessary adjustments.
10. Lastly, make sure to familiarize yourself with the features and settings of your Swann security cameras. Understanding how to use features such as motion detection or night vision can help you customize your camera’s performance to your specific needs.
Following these additional tips and tricks can help you set up your Swann security cameras with ease and ensure they are functioning effectively for your home or business’s surveillance needs. Remember to always prioritize the safety and security of your property when setting up your cameras, and regularly maintain them for optimal performance. Happy monitoring!
Things You Should Consider to Set Up Swann Security Cameras
1. The first thing that you should consider while setting up Swann Security Cameras is the location. The camera should be placed in a spot where it can easily capture all the areas of interest for monitoring purposes.
2. Make sure to check if your camera needs to be connected by a wire or if it is wireless and can be set up using Wi-Fi. This will affect the placement of your camera and the need for additional equipment.
3. Determine the power source for your camera. Some Swann Security Cameras use batteries, while others need to be connected to a power outlet. This will also affect the placement and installation process.
4. Plan out the network connection for your camera. If you are setting up multiple cameras, you may need a network video recorder (NVR) to connect and manage all the cameras.
5. Before mounting the camera, make sure to test it in the location you have chosen. This will ensure that the camera has a good Wi-Fi connection and can capture clear footage.
6. If you are using wired cameras, ensure that the cables are properly secured and hidden from view to prevent tampering or damage.
7. Consider the weather and environmental factors when choosing a location for your camera. Swann Security Cameras are designed to be weatherproof, but extreme conditions may require additional protection or adjustments.
8. Set up the camera at an appropriate height and angle for optimal surveillance. This may vary depending on the area you want to monitor and the type of camera you are using.
9. Make sure to follow all the instructions provided by Swann for setting up your specific camera model. Each camera may have different installation and setup processes.
10. Once your camera is set up, make sure to test it regularly and ensure that it is working properly. Check the footage and adjust the settings if needed to optimize its performance.
Following these considerations will help you set up your Swann Security Cameras effectively and ensure that they provide reliable surveillance for your home or business. Remember to regularly maintain and check on your cameras to ensure their continued functionality. Stay safe and secure with Swann Security Cameras.
Frequently Asked Questions
Can I Set Up My Swann Security Cameras by Myself or Do I Need Professional Help?
It is possible to set up your Swann Security Cameras on your own, but it’s recommended to get professional help if you are not confident in doing it yourself. Professional installation can ensure that the cameras are placed and configured correctly for optimal performance.
Can I Install Swann Security Cameras Indoors and Outdoors?
Yes, Swann Security Cameras are designed to be used both indoors and outdoors. However, make sure to choose the appropriate camera model for your desired location as some may be better suited for specific environments.
Do I Need Wi-Fi For My Swann Security Camera To Work?
Some Swann Security Cameras can be set up using Wi-Fi, while others may require a wired connection. Make sure to check the instructions for your specific camera model and plan accordingly.
Can I Access My Swann Security Camera Footage Remotely?
Yes, you can access your Swann Security Camera footage remotely using the Swann app or by logging into your account on the website. This feature allows you to monitor your camera footage from anywhere with an internet connection.
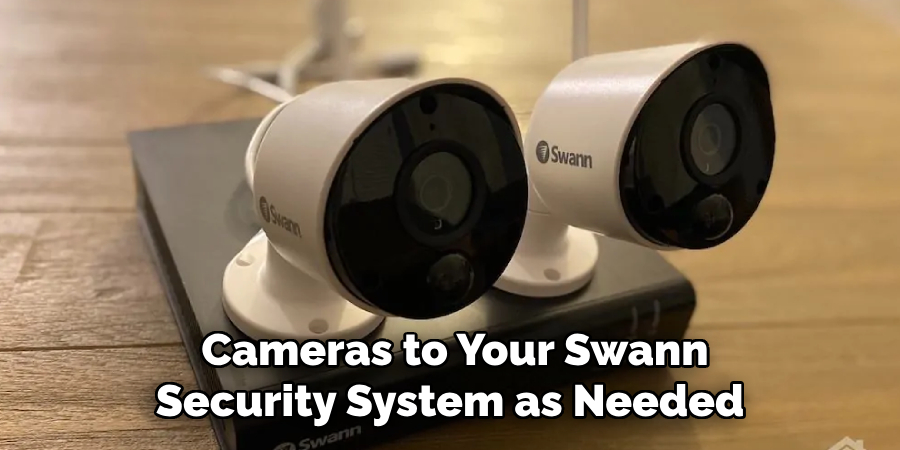
Can I Add More Cameras to My Swann Security System?
Yes, you can add more cameras to your Swann Security System as needed. Just make sure that the additional cameras are compatible with your existing system and have enough network bandwidth for optimal performance.
Conclusion
Now you know how to set up swann security cameras for your home or business. Remember to consider the location, power source, network connection, and other factors before installation. If you are not confident in setting up the cameras yourself, it’s best to seek professional help for optimal results.
Regular maintenance and monitoring of your cameras will ensure reliable surveillance and peace of mind. Thank you for choosing Swann Security Cameras to keep your property safe and secure. So, be sure to consider all these factors and follow the instructions carefully for a successful setup process. Stay safe!
About
Safety Fic is a distinguished figure in the world of Diy design, with a decade of expertise creating innovative and sustainable Diy solutions. His professional focus lies in merging traditional craftsmanship with modern manufacturing techniques, fostering designs that are both practical and environmentally conscious. As the author of diy, Safety Fic delves into the art and science of Safety Fic-making, inspiring artisans and industry professionals alike.
Education RMIT University
(Melbourne, Australia) Associate Degree in Design (Safety Fic) Focus on sustainable design, industry-driven projects, and practical craftsmanship. Gained hands-on experience with traditional and digital manufacturing tools, such as CAD and CNC software.
Nottingham Trent University
(United Kingdom) Bachelor’s in diyfastly.com and Product Design (Honors) Specialized in product design with a focus on blending creativity with production techniques. Participated in industry projects, working with companies like John Lewis and Vitsoe to gain real-world insights.
Publications and Impact
In diy, Safety Fic his insights on indoor design processes, materials, and strategies for efficient production. His writing bridges the gap between artisan knowledge and modern industry needs, making it a must-read for both budding designers and seasoned professionals.