

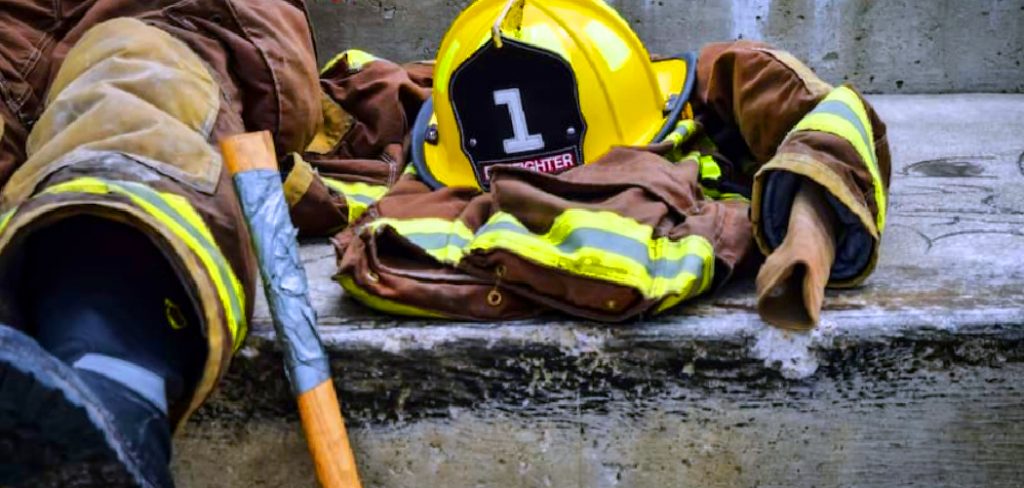
Sewing patches on a safety jacket is a practical skill that allows you to personalize or repair your workwear. Whether it’s adding a name tag, a company logo, or a reflective patch for increased visibility, knowing how to properly attach patches ensures they remain durable and professional-looking.
This guide on How to sew patches on a safety jacket will walk you through the tools and steps needed to successfully sew patches onto a safety jacket.
Why Sew Patches?
Patches are a common feature on safety jackets, and for good reason. They serve several practical functions such as identifying the wearer’s name, company, or job title. Additionally, reflective patches can increase visibility and help prevent accidents in low-light conditions. Sewing patches also provide a more permanent solution compared to using adhesive patches that may peel off over time.
It’s important to follow proper techniques when sewing patches onto a safety jacket to ensure they stay in place and maintain their functionality.
Tools Needed
To sew patches on a safety jacket, you will need the following tools:
Safety Jacket With Desired Patch Placement:
Choose a safety jacket that fits well and has enough space for your desired patches. It’s important to consider the placement of the patches before sewing to ensure they don’t interfere with any safety features of the jacket.
Patches:
Select patches that are appropriate for your jacket and its intended purpose. Reflective patches are ideal for increasing visibility, while embroidered or iron-on patches can be used for personalization.
Thread:
Choose a thread color that matches the patch and the jacket. This will help create a clean and seamless look.
Sewing Machine or Needle and Thread:
You can use either a sewing machine or hand sew using a needle and thread to attach patches to your safety jacket. A sewing machine is recommended for larger or thicker patches, while smaller ones can easily be attached by hand.
9 Steps on How to Sew Patches on a Safety Jacket
Step 1: Prepare the Safety Jacket and Patches

Start by cleaning the safety jacket to ensure it is free of dirt and debris that might interfere with the stitching process. Lay the jacket on a flat surface and smooth out any wrinkles. Next, position the patch on the desired area of the jacket, making sure it is properly aligned and does not obstruct any reflective strips or functional elements.
Use pins or fabric tape to temporarily secure the patch in place, preventing it from shifting as you sew. Proper preparation will help ensure a clean and professional result.
Step 2: Thread the Needle or Sewing Machine
If you are using a sewing machine, choose a thread color that matches the patch and the safety jacket to ensure a polished appearance. Follow your sewing machine’s instructions to thread the upper thread and load the bobbin correctly. Make sure the tension settings on the machine are appropriate for the fabric of the jacket and the patch.
For hand sewing, thread the needle by cutting a piece of thread approximately 18-24 inches long, then inserting one end through the eye of the needle. Tie a small knot at the end of the thread to prevent it from pulling through the fabric as you sew. Verifying that you are using strong, durable thread is essential to ensure the patch remains securely in place.
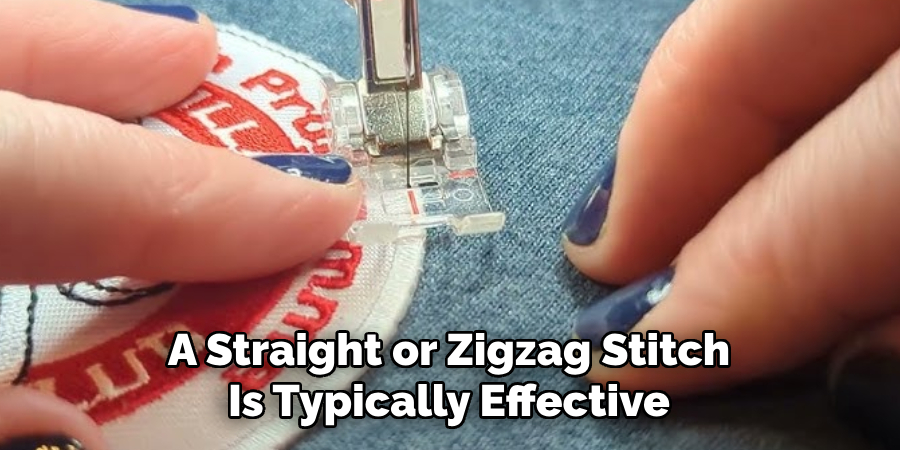
Step 3: Choose the Right Stitch
If using a sewing machine, select a stitch that is appropriate for your patch and jacket fabric. A straight or zigzag stitch is typically effective for most patches, but you can also experiment with decorative stitches to add more personality.
For hand sewing, use a whipstitch or running stitch to attach the patch. These stitches are simple yet strong and will keep the patch securely in place.
Step 4: Start Sewing
Begin by securing your thread on the inside of the jacket or along the edge of the patch. This will help prevent knots from showing on the front of the patch. Then, carefully sew around the edge of the patch, following the shape or design of the patch. If using a sewing machine, keep your stitches straight and even. For hand sewing, make sure to keep your stitches close together for maximum durability.
But be careful not to sew through any pockets or zippers on the jacket.
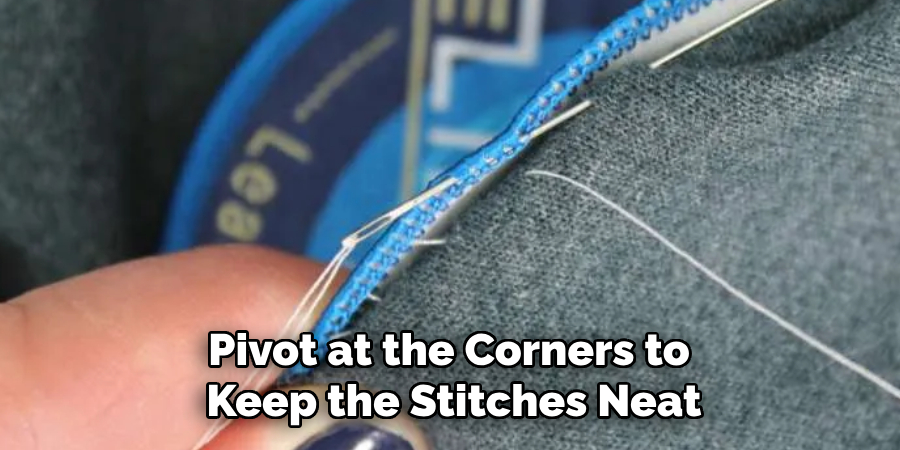
Step 5: Sew Along All Sides
Continue sewing along all sides of the patch to ensure it is fully secured to the safety jacket. Whether using a sewing machine or hand sewing, maintain consistent stitching by following the edges of the patch closely. For rectangular or square patches, pivot at the corners to keep the stitches neat and uniform. If the patch has a rounded shape, take your time to carefully guide the fabric or thread around the curves.
Double-check that all sides of the patch are firmly attached and that there are no gaps or loose areas. If necessary, add extra stitches to reinforce the patch, particularly at stress points or corners where the patch is more likely to lift or fray. Ensuring proper attachment on all sides will extend the durability of the patch and maintain a professional appearance.
Step 6: Finish the Stitching
When you have sewn along all sides of the patch, secure your thread by sewing a few stitches in place or tying a knot on the inside of the jacket. If using a sewing machine, trim any excess thread with scissors and use fabric glue to seal the ends. For hand sewing, simply trim the thread close to where it is tied and gently tug on it to make sure it is securely knotted.
Inspect your stitching for any loose threads or uneven areas and fix them as needed. You want your patch to look clean and well-attached.
Step 7: Remove Pins or Fabric Tape
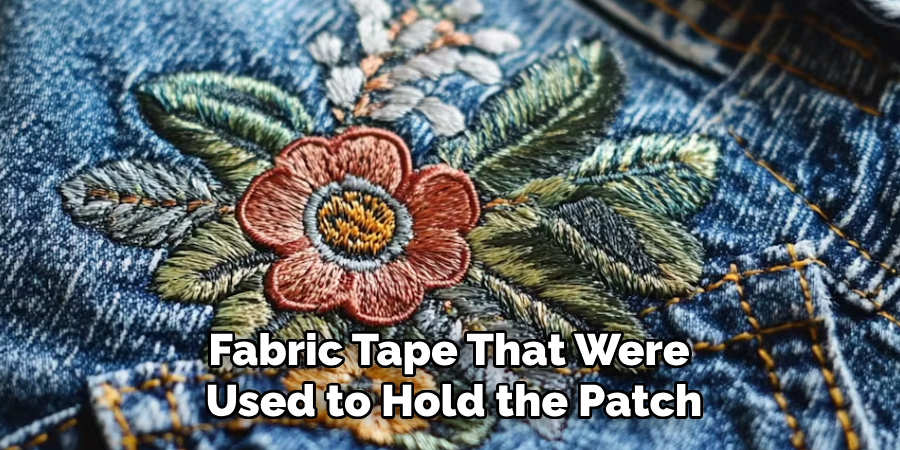
Once the patch is securely stitched onto the safety jacket, carefully remove any pins or fabric tape that were used to hold the patch in place during sewing. Take your time to ensure you do not accidentally tug on the patch or disturb the stitching.
If you use fabric tape, gently peel it off to avoid leaving any residue on the jacket. Inspect the patch to make sure it is lying flat and securely attached, with no loose edges or areas where the fabric might bunch. Removing these temporary supports will reveal the final result and ensure the jacket is ready for use.
Step 8: Add More Patches (Optional)
If you want to add more patches to your safety jacket, repeat the steps above for each additional patch. Remember to carefully consider placement and alignment before sewing, as well as how the patches may interact with each other once attached. Adding multiple patches can give your safety jacket a unique and personalized touch.
If you are using a sewing machine, make sure to adjust the stitch length and tension accordingly for each patch. For hand sewing, use the same stitches as before, and make sure to secure your thread after each patch is attached.
Step 9: Clean Up
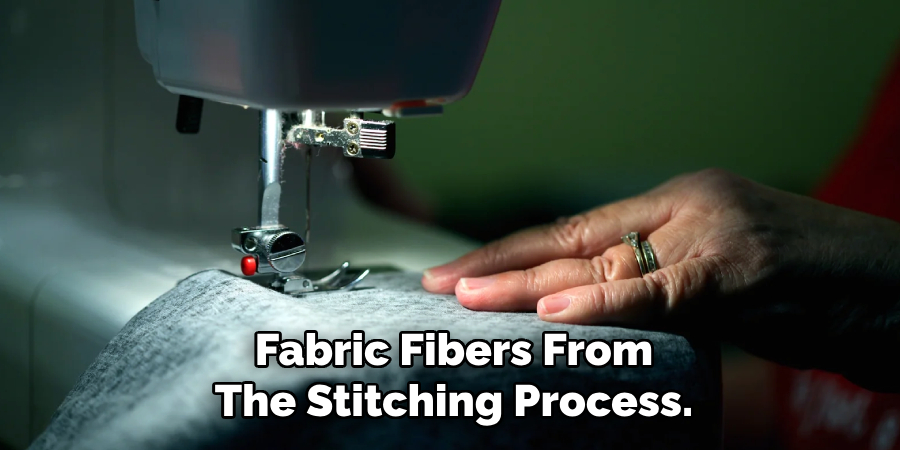
After all the desired patches are securely attached, clean up any remaining loose threads or fabric fibers from the stitching process. Use scissors or a lint roller to remove any debris from both the patch and the jacket. This will help maintain a neat appearance and preserve the life of your safety jacket.
If you use a sewing machine, remember to clean and maintain it according to the manufacturer’s instructions. This will help prolong its lifespan and ensure accurate stitching for future projects.
Now, your safety jacket is fully customized with your chosen patches! Show it off at work or during any outdoor activities where high visibility is necessary. With proper care, your patches should remain securely attached for a long time.
Additional Tips
- If using iron-on patches, follow the manufacturer’s instructions carefully for application. Make sure to use a heat-safe surface and apply firm pressure when ironing to properly adhere to the patch.
- For extra reinforcement, you can also hand-stitch around the edges of an iron-on patch after it has been applied.
- If attaching patches to a waterproof or water-resistant jacket, use a needle specifically designed for these fabrics and consider using a sealant or tape on the inside to prevent moisture from seeping through the stitching holes.
- Get creative with patch placement and mix different sizes and shapes for a fun look. You can even overlap patches or sew them at an angle for added visual interest.
- For jackets made of delicate fabrics, such as leather or suede, it may be best to take them to a professional tailor or seamstress for patch application to avoid damaging the material.
Now you know how to securely and neatly attach patches to your safety jacket! Have fun customizing it and make sure to wear it with pride. Stay safe out there!
Frequently Asked Questions
Q: Can I Use Fabric Glue Instead of Sewing?
A: Fabric glue is not recommended as the sole method of attaching patches to a safety jacket. Glue alone may not be strong enough to withstand regular wear and tear, resulting in the patches coming loose or falling off. Sewing provides a more durable and long-lasting attachment. However, you can use fabric glue in addition to sewing for extra reinforcement.
Q: How Do I Remove Old Patches from My Jacket?
A: To remove old patches, carefully cut or unpick the stitching around the edges of the patch. Then, gently pull on the patch to remove it from the jacket. Use tweezers or scissors to remove any leftover thread or residue. If there is adhesive residue left behind, try using rubbing alcohol or an adhesive remover to clean it off. Always test any products on a small, inconspicuous area first before applying it to the whole jacket.
With these steps on How to sew patches on a safety jacket, you can easily customize your own jacket and add a personal touch to it. Remember to always take your time, be careful when sewing, and have fun with the process! Stay safe and visible out there.
Conclusion
Customizing your safety jacket with patches is a practical and creative way to enhance its functionality, durability, and personal style. By following the steps on How to sew patches on a safety jacket outlined above, you can ensure that your patches are securely attached and professionally finished, whether for work, outdoor activities, or personal expression.
Taking the time to properly sew and care for your patches will not only extend the life of your safety jacket but also make it uniquely yours. With the added tips and answers to frequently asked questions, you are now well-equipped to transform an ordinary jacket into something exceptional. Have fun with your project, and wear your customized safety jacket with pride!