

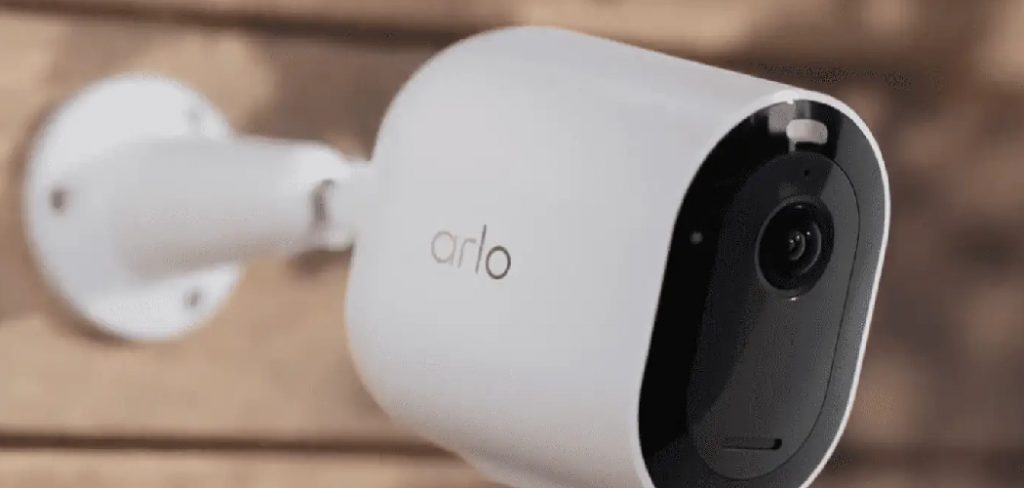
Knowing how to share Arlo camera can make home security easier and more collaborative. Arlo cameras are excellent for monitoring your property, offering modern convenience with features like HD video and motion detection. Sharing access to these cameras ensures that your family members or trusted individuals can also monitor key areas of your home.
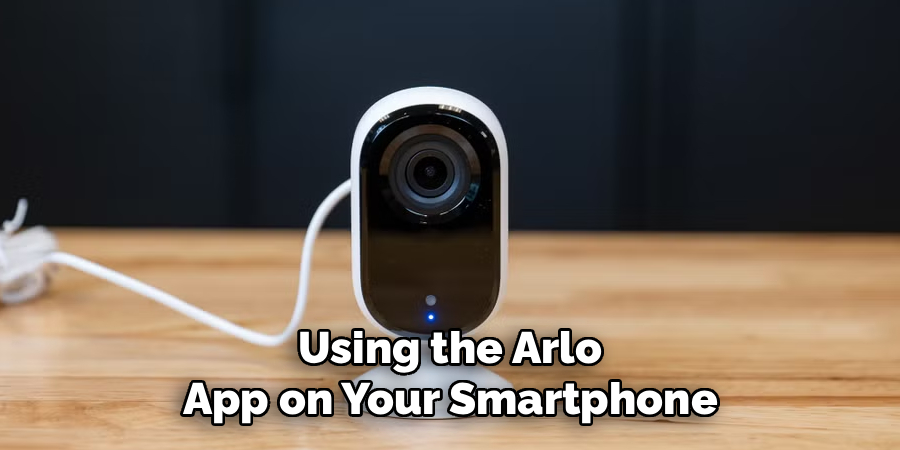
To share your Arlo camera, start by opening the Arlo app on your smartphone or accessing your account through the Arlo website. Navigate to the settings menu and select the option for “Grant Access.” From there, enter the email address of the person you wish to share access with and customize their permissions.
They will receive an invitation to join, allowing them to view live feeds and recordings, depending on the permissions you set. Always ensure you share access with trusted individuals to maintain the security of your system.
Whether it’s allowing a spouse to check the live feed or giving a housemate access to review stored footage, sharing an Arlo camera ensures everyone stays informed and protected. Fortunately, Arlo makes this process intuitive through its app and account sharing features. This guide will walk you through the steps to share your Arlo camera access safely and efficiently, even if you’re new to the system.
Why Sharing Your Arlo Camera Matters
Sharing your Arlo camera is highly practical for families, housemates, and even businesses. It ensures multiple users have access to monitor the home or office, creating a seamless way to stay updated about security events. For instance, while you’re away on vacation, shared access allows trusted individuals to monitor activity and respond to any alerts in your absence.

The ability to share is also beneficial for improving communication and coordination. Instead of relying on one person to check notifications constantly, key individuals can share responsibilities, reviewing clips or managing alerts as needed. Plus, shared camera feeds make live updates available to everyone with access, which is especially helpful in households with children or elderly relatives who need additional supervision.
Importantly, Arlo cameras allow for controlled user permissions, meaning you can choose what level of access others receive. This gives you full control over your security setup while providing others with the information they need. By learning how to share Arlo camera access, you enhance convenience, flexibility, and peace of mind for everyone involved.
Step-by-Step Guide: How to Share Arlo Camera
Step 1: Create or Log in to Your Arlo Account
The first step to sharing your Arlo camera is ensuring that you’re logged into your Arlo account. Using the Arlo app on your smartphone or tablet, launch the application and enter your credentials to access the dashboard. If you’re new to the Arlo system, set up an account by selecting “Sign Up” and providing the required details such as email address and password.
Once inside your account, verify that your camera is connected and active. The app should display a list of devices under your account, including all installed Arlo cameras. If the camera does not appear, follow the device setup instructions provided with your Arlo system to link the camera to your account. This foundation ensures you’re ready to proceed with sharing access.
Step 2: Open the Arlo App’s Settings
To begin the sharing process, locate the “Settings” option within the Arlo app’s main dashboard. Tap on it to open a menu that provides a variety of customization options for your connected devices. Within the settings, you’ll find sections for device management, notifications, and, most importantly, sharing permissions.
Select the camera you want to share by choosing it from your device list. This action will bring up additional details about that specific camera, including its live feed, recording schedule, and sharing features. Navigating to this area is a crucial step for tailoring the permissions and user access levels you wish to set.
Step 3: Add a Trusted User
Click on the option to “Add a Friend” or “Share Camera,” depending on the version of the app you’re using. You’ll be prompted to enter the email address of the person you want to share the camera with. Ensure the email address matches the one they’ll use to access their Arlo account. If they don’t yet have an Arlo account, they’ll be prompted to create one after receiving your invitation.
Once you’ve added their email, review the permissions options available. Decide whether you want to grant “Admin” access, which allows for full control, or “View Only” access, which limits activity to viewing live feeds and clips. Adding a trusted user with appropriate permissions safeguards your system while providing the convenience of shared monitoring.
Step 4: Send the Invitation to Share
After entering their details and selecting the desired permissions, send the sharing invitation directly from the settings menu. The Arlo app will notify the invited person by email, allowing them to accept the invitation and gain the access you’ve created for them. Review your shared user list to confirm the invitation status, which will change once it’s been accepted.

Make sure the recipient checks their inbox, spam folder, or junk mail folder if they don’t see the invitation immediately. A successful acceptance ensures their account is linked to your system, making it possible for them to view or manage the shared Arlo camera.
Step 5: Customize Permissions
Once the person accepts the invitation, customize their access further if needed. Go back into your camera’s settings and revisit the section that details “Shared Devices” or “Friends.” You’ll see the list of individuals with access to your camera, and tapping on a specific person allows for edits to their permissions.
For example, you can adjust whether they can control camera settings, view footage, or manage alerts. Fine-tuning these permissions ensures privacy and control remain in your hands while empowering the shared user to interact with the system as intended. Setting personalized permissions optimizes the sharing experience for everyone involved.
Step 6: Test the Shared Access
Before concluding the process, test the shared access to make sure everything is functioning correctly. Ask the invited person to log into their Arlo account and check the camera access they’ve been granted. Verify that they can see the live feed, review clips, and interact with features based on the permissions you’ve assigned.
Testing access helps identify and resolve any issues early, such as connectivity problems or missed invitation emails. It also offers the opportunity to walk the new user through the app’s functions if they’re unfamiliar with how to use Arlo’s features. Ensuring the shared access works smoothly enhances satisfaction and usability for everyone.
Step 7: Manage and Remove Shared Users
There may come a time when you need to adjust who has access to your Arlo cameras. To update your shared user list, revisit the settings menu and review the section dedicated to managing shared devices or users. Removing someone from the access list is as simple as selecting their name and choosing the “Remove” option.
This action immediately revokes their access, ensuring your security remains uncompromised. Managing shared users regularly ensures that only trusted individuals have access to your system and allows for accountability and oversight of your camera network.
Step 8: Update App and Device Settings
To maintain the integrity of your shared setup, keep the Arlo app and your devices updated. Periodic updates enhance security by fixing vulnerabilities and optimizing performance. Check your app store regularly to ensure your Arlo app is running the latest version, and verify that firmware updates for your cameras are applied as instructed.
Staying up to date prevents potential issues that could arise from outdated software, ensuring that all shared features and permissions continue to function properly. This final step reinforces the reliability and security of your shared Arlo camera setup.
Benefits of Sharing Access
Convenience for Multiple Users
Sharing access allows family members, roommates, or colleagues to monitor the cameras without needing to share a single login. Each user can have their own account, enhancing flexibility and ease of use.
Improved Security Collaboration
With shared access, authorized users can quickly respond to alerts, check live feeds, or review recordings, fostering a collaborative approach to home or office security.
Customized Control
Shared access enables the primary account holder to set permissions, allowing different users to perform specific actions, such as viewing live footage or receiving notifications, while maintaining overall control.
Peace of Mind
Knowing that multiple trusted individuals can monitor the system ensures greater coverage and collective responsibility, providing reassurance in case of emergencies.
Scalability for Larger Households or Teams
For households with many occupants or businesses requiring broader monitoring, shared access ensures that everyone requiring access can be included without complicating the process.
Frequently Asked Questions
Can multiple people view my Arlo camera at the same time?
Yes, Arlo cameras allow multiple users to access the feed simultaneously. Each invited user can log in with their own Arlo account, enabling them to view live feeds or stored footage. However, permission settings determine whether they can make changes to the camera or account.
Is it safe to share my Arlo camera access?
Yes, as long as you share access with trusted individuals and use the app’s permission controls wisely. Arlo allows you to customize who can view or manage the camera, ensuring shared access remains secure. Removing users when necessary further protects your system.
What happens if an invitee doesn’t have an Arlo account?
If the person you invite doesn’t have an Arlo account, they’ll receive an email with instructions for setting one up. Once they create an account using the email address you provided, they’ll gain access to the shared camera as per your designated permissions.
Can I share my camera with someone temporarily?
Yes, you can share your Arlo camera for a specific period by manually removing the user once access is no longer needed. Simply return to the settings menu and delete the user from your shared list to revoke permissions.
Do shared users have full control over my Arlo system?
Shared users only have the level of control you grant. The “Admin” setting allows full access, while “View Only” limits actions to watching live feeds and playback. You retain the ability to customize or revoke these permissions at any time.
Conclusion
Understanding how to share Arlo camera access makes home security more flexible and collaborative. By following the simple steps outlined here, you can easily give trusted individuals permission to view or manage your camera system, enhancing overall safety and convenience.
Sharing access responsibly is crucial to maintaining the security and privacy of your home. Ensure that only trusted individuals are granted permissions and remind them of the importance of keeping login details confidential. Regularly review and update access settings to align with your changing needs and ensure your system remains secure over time.
Sharing your Arlo camera ensures everyone stays informed and engaged with your security needs. Start sharing today and enjoy the peace of mind that comes with knowing your household is well-protected!