

Have you ever needed to grant someone temporary access to your smart home but weren’t sure how? I know the feeling – I have often wanted a house sitter, dog walker, or family member to get into my home without physically giving them a key.
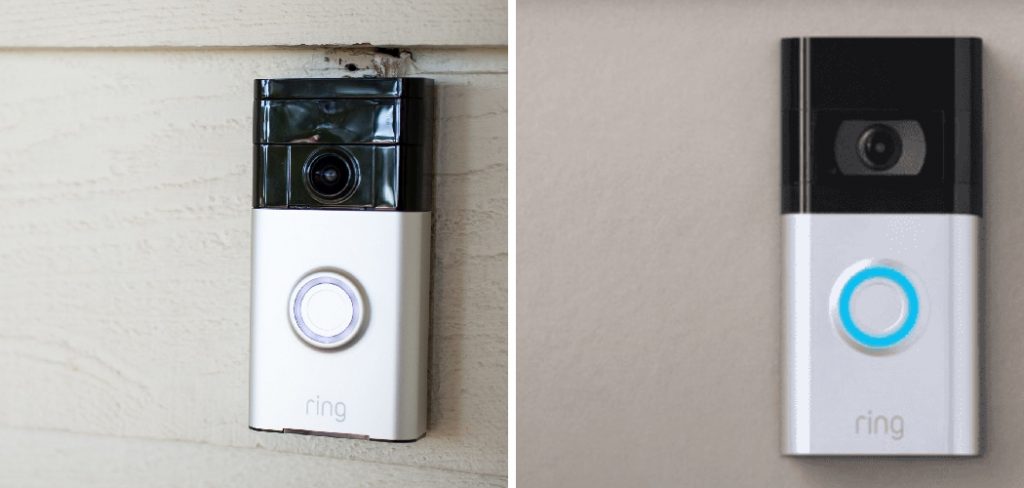
That’s why I was so excited to discover that my Ring Video Doorbell has a feature that allows me to quickly and securely share access to my front door. In this post, I will explain exactly how to use Ring’s Shared Users feature to grant restricted access without compromising my security or privacy.
From setting up a shared user profile to customizing permissions and expiration dates, you’ll learn everything you need to know about how to share ring access.
What Will You Need?
To share ring access, you’ll need the following:
- A Ring Video Doorbell (or any other Ring device that includes the Shared Users feature)
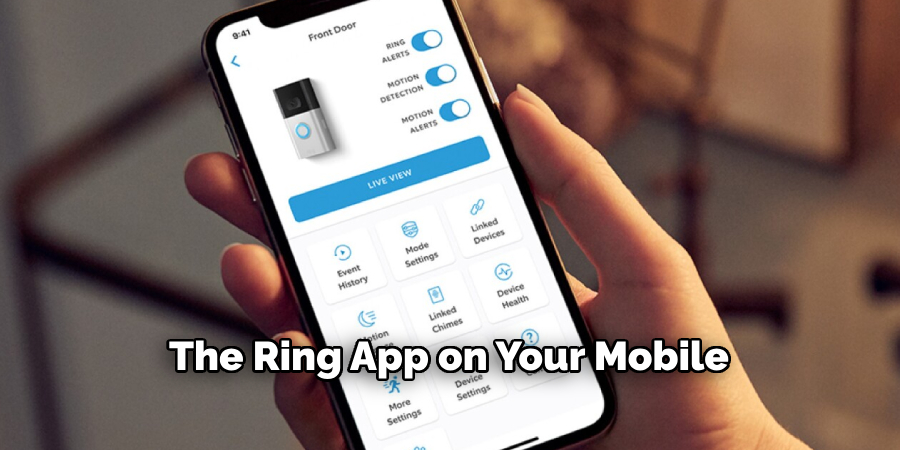
- The latest version of the Ring app downloaded on your smartphone
- An active internet connection
Once these items are ready, let’s dive into the steps for sharing ring access.
10 Easy Steps on How to Share Ring Access
Step 1. Create a Shared Group
The first step in sharing ring access is to create a shared group. This can be done through the Ring app on your mobile or desktop computer. In the app, you will be able to create a group and invite people to join it. Once everyone has accepted the invitation, they can view and control any of the devices associated with that group.
Step 2. Assign Access Rights
Once everyone has been added to the shared group, you can assign access rights to each person. This allows you to control who can view or control specific devices in the group. For example, you may want to give one person full access while limiting another person’s access only to specific devices.
Step 3. Monitor Activity
Finally, you should monitor activity within your shared group to ensure no one abuses their access rights. The Ring app provides an activity log that shows all recent activities performed by shared group members. This allows you to quickly identify any suspicious activity and take action, if necessary.
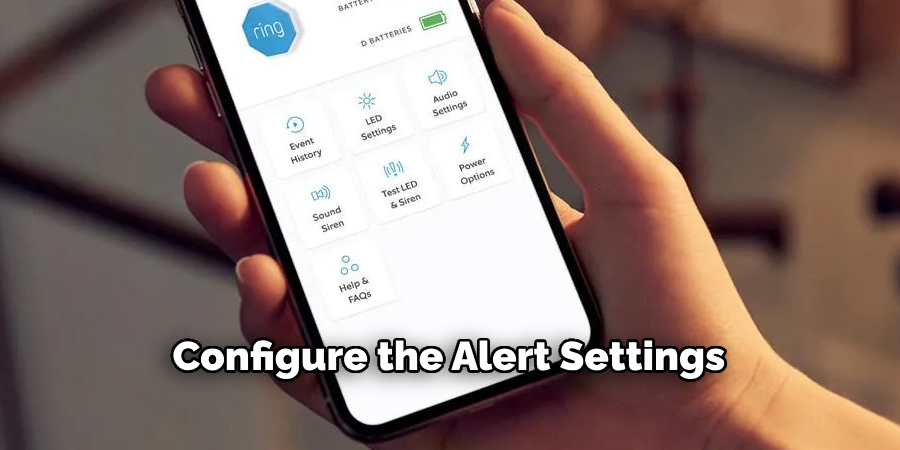
Step 4. Configure Alert Settings
After setting up the shared group, you can now configure the alert settings. Doing this lets you be notified whenever a shared user interacts with your Ring devices. To do this, go to the “Shared Groups” section, select the relevant group, then select “Alert Settings”. Here, you can customize what activities will trigger an alert, such as when a doorbell is rung, or motion is detected. This ensures you remain in control and informed about the usage of your Ring devices.
Step 5. Set an Expiration Date
Ring allows you to set an expiration date for shared user access for added security. To do this, navigate to the “Shared Users” section in the Ring app. Select the user whose access you want to limit, then tap on “Access Schedule.” Here, you can set a start and end date for the user’s access. This feature is handy when you share access with a temporary visitor, like a house sitter or contractor, and you automatically want their access to expire at a particular time.
Step 6. Revoking Access
After the expiration date or when you decide to revoke access, simply navigate to the “Shared Users” section in the Ring app. Select the user you want to remove and tap “Remove User.” This ensures you completely control who has access to your Ring devices. Remember, sharing ring access is about convenience and security, and you should feel confident in the access levels you provide.
Step 7. Confirm Changes
After making any changes, whether assigning access rights, setting an expiration date, or revoking access, always confirm the changes. You do this on the Ring app by tapping “Save” or “Confirm.” This will ensure that the changes you’ve made are applied correctly. If you skip this step, your settings might not be updated, and your Ring access may not be shared as intended. This is a crucial step in sharing Ring access.
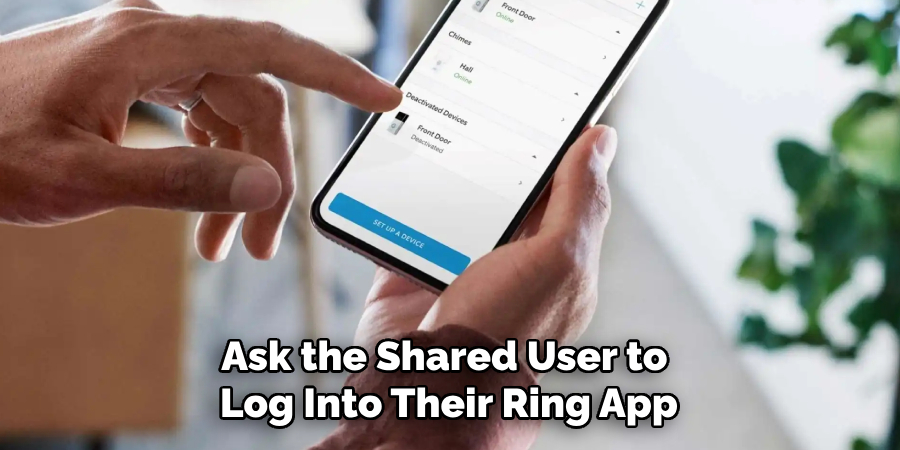
Step 8. Verify Shared Access
Once you’ve saved all the changes, verifying that the shared access is functioning as expected is essential. Ask the shared user to log into their Ring app and check if they can view or control the devices you’ve allowed them access. They should also test out the specific permissions you’ve set. This step ensures that you’ve successfully shared Ring access and everything works correctly.
Step 9. Establish Communication Protocols
Now that you’ve granted shared access, it’s essential to establish clear communication protocols with your shared users.
This can include discussing when and how they should use their access, what actions they should take when encountering any issues, and how they should interact with any guests or visitors they might encounter through the Ring device. This step not only ensures a smooth experience for everyone but also ensures that your shared users are aware of their responsibilities and expectations, further enhancing the security of your home.
Step 10. Regularly Update and Review Access
As a final note, it is crucial to regularly update and review the access rights you have granted to your shared users. Changes in circumstances may require you to adjust these rights, such as when a user no longer requires access or when you acquire a new Ring device.
Regular monitoring and updating of access rights is a key part of ensuring your Ring devices’ ongoing security and functionality. You can do this by revisiting the ‘Shared Users’ section in the Ring app, where you can view, add, or remove users as necessary.
By following these steps, you’ll have a comprehensive understanding of share ring access effectively and securely.
5 Additional Tips and Tricks
- Ensure Your Device Software is Up-to-Date: Regularly updating your Ring device software ensures you have the latest features and security patches. This can be done through the Ring app on your device.
- Use Strong and Unique Password: For shared access, using a strong and unique password is crucial. This increases the security of your Ring device and protects your data from potential hackers.
- Set Up Two-Factor Authentication: Two-factor authentication adds an extra layer of security. When you share ring access, ask the other user to enable this feature on their account.
- Customize User Access Levels: You can decide what level of access to give each shared user. This lets you control who can view live footage, receive alerts, or access recordings.
- Regularly Review Your Shared Users: Reviewing those who have shared access helps you manage your users effectively. Remove access for individuals who no longer need it to maintain security.
With these additional tips and tricks, you can now confidently share ring access with others without compromising the security of your device. Remember to keep your software up-to-date, use strong passwords, and monitor and manage your shared users regularly.
5 Things You Should Avoid
- Avoid Sharing Access with Many Users: Though Ring allows you to share access with multiple users, it’s essential to limit this to only those who genuinely need access. Too many users can heighten the risk of security breaches.
- Don’t Neglect Software Updates: Skipping software updates can leave your Ring device vulnerable to hackers. Always ensure your device is running the latest version of the software.
- Avoid Using Common Passwords: Common or weak passwords are easy targets for hackers. Always create a strong, unique password that is difficult for others to guess.
- Don’t Ignore Unusual Activity: If you notice any unusual activity on your Ring device, don’t ignore it. Investigate any unexpected access immediately to ensure your device’s security.
- Avoid Sharing Access Without Two-Factor Authentication: Never share access with a user without two-factor authentication. This added layer of security significantly reduces the risk of unauthorized access.
By avoiding these common pitfalls, you can ensure the safety and security of your Ring device while still extending the convenience of shared access to those who need it.
Can Two People Be Logged Into Ring?
Yes, two people can be logged into Ring at the same time. However, it’s important to note that only one person can control the device at a given time. This means that if multiple users are logged in, the first person to answer a notification or open the live footage will have control over the device.
Additionally, if you have shared access with someone else and are logged into the Ring app, they will receive their notifications and alerts separately from yours. This can be helpful in cases where you may be away or unable to answer a message promptly.
Overall, multiple people can be logged into Ring without any issues, but it’s essential to remember that only one person can have control of the device at a given time. So, it’s essential to communicate with other users and coordinate usage to avoid conflicts or confusion.
Conclusion
In summary, sharing access to your Ring or anything else with others is a fundamental matter. When sharing access, you should always set clear boundaries and select the least amount of people that need it for the appropriate action. When in doubt, read your product’s manufacturer’s website or call their customer service and get their advice before proceeding.
We hope this post has helped you understand how to share Ring access with those who may need it. Don’t forget to keep an eye on activity around your house – security is important! So why not take some time to review your settings and control who is able to access your Ring now? It will be worth it for peace of mind in the long run.
You Can Check It Out To Set First Alert Alarm System