

Split rail fencing, with its rustic charm and robust construction, has been a traditional choice for marking boundaries and adding aesthetic appeal to outdoor spaces for centuries.
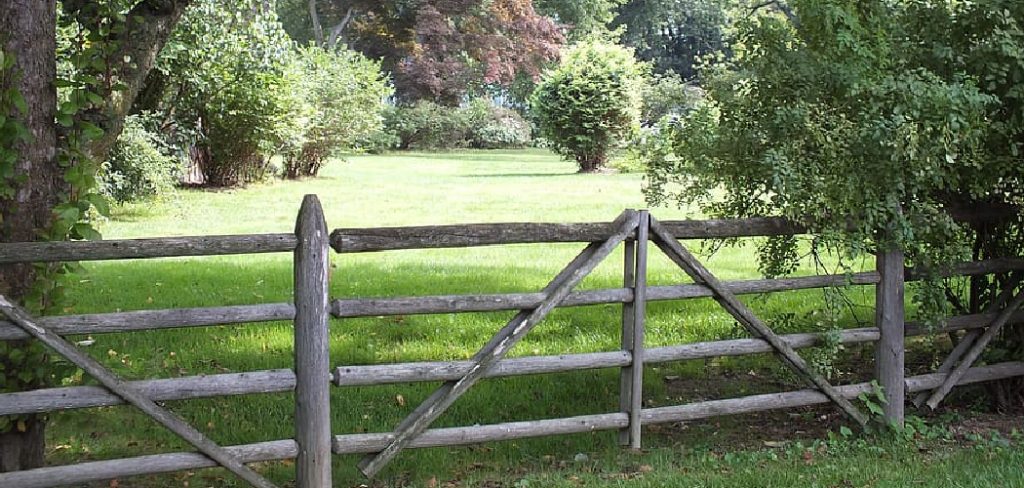
However, adjustments may be needed, such as shortening the rails to fit specific gaps or to customize the layout of your fencing. This guide is designed to walk you through the essential steps of how to shorten split rail fence rails, ensuring that you can maintain the integrity and appearance of your fence while customizing it to your landscape’s unique specifications.
Whether you’re a seasoned DIY enthusiast or tackling such a project for the first time, the following instructions will provide you with the knowledge and confidence needed to successfully modify your split rail fence.
What are the Benefits of Shortening Split Rail Fence Rails?
Before diving into the actual process, it’s essential to understand why this task may be necessary and what potential benefits it can bring.
- Customization: Shortening split rail fence rails can create a more personalized look and fit for your fencing project. This is particularly useful when dealing with uneven terrain or obstacles that require specific spacing between the rails.
- Cost Savings: Shortening the rails can be a cost-effective solution if you’ve purchased a pre-built split rail fence that doesn’t quite fit the intended area. Instead of buying new materials or hiring professionals to rebuild the fence, you can make simple modifications yourself.
- Less Waste: Shortening split rail fence rails also means reducing waste and making use of extra materials. This not only benefits the environment but also saves you money in the long run.
Now that we’ve covered the potential benefits let’s move on to the actual steps involved in shortening split rail fence rails.
What Will You Need?
To successfully shorten split rail fence rails, you’ll need the following tools and materials:
- Measuring tape
- Pencil or marker
- Hand saw or circular saw (depending on the type of wood used)
- Safety goggles
- Gloves
- Sandpaper or sander (optional)
Once you have all the necessary tools and materials, it’s time to get started.
10 Easy Steps on How to Shorten Split Rail Fence Rails
Step 1: Measure and Mark
First, determine the exact length of the rail that needs to fit into your fence design. Using a measuring tape, measure the rail from one end to the point where you wish to cut it, ensuring accuracy for a perfect fit. Once you have determined the correct measurement, use a pencil or marker to clearly mark the rail at the point where it will be cut.
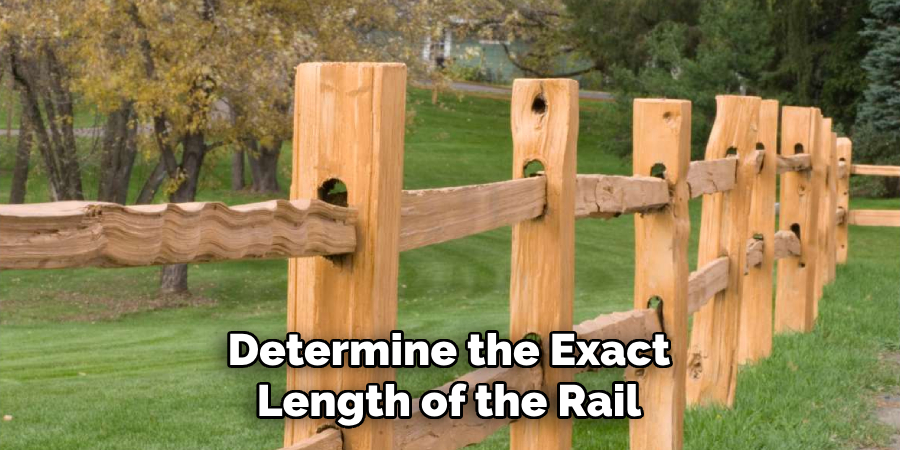
This step is crucial as it serves as a guide for making a precise and straight cut, ensuring that the shortened rail will integrate seamlessly into your existing fence structure. It’s important to double-check your measurements before proceeding to the next step, as mistakes made during cutting are irreversible and could lead to wasted materials.
Step 2: Safety Precautions
Before beginning the cutting process, it’s essential to prioritize your safety by wearing the appropriate protective gear. Equip yourself with safety goggles to protect your eyes from sawdust and other debris that could be generated during cutting.
Furthermore, wearing gloves will keep your hands safe from potential splinters and ensure a better grip on the saw, reducing the risk of accidents. By taking these safety measures, you ensure that the project proceeds smoothly without unnecessary interruptions or injuries.
Step 3: Secure the Rail
Before you begin cutting, it’s important to securely position the rail so it doesn’t move or wobble. Use clamps to fasten the rail to a sturdy workbench or sawhorse, making sure it’s tight enough that the rail won’t shift during the cutting process.
This step is essential for safety and precision, as a secure rail ensures a clean, straight cut, which is vital for a seamless fit within your fence structure. Take the time to double-check that the rail is perfectly aligned and stable before moving on to the cutting step.
Step 4: Cutting the Rail
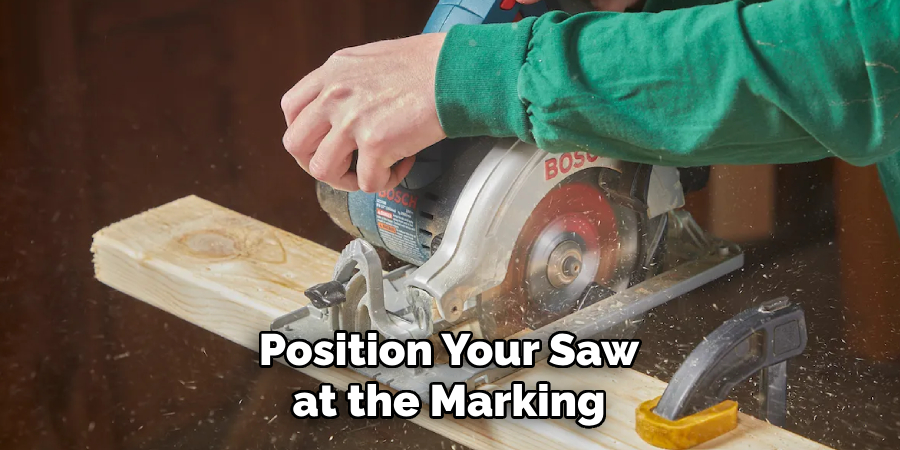
With your rail securely fastened and your safety precautions in place, it’s time to start cutting. Position your saw at the marking you’ve made on the rail, ensuring that the blade aligns perfectly for a straight cut. If you’re using a hand saw, start with a few back-and-forth motions to create a groove before proceeding with a steady, consistent motion to cut through the rail.
For those using a circular saw, make sure the saw is at full speed before gently guiding it through the wood along the marked line. Remember to keep your hands clear of the cutting path and maintain a firm grip on the saw throughout the process. This careful approach will help achieve a clean, smooth cut that is integral to a professional-looking finish on your split rail fence.
Step 5: Smoothing the Edges
After cutting the rail to the desired length, the next step involves smoothing the freshly cut edges to prevent splinters and ensure a clean, professional appearance. Using sandpaper or a hand sander, gently sand the cut edges and surfaces until they feel smooth to the touch.
This not only improves the aesthetics of your fence but also makes it safer by removing sharp or rough spots that could cause injury. Spend a few minutes on this step, checking your work by running your hand along the edges to ensure they are thoroughly smoothed.
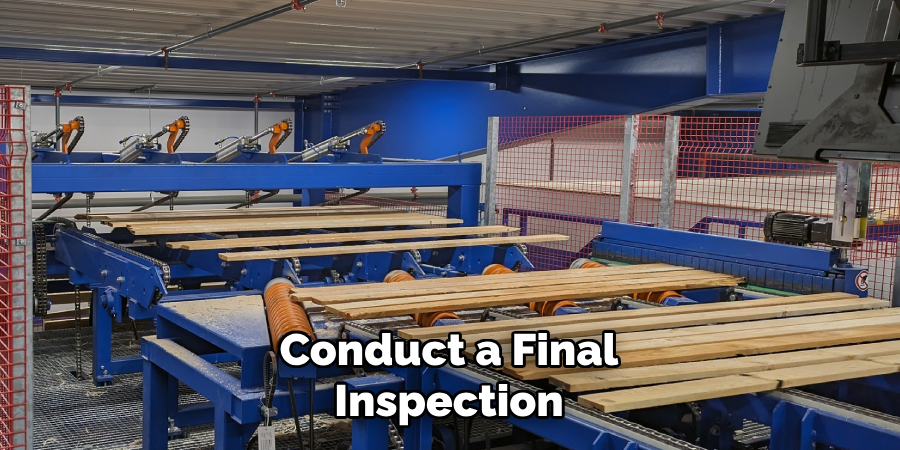
Step 6: Final Inspection and Installation
Once the edges have been smoothed, conduct a final inspection of the shortened rail to ensure it meets your standards and matches the rest of your fence in appearance. Check for any missed rough spots that may need additional sanding. After confirming the rail is ready, proceed with the installation. Slide the shortened rail into the designated slots of your fence posts.
Depending on the design of your split rail fence, you might need to apply a bit of pressure to fit the rail snugly into place. If the rail fits too loosely, consider adding shims to secure it properly. This step is crucial as it ensures the stability and durability of your fence, maintaining its structure and aesthetic appeal for years to come.
Step 7: Maintenance Tips
After successfully shortening and installing your split rail fence rails, it’s essential to focus on maintenance to ensure the longevity of your fence. Regularly inspect your fence for signs of weather damage, wear, or rot, especially in areas where moisture may collect. Treating the wood with a suitable sealant can significantly extend its life by protecting it from moisture and sun damage.
Keep the area around your fence clear of heavy foliage or debris to prevent moisture from being trapped against the wood. Implementing these maintenance tips will help keep your split rail fence looking great and structurally sound for many years.
Step 8: Periodic Reassessment
To maintain the safety and aesthetic of your split rail fence, periodic reassessments of the entire structure, including the newly installed rails, are recommended. Check each rail for stability, look for any signs of wear or damage, and ensure that none of the rails have shifted out of place.
It’s also a good idea to reassess the tightness of any shims used during installation, adjusting them as necessary to keep the rails secure. This ongoing vigilance will not only preserve the visual appeal of your fence but also ensure it remains a sturdy and reliable boundary for your property.
Step 9: Customization and Aesthetics Enhancements
While functional integrity is the primary concern, the aesthetic appeal of your split rail fence should be noticed. Customization can play a significant role in enhancing the overall look and feel of your fence.
Consider staining or painting the rails to match your home’s exterior or to blend with the surrounding landscape. Stains and paints not only contribute to the fence’s visual appeal but also offer an additional layer of protection against the elements.
When choosing products for customization, ensure they are suitable for outdoor use and compatible with your fence’s type of wood. Applying these finishes can be a rewarding DIY project that beautifies your property and extends the fence’s lifespan. Remember to conduct periodic touch-ups to maintain the fence’s vibrant appearance and protection.
Step 10: Troubleshooting Common Issues
After your split rail fence has been installed and customized to your liking, you may encounter some common issues over time. These can include the loosening of rails, cracks or splits in the wood, and leaning posts due to soil settling or erosion.
To address these problems, start by tightening any loose rails or shims to ensure a snug fit. For cracks or splits, applying a wood filler that matches the color of your stain or paint can help maintain the appearance and integrity of the rails.
If you notice posts beginning to lean, assess their soil condition. Additional support may be needed, such as resetting the posts in a deeper hole or adding concrete for stability. Regular troubleshooting and minor repairs will help keep your split rail fence in optimal condition, preventing larger issues down the line.
By following these steps and tips, you can successfully shorten and install split rail fence rails while maintaining their structural integrity and aesthetic appeal.
5 Additional Tips and Tricks
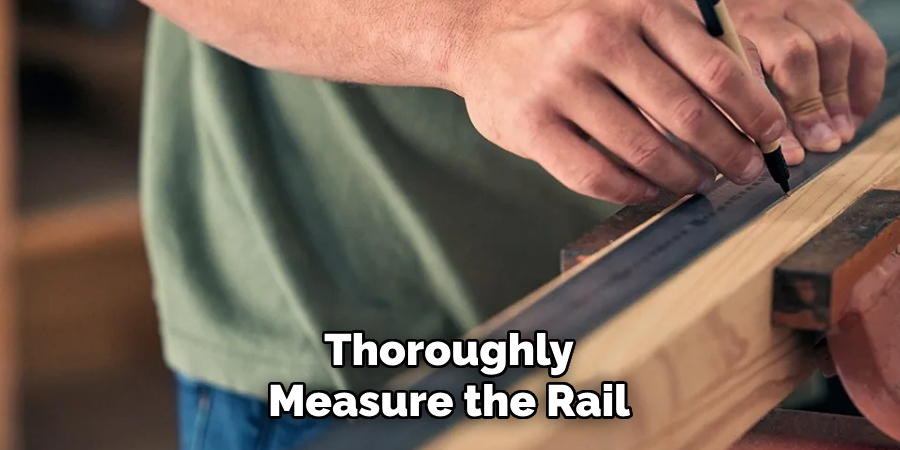
- Measure Twice, Cut Once: Before making any cuts, thoroughly measure the rail you intend to shorten, marking the exact spot for the cut. This will help ensure accuracy and save you from potential mistakes that could waste materials.
- Use a Chainsaw for Efficiency: Opt for a chainsaw for a quick and clean cut. It’s especially effective for hardwood rails, which can be challenging to saw through with hand tools. Ensure you’re equipped with the safety gear to prevent any accidents.
- Seal the Ends: After cutting the rail to your desired length, remember to seal the newly exposed wood. Applying a wood preservative can protect against rot and extend the life of your fence rails.
- Employ a Guide for Straight Cuts: Attach a straight piece of wood as a guide along the rail to help ensure your cut is perfectly straight. This is particularly useful if you’re using hand saws.
- Practice Proper Maintenance: Shortening your rails might expose them to potential damage or rot, especially at the cut ends. Regular maintenance, including periodic sealing and checking for signs of wear or damage, will help your split rail fence last longer and maintain its aesthetic appeal.
With these additional tips and tricks, you can confidently take on the task of shortening your split rail fence rails.
5 Things You Should Avoid
- Avoid Rushing the Process: Hastily shortening your fence rails without proper planning and precision can lead to uneven cuts and a less sturdy fence. Take your time to ensure accuracy.
- Don’t Neglect Safety Gear: When using power tools like chainsaws, skipping out on protective equipment such as gloves, goggles, and ear protection can result in serious injuries. Always prioritize safety.
- Resist Using Dull Blades: Trying to cut your rails with a dull blade can not only make your task more difficult but also increase the risk of uneven cuts and potentially damage the wood. Always use sharp blades for a clean cut.
- Avoid Ignoring Local Building Codes: Before making modifications to your fence, check the local building codes and regulations. Making unauthorized adjustments can lead to fines or being forced to undo your work.
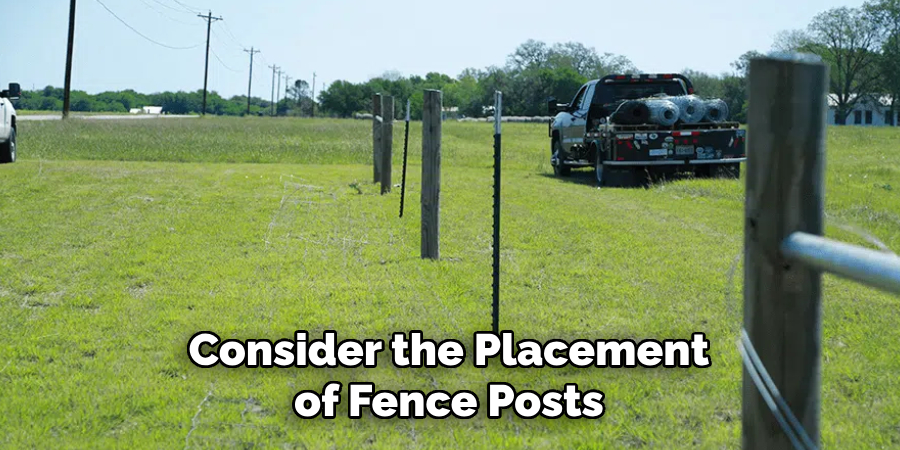
- Don’t Forget to Account for Post Positions: When shortening fence rails, it’s crucial to consider the placement of fence posts. Cutting rails too short without considering the distance between posts can result in gaps or a fence that does not fit securely.
By avoiding these common mistakes, you can ensure your fence shortening project is a success. Remember to plan ahead, prioritize safety, and follow proper guidelines for the best results.
What Can You Do With Old Split Rail Fencing?
After shortening your split rail fence, you may be left with old or unused pieces of fencing. Instead of throwing them away, here are a few ideas for repurposing those materials:
- Create Decorative Garden Edging: Use the rails to create a unique and rustic border for your garden beds. Simply bury the rails halfway into the ground along the edges of your garden for a charming and functional addition.
- Build a Compost Bin: The rails can also be used to construct a simple and sturdy compost bin. Stack them vertically, creating an enclosed area for composting organic materials.
- Make DIY Furniture: There are many tutorials available online for using split rail fencing to create furniture pieces such as benches, tables, and even bookshelves. Get creative and give your old fencing a new life.
- Use as Firewood: If you have a fireplace or wood-burning stove, consider using the rails as firewood. Just be sure to dry and prepare the wood properly before use.
- Donate or Sell: You can also donate or sell any unused split rail fencing to someone who may have a use for it. Reach out to local community organizations or post on online marketplaces to find interested buyers.
With a little creativity, you can repurpose your old split rail fencing instead of simply throwing it away.
How Do You Make a Split Rail Fence Private?
While split rail fencing is a popular choice for its rustic and open look, you may want to add some privacy to your property. Here are a few ways to make your split rail fence more private:
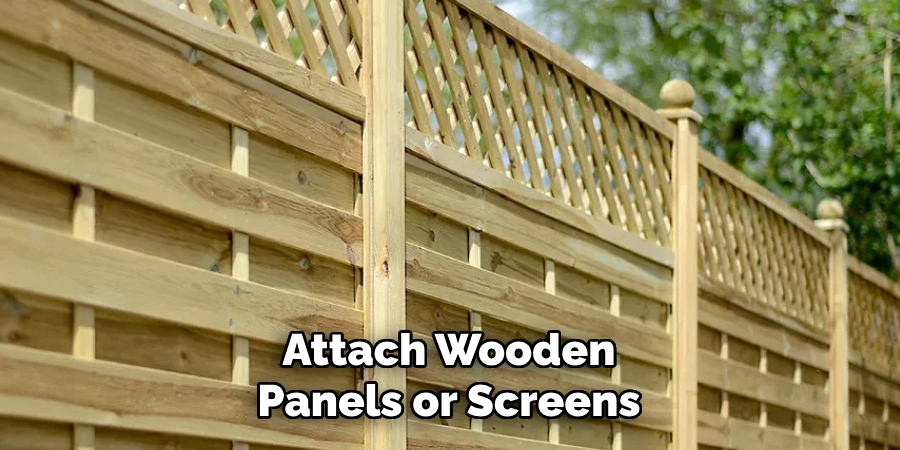
- Add Panels or Screens: You can attach wooden panels or screens in between the rails of your split rail fence to create a barrier that blocks the view.
- Plant Shrubbery: Strategically planting shrubs or small trees along the fence line can create a natural barrier and add visual interest to your property.
- Hang Curtains or Fabric: For a temporary privacy solution, consider hanging curtains or fabric along your split rail fence. This can also be an opportunity to add some color and design to your outdoor space.
These are just a few options for adding privacy to your split rail fence. Consider your budget, maintenance needs, and desired level of privacy when choosing the best option for you. Remember to also check with local regulations before making any permanent modifications to your fence.
Conclusion
In conclusion, how to shorten split rail fence rails is a practical way to customize your fencing to fit your property’s specific needs. By following the provided guidelines, employing the right tools, and employing precautionary measures, you can achieve a polished and professional look while avoiding common pitfalls. Remember to prioritize safety, adhere to local building codes, and thoughtfully plan your cuts to ensure the stability and longevity of your fence.
Whether for aesthetic reasons or to fulfill particular spatial requirements, shortening your split rail fence rails can be a satisfying DIY project that enhances the functionality and appeal of your outdoor space.
Hopefully, this guide has provided you with the necessary information and inspiration to confidently tackle this task. So get creative and make the most out of your materials!
About
Safety Fic is a distinguished figure in the world of Diy design, with a decade of expertise creating innovative and sustainable Diy solutions. His professional focus lies in merging traditional craftsmanship with modern manufacturing techniques, fostering designs that are both practical and environmentally conscious. As the author of diy, Safety Fic delves into the art and science of Safety Fic-making, inspiring artisans and industry professionals alike.
Education RMIT University
(Melbourne, Australia) Associate Degree in Design (Safety Fic) Focus on sustainable design, industry-driven projects, and practical craftsmanship. Gained hands-on experience with traditional and digital manufacturing tools, such as CAD and CNC software.
Nottingham Trent University
(United Kingdom) Bachelor’s in diyfastly.com and Product Design (Honors) Specialized in product design with a focus on blending creativity with production techniques. Participated in industry projects, working with companies like John Lewis and Vitsoe to gain real-world insights.
Publications and Impact
In diy, Safety Fic his insights on indoor design processes, materials, and strategies for efficient production. His writing bridges the gap between artisan knowledge and modern industry needs, making it a must-read for both budding designers and seasoned professionals.