Syncing your wireless doorbell is an essential step to ensure it operates correctly and communicates effectively with its associated devices.
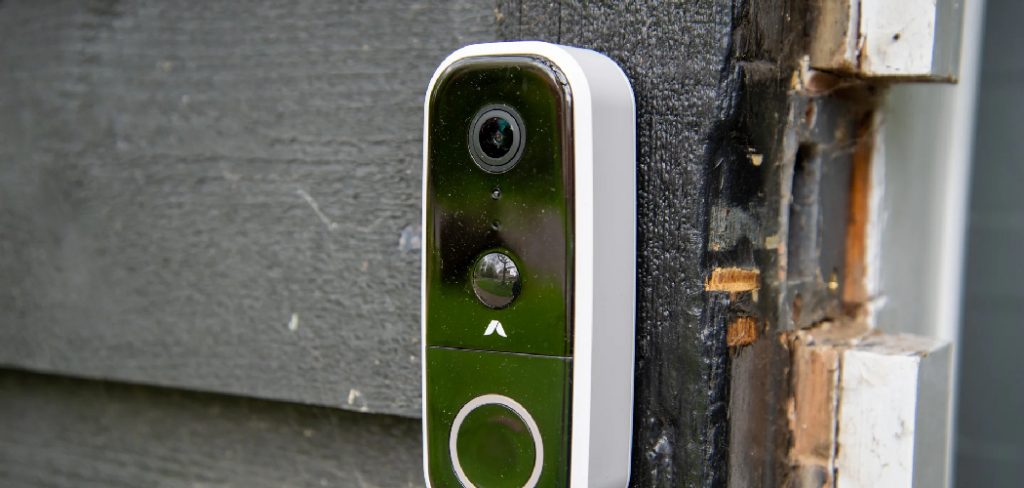
Whether you’ve just purchased a new unit or are re-syncing an existing one, the process is straightforward and can be completed in a few simple steps.
This guide on how to sync wireless doorbell will provide you with detailed instructions on how to sync your wireless doorbell, troubleshoot common issues, and maximize its performance.
By following these steps, you can ensure reliable and prompt alerts whenever someone visits your doorstep.
Why is Syncing Important?
Before diving into the steps on how to sync your wireless doorbell, let’s first understand why this process is crucial.
Syncing allows your doorbell to communicate with its receiver or chime unit, which is responsible for producing the audible alert when someone presses the button.
Without proper synchronization, your doorbell may not function correctly, and you may miss important visitors or deliveries. Additionally, syncing also helps prevent interference from other nearby wireless devices that operate on similar frequencies.
By ensuring a strong signal between the doorbell and receiver, you can avoid missed alerts or false alarms caused by such interference.
8 Step-by-step Guides on How to Sync Wireless Doorbell
Step 1: Prepare the Units
Before you begin the syncing process, it’s essential to ensure that both the doorbell push button and receiver units are ready.
Start by unboxing all components and checking the packaging for any instructions specific to your model. Install the required batteries in both the push button and the receiver units, if they are battery-operated.
For units that plug into an electrical outlet, ensure a suitable outlet is available and plug the receiver in securely.
Make sure that both units are within a reasonable range of each other to facilitate strong signal communication during the syncing process. Double-check that you are familiar with any specific buttons or indicators on your units, as these will be crucial for the following steps.
Step 2: Identify the Sync Button
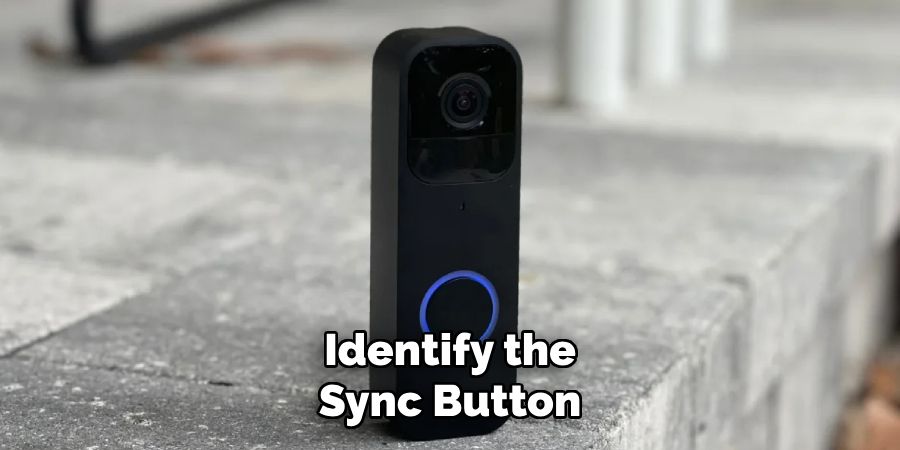
Next, you’ll need to locate the sync button on both your push button and receiver units. For most models, this is a small button usually labeled “sync” or indicated by an icon with two arrows pointing towards each other.
Refer to your unit’s manual or packaging if you are having trouble finding this button.
You may also need to remove any protective plastic covers or tabs from the sync button before proceeding. This is a common step for new units and ensures that the button is ready for use.
Step 3: Press and Hold the Sync Button on the Receiver
With both units prepared and the sync buttons located, it’s time to initiate the syncing process. Start by pressing and holding the sync button on the receiver unit.
You may need to hold this button down for several seconds; the exact duration can vary depending on the model, so refer to your unit’s manual for precise instructions.
As you hold the sync button, keep an eye on any LED indicators on the receiver. These indicators often flash or change color to signal that the unit is entering sync mode.
Once the receiver is in sync mode, you can proceed to the next step to complete the synchronization between the doorbell push button and the receiver.
Step 4: Press and Release the Sync Button on the Push Button
Now that the receiver unit is in sync mode, it’s time to take action using the push button. Locate the sync button on your doorbell push button and press it once. This will initiate a signal transmission from the push button to the receiver unit.
If successful, you should see an LED indicator on the receiver flash or change color again, signaling that it has received the signal from the doorbell push button. In some models, you may also hear a chime or audible beep indicating a successful synchronization.
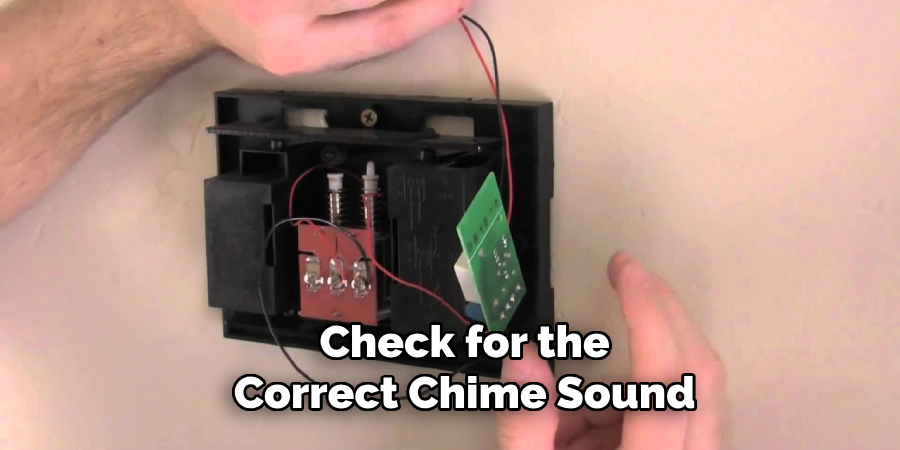
Step 5: Check for the Correct Chime Sound
With both units now synced, test your doorbell by pressing the button on the push unit. If everything goes smoothly, you should hear a chime or audible signal from the receiver unit when the doorbell is pressed.
If you do not hear any sound or experience issues with the chime, proceed to step six for troubleshooting tips.
It’s also a good idea to test the doorbell from different distances and angles to ensure that the signal remains strong and consistent. This will help identify any weak spots in your unit’s range and allow you to make necessary adjustments for optimal performance.
Step 6: Troubleshooting Tips
If you encounter issues with syncing or experience problems with the chime, here are some troubleshooting tips that may help:
- Make sure both units have sufficient battery life or are properly connected to an electrical outlet.
- Check that both units are within range of each other – typically around 50-150 feet, depending on the model.
- If possible, try resetting both units by removing batteries or unplugging them for a few minutes before attempting to sync again.
- Ensure there are no physical or electronic barriers blocking the signal between the units.
- If using multiple wireless devices, try changing the frequency or channel settings on your doorbell and receiver to reduce interference.
Step 7: Syncing Multiple Units
If you have multiple units of the same model, it’s possible to sync them all with one push button.
To do this, follow the same steps outlined above for each unit, but instead of pressing and releasing the sync button on the push unit once, press and hold it until all units have completed syncing.
This will ensure that all receivers are communicating with one push button. It’s important to note that not all models support syncing multiple units, so refer to your unit’s manual or packaging for compatibility information.
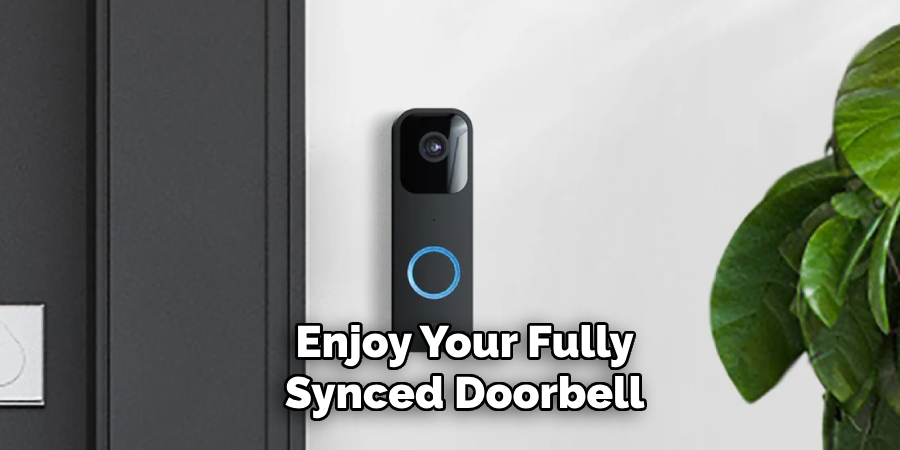
Step 8: Enjoy Your Fully Synced Doorbell
Congratulations! You’ve successfully synced your wireless doorbell and can now enjoy the convenience and security it provides. Remember to periodically check the battery life of both units and troubleshoot any issues that may arise to ensure uninterrupted functionality.
By following these step-by-step guides on how to sync wireless doorbell, you can easily sync your wireless doorbell without any hassle.
Proper synchronization is crucial for the optimal performance of your doorbell, so be sure to follow these steps whenever setting up a new unit or experiencing issues with your current one. With a fully synced doorbell, you can rest assured that you’ll never miss a visitor again. Happy syncing!
Additional Tips and Considerations
- For battery-operated units, consider using rechargeable batteries to save costs in the long run.
- If possible, mount your receiver unit in a central location for maximum signal coverage.
- Be mindful of any weather conditions or physical obstructions that may affect the performance of your wireless doorbell.
- Some models may offer additional features such as volume control, multiple chime sounds, and customizable notification settings. Familiarize yourself with these options to make the most out of your doorbell.
- If you plan on using multiple push buttons for different entrances, ensure they are all compatible with your receiver unit before attempting to sync them.
- Consider purchasing a wireless extender if you have a large property or experience weak signal strength in certain areas. This can help improve the range and performance of your doorbell system.
Frequently Asked Questions
Q: Can I Change the Chime Sound on My Wireless Doorbell?
A: It depends on the model. Some units may have multiple chime options that can be changed through the receiver unit, while others may have a fixed chime sound. Refer to your unit’s manual for specific instructions.
Q: How Do I Know When It’s Time to Replace Batteries?
A: Most units will have an LED indicator that signals low battery life. Additionally, you may notice a decrease in performance or lack of response when pressing the doorbell button. It’s recommended to replace batteries at least once a year to ensure optimal functionality.
Q: Can I Sync Multiple Units with One Push Button?
A: Yes, some models allow for multiple-unit syncing. Refer to your unit’s manual for instructions on how to do so.
Q: How Far is the Range of a Wireless Doorbell?
A: The range can vary depending on the model and any potential barriers such as walls or interference. On average, most units have a range of 50-150 feet.
Q: Can I Sync My Wireless Doorbell with Other Smart Home Devices?
A: Some models may offer this feature, but it is not guaranteed for all units. Refer to your unit’s manual or manufacturer’s website for compatibility information.
Conclusion
Setting up a wireless doorbell system can seem daunting at first, but by following the structured steps and tips outlined in this guide on how to sync wireless doorbell, you can achieve a seamless and efficient synchronization process.
The convenience and security offered by a well-synced doorbell system are invaluable, ensuring you never miss a visitor or delivery.
Regular maintenance, such as checking battery life and troubleshooting any issues, will ensure your system continues to function optimally over time.
Remember to explore any additional features your model may offer for an enhanced experience. With these best practices, you can enjoy peace of mind and the added convenience a reliable wireless doorbell system brings to your home.
About
Safety Fic is a distinguished figure in the world of Diy design, with a decade of expertise creating innovative and sustainable Diy solutions. His professional focus lies in merging traditional craftsmanship with modern manufacturing techniques, fostering designs that are both practical and environmentally conscious. As the author of diy, Safety Fic delves into the art and science of Safety Fic-making, inspiring artisans and industry professionals alike.
Education RMIT University
(Melbourne, Australia) Associate Degree in Design (Safety Fic) Focus on sustainable design, industry-driven projects, and practical craftsmanship. Gained hands-on experience with traditional and digital manufacturing tools, such as CAD and CNC software.
Nottingham Trent University
(United Kingdom) Bachelor’s in diyfastly.com and Product Design (Honors) Specialized in product design with a focus on blending creativity with production techniques. Participated in industry projects, working with companies like John Lewis and Vitsoe to gain real-world insights.
Publications and Impact
In diy, Safety Fic his insights on indoor design processes, materials, and strategies for efficient production. His writing bridges the gap between artisan knowledge and modern industry needs, making it a must-read for both budding designers and seasoned professionals.
