
Is your coolant temperature sensor terrible? The answer may not be as straightforward as you think.

The coolant temperature sensor is critical to your vehicle’s engine management system. It monitors the temperature of the engine’s coolant and provides vital data to the engine control unit (ECU), helping regulate fuel injection, ignition timing, and fan operation. A faulty coolant temperature sensor can lead to issues such as poor fuel efficiency, engine overheating, or difficulty starting the engine. Identifying the signs of a bad coolant temperature sensor early on can save you from potential damage to your engine and costly repairs.
This guide on how to tell if coolant temperature sensor is bad will help you recognize the symptoms of a failing sensor and explain why it’s essential to address the issue promptly.
What Will You Need?
- Safety precautions (gloves, eye protection)
- Pliers
- Multimeter
- Vehicle owner’s manual
Once you have these materials, you are ready to begin diagnosing your coolant temperature sensor.
8 Easy Steps on How to Tell if Coolant Temperature Sensor is Bad
Step 1: Locate the Coolant Temperature Sensor

The coolant temperature sensor is typically located near the engine block or cylinder head, as it needs to monitor the temperature of the engine’s coolant accurately. To pinpoint its exact location, refer to your vehicle owner’s manual for a detailed diagram. Look for a small sensor with an electrical connector, often screwed into the engine or thermostat housing. Ensure the engine is cool before inspecting the area to avoid burns or injuries.
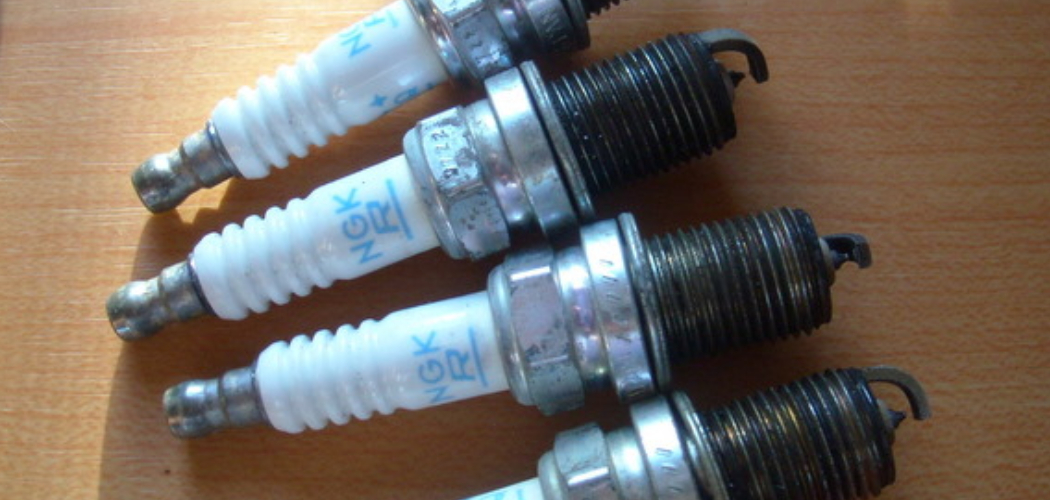
Step 2: Check for Physical Damage
Inspect the coolant temperature sensor for any visible signs of wear or damage. Common issues include sensor body cracks, electrical connector corrosion, or frayed wires connecting to the sensor. These physical defects can interfere with the sensor’s ability to function accurately, leading to incorrect temperature readings and potential engine problems.
Pay close attention to the electrical connector, as dirt, oil, or debris buildup can obstruct proper connectivity. If you notice any damage, cleaning, repairing, or replacing the sensor or its associated components may be necessary. Always handle the sensor and wiring carefully to avoid further damage during inspection.
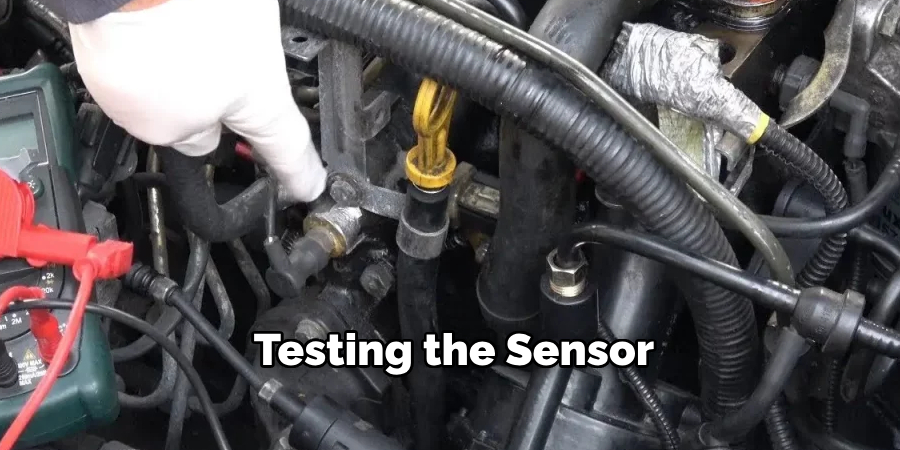
Step 3: Testing the Sensor
After ensuring the sensor and its components are clean and free from visible damage, the next step is to test its functionality. Use a multimeter to check the sensor’s resistance and compare the readings to the manufacturer’s specifications.
A reading outside the recommended range may indicate a faulty sensor. Additionally, if the engine warning light is activated, diagnostic tools can be used to retrieve error codes that may be related to the sensor’s performance. If the test results confirm a malfunction, replace the sensor with a compatible new one to ensure optimal engine operation.
Step 4: Disconnect the Sensor
Before disconnecting the sensor, ensure the engine is turned off and allow it to cool down to avoid any potential burns or injuries. Locate the connector attached to the sensor, which is typically secured with a locking tab or clip. Carefully disengage the locking mechanism by pressing or prying it open, depending on the connector design.
Take care not to damage the wiring or connector during this process, which can lead to further complications. If the connector seems stuck, inspect it for dirt, debris, or corrosion that might obstruct it and clean it gently if needed. Once the connector is detached, you can remove the sensor itself, following the manufacturer’s guidelines to safely extract it without causing damage to surrounding components. Remember to keep track of any small parts, such as screws or clips, for reassembly later.
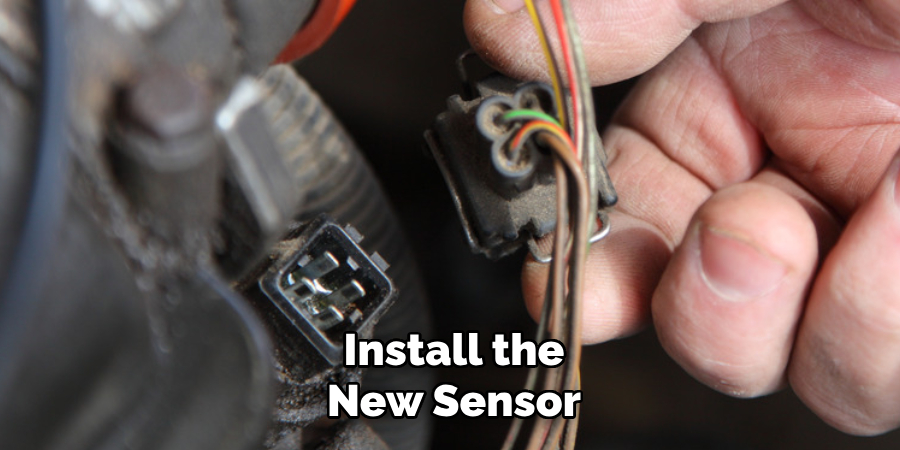
Step 5: Install the New Sensor
Before installing the new sensor, compare it with the old one to ensure compatibility and confirm that all necessary components are intact. Position the new sensor in the designated slot, aligning it carefully to avoid misplacement.
Secure it using the screws or clips removed earlier, ensuring it is firmly in place but not overtightened, as this could damage the sensor or surrounding parts. Reattach the connector by gently pressing it into place until you hear or feel it click. Double-check that all connections are secure before proceeding to the next step.
Step 6: Inspect and Test the New Sensor
Once the new sensor has been installed and all connections have been secured, take a moment to scrutinize the surrounding area. Ensure that no wires are pinched, that connectors are properly seated, and that no loose components could interfere with the sensor’s function. Examine the sensor closely to confirm it is seated flush in its designated position without any visible gaps or misalignment. If everything appears to be correctly installed, proceed to test the sensor.
To test the new sensor, reconnect the power source or battery and power on the device or system. Follow the manufacturer’s recommended testing procedure, which may include running diagnostics or performing a specific operation to ensure the sensor functions as intended. Monitor the sensor’s behavior and check for any warning lights, error messages, or irregularities during this process. The installation can be successful if the system operates normally and no issues are detected.
Step 7: Secure the Sensor and Finalize Installation
Once the sensor has been tested and confirmed to function properly, secure it according to the manufacturer’s instructions. Ensure all screws, brackets, or mounts are tightened appropriately, avoiding over-tightening which could damage the sensor. Double-check all connections to verify they are stable and protected from external factors such as moisture, dust, or vibration. Finally, document the installation details for future reference, including the sensor model, serial number, and installation date. This completes the process, ensuring a reliable and operational setup.
Step 8: Keep Up with Maintenance
Regular maintenance is essential to ensuring your sensor system’s long-term performance and reliability. Start by scheduling routine inspections to check for signs of wear or damage, such as loose connections, fraying cables, or corrosion on exposed parts. Clean the sensor and its surrounding components to remove any accumulated dust, dirt, or debris that could affect its accuracy or functionality.

Verify that the sensor operates within its specified parameters, and recalibrate it periodically as the manufacturer recommends to maintain precision. Additionally, monitor the environment where the sensor is installed, ensuring conditions such as temperature, humidity, and vibration levels remain within acceptable ranges to prevent premature wear. Keeping a detailed maintenance log is also beneficial, as it documents all inspections, adjustments, and repairs to identify patterns or recurring issues over time.
By following these best practices, you can ensure your sensors function optimally and provide accurate data for your operations.
5 Things You Should Avoid
- Ignoring Warning Signs
Never ignore warning signs like irregular temperature readings, engine overheating, or erratic performance. These symptoms often indicate a faulty coolant temperature sensor and require immediate attention.
- Skipping Diagnostics
Avoid replacing the sensor without conducting proper diagnostics. Faulty wiring, a failing thermostat, or other engine components might mimic coolant sensor issues, leading to unnecessary repairs.
- Using Incorrect Tools
Do not use improper tools when testing or replacing the sensor. Relying on the correct diagnostic equipment, like a multimeter, ensures accurate results and prevents potential damage to the sensor or surrounding components.
- Neglecting Regular Maintenance
Ignoring regular vehicle maintenance can lead to debris buildup or sensor-related issues going unnoticed. Always follow the manufacturer’s maintenance schedule to prevent sensor failure.
- Installing Low-Quality Sensors
Avoid purchasing cheap or low-quality coolant temperature sensors as replacements. Inferior parts might fail prematurely or provide inaccurate readings, causing more significant problems down the line. Always opt for high-quality OEM or reliable aftermarket parts.
Why is My Coolant Temp High When Idle?
High coolant temperature at idle can be caused by several issues, including:
- Coolant Leak: A leak in the cooling system will lead to a lower coolant level. This, in turn, prevents proper circulation and heat transfer. As a result, your engine might overheat even at low speeds.
- Faulty Thermostat: The thermostat regulates the flow of coolant through the engine. If it gets stuck closed or open, it can cause high temperatures when idling.
- Clogged Radiator: Over time, debris and sediment can build up inside the radiator, blocking airflow and reducing its cooling capacity.
- Radiator Fan Malfunction: The radiator fan pulls air through the radiator to help dissipate heat. If it fails to turn on or is damaged, your engine can quickly overheat.
- Leaking Coolant: Low coolant levels due to leaks can also lead to overheating. Be sure to check for any signs of leaks regularly and have them repaired immediately.
In addition to these common causes, extreme weather conditions, such as hot temperatures or heavy traffic, can also contribute to engine overheating.
Conclusion
Watch for several key signs to determine if your coolant temperature sensor is faulty. A lousy sensor may cause irregular temperature readings on your dashboard gauge or trigger your vehicle’s check engine light.
Additionally, you may notice poor fuel efficiency, frequent engine overheating, or difficulty starting the engine. If you suspect the sensor is malfunctioning, a diagnostic scan tool can help confirm the issue. It’s critical to promptly address a failing coolant temperature sensor, as it plays an essential role in monitoring engine temperature and ensuring proper vehicle performance.
Hopefully, the article on how to tell if coolant temperature sensor is bad has provided you with valuable information and insights. Understanding the signs of a failing sensor can help you detect and address any issues before they become major problems.