

The oxygen (O2) sensor is a vital component in modern vehicles, designed to monitor the air-fuel mixture within the engine for optimal performance. Specifically, the 4-wire O2 sensor is engineered with advanced technology to deliver precise readings. It features two wires dedicated to the heating element, ensuring the sensor quickly reaches its operating temperature,

and two wires for signal and ground to relay critical data to the vehicle’s engine control unit (ECU). This sensor is pivotal in inefficient fuel combustion, reducing harmful emissions, and maintaining overall engine health. Understanding how to test 02 sensor 4 wire is essential for diagnosing potential issues, as it helps identify problems like poor fuel economy, increased emissions, or performance irregularities. Regular testing of the O2 sensor ensures that your engine operates smoothly, promoting longevity and sustainability while adhering to emissions standards. Proper maintenance is key to avoiding costly repairs.
Understanding the 4-Wire O2 Sensor
What Does the O2 Sensor Do?
The 4-wire O2 sensor is integral to a vehicle’s performance, precisely monitoring oxygen levels in the exhaust gases. This data is sent to the engine control unit (ECU) to enable adjustments to the air-fuel mixture for optimal combustion. By ensuring the correct air-to-fuel ratio, the sensor contributes to efficient engine operation, reduced emissions, and improved fuel economy. It’s a key component in maintaining environmentally responsible vehicle performance and compliance with emissions standards.

Wiring Breakdown
The 4-wire O2 sensor’s design includes two circuits with distinct purposes. The first circuit comprises two wires for the heater element—one for power (positive) and one for ground—allowing the sensor to reach its operating temperature quickly, even in cold conditions. The second circuit consists of two wires dedicated to the signal transmission—one for the oxygen sensor signal and one for the signal ground. This configuration ensures accurate and reliable communication between the sensor and the ECU.
Symptoms of a Faulty Sensor
A failing O2 sensor can lead to numerous issues, including poor fuel economy, rough idling, and reduced engine performance. Additionally, a malfunctioning sensor may trigger the check engine light on the dashboard, signaling the need for diagnostics and potential replacement. Maintaining a functional O2 sensor is vital to avoiding these problems and ensuring a smooth engine operation.
Tools Needed for Testing
Having the right tools is essential to efficiently test a 4-wire O2 sensor. A digital or analog multimeter is critical for accurately measuring the sensor’s voltage and resistance. Ensure it is calibrated and capable of reading millivolts for precise diagnostics. A service manual for your specific vehicle is invaluable, providing necessary wiring diagrams and specifications for the testing process. You will also need back-probing connectors or wire-piercing probes to access the sensor wires without causing damage. Since the sensor operates at high temperatures, heat-resistant gloves and appropriate safety gear are crucial to protect against burns. Proper preparation with these tools ensures a safer and more effective diagnostic process, helping to precisely identify any sensor issues.

Pre-Test Preparation
Before testing a 4-wire O2 sensor, it is important to carry out certain preparatory steps to ensure accuracy and safety.
Locate the O2 Sensor
Using the service manual for your specific vehicle, identify the precise position of the O2 sensor. Typically, it is situated on the exhaust manifold or pipe, either upstream or downstream depending on the sensor’s function. Proper identification is crucial to avoid testing the wrong sensor.
Safety Measures
Ensure the engine has completely cooled down before accessing the sensor, as exhaust components can retain heat for extended periods, posing a burn risk. If the O2 sensor is located in an area that requires vehicle lifting for access, use a jack with sturdy jack stands to secure the vehicle. Appropriate safety gear, such as heat-resistant gloves and eye protection, should also be worn to protect against injury.
Inspect the Wiring
Visually assess the sensor’s wiring and connector for any signs of damage. Look for frayed wires, corrosion, or loose connections, as these issues can affect sensor performance and may even cause diagnostic errors. Addressing visible wiring problems before testing improves the accuracy of the results and helps ensure reliable data from the sensor.
How to Test 02 Sensor 4 Wire: Testing the Heater Circuit
Set Up the Multimeter
Begin by setting the multimeter to the resistance (ohms) mode. This setting will allow you to measure the resistance within the heater circuit of the oxygen sensor. Ensure that the multimeter is functioning properly by testing it on a known circuit before proceeding with the O2 sensor.
Measure Heater Resistance
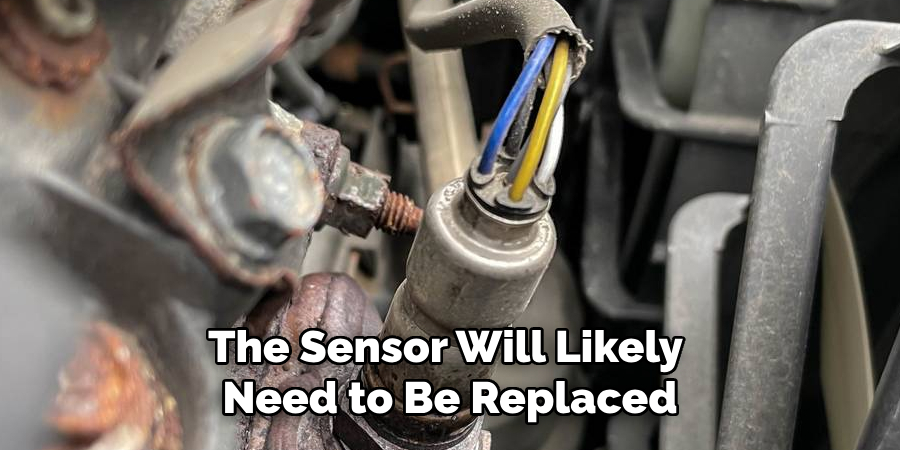
To test the resistance of the heater circuit, first disconnect the O2 sensor connector. This step isolates the sensor from the vehicle’s electrical system to ensure accurate readings. Locate the two heater wires and test across them using the multimeter probes. Refer to the vehicle’s service manual for the specific resistance range that is considered acceptable, which typically falls between 5 and 20 ohms. If the measured resistance is outside this range, the heater circuit may be faulty, and the sensor will likely need to be replaced.
Check for Power and Ground
After measuring the heater resistance, reconnect the O2 sensor to the vehicle’s wiring harness for the next test. Turn the vehicle’s ignition key to ON, but do not start the engine. This activates the electrical system and allows you to check for proper power and ground connections in the heater circuit. Use the multimeter to test for 12 volts of power on the heater wires. If power is not present, there may be an issue with the sensor’s wiring or the fuse associated with the heater circuit.
Similarly, test for proper grounding on the heater circuit by attaching one probe of the multimeter to the ground wire and the other to a known good ground point on the vehicle. A poor or missing ground connection can prevent the heater circuit from functioning correctly. If any issues are detected during this process, inspect the wiring and connectors for damage, such as corrosion or broken wires, and replace or repair them as needed.
Testing the heater circuit of the O2 sensor is a critical step in diagnosing sensor-related issues. Accurate testing minimizes unnecessary part replacements and ensures that the sensor’s heater functions as intended, enabling the sensor to reach its operating temperature efficiently. Always refer to the service manual for vehicle-specific procedures and specifications to achieve reliable results.
How to Test 02 Sensor 4 Wire: Testing the Signal Circuit
Set Up the Multimeter
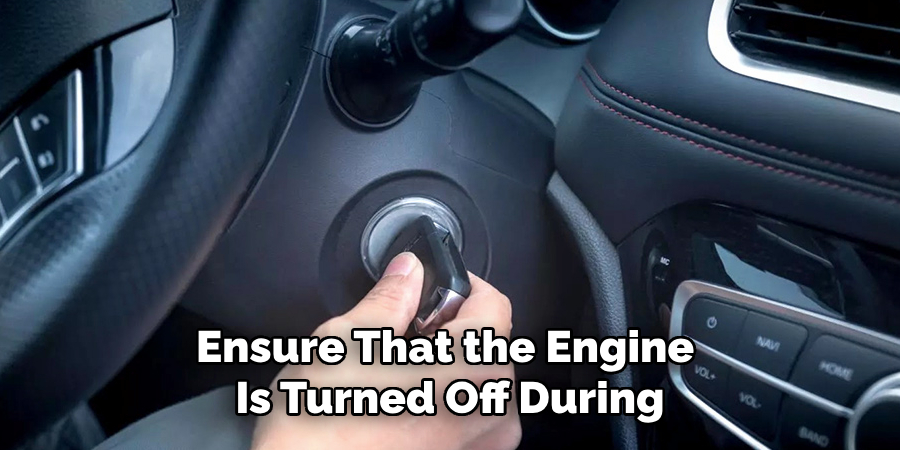
To begin testing the signal circuit of the oxygen (O2) sensor, set your multimeter to measure voltage in DC volts. Ensure that the engine is turned off during the setup process and locate the sensor’s signal wire. This wire is commonly identified in your specific vehicle’s service manual or wiring diagram. Back-probing the signal wire is recommended to avoid damaging the connector. Use fine probes or multimeter leads designed specifically to ensure an accurate and stable connection.
Measure Voltage at Idle
Start the engine and allow it to reach its normal operating temperature, as the O2 sensor performs optimally when it is hot. With the engine at idle, use the multimeter to monitor the signal wire’s voltage output. A functioning oxygen sensor typically produces a fluctuating voltage range between 0.1 (lean mixture) and 0.9 (rich mixture). These voltage changes result from the sensor’s measurement of the oxygen content in the exhaust gases, and the fluctuations reflect the continuous adjustments made by the engine’s air-fuel mixture control system.
Simulate Rich and Lean Conditions
Simulating rich and lean conditions to further test the signal circuit to verify the sensor’s responsiveness. Introduce a small amount of propane near the vehicle’s air intake for a rich condition. This additional fuel will cause the air-fuel mixture to become richer, and the sensor voltage should rise toward 0.9 volts. Carefully observe the voltage reading to ensure it responds quickly and reaches the expected value.
Next, simulate a lean condition by removing a vacuum line. This action introduces unmetered air into the system, creating a leaner mixture. The voltage output should drop toward 0.1 volts, reflecting the reduced fuel content in the exhaust gases. Monitor the multimeter to confirm the sensor adjusts as expected and responds promptly to the lean mixture.
Additional Considerations
During testing, keep an eye on the consistency of the voltage fluctuations. Erratic or flat-line readings may indicate a faulty sensor, damaged wiring, or an issue with the engine management system. If the sensor fails to produce the correct voltage range or does not respond adequately to simulated conditions, further inspection or replacement of the sensor may be necessary.
Importance of Accurate Measurements
Testing the signal circuit ensures that the O2 sensor accurately reports exhaust gas composition to the vehicle’s engine control module (ECM). This feedback is crucial for maintaining proper engine performance, fuel efficiency, and reduced emissions. Always reference the vehicle’s service manual for specific diagnostic procedures, voltage specifications, and sensor configurations for reliable and accurate results.
Troubleshooting Common Issues
No Voltage Signal
Several issues could be at fault if the O2 sensor produces no voltage signal. A broken signal wire is one of the most common causes and should be inspected carefully for cuts, breaks, or corrosion. Additionally, the sensor itself may be faulty and no longer capable of generating a voltage. Another possibility is a malfunctioning engine control unit (ECU), which may fail to process or send the signal. Verify the continuity of the wiring and test the sensor with a multimeter to pinpoint the issue.
Heater Circuit Problems
When the heater circuit fails, it can prevent the sensor from reaching its optimal operating temperature, leading to delayed or inaccurate readings. Begin troubleshooting by checking for blown fuses, which are an easy fix. If the fuses are intact, inspect the wiring to ensure it is not damaged or disconnected. Testing the resistance of the heater circuit with a multimeter can help assess whether the circuit or sensor needs replacement.

Erratic Readings
Erratic or fluctuating readings can signify contamination in the O2 sensor. For instance, oil, coolant, or certain fuel additives can impair the sensor’s functionality. Exhaust system leaks near the sensor can also disrupt readings by allowing extra air. Inspect the sensor for physical contamination and thoroughly examine the exhaust system for leaks that could alter the sensor’s performance.
When to Replace the O2 Sensor
Replacing the O2 sensor is essential when resistance or voltage readings fall outside the acceptable range, indicating the sensor no longer functions correctly. Typically, O2 sensors have a 60,000 to 100,000-mile lifespan, depending on driving habits and engine conditions. Persistent issues such as erratic readings, poor fuel efficiency, or illuminated check engine lights after thorough testing and cleaning are strong signs that the sensor needs to be replaced. Ensuring the sensor is in top condition is critical for maintaining optimal engine performance, reducing harmful emissions, and preventing potential damage to other vehicle components. Regular inspection and timely replacement of the O2 sensor can save on costly repairs and keep the vehicle running smoothly.
Conclusion
Understanding how to test 02 sensor 4 wire configurations is vital for ensuring efficient engine operation and controlling emissions. The step-by-step process includes testing the heater circuit, checking the signal voltage, and troubleshooting potential issues, each playing a critical role in diagnosing sensor performance. Maintaining a properly functioning O2 sensor boosts fuel economy, enhances vehicle performance, and reduces environmental impact by minimizing harmful emissions. Routine checks and timely sensor replacement can prevent costly engine problems and ensure smooth operation. By prioritizing O2 sensor testing and maintenance, you safeguard your vehicle’s long-term health and reliability.
About
Safety Fic is a distinguished figure in the world of Diy design, with a decade of expertise creating innovative and sustainable Diy solutions. His professional focus lies in merging traditional craftsmanship with modern manufacturing techniques, fostering designs that are both practical and environmentally conscious. As the author of diy, Safety Fic delves into the art and science of Safety Fic-making, inspiring artisans and industry professionals alike.
Education RMIT University
(Melbourne, Australia) Associate Degree in Design (Safety Fic) Focus on sustainable design, industry-driven projects, and practical craftsmanship. Gained hands-on experience with traditional and digital manufacturing tools, such as CAD and CNC software.
Nottingham Trent University
(United Kingdom) Bachelor’s in diyfastly.com and Product Design (Honors) Specialized in product design with a focus on blending creativity with production techniques. Participated in industry projects, working with companies like John Lewis and Vitsoe to gain real-world insights.
Publications and Impact
In diy, Safety Fic his insights on indoor design processes, materials, and strategies for efficient production. His writing bridges the gap between artisan knowledge and modern industry needs, making it a must-read for both budding designers and seasoned professionals.