
Are you having trouble with your car’s speedometer? It could be giving you incorrect readings or not working at all. One possible culprit could be a faulty speedometer sensor.

Testing a speedometer sensor is essential in diagnosing issues related to inaccurate speed readings or a malfunctioning speedometer. The speedometer sensor, also known as a vehicle speed sensor (VSS), plays a critical role in measuring the speed of a vehicle and communicating this information to the speedometer and other onboard systems. Faulty sensors can lead to incorrect speed displays, transmission problems, and even compromised fuel efficiency.
This guide on how to test a speedometer sensor will provide a step-by-step approach to help you test your speedometer sensor effectively, ensuring your vehicle operates smoothly and safely.
What Are the Causes of Speedometer Sensor Failure?
Speedometer sensor failure can occur due to various reasons, including:
- Mechanical Damage: The location of the speedometer sensor near the wheels makes it susceptible to damage from road debris and other hazards. This can cause physical damage to the wiring or connectors, leading to signal disruption.
- Electrical Issues: Any faults in the electrical system, such as a blown fuse or damaged wiring, can also affect the performance of the speedometer sensor.
- Wear and Tear: Over time, components of the speedometer sensor may wear out or become corroded. This can result in inaccurate readings or complete failure.
- Manufacturer Defects: In some cases, the speedometer sensor may have a manufacturing defect that can cause it to malfunction.
- Environmental Factors: Extreme temperatures, moisture, and other environmental factors can also impact the performance of the speedometer sensor.
- Sensor Location: The location of the speedometer sensor on a vehicle can also play a role in its effectiveness. Sensors located too close to exhaust pipes or high-heat areas may be more prone to failure.
- Loss of Calibration: If a vehicle undergoes significant modifications, such as changing tire size or gear ratio, it can throw off the calibration of the speedometer sensor and cause inaccurate readings.
What Will You Need?
In order to diagnose and fix issues related to the speedometer sensor, you will need:
- A vehicle with a malfunctioning speedometer
- Basic knowledge of automotive systems and tools
- A diagnostic scan tool or code reader (depending on the age of your car)
- The owner’s manual for your specific vehicle model (if available)
It is important to note that if you are uncomfortable working on vehicles or do not have the necessary tools, it is best to take your car to a professional mechanic for diagnosis and repair.
8 Easy Steps on How to Test a Speedometer Sensor
Step 1. Locate the Speedometer Sensor
The speedometer sensor is typically mounted on the transmission or near the vehicle’s wheel hub, depending on the make and model of your car. Before proceeding, consult your vehicle’s owner’s manual or a repair guide specific to your car to help pinpoint the exact location. Look for a small device connected to electrical wiring and often bolted to the transmission housing or axle assembly. Ensure the vehicle is parked on a flat surface, the parking brake is engaged, and the engine is turned off before inspecting the area. Proper lighting and gloves may also be helpful when accessing the sensor location to avoid injury and improve visibility.
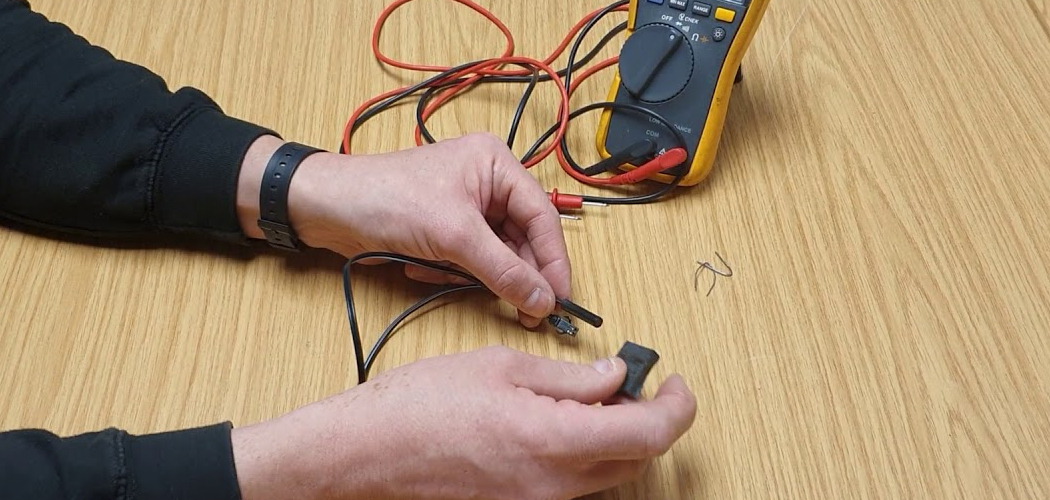
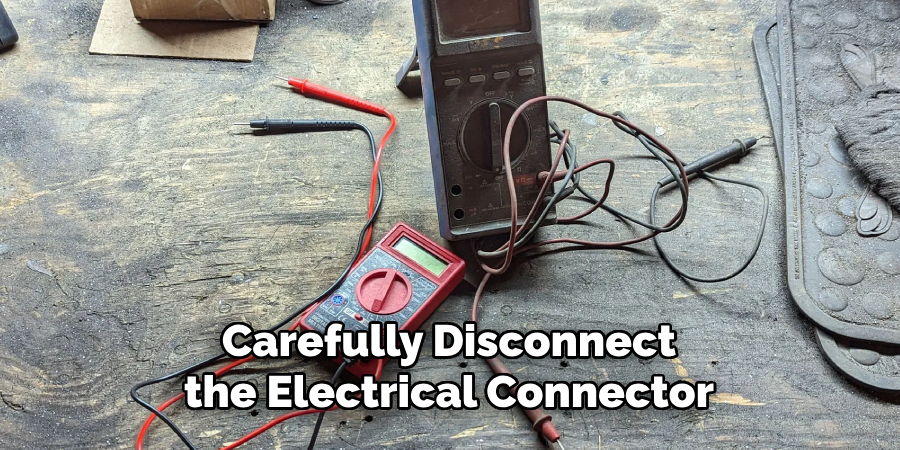
Step 2: Disconnect the Sensor
Carefully disconnect the electrical connector attached to the speed sensor. This may require gently pressing or lifting a locking tab to release it. Don’t pull on the wires directly, as this could damage the connector or wiring harness. If the connector is rugged to remove, use a small flat-head screwdriver to pry it loose without excessive force carefully. Ensure the area is clean to avoid contaminants entering the connection.
Step 3: Remove the Speed Sensor
Using the appropriate tools, locate and remove the bolts or fasteners securing the speed sensor in place. Typically, this will require a socket wrench or similar tool. Once the fasteners are removed, gently wiggle the speed sensor to loosen it from its mounting position. Be cautious not to apply too much force, as the sensor or surrounding components may be delicate. If the sensor is stuck due to debris or corrosion, use a penetrating oil and allow it to sit for a few minutes before attempting removal again.
Step 4: Clean the Mounting Area
After removing the speed sensor, take the time to clean the mounting area thoroughly. Use a clean rag or cloth to wipe away any dirt, debris, or corrosion that may have accumulated. Use a mild cleaning solution or a wire brush to ensure the surface is clean and smooth. This will help ensure a proper fit and function when installing the new sensor.
Step 5: Install the New Speed Sensor
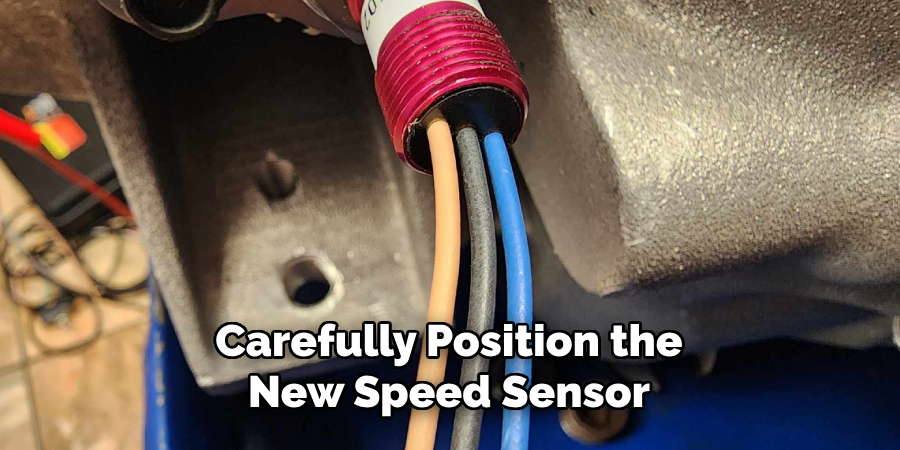
Carefully position the new speed sensor into the mounting area, ensuring it aligns appropriately with the designated slots or holes. Gently press or slide it into place until it is seated securely. If the sensor comes with mounting bolts, tighten them evenly using the appropriate tool to avoid over-tightening. Double-check that the sensor is mounted firmly and that there is no unnecessary movement, which could affect its functionality later.
Step 6: Connect the Wiring Harness
Attach the wiring harness to the newly installed speed sensor. Ensure the connector fits securely by aligning it correctly with the socket on the sensor. Push it in until it clicks into place, signifying a secure connection. Verify that the wires are not twisted or tangled and are routed safely away from moving parts to avoid damage during operation.
Step 7: Test the Speed Sensor
Once the wiring harness is securely connected, it’s time to test the functionality of the speed sensor. Turn on the vehicle and monitor the speedometer to ensure it operates correctly. Take the vehicle for a short test drive to verify the sensor provides accurate readings. Double-check the installation and connections to identify and resolve any issues if the speedometer does not function properly or displays erratic behavior. Proper testing ensures the sensor is working as intended before regular use.
Step 8: Maintenance and Troubleshooting
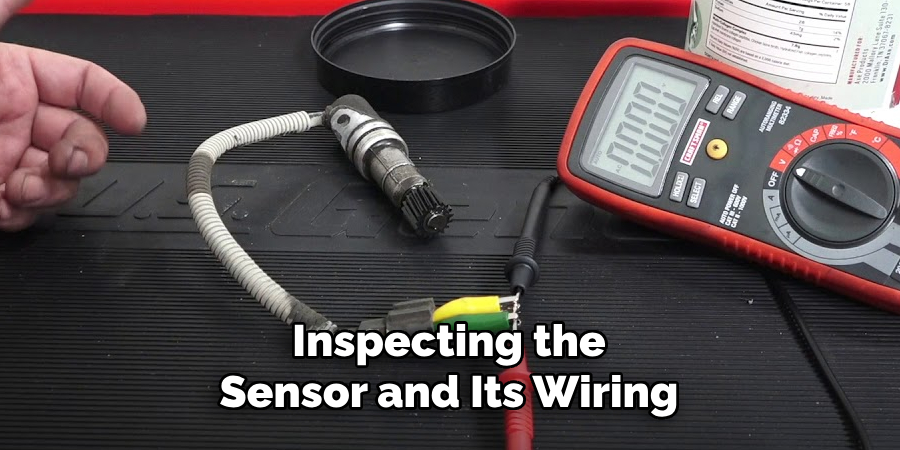
Regular maintenance and troubleshooting of the speed sensor are vital to ensure the longevity and accurate performance of the system. Begin by inspecting the sensor and its wiring periodically for signs of wear, corrosion, or damage, as these can lead to inaccuracies or total sensor failure. Keep the sensor and its surrounding area clean, as dirt or debris buildup can affect its ability to provide precise readings.
If issues arise, such as irregular speedometer readings or erratic behavior, check the electrical connections for any looseness or oxidation. Use a multimeter to test for proper voltage and continuity in the wiring, as electrical problems often cause sensor malfunctions. Additionally, consult the vehicle’s service manual for specific diagnostic procedures or error codes related to the speed sensor.
Following these steps and properly maintaining your speed sensor can ensure accurate readings and smooth operation of your vehicle’s speedometer.
5 Things You Should Avoid
- Skipping Safety Precautions
Always ensure the vehicle is turned off and secured adequately before testing the speedometer sensor. Failing to disconnect the battery or working near moving parts can result in serious injuries.
- Using Incorrect Tools
Avoid using tools that are not suitable for electrical testing. Using the wrong type of multimeter or damaged equipment can give inaccurate results or even harm the sensor.
- Ignoring Manufacturer Specifications
Do not neglect the vehicle’s service manual guidelines. Testing the sensor without referencing proper specifications or procedures may lead to incorrect diagnostics.
- Forcing Connections
Never force wires, connectors, or plugs when testing the sensor. Applying excessive force can damage the delicate components and create further malfunctions.
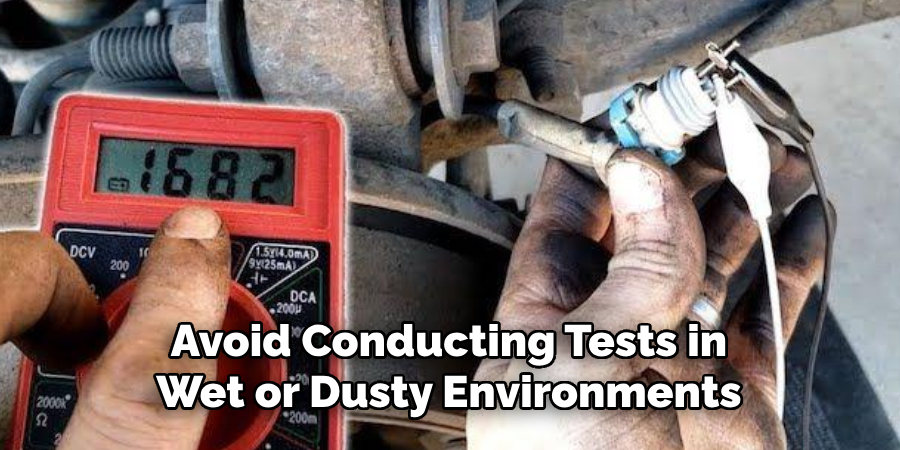
- Testing in Poor Environmental Conditions
Avoid conducting tests in wet or dusty environments, as these can interfere with the electrical readings and even cause short circuits, potentially damaging the sensor and other components.
Why is not Your Airflow Sensor Working?
There are several reasons why your airflow sensor may not work correctly. These include:
- Defective or Damaged Sensor: One of the most common reasons for a malfunctioning airflow sensor is that it is faulty or damaged. This can happen due to various reasons, such as physical damage, exposure to extreme temperatures, or internal component failure.
- Dirty or Clogged Sensor: Another reason for a faulty airflow sensor is dirt and debris buildup on the sensor’s surface. This can occur over time, especially in older vehicles with high mileage. A dirty or clogged sensor cannot accurately measure the air entering the engine, resulting in incorrect readings and affecting the engine’s performance. Regularly cleaning or replacing the air filter can prevent this issue and prolong the lifespan of your airflow sensor.
- Faulty Wiring or Connections: The proper functioning of an airflow sensor also depends on its electrical connections. Corroded or loose wiring can cause an interruption in the signal transmission, leading to faulty readings and engine dysfunction. Inspecting and repairing any damaged wiring or connectors can resolve this problem.
- Engine Control Module Failure: In modern vehicles, the data from various sensors, including the airflow sensor, is transmitted to the Engine Control Module (ECM). The ECM uses this information to adjust fuel injection and ignition timing for optimal engine performance. If the ECM malfunctions, it can cause issues with the airflow sensor and other sensors, resulting in incorrect readings and poor engine performance.
Conclusion
How to test a speedometer sensor involves several key steps to ensure its proper functionality. Start by locating the sensor, which is typically mounted on the transmission or the differential. Inspect the sensor for any visible damage or loose connections.
Next, use a multimeter to check for continuity and measure the voltage the sensor generates while spinning the wheel or shaft it monitors. Compare the readings to the manufacturer’s specifications to determine if the sensor works correctly. If the sensor fails these tests, it may need to be cleaned, adjusted, or replaced.
Proper testing ensures accurate speed readings and helps maintain optimal vehicle performance.