

Are you having issues with your car’s sensors and don’t know how to test them? A multimeter is a handy tool that can help you diagnose sensor problems in your vehicle.
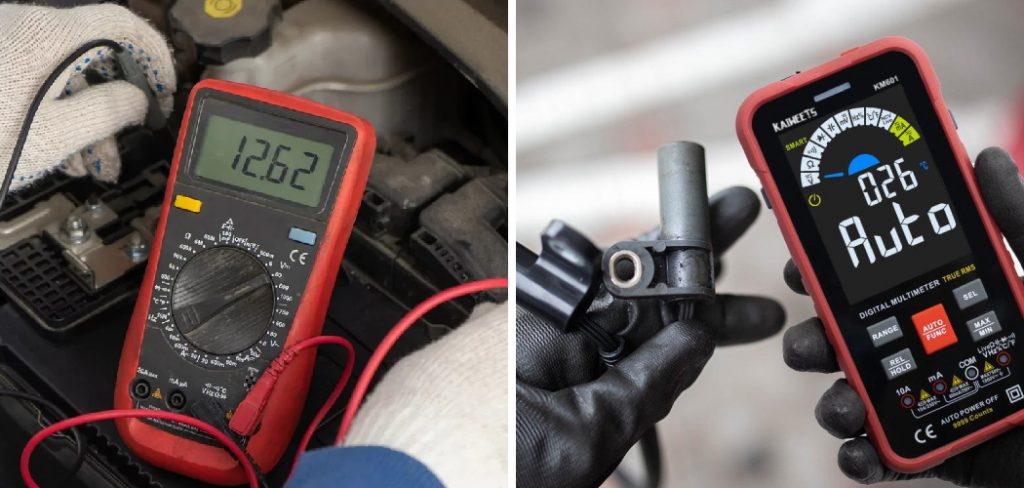
Testing car sensors with a multimeter is crucial for diagnosing and troubleshooting various vehicle issues. Car sensors are key in monitoring and regulating essential systems, such as engine performance, emissions, and safety features. When these sensors malfunction, they can lead to poor vehicle performance or trigger warning lights.
A multimeter, which measures voltage, resistance, and current, is an invaluable tool for examining the functionality of these sensors. By understanding how to test car sensors with a multimeter, you can identify faults accurately and potentially save time and money on repairs.
This guide will walk you through the essential steps to test car sensors effectively and safely.
What Are the Benefits of Testing Car Sensors with a Multimeter?
Testing car sensors with a multimeter has several advantages over other methods:
- Cost-Effective: A multimeter is much cheaper than taking your vehicle to a mechanic for diagnosis.
- Accurate Results: A multimeter provides precise readings, allowing you to pinpoint the exact issue with the sensor.
- Quick and Easy: With proper knowledge and practice, car sensors with a multimeter can be tested quickly and easily.
- Identify Potential Issues Early On: Regularly testing sensors helps identify any potential issues before they become significant problems that require expensive repairs.
What Will You Need?
To test car sensors using a multimeter, you will need the following tools:
- A digital multimeter with ohm, voltage, and continuity settings
- Safety gear such as gloves and goggles to protect yourself from any potential hazards
- The manufacturer’s manual for your vehicle identifies where the sensor is located and its specifications
Once you have gathered all the necessary tools and equipment, you can begin testing your car sensors.
8 Easy Steps on How to Test Car Sensors With a Multimeter
Step 1. Locate the Sensor:
Start by identifying the exact location of the sensor you want to test. Refer to your vehicle’s manufacturer manual to pinpoint its position, as sensors can vary in location depending on the make and model of your car. Standard sensors, such as oxygen sensors, mass airflow sensors, or crankshaft position sensors, are often located in areas like the exhaust system, air intake system, or engine block, respectively.
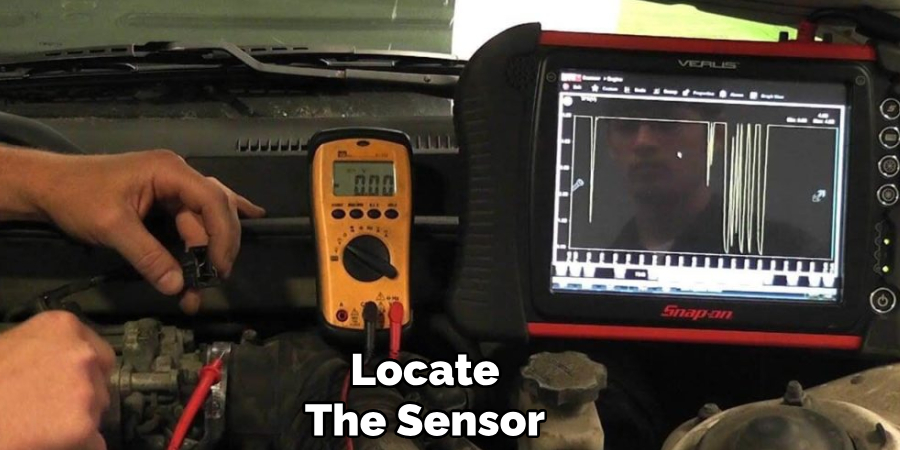
For easier access, ensure your car is parked flat, the engine is turned off, and the hood is opened securely. Take a moment to inspect the area where the sensor is situated and check for any visible issues, such as loose wires, corrosion, or physical damage that might affect performance. Knowing the exact location and condition of the sensor will streamline the testing process and help you proceed confidently.
Step 2: Gather the Necessary Tools
Before starting the testing process, ensure you have all the tools required for the task. Common tools needed include a multimeter to measure voltage, resistance, and continuity, a set of screwdrivers or wrenches to access the sensor, safety gloves, and a flashlight for better visibility.
Refer to your vehicle’s manual for any specific tools required for your particular make and model. Having the right tools will make the process smoother and prevent unnecessary delays.
Step 3: Inspect the Sensor and Surrounding Area
Once the sensor has been located, visually inspect it and its surrounding area for any signs of damage or wear. Look for loose ends, corroded connectors, or visible debris that could be interfering with its functionality.
Clean the sensor and its connectors gently using a microfiber cloth or an appropriate cleaning solution. Ensure all connections are secure and no wires are frayed before proceeding to the testing phase.
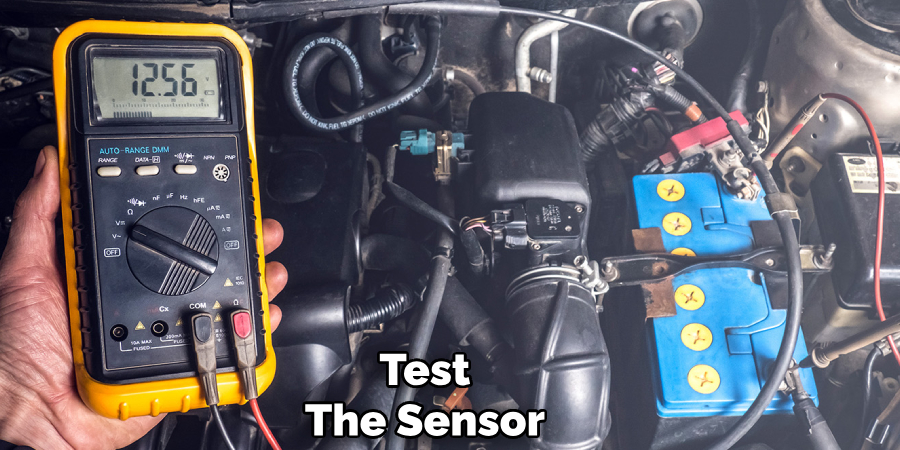
Step 4: Test the Sensor
After completing the visual inspection, test the sensor to verify its functionality. Depending on the type of sensor, use a multimeter or a specialized diagnostic tool to measure its voltage, resistance, or output signals. Follow the manufacturer’s specifications to determine the acceptable range for the readings.
If the sensor is found to be functioning outside of these parameters, it may need to be recalibrated or replaced. Always ensure safety precautions are taken while testing, such as disconnecting the power supply if necessary.
Step 5: Reinstall or Replace the Sensor
Once you have tested the sensor and determined its condition, proceed to reinstall or replace it as needed. If the sensor is functional, carefully secure it back into its original position, ensuring all connections are firmly in place. If the sensor requires replacement, use a compatible model recommended by the manufacturer, and follow the installation instructions. Double-check that the sensor is aligned correctly and free of debris before reconnecting the power supply or activating the system. Proper installation ensures optimal performance and prevents further issues.
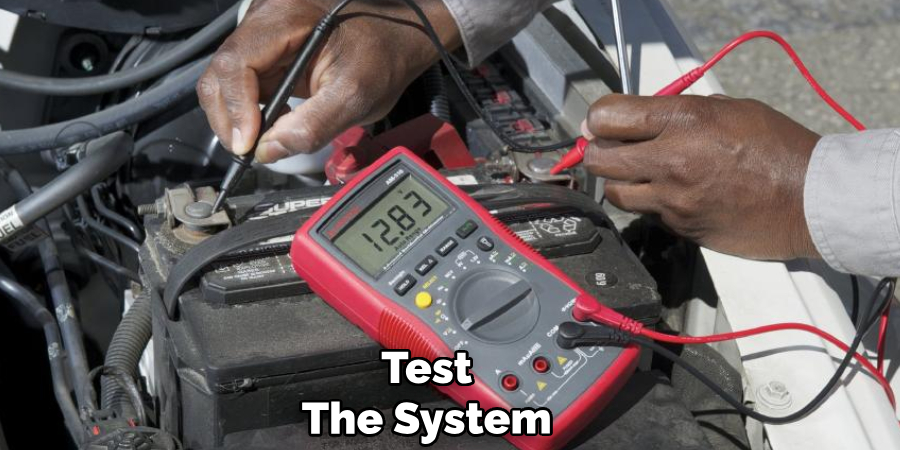
Step 6: Test the System
After reinstalling or replacing the sensor, power the system back on and run a diagnostic or a test cycle, as the manufacturer recommends. Observe its performance closely to ensure the sensor is functioning correctly. If any error codes or irregularities appear, consult the user manual or contact technical support for further assistance. Proper testing verifies that the issue has been fully resolved.
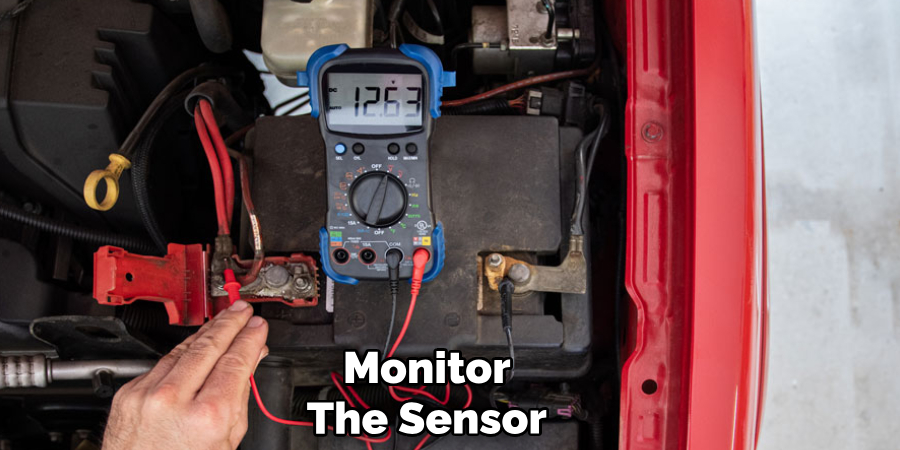
Step 7: Monitor the Sensor
Periodically check the sensor to ensure it continues to operate smoothly. If necessary, perform routine maintenance such as cleaning or calibration as the manufacturer advises. It’s also crucial to regularly inspect the surrounding environment for any potential sources of interference that could affect the sensor’s accuracy.
Step 8: Document Changes and Maintenance
Keep track of any repairs, replacements, or maintenance on the sensor system. This information can help troubleshoot future issues and determine if a new sensor may be needed. It’s also vital to record any changes to the system settings or configurations, as this can impact performance.
By following these steps, you can ensure that your sensor system remains accurate and reliable for a longer period.
5 Things You Should Avoid
- Skipping the User Manual: One of the most common mistakes is not consulting the car’s user manual or the multimeter’s instructions. Each vehicle and multimeter may have specific guidelines and requirements, and ignoring them can lead to incorrect testing or even damage to the sensors.
- Testing with the Engine On (Unless Specified): Running tests on car sensors with the engine on can be risky if the procedure doesn’t explicitly call for it. This can impact the accuracy of results and expose you to potential hazards from moving parts.
- Using Incorrect Multimeter Settings: Double-check the multimeter settings before starting a test. Selecting the wrong range or mode, such as voltage instead of resistance, can yield inaccurate results and might even harm the sensor or the multimeter.
- Misapplying Excessive Force or Probing: Sensor terminals and wiring are delicate, and applying too much force or probing the wrong components can cause physical damage. Ensure you’re gentle and precise when handling the sensors to avoid unnecessary repairs.
- Neglecting Safety Precautions: Failing to take proper safety measures, such as disconnecting the car battery or wearing protective equipment, can pose risks. Always prioritize safety by working in a well-lit, ventilated area and ensuring the vehicle is off before conducting any tests.
Why is Your Code not Working?
There are various reasons why your code may not be working as expected. Some common factors that can contribute to malfunctioning code include:
- Syntax Errors: One of the most common reasons for code not working is syntax errors. These can range from missing semicolons to incorrect indentation and can easily cause your program to fail.
- Logic Errors: Even if your code is syntactically correct, it may still not produce the desired output due to logic errors. This could be caused by a mistake in the algorithm or the incorrect use of variables and data types.
- Missing or Outdated Libraries: If your code relies on external libraries or packages, it may not work if these are missing or outdated. Make sure to check for any necessary dependencies and update them regularly.
- Incompatible Versions: Similar to missing libraries, using incompatible software versions can lead to code not working. This is especially common when using third-party libraries or tools.
- Limited Resources: Depending on the complexity of your code, it may require a certain amount of resources, such as memory or processing power, to run successfully. If these resources are unavailable, your code may fail.
- Environmental Factors: The environment in which your code is running can also affect its functionality. For example, different operating systems or hardware configurations could cause compatibility issues.
These factors highlight the importance of thoroughly testing and debugging your code before deploying it.
Conclusion
How to test car sensors with a multimeter, start by identifying the specific sensor you want to test and ensure the car is parked safely with the engine off.
Set the multimeter to the appropriate setting, such as voltage, resistance, or continuity, depending on the type of sensor you are testing. For example, oxygen sensors may require checking voltage fluctuations, while temperature sensors often involve resistance measurements. Connect the multimeter probes to the sensor terminals or wiring per the manufacturer’s guidelines.
Observe the readings and compare them with the vehicle’s service manual specifications to determine if the sensor is functioning correctly. Regular maintenance and proper testing can significantly enhance the performance and reliability of your car’s systems.
About
Safety Fic is a distinguished figure in the world of Diy design, with a decade of expertise creating innovative and sustainable Diy solutions. His professional focus lies in merging traditional craftsmanship with modern manufacturing techniques, fostering designs that are both practical and environmentally conscious. As the author of diy, Safety Fic delves into the art and science of Safety Fic-making, inspiring artisans and industry professionals alike.
Education RMIT University
(Melbourne, Australia) Associate Degree in Design (Safety Fic) Focus on sustainable design, industry-driven projects, and practical craftsmanship. Gained hands-on experience with traditional and digital manufacturing tools, such as CAD and CNC software.
Nottingham Trent University
(United Kingdom) Bachelor’s in diyfastly.com and Product Design (Honors) Specialized in product design with a focus on blending creativity with production techniques. Participated in industry projects, working with companies like John Lewis and Vitsoe to gain real-world insights.
Publications and Impact
In diy, Safety Fic his insights on indoor design processes, materials, and strategies for efficient production. His writing bridges the gap between artisan knowledge and modern industry needs, making it a must-read for both budding designers and seasoned professionals.