
A door lock actuator is an essential component of modern vehicle locking systems, responsible for locking and unlocking doors electronically. If this device fails, it can lead to difficulty securing or accessing your vehicle. Testing the door lock actuator helps determine whether it is functioning properly or requires replacement.

This guide will walk you through the necessary steps of how to test door lock actuator effectively, ensuring your vehicle’s locking system remains reliable.
What Is a Door Lock Actuator?
A door lock actuator is a small but crucial electronic device that enables the locking and unlocking of car doors without the need for manual intervention. It consists of a motor, gears, and sometimes a switch, all working together to convert electrical signals from the car’s central locking system into mechanical movement. When you press the lock or unlock button, the actuator engages to move the lock mechanism into the desired position.
These devices are typically found in both traditional key-based and modern keyless entry systems. Door lock actuators enhance security and convenience by providing seamless control over your vehicle’s locks. However, like any mechanical part, they can wear out over time and may require troubleshooting or replacement.
Signs Your Door Lock Actuator Might Be Failing
A failing door lock actuator can present several symptoms that are important to recognize. One common sign is an unusual noise, such as a clicking or grinding sound, when you attempt to lock or unlock the doors. Another indicator is inconsistent functionality, where the lock might only respond sporadically or fail to operate entirely.
Additionally, you may notice that the locks work manually but not when using the remote or central locking system. Other signs include the lock appearing stuck in one position or the actuator working more slowly than usual. Spotting these warning signs early can help prevent further complications and ensure your vehicle’s security remains intact.
10 Methods How to Test Door Lock Actuator
1. Visual Inspection of the Door Lock Actuator
Before diving into advanced testing, conduct a thorough visual inspection of the door lock actuator. Start by removing the interior door panel to access the actuator. Look for obvious signs of damage, such as broken wires, disconnected connectors, or corrosion on terminals.
Check for physical obstruction around the actuator, as debris or a misaligned mechanism can hinder operation. A visual check allows you to spot straightforward issues without complicated diagnostics.
2. Listen for Unusual Sounds
One of the simplest methods to test the door lock actuator is to listen to its operation. Sit inside your car, close the door, and press the lock or unlock button on your remote or door panel. A healthy actuator produces a clear clicking or whirring sound. If the sound is faint, erratic, or absent altogether, it indicates potential actuator failure or motor burnout.
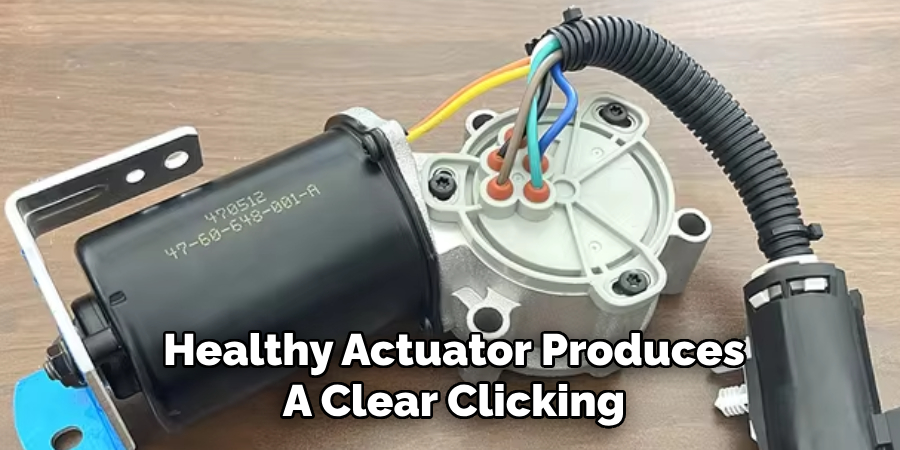
Comparing the sound from different doors helps isolate whether the problem lies specifically with one actuator or if it’s a broader issue.
3. Use the Manual Lock to Check Functionality
Sometimes, the actuator itself might be fine, but the linkage or mechanical components could be jammed. Try locking and unlocking the door manually using the key or door lock switch. If the manual operation is smooth but the electronic function fails, it points to an actuator issue or electrical fault.
This method helps differentiate between mechanical binding and actuator malfunction, guiding you toward a more accurate diagnosis.
4. Test with the Vehicle Battery
To ensure the actuator itself works independently, test it directly using the vehicle battery. Disconnect the actuator’s wiring harness and connect the actuator terminals to the battery using jumper wires. A functional actuator should move when current is applied. If it fails to respond or makes weak movements, the motor inside may be burnt out or jammed. Testing with direct current helps verify if the actuator has lost its electrical functionality.
5. Check Voltage with a Multimeter
Testing voltage is crucial to determine whether the actuator is receiving adequate power. Set your multimeter to the DC voltage setting. Attach the positive probe to the power wire and the negative probe to the ground wire while operating the lock/unlock button. The reading should match the car’s battery voltage (usually around 12 volts). An incorrect or fluctuating voltage reading indicates wiring problems or a faulty control module rather than an actuator fault.
6. Perform an Actuator Resistance Test
A resistance test helps determine whether the actuator motor windings are intact. Set your multimeter to the resistance (ohms) setting and measure across the actuator terminals. Typically, the resistance should be between 10 and 30 ohms, but this can vary by make and model. A reading of zero (short circuit) or infinity (open circuit) indicates that the motor windings are damaged. This method helps confirm internal electrical faults within the actuator.
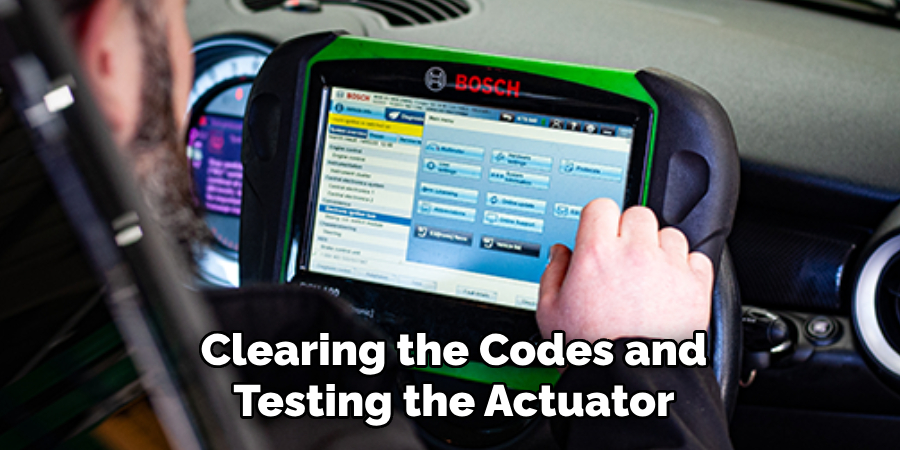
7. Use a Scan Tool for Diagnostic Codes
Modern vehicles often record actuator failures in the onboard diagnostic system. Connect a scan tool to the vehicle’s OBD-II port and check for trouble codes related to the door lock system. Codes such as B2221 (Driver Door Lock Motor Failure) or B2232 (Passenger Door Lock Motor Failure) indicate specific actuator problems. Clearing the codes and testing the actuator again helps confirm whether the fault is persistent or intermittent.
8. Perform a Bench Test
If you have removed the actuator from the vehicle, performing a bench test can isolate it from the car’s electrical system. Apply a 12-volt power source directly to the actuator’s terminals. Reverse the polarity to check both lock and unlock functions. The actuator should respond consistently in both directions. A weak or erratic response during a bench test typically points to internal motor damage or gear issues, confirming the need for replacement.
9. Check for Wiring and Connector Issues
Electrical problems related to the actuator are often caused by faulty wiring or corroded connectors. Inspect the actuator wiring harness for cuts, frays, or loose connections. Use a test light to check for power at the actuator connector when the lock button is pressed. Wiggle the wires slightly while performing the test to identify intermittent faults. Repairing damaged wires or cleaning corroded connectors can often restore proper actuator function.
10. Test the Door Lock Relay and Fuse
Sometimes, the issue is not with the actuator itself but with the relay or fuse controlling it. Locate the fuse box and check the fuse labeled for door locks. If the fuse is blown, replace it and test the actuator again. Next, test the door lock relay by swapping it with a similar relay from another system (like the horn) to see if the problem shifts. A faulty relay or blown fuse can mimic actuator failure, so ruling out these components is essential before replacing the actuator.
Maintenance and Upkeep
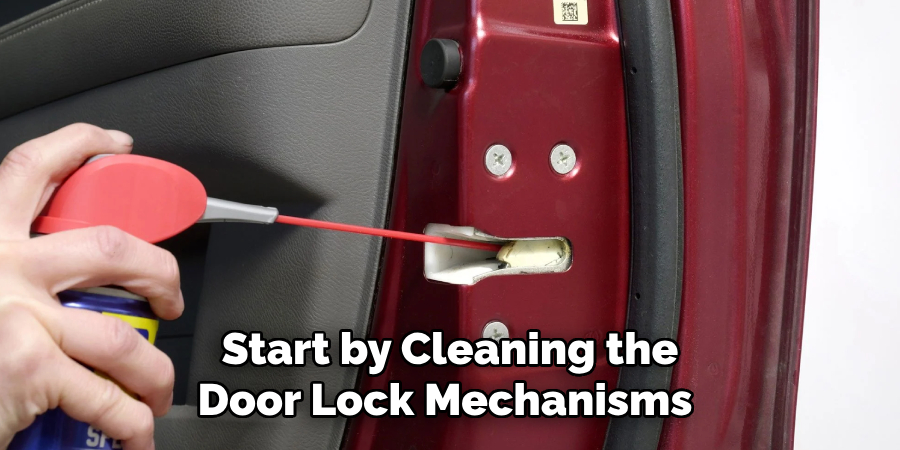
Regular maintenance of your door lock actuators can prevent many common issues and extend their lifespan. Start by cleaning the door lock mechanisms periodically to remove dirt, debris, and moisture, which can cause corrosion or impede movement. Lubricate the door lock components with a silicone-based lubricant to ensure smooth operation and minimize wear.
Additionally, check electrical connections for any signs of corrosion or damage, as faulty wiring can lead to inconsistent performance. Performing these simple upkeep tasks can help you avoid costly repairs and keep your door locks functioning reliably.
Troubleshooting Common Issues
When door locks malfunction, identifying the root cause can save time and frustration. If a lock becomes stiff or difficult to turn, it’s often due to accumulated debris or insufficient lubrication. Begin by cleaning the lock mechanism and applying a silicone-based lubricant as needed. If the lock fails to engage properly, inspect the alignment between the door and the strike plate—misalignment can often be fixed by adjusting the hinges or repositioning the strike plate.
For electronic locks, check the battery level and replace depleted batteries promptly. Additionally, examine the wiring and connections for loose or damaged components. If the issue persists despite these efforts, consulting a professional locksmith may be necessary to resolve more complex problems.
Common Mistakes to Avoid
When addressing lock issues, several common mistakes can complicate the problem or cause unnecessary damage. One frequent error is using excessive force when the lock doesn’t operate smoothly, which can worsen mechanical problems or damage essential components. Another mistake is neglecting regular maintenance, such as cleaning and lubricating the lock, which often leads to premature wear and malfunction.
Avoid using improper tools for lock adjustments or repairs, as they can cause irreversible damage to the mechanism. Additionally, ignoring warning signs like difficulty turning the key or delayed electronic responses may allow small issues to develop into significant malfunctions. By being mindful of these mistakes, you can ensure the longevity and reliability of your locks.
Conclusion
Testing a door lock actuator requires a systematic approach to ensure you accurately diagnose the problem without unnecessary replacements. From visual inspections and sound checks to voltage testing and diagnostic scans, each method provides unique insights into the actuator’s condition.
By using a combination of these methods, you can pinpoint whether the issue lies with the actuator itself, the wiring, or related electrical components. Thanks for reading our blog post on how to test door lock actuator! We hope you found it helpful and informative.