
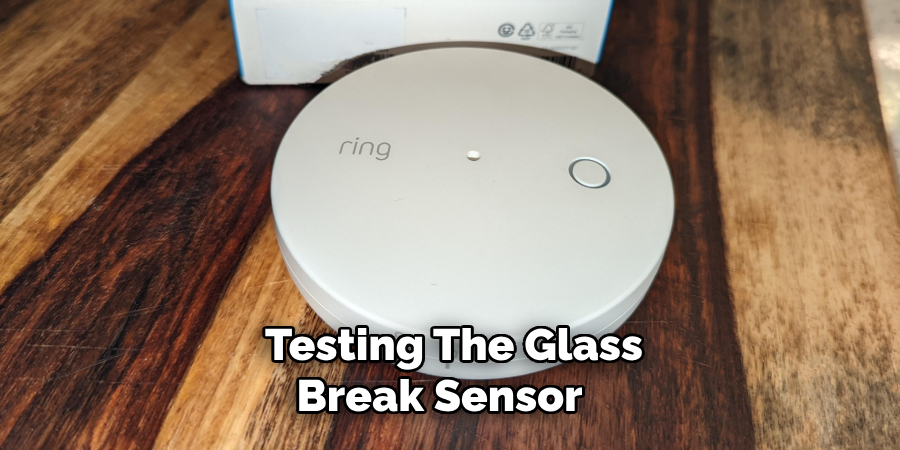
Glass break sensors are important to any home or business security system. For homes, glass break sensors can help to protect against intruders while providing a quick response should a window be breached. They are also useful for businesses because they can detect and alert authorities in the event of vandalism or theft. You must know to test the glass break sensor to ensure that it is working correctly and can detect any potential threats.
Glass break sensors are a great way to keep your home or business safe and secure. These special sensors detect the sound of breaking glass and quickly alert you if an intruder is on your property. It’s important to test glass break sensors regularly to ensure that they’re working properly. In this blog post, You will learn in detail how to test glass break sensor.
Step-by-step Instructions for How to Test Glass Break Sensor
Step 1: Inspect the Glass Break Sensor
Before beginning the testing process, ensure the sensor is installed correctly and securely. Ensure all connections are tight and that all screws are as they should be.
Step 2: Turn On Your Receiver
Turn on your receiver or alarm system before conducting your glass break sensor test. This will ensure that the receiver listens for signals from the sensor itself. To do this, you will need to gently tap on the glass beneath the sensor methodically and listen for tones from your receiver. Tap lightly at first and increase pressure each time until you hear a tone indicating that the sensor has been activated.
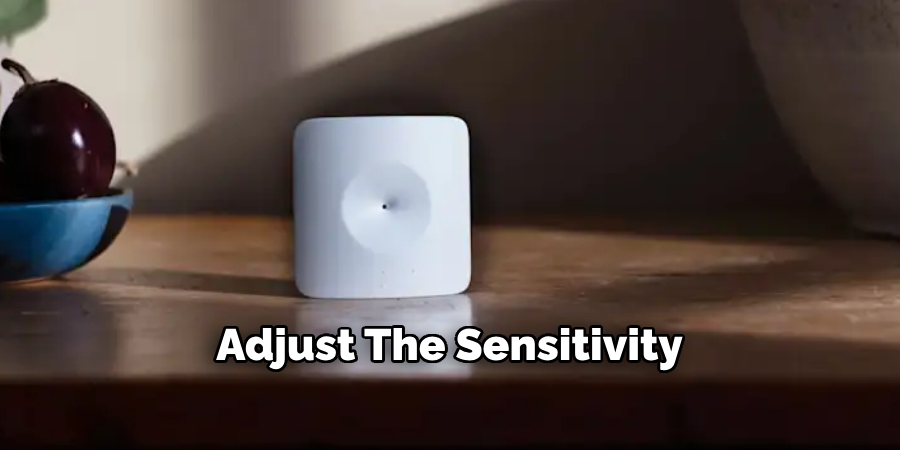
Step 3: Adjust the Sensitivity of the Sensor
You may need to adjust the sensitivity of your glass break sensor to achieve a successful test. This can be done by pressing and holding down an inner button on the device until you hear a tone indicating it has been adjusted.
To ensure the sensor will detect glass breaking from all angles, you should test it by tapping on the window in each direction. Ensure the receiver indicates that it has detected each tap to ensure proper detection.
Step 4: Test Loud Sounds
Turn up the volume of your radio or television and set it next to the glass break sensor to test that it will pick up loud sounds. The sensor is activated and works properly if the receiver emits a tone.
Turn down the volume of your radio or television and set it next to the glass break sensor to ensure that it picks up low-level sounds such as voices or footsteps. The sensor is activated and working properly if the receiver emits a tone.
Step 5: Test Vibration Detection
To test vibration detection, shake or jolt the window in various directions and listen for tones from your receiver. Ensure that a signal is emitted if you move the glass quickly or sharply.
Once you have tested all of these aspects, reset the sensor by pressing and holding down an inner button until you hear a tone indicating it has been adjusted. This will ensure that the sensor is ready to detect any glass breakage.
Step 6: Test Again
Once you have completed all of these steps, it is always a good idea to test one last time to ensure everything was successful. Activate the sensor and listen for tones from your receiver to ensure it works properly.
Testing your glass break sensor with these simple steps should be easy. Regularly monitor and adjust your sensors to ensure maximum efficiency and security. Remember that properly maintaining and testing your sensors regularly is the best way to protect your property.
Tips for How to Test Glass Break Sensor
- Wear protective eyewear and gloves when testing the glass break sensor.
- Ensure that all other people in the vicinity are aware of the test you are about to perform, as fragile objects can cause injuries if broken unexpectedly.
- Position yourself at least 8 feet away from where you will be breaking the glass and any other objects that could hurt you if broken.
- Ensure the test is done in a well-ventilated area and keep pets and children away from the vicinity to avoid potential hazards.
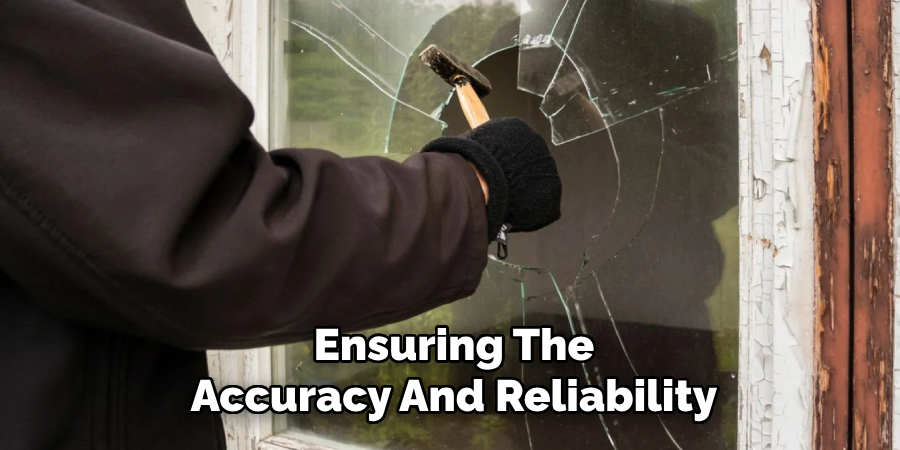
- When breaking glass, use an object such as a hammer or screwdriver with a thick handle for greater control and safety when striking the glass.
- After breaking the glass, carefully dispose of the broken pieces and clean up any debris before you begin testing the glass break sensor. Additionally, check for any damages or malfunctions in the sensor and replace it if necessary.
Testing a glass break sensor requires caution and safety measures to prevent injuries. Follow these tips when conducting tests on your glass break sensors to ensure a safe and successful testing experience.
How Often Should the Glass Break Sensor Be Tested?
Testing your glass break sensor is an important part of ensuring that it functions properly and can provide accurate, reliable safety measures. To get the best results from your glass break sensor, you should check it regularly to make sure that it’s still in proper working order. Generally speaking, you should test your glass break sensor at least once a month to ensure it works correctly.
This will help you detect any potential issues with the device before they become serious problems. It’s also a good idea to keep an eye on your glass break sensor between tests, as this gives you more time to respond if anything happens. To test your glass break sensor, place it where it will be installed. Then, use a device designed to emit sound at the frequency of glass breakage, such as an ultrasonic sound generator or a specialized glass break simulator. Aim the sound generator at the sensor from different angles and distances to test its accuracy.
Are Any Environmental Factors That May Impact the Accuracy of a Glass Break Sensor During Testing?

Yes. Environmental factors such as temperature, humidity, and sound vibration can all affect the accuracy of a glass break sensor during testing. It is important to remember this when carrying out your tests so that you can get accurate results every time. Temperature should be moderate (between 68-86 degrees Fahrenheit), and humidity should not exceed 70%.
Additionally, testing should be done in a room with minimal sound vibration to ensure that the microphone on the device can detect all of the necessary audio frequencies. By considering these environmental factors when conducting your tests, you can be sure that your results are accurate and reliable.
What Are Some Best Practices for Accurately and Effectively Testing a Glass Break Sensor?
Testing a glass break sensor is an important part of ensuring the accuracy and reliability of your security system. Following best practices when testing can help you get the most out of your sensors while also minimizing false alarms and any potential safety risks that come with using them. Here are some tips to keep in mind:
- Make sure all components of the system are working properly. This includes the sensor itself and any associated wiring, batteries, or other components that may be necessary for proper functioning.
- Place the sensor in a location where it will not be subject to interference from outside sources such as strong winds or vibrations. These can cause false alarms if they are too close to the sensor.
- Ensure that the sensor is at least three feet away from any heat or cold sources, as these can also cause false alarms.
- When testing the glass break sensor, be sure to use a sound source that is loud enough and close enough to simulate an actual glass-breaking event. It’s best to test in a controlled environment with minimal background noise.
- Be sure to test your system regularly and replace any components that may be worn or damaged, as this can affect the accuracy of the sensor.
- Finally, ensure that everyone in your home knows how to use the system properly and is familiar with its operation procedures in an emergency. This includes knowing when to call for help and following other safety precautions.
By following these best practices, you can ensure that your glass break sensor is working correctly and reliably for years to come.
Conclusion
In conclusion, testing a glass break sensor is not as difficult. By following the steps outlined in this article, you can easily test your device and ensure that it’s providing accurate results at all times. Whether you’re an experienced electrician or a DIY enthusiast, testing a glass break sensor should be straightforward.
Remember always to follow safety precautions when installing and testing any device and to test your sensor periodically to ensure it works correctly. With these tips, you can easily stay on top of your glass break sensor maintenance and keep your home or business safe from intruders. This article has been beneficial for learning how to test glass break sensor. Make Sure the preventive measures are followed chronologically.
You can also check it out Occupancy Sensors Work