

Welcome, fellow home security enthusiasts! Are you considering transferring your Blink camera to a new owner? Perhaps you’re moving out of your current residence or maybe you have upgraded to a newer model and want to pass on the trusty device. No matter the reason, it can be daunting to navigate the process of transferring ownership of a security camera.
But fear not, because, in this blog post, we will guide you through all the necessary steps for how to transfer blink camera to new owner and provide helpful tips for ensuring a smooth transition between owners. So whether you’re an experienced Blink user or just getting started with home surveillance, read on for expert advice on how to transfer your Blink camera to its new owner with ease and peace of mind.
Why Would You Need to Transfer Your Blink Camera?
Before we dive into the how-tos, let’s first address why you might need to transfer your Blink camera in the first place. As mentioned earlier, there could be various reasons for this decision. For homeowners, it could be due to a move or an upgrade to newer models with better features.
For business owners, it could be due to a change in ownership or relocation of the business. Whatever the reason may be, transferring your Blink camera is an essential step for maintaining the security and safety of your property. By transferring ownership, you are ensuring that the new owner has access to all the necessary features and settings of the camera, such as live streaming and recording capabilities.
Step-by-Step Guidelines on How to Transfer Blink Camera to New Owner
Step 1: Reset the Camera
The first step in transferring ownership of your Blink camera is to reset it. This will erase all the settings and data associated with the current owner and allow for a fresh start for the new owner. To reset, press and hold the button on top of your Blink camera until its light turns off and then back on again. This process takes about 20-30 seconds.
Step 2: Remove the Camera From Your Account
Next, you will need to remove the camera from your Blink account. To do this, log in to your account and go to the “Manage Devices” section. Select the camera you want to transfer and click on “Remove Device.” This will detach the camera from your account and make it available for the new owner to add to their account. While you’re at it, be sure to remove any shared access or users from the camera as well.
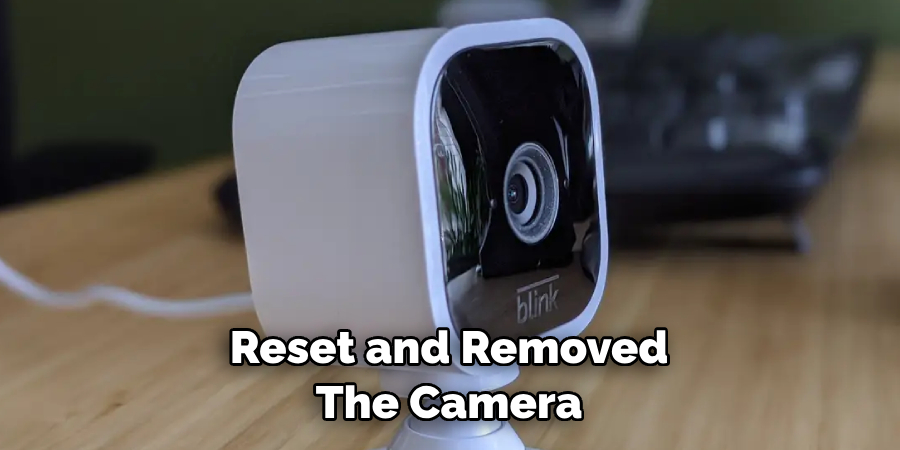
Step 3: Share Camera Information With the New Owner
After you have reset and removed the camera from your account, you will need to share the device information with the new owner. This includes the serial number of the camera, which can be found on the back or bottom of your device, and the MAC address, which can be found in the device settings on your Blink app. They will need this information to add the camera to their account and set it up for use.
Step 4: Add Camera to New Owner’s Account
Once the new owner has all the necessary information, they can add the camera to their account through the Blink app. On the app’s home screen, they will need to click on “Add Device” and follow the prompts. This process should be relatively quick and easy, especially if the camera was previously set up. While adding the camera, they will be prompted to create a new password for it. Be sure to share this password with them as well.
Step 5: Troubleshoot Any Issues
If the new owner is experiencing any issues setting up or accessing the camera, you can offer your help and troubleshoot together. Check that all steps were followed correctly and make sure that both parties have a stable internet connection. If the issue persists, contact Blink customer support for further assistance. Make sure to remind the new owner to change their password and set up any necessary settings for the camera’s proper functioning.
Following these five simple steps will ensure a smooth and successful transfer of your Blink camera to its new owner. Remember to communicate effectively with the new owner and provide them with all the necessary information for a hassle-free experience.
Additional Tips and Tricks to Transfer Blink Camera to New Owner
1. If you are transferring your Blink camera to a new owner, make sure to reset the camera before doing so. This will ensure that all your data and settings are erased from the device.
2. The process of transferring ownership of a Blink camera can differ slightly depending on whether you have an indoor or outdoor version. Make sure to follow the correct steps for your specific camera model.
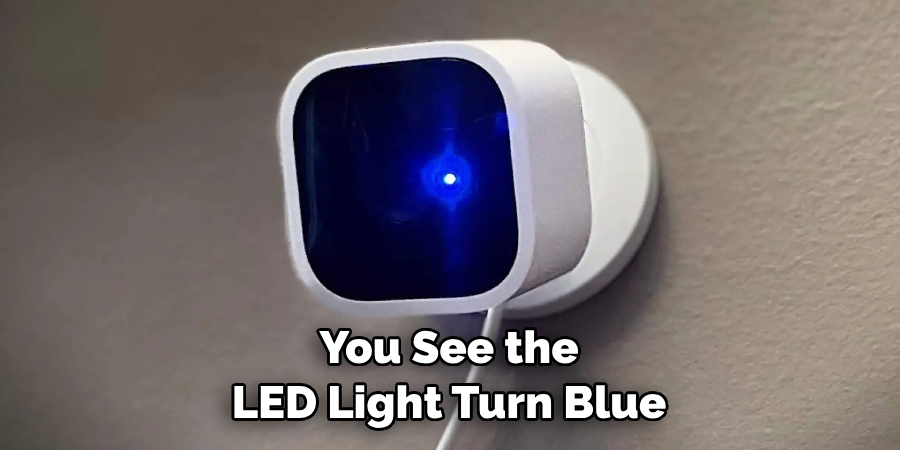
3. To reset your camera, simply press and hold the reset button located on the back of the device until you see the LED light turn blue. This may take up to 30 seconds.
4. If you are unable to physically access your Blink camera, you can also perform a factory reset through the Blink app. Simply go to “Manage Account” and select “Reset All Settings” under the camera you want to transfer.
5. It is important to note that once your Blink camera has been reset, it will need to be set up again by the new owner using their account. Make sure to communicate this information with the new owner before transferring ownership.
6. If you are transferring multiple cameras, it may be helpful to label each one with a unique name or number to avoid confusion during the transfer process.
7. Before completing the transfer, it may also be beneficial to remove any motion detection zones or schedules that were set up by the previous owner.
8. If you are having trouble transferring ownership, make sure to check for any software updates for your Blink camera and app. Keeping both up-to-date can help prevent any technical issues during the transfer.
Following these additional tips and tricks can make the process of transferring ownership of a Blink camera to a new owner smoother and easier for both parties involved. Remember to always communicate clearly with the new owner and ensure they have all the necessary information to set up and use their new device. Happy transferring!
Things You Should Consider to Transfer Blink Camera to New Owner
1. The first thing you should do is to ensure that your Blink camera is properly set up and functioning correctly. This will help the new owner to easily connect and use the camera without any hassle.
2. Make sure that you have a strong and stable internet connection, as this is crucial for the proper functioning of your Blink camera.
3. Before transferring the camera to a new owner, it is important to reset it back to factory settings. This will erase all your personal information and ensure a fresh start for the new owner.
4. You should also inform the new owner about the Blink app and its features so that they can fully utilize the camera’s capabilities.
5. If you have any extra accessories or add-ons for your Blink camera, make sure to include them in the transfer as well. This will provide a complete and seamless experience for the new owner.
6. It is always a good idea to include a quick guide or instructions on how to set up and use the Blink camera, especially if the new owner is not familiar with such devices.
7. Before transferring ownership, make sure to remove any scheduled recordings or alerts that are linked to your account. This will prevent any confusion or disruptions for the new owner.
8. It is also recommended to transfer ownership during a time when the camera is not in use, to avoid any interruptions in its functionality.
9. Lastly, make sure to complete all necessary paperwork and legal processes involved in transferring ownership of the Blink camera.
Following these considerations will ensure a smooth and hassle-free transfer of your Blink camera to its new owner. It is important to provide all necessary information and assistance to the new owner, so they can fully enjoy the benefits of owning a Blink camera. Happy transferring!
Frequently Asked Questions
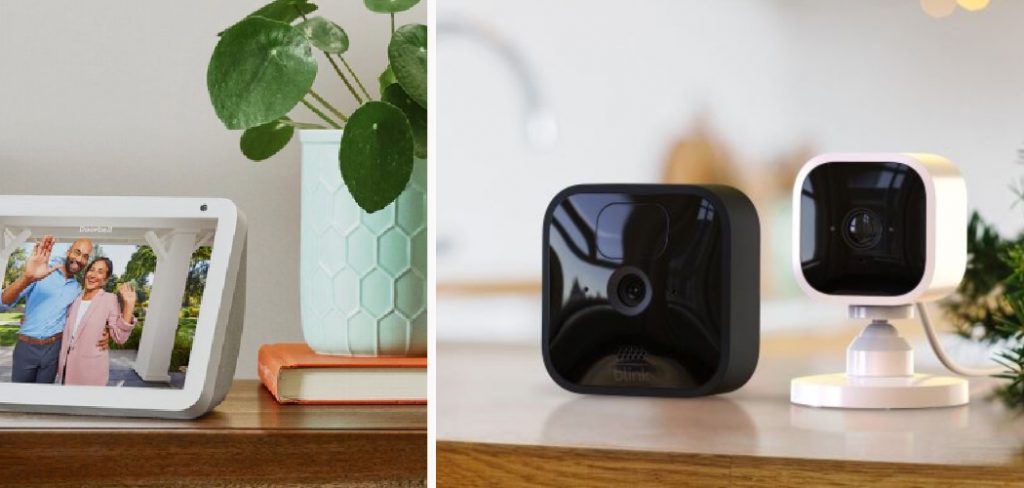
What is the Blink Camera?
The Blink Camera is a wireless home security camera system that provides high-quality, motion-activated video monitoring for your home. It is designed to be easy to set up and use, with no wires or complicated installation required.
Why Would I Need to Transfer My Blink Camera?
There are several reasons why you may need to transfer your Blink Camera to a new owner. Some common scenarios include moving to a new home, selling your current home, or gifting the camera system to someone else.
Can I Transfer My Blink Camera to a New Owner?
Yes, you can easily transfer your Blink Camera to a new owner. The process is simple and can be done through the Blink app. You just need to make sure that both you and the new owner have an account set up in the app.
Conclusion
Knowing how to transfer blink camera to new owner is important for homeowners who are moving or selling their house. It allows the new owner to continue using the camera system for home security purposes and ensures a smooth transition of ownership.
Make sure to follow the instructions provided by Blink when transferring your camera, and if you have any questions or issues, reach out to their customer support team for assistance. With the Blink Camera, you can have peace of mind knowing that your home is protected by a reliable and easy-to-use security system. So, don’t hesitate to transfer your camera to a new owner and continue keeping your home safe. Happy transferring!
About
Safety Fic is a distinguished figure in the world of Diy design, with a decade of expertise creating innovative and sustainable Diy solutions. His professional focus lies in merging traditional craftsmanship with modern manufacturing techniques, fostering designs that are both practical and environmentally conscious. As the author of diy, Safety Fic delves into the art and science of Safety Fic-making, inspiring artisans and industry professionals alike.
Education RMIT University
(Melbourne, Australia) Associate Degree in Design (Safety Fic) Focus on sustainable design, industry-driven projects, and practical craftsmanship. Gained hands-on experience with traditional and digital manufacturing tools, such as CAD and CNC software.
Nottingham Trent University
(United Kingdom) Bachelor’s in diyfastly.com and Product Design (Honors) Specialized in product design with a focus on blending creativity with production techniques. Participated in industry projects, working with companies like John Lewis and Vitsoe to gain real-world insights.
Publications and Impact
In diy, Safety Fic his insights on indoor design processes, materials, and strategies for efficient production. His writing bridges the gap between artisan knowledge and modern industry needs, making it a must-read for both budding designers and seasoned professionals.