

To get started with your Arlo camera and ensure it’s ready to keep a watchful eye on your property, you’ll need to power it on properly. Whether you’ve just purchased a brand new camera or are troubleshooting your current setup, turning on your Arlo camera is a simple process.
In this guide on how to turn arlo camera on, we will walk you through the necessary steps to activate your Arlo camera, from unpacking to the initial power-up, ensuring that you can begin monitoring your space with peace of mind.
What is Arlo Camera?
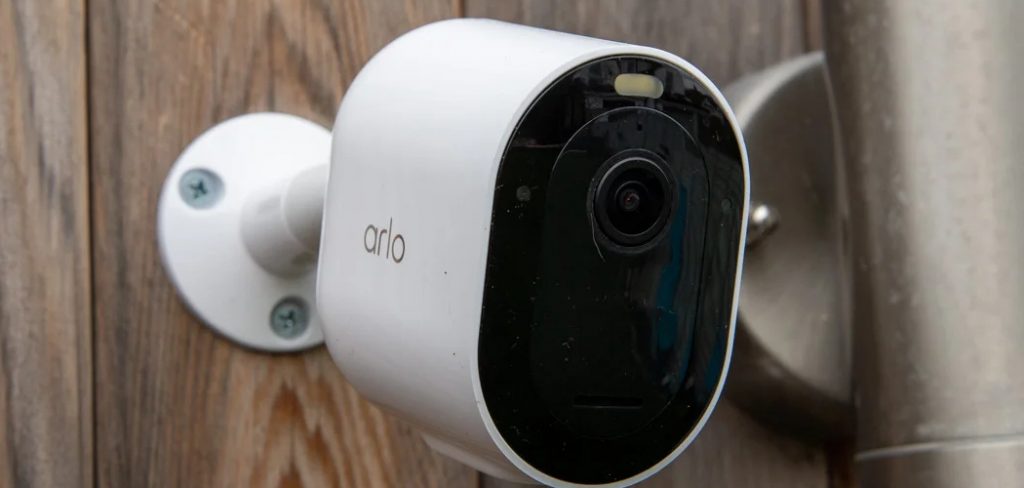
Before we go into the steps on how to turn arlo camera on, let’s have a brief overview of what an Arlo camera is. An Arlo camera is a wireless security camera that allows you to keep an eye on your home or business remotely. It works by connecting to your home network and sending live video footage to your smartphone or computer through the Arlo app.
This way, you can monitor your property from anywhere in the world as long as you have an internet connection. If you want to know more about Arlo cameras, check out our detailed guide on what an Arlo camera is.
Why is Turning on Your Arlo Camera Important?
Now that we know what an Arlo camera is, let’s discuss why it’s essential to turn it on properly. Turning on your Arlo camera correctly ensures that the device functions efficiently and provides you with a reliable security system. It also allows you to take advantage of all the features and capabilities offered by the camera, such as motion detection, live streaming, and cloud storage.
Without powering your Arlo camera correctly, you may not be able to use it to its full potential. You may also face technical issues and difficulties in setting up the camera, which can be frustrating. Therefore, it’s crucial to follow the correct steps when turning on your Arlo camera.
Necessary Tools and Materials
Before we dive into the steps on how to turn arlo camera on, make sure you have the following tools and materials ready:
Your Arlo Camera
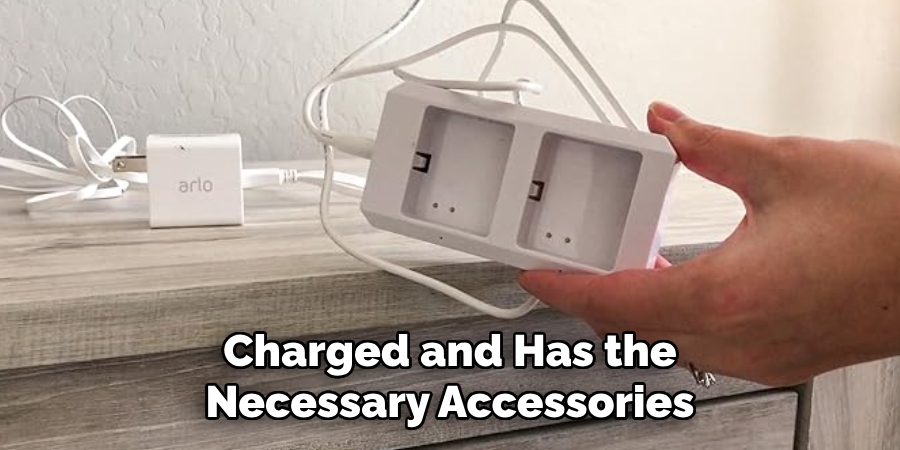
First and foremost, you will need your Arlo camera. Make sure it’s charged and has the necessary accessories, such as batteries or a power adapter.
Internet Connection
Since Arlo cameras work through an internet connection, make sure your home network is set up correctly. If you’re using a wired connection, ensure that the Ethernet cable is plugged into your router. If you’re using a wireless connection, make sure your Wi-Fi network is up and running.
Smartphone or Computer
To control and view your Arlo camera remotely, you will need a smartphone or computer with the Arlo app installed. Make sure it’s connected to the same internet network as your camera. Otherwise, you won’t be able to access the camera.
10 Step-by-step Guidelines on How to Turn Arlo Camera on
Step 1: Unpack the Camera
Start by unpacking your Arlo camera and all its accessories carefully. Make sure you have all the necessary components, such as the camera, batteries or power adapter, mounting screws, and any other additional parts that may come with your specific camera model.
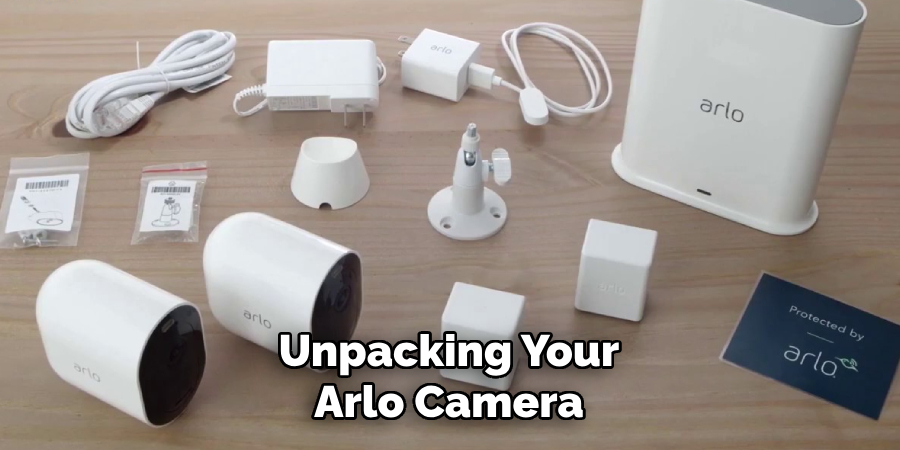
You can find a detailed list of all the components in your camera’s user manual. But if you’re unsure or missing something, contact Arlo customer support for assistance. The last thing you want is to start setting up your camera and realize that you’re missing a critical component.
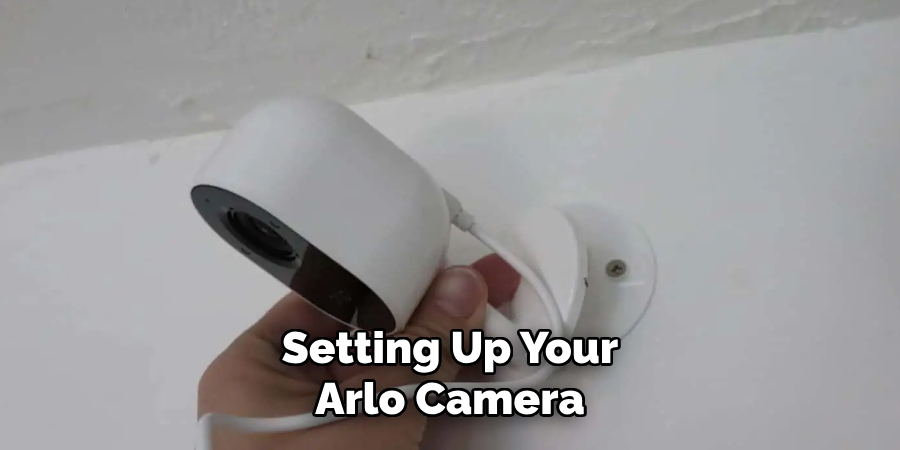
Step 2: Choose a Suitable Location
Before turning on your Arlo camera, choose a suitable location to mount it. It should be a spot that offers a wide view of the area you want to monitor. Make sure it’s within the range of your Wi-Fi network and has a power outlet nearby if you’re using a wired connection.
It’s essential to choose a secure location, as the camera will be vulnerable to theft and damage if it’s easily accessible. You can also use the included mounting screws to secure the camera in place. But, if you’re unsure about the location, you can always experiment by moving the camera around until you find the perfect spot.
Step 3: Insert Batteries or Plug-in Power Adapter
If your Arlo camera is battery-powered, insert the batteries into the designated compartment on the camera. Make sure you follow the polarity markings and insert them correctly. If your camera comes with a power adapter, plug it into a nearby power outlet and connect it to the camera.
You can also skip this step if you’re using a solar-powered or wired camera. It’s essential to use the recommended batteries and power adapter for your specific camera model to ensure optimal performance. It’s also a good idea to have spare batteries on hand in case the current ones run out.
Step 4: Wait for Camera LED Lights
After inserting the batteries or plugging in the power adapter, wait for the LED lights on your Arlo camera to turn on. It may take a few seconds, so be patient. If the lights don’t turn on, make sure the batteries or power adapter are correctly inserted and that the camera is receiving power.
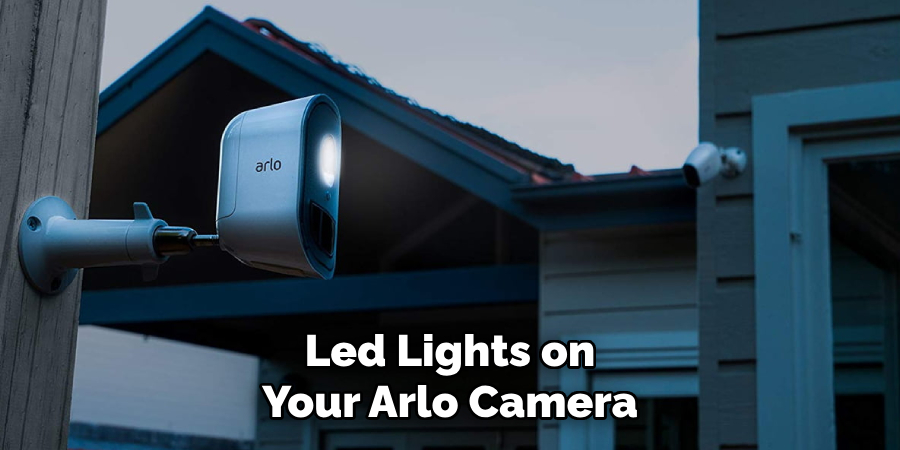
You may also need to check your internet connection if the LED lights still don’t turn on. The LED lights will indicate that the camera is receiving power and ready to be set up. The colors and patterns of the LED lights may vary depending on your specific camera model, so refer to your user manual for more information.
Step 5: Download and Install the Arlo App
While waiting for the camera to start up, download and install the Arlo app on your smartphone or computer. You can find the app in the App Store or Play Store, depending on your device.
Once installed, open the app and follow the instructions to create an Arlo account. You will need this account to access your camera remotely. It’s also worth mentioning that you can have multiple cameras under one account, making it easier to manage and monitor all your Arlo cameras.
Step 6: Add a New Device
After creating your Arlo account, log in to the app and select “Add a New Device.” The app will guide you through the process of adding your Arlo camera to your account. Make sure you follow the instructions carefully and select the correct camera model when prompted.
You may also need to scan a QR code on your camera or enter its serial number manually. Once done, the app will detect and connect to your camera automatically. The process may take a few minutes, so be patient.
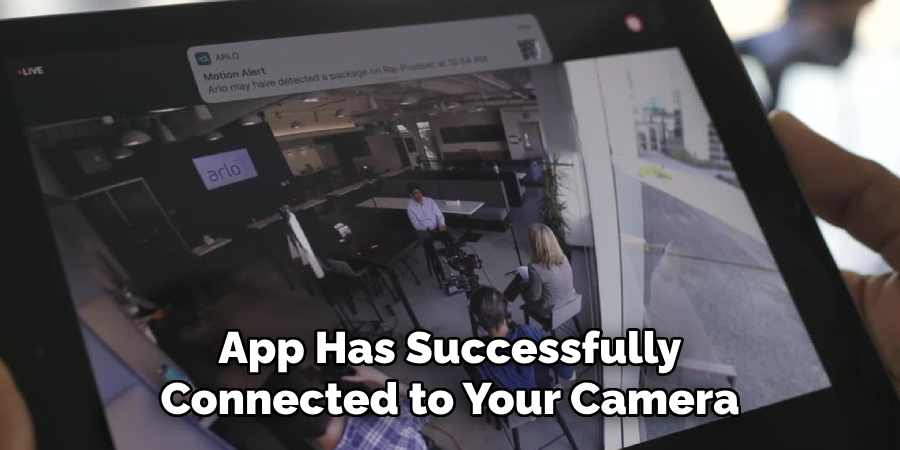
Step 7: Follow the On-Screen Instructions
Once the app has successfully connected to your camera, it will display on-screen instructions to help you set up your Arlo camera. Follow the steps and provide any necessary information, such as your Wi-Fi network name and password. Make sure you carefully follow each step and double-check the information before proceeding.
Otherwise, you may encounter issues during the setup process. It’s also essential to keep your smartphone or computer near the camera during setup, as it will need to connect to your Wi-Fi network. If the connection fails, you may need to move closer to your router or try resetting your camera and starting the process again.
Step 8: Name Your Camera
After successfully connecting your Arlo camera to your Wi-Fi network, you can now name it. This step is optional but recommended if you have multiple cameras under one account. It will make it easier to identify and manage your cameras.
You can also assign a location to your camera, such as “Front Door” or “Backyard,” for easier organization. The app will save these details and use them to display your camera on the app’s home screen. You can always change the name and location later if needed. However, it’s essential to name your camera correctly during the initial setup process.
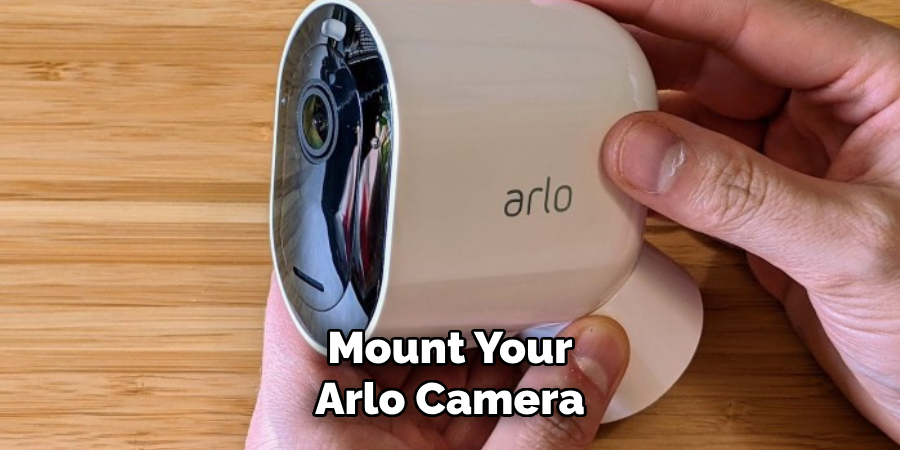
Step 9: Mount Your Camera
After completing the setup process, it’s now time to mount your Arlo camera in its chosen location. Use the included mounting screws to secure it in place, making sure it’s positioned correctly for optimal viewing angles. Refer to your user manual for specific instructions on how to mount your camera.
It’s also crucial to test the camera’s view and adjust its position if necessary before finalizing the mounting. You can also use the Live View feature on the app to see what your camera is capturing in real time. It’s important to note that the mounting process may vary depending on your camera model and location, so follow the instructions carefully.
Step 10: Turn on Camera Notifications
To receive alerts and notifications from your Arlo camera, make sure to enable them in the app’s settings. You can choose which types of notifications you want to receive, such as motion or sound detection.
This feature is especially useful when you’re away from home and want to stay updated on any activity in your monitored area. Keep in mind that enabling notifications may drain your phone’s battery faster, so it’s best to have a backup power source or adjust your notification settings accordingly.
Following these steps on how to turn arlo camera on will help you set up your Arlo camera and start monitoring your desired area. Remember to regularly check for firmware updates and always follow the manufacturer’s instructions for optimal performance.
With a reliable Wi-Fi network, proper placement, and regular maintenance, your Arlo camera will provide you with peace of mind and added security for your home or business. So, make sure you take the time to set up your camera correctly and enjoy the full benefits of this smart home security device. Happy monitoring!
Do You Need to Take Help From a Professional?
Setting up your Arlo camera may seem like a straightforward process, but there may be instances where you encounter technical difficulties or need further assistance. In such cases, it’s best to seek help from a professional. You can contact Arlo customer support for any questions or concerns regarding your camera setup and operation.
They have trained experts who can guide you through the process and troubleshoot any issues you may encounter. Additionally, they can also provide recommendations on the best placement for your camera to ensure maximum coverage and security.
Don’t hesitate to reach out for help if needed – it’s better to have a properly functioning Arlo camera than one that’s not set up correctly. So, don’t be afraid to ask for assistance when setting up your Arlo camera for the first time. It’s always better to be safe than sorry!
Tips for Maintaining Arlo Cameras
Once your Arlo camera is set up and running, you need to maintain it regularly to ensure optimal performance. Here are some tips for maintaining your Arlo camera:
Check for Firmware Updates:
Make sure to regularly check for any firmware updates for your camera and install them when available. These updates can improve the camera’s functionality, fix bugs, and enhance its security features.
Keep the Camera Lens Clean:
Dirt, dust, and other debris can accumulate on your camera’s lens over time, affecting its image quality. Regularly wiping the lens with a soft cloth can help maintain clear visibility.
Replace Batteries or Charge Regularly:
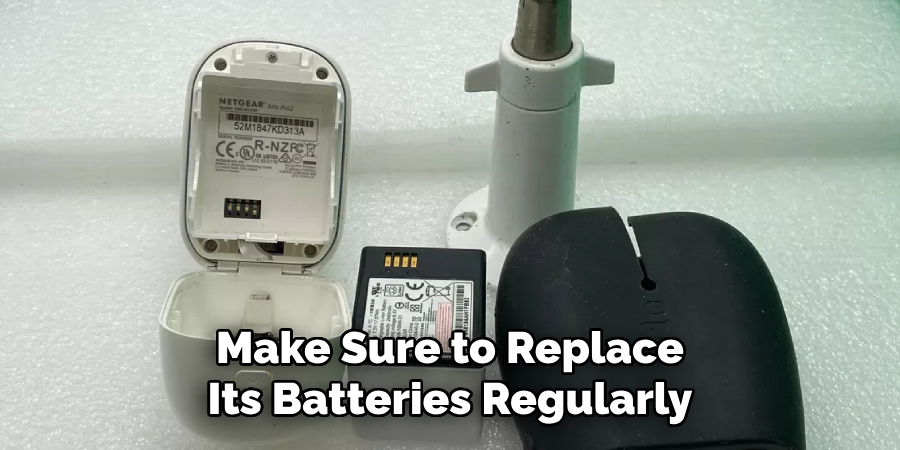
If you have an Arlo wireless camera, make sure to replace its batteries regularly or charge them when needed. A low battery can affect the camera’s performance and lead to connectivity issues.
Monitor Wi-Fi Signal Strength:
Keep an eye on your camera’s Wi-Fi signal strength, as a weak connection can cause disruptions in live streaming or recording. Consider using a Wi-Fi extender if necessary to improve the signal strength in areas with poor coverage.
Check for Obstructions:
Regularly check for any obstructions that may block your camera’s view, such as tree branches or other objects. Adjust the camera’s position if needed to ensure it has a clear line of sight.
Following these tips can help maintain your Arlo camera and ensure its continuous and reliable performance. Remember to also regularly review your app’s settings and customize them according to your preferences and needs.
By properly maintaining your Arlo camera, you can rest assured that it will always be ready to protect your home or business. So, don’t forget to check on your camera’s maintenance needs regularly!
Frequently Asked Questions
Q: How Long Do the Batteries Last on Arlo Cameras?
A: The battery life of Arlo cameras varies depending on usage and environmental factors. In general, the batteries can last anywhere from 3-6 months before needing to be replaced or recharged. It’s recommended to keep spare batteries on hand for quick replacements, especially for outdoor cameras that may be exposed to extreme weather conditions.
Q: Can I Use Arlo Cameras Without Wi-Fi?
A: No, Arlo cameras require a stable internet connection to function properly. They use Wi-Fi to transmit data and connect to the Arlo app for remote access and notifications. If you don’t have W-fi, you can use an Ethernet cable to connect your camera directly to a router or access point. However, this may limit some features, such as remote viewing and notifications.
Q: Can I Add Multiple Cameras to One Arlo Account?
A: Yes, you can add multiple cameras to one Arlo account for easier management and monitoring. The app allows you to switch between cameras and view live feeds from each one. You can also add multiple users to your account, making it easier for family members or coworkers to access the cameras.
Q: Can I Use Arlo Cameras Outdoors?
A: Yes, all Arlo cameras are weather-resistant and designed for both indoor and outdoor use. However, it’s essential to follow the manufacturer’s guidelines for proper placement and protection from extreme weather conditions. It’s also recommended to use a weatherproof casing or cover for added durability and protection against rain, snow, or sun exposure.
Q: How Do I Change the Battery in My Arlo Camera?
A: To change the battery in your Arlo camera, remove it from the mount and open the battery compartment. Carefully slide out the old batteries and replace them with new ones. Make sure to follow any specific instructions for your camera model and use only compatible batteries recommended by Arlo.
Conclusion
That wraps up the process of turning on your Arlo camera. By following the straightforward steps outlined in this guide, you should have your camera up and running in no time, reinforcing the security of your environment. Remember to regularly check for firmware updates to keep your camera’s performance optimal and use the Arlo app to customize settings and monitor your feed from anywhere.
With your Arlo camera now powered and active, you can enjoy greater peace of mind knowing that you have a reliable set of eyes on your property whenever you need it. Thanks for reading this article on how to turn arlo camera on.
About
Safety Fic is a distinguished figure in the world of Diy design, with a decade of expertise creating innovative and sustainable Diy solutions. His professional focus lies in merging traditional craftsmanship with modern manufacturing techniques, fostering designs that are both practical and environmentally conscious. As the author of diy, Safety Fic delves into the art and science of Safety Fic-making, inspiring artisans and industry professionals alike.
Education RMIT University
(Melbourne, Australia) Associate Degree in Design (Safety Fic) Focus on sustainable design, industry-driven projects, and practical craftsmanship. Gained hands-on experience with traditional and digital manufacturing tools, such as CAD and CNC software.
Nottingham Trent University
(United Kingdom) Bachelor’s in diyfastly.com and Product Design (Honors) Specialized in product design with a focus on blending creativity with production techniques. Participated in industry projects, working with companies like John Lewis and Vitsoe to gain real-world insights.
Publications and Impact
In diy, Safety Fic his insights on indoor design processes, materials, and strategies for efficient production. His writing bridges the gap between artisan knowledge and modern industry needs, making it a must-read for both budding designers and seasoned professionals.