

Do you need help with your Blink home security camera? Do you find yourself clicking through multiple menus just to turn off the notifications for one room? Don’t worry – it can be done.
Blink camera on the app has a few different settings and options you can choose from, so it’s important to know exactly how to navigate the app to turn off your camera. In this guide, we’ll walk you through the steps on how to turn off blink camera on app.
Today, we’ll look at how simple it is to adjust your settings to silence any pesky alerts. With these tips from the experts, you’ll be able to quickly and effectively shut down those unnecessary notifications that seem to keep coming back repeatedly!
What are the Benefits of Turning Off Your Blink Camera?
Before we dive into the steps to turn off your blink camera on the app, let’s quickly discuss why you might want to do this in the first place.
- Save Battery Life: By turning off your camera completely, you can save battery life for when you actually need it.
- Avoid Distraction: Constant notifications from your Blink camera can distract and interrupt your daily routine. Turning off the camera allows you to focus on other tasks without interruption.
- Privacy: If you have a camera in a private area of your home, turn it off when not needed for added privacy.
Now, let’s get to the main event – how to turn off the blink camera on the app!
What Will You Need?
Before we dive into the steps, you will need a few things. These are the following:
- A smartphone or tablet with the Blink app installed
- Your login credentials for the app
- Access to the camera you want to turn off
If you have all these things, let’s turn off your Blink camera on the app.
10 Easy Steps on How to Turn Off Blink Camera on App
Step 1. Open the Blink App:
Start by opening the Blink App on your smartphone or tablet. Locate the app icon, which is typically a blue square with a white, stylized “B” in the center. Tap on the icon to open the app, and you’ll be greeted with the home screen. From here, you’ll be able to access the camera settings.

Step 2. Log In to Your Account:
Upon opening the app, you will be prompted to log in. Enter your username and password in the respective fields. You might be automatically logged in if you’ve previously chosen to remember your login details. Once logged in, you’ll see a list of your Blink cameras on the main dashboard. Choose the camera you wish to turn off.
Step 3. Select the Camera:
From your app main dashboard, you will see a list of all your Blink cameras. Scroll through until you find the camera that you wish to turn off. Once you identify the camera, click on its thumbnail to open its specific settings.
This will bring you to a new screen, where you will see various options for managing that specific camera’s settings. Make sure to verify you are managing the correct camera, especially if you have multiple cameras set up.
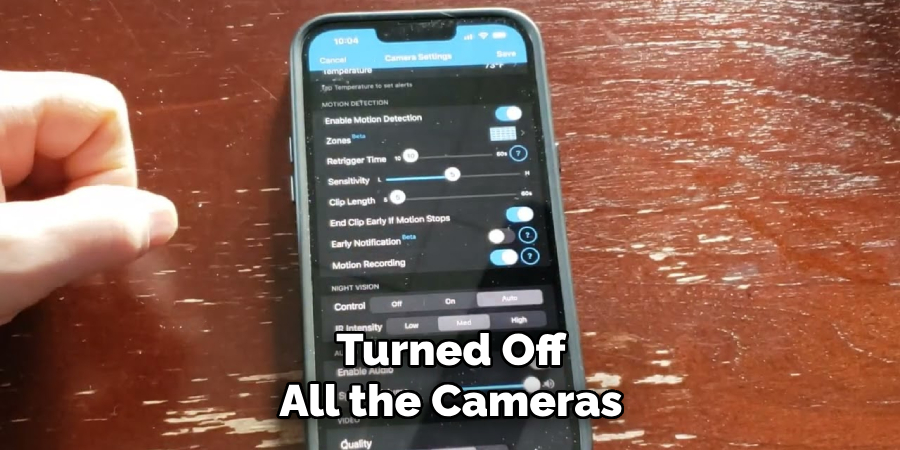
Step 4. Access Camera Settings:
In the camera-specific settings screen, look for a menu option or icon representing “settings” or “preferences.” This could be represented by a gear icon or simply labeled as “settings.” Tap on this to access the camera’s settings, where you can manage its capabilities, including the option to turn it off.
Step 5. Turn Off Camera:
Once you’ve accessed the camera settings, look for an option that says “enable/disable” or something similar. If available, switch this to the off position and confirm any prompts that appear. This will effectively turn off your Blink camera.
Step 6. Confirm Turning Off:
After making changes to your settings, it’s always a good idea to double check and confirm that the changes have been applied. This can be done by looking for any indicators or notifications showing your camera is turned off. Try also triggering the camera to see if it responds.
Step 7. Return to Main Dashboard:
After confirming that your camera is turned off, navigate to the main dashboard using the back button or swipe gesture, depending on your device. Returning to the main dashboard after making changes is essential, as some apps require this step to implement your changes fully.
Additionally, if you have multiple cameras, returning to the main dashboard is important to select the next camera you wish to turn off.
Step 8. Repeat for Other Cameras:
If you have multiple Blink cameras that you want to turn off, you’ll need to repeat the process for each one. Go to the main dashboard, select the next camera, access its settings, turn it off, and confirm. Remember to choose the correct camera each time to avoid turning off a camera unintentionally.
Step 9. Check the App:
Once you have turned off all the cameras you wanted to, it’s a good idea to navigate around the app and ensure everything is as it should be. Check that no cameras are turned on unintentionally and that the app functions correctly. Be careful not to switch on any cameras by mistake while navigating through the app.
Step 10. Close the App:
Finally, once you’re satisfied with your settings, you can close the Blink app. Rest assured, the settings you’ve changed will be saved, and your cameras will remain off until you turn them back on. You have successfully turned off your Blink camera(s) using the app.
Following these simple steps, you can easily turn off your Blink camera on the app and avoid unwanted notifications. Remember to double check your settings and ensure you manage the correct camera before making any changes.
5 Additional Tips and Tricks
- Check the Camera Settings Regularly: It’s essential to check the settings of your Blink camera regularly. This helps ensure the settings are set according to your needs and preferences.
- Ensure the Camera is Updated: Make sure your Blink camera is up-to-date. This improves the performance, adds new features, and fixes any potential bugs.
- Optimize the Camera Placement: The location of your camera can greatly affect its effectiveness. Try to place it in a high, unobstructed area for the best view.
- Use the Scheduling Feature: The Blink app allows you to schedule when the camera is active. This can help preserve battery life and minimize unnecessary alerts.
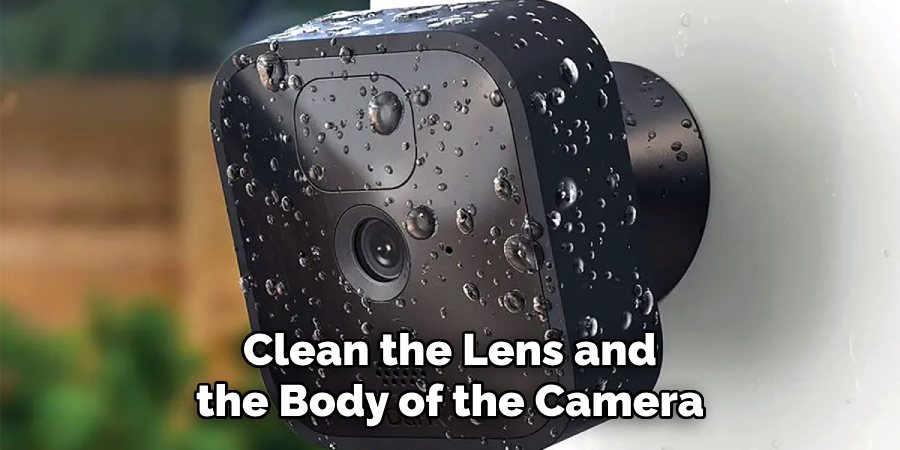
- Maintain the Camera: Regular camera maintenance is necessary for its longevity and performance. Clean the lens and the body of the camera with a soft cloth to keep it dust-free.
With these additional tips and tricks, you can optimize the use of your Blink camera and ensure it is functioning at its best.
5 Things You Should Avoid
- Avoid Overlooking Privacy Settings: Be sure to understand and manage the privacy settings of your Blink camera. Never overlook these settings, as they can protect your personal space from unwanted intrusions.
- Don’t Ignore the Blink Camera App Notifications: These notifications can alert you to potential security risks. Ignoring them might result in missed important events or suspicious activities.
- Avoid Placing the Camera in Direct Sunlight: Prolonged exposure to direct sunlight can damage the camera’s sensor and reduce its lifespan. Always make sure your camera is placed in a sheltered location.
- Don’t Depend Solely on Battery Power: Although Blink cameras are designed to be battery-powered, frequent usage or cold weather can deplete the batteries quickly. Have a backup power source or check the battery level regularly.
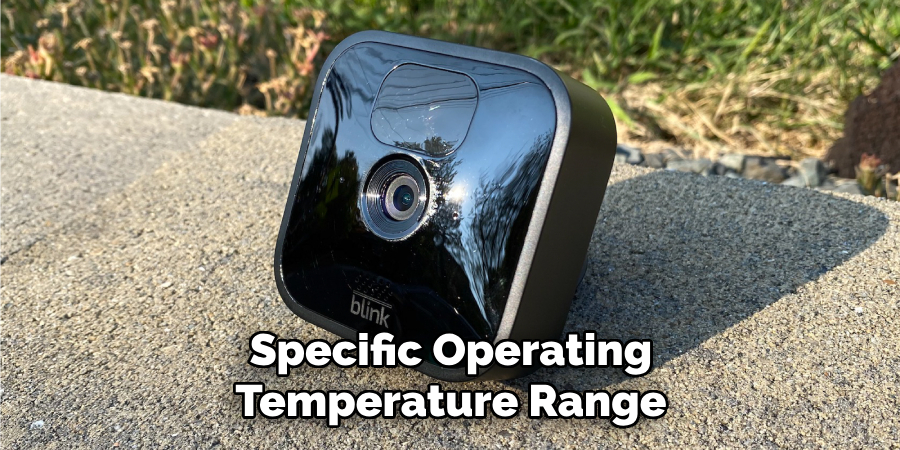
- Don’t Use the Camera Outside its Operating Temperature Range: Each Blink camera has a specific operating temperature range. Using it outside this range can cause damage and void the warranty. Always check the manufacturer’s guidelines before installing the camera.
By avoiding these common mistakes, you can ensure that your Blink camera functions optimally and provides the best security for your home. Remember to always check the app for updates and settings and regularly maintain the camera for its longevity.
What Happens When Blink Goes Offline?
Your Blink camera may occasionally go offline due to power outages or network connectivity problems. The app will display a “camera is offline” message in such situations. Don’t panic; here’s what you can do:
- Check the Power Source: If you have battery-powered cameras, make sure they’re charged and functioning correctly. For wired cameras, ensure that the power source is working.
- Check Network Connectivity: Make sure your camera is connected to a stable Wi-Fi network. If the network signal is weak, move the camera closer to the router or install a Wi-Fi extender.
- Power Cycle the Camera: Sometimes, simply turning off and on the camera can solve connectivity issues. Unplug the camera from its power source, wait for a few seconds, and plug it back in.
- Restart the App: Sometimes, the app itself may be experiencing connectivity issues. Close and reopen the app to see if your camera reconnects.
If none of these steps work, contact Blink’s customer support for further assistance. Remember that occasional connectivity problems can happen with any device, and it’s not a cause for concern unless it happens frequently. Following these steps, you can quickly get your Blink camera back online and continue enjoying its security features.
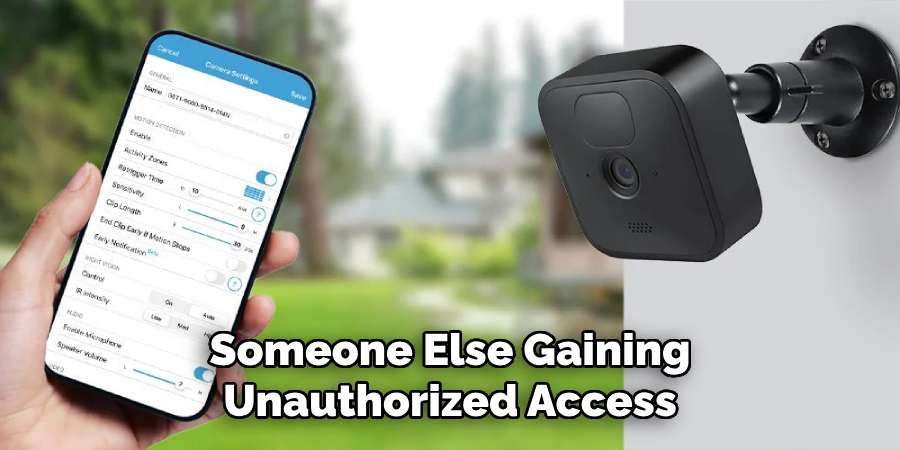
Can Someone Else Access Your Blink Camera?
One common concern when using any security camera is the risk of someone else gaining unauthorized access. This is a valid concern, as hackers and cybercriminals always find new ways to exploit technology. However, you can minimize this risk with proper precautions and following best practices.
Blink cameras use advanced encryption methods to protect your footage from being accessed by anyone without proper credentials. Additionally, the Blink app requires a secure login method, such as a password or biometric authentication, to access your camera settings.
To further enhance security, you can enable 2-factor authentication and regularly change your login credentials. This ensures that even if someone manages to obtain your login information, they still need additional verification to access your camera.
Following these steps and being vigilant with your camera’s security can greatly reduce the risk of someone else accessing it without your permission. As always, be cautious when sharing any sensitive information, including login details for your Blink app, with others.
Conclusion
It is essential to understand how to turn off blink camera on app. It is a great feature that can help you keep your home safe from intruders and keep an eye on anyone who enters while you’re away.
Taking the steps above to turn off the blink camera will ensure you’re safe and secure in your home. As always, contact customer service if you have any questions or need assistance with turning off the blink camera. Don’t let safety be an issue – make it a priority so that your home stays secure no matter what.
Hopefully, the article has helped you understand the process better. Remember always to stay updated with your Blink camera’s latest features and settings for optimal performance. Happy protecting! So, if you want to keep your home secure while also having peace of mind, be sure to follow these tips and tricks when using your Blink camera app.
Thank you for taking the time to read about turning off the blinking camera on app and stay safe!
About
Safety Fic is a distinguished figure in the world of Diy design, with a decade of expertise creating innovative and sustainable Diy solutions. His professional focus lies in merging traditional craftsmanship with modern manufacturing techniques, fostering designs that are both practical and environmentally conscious. As the author of diy, Safety Fic delves into the art and science of Safety Fic-making, inspiring artisans and industry professionals alike.
Education RMIT University
(Melbourne, Australia) Associate Degree in Design (Safety Fic) Focus on sustainable design, industry-driven projects, and practical craftsmanship. Gained hands-on experience with traditional and digital manufacturing tools, such as CAD and CNC software.
Nottingham Trent University
(United Kingdom) Bachelor’s in diyfastly.com and Product Design (Honors) Specialized in product design with a focus on blending creativity with production techniques. Participated in industry projects, working with companies like John Lewis and Vitsoe to gain real-world insights.
Publications and Impact
In diy, Safety Fic his insights on indoor design processes, materials, and strategies for efficient production. His writing bridges the gap between artisan knowledge and modern industry needs, making it a must-read for both budding designers and seasoned professionals.