Understanding the lock button feature on a garage door opener is crucial for maintaining security and convenience in your home.
The lock button is designed to enhance the safety of your garage by disabling remote controls and preventing unauthorized access or accidental opening. This feature is particularly useful when you’re away from home for an extended period or want to ensure your garage door remains securely closed.
Common scenarios where the lock button might be used include securing the garage for the night, during vacations, or preventing children from accidentally operating the door.
In this guide, we will walk you through the process of how to turn off lock button on garage door opener, ensuring you can regain functionality and control over your garage door system with ease.
Following these steps will help you manage your garage door opener efficiently and maintain optimal security.
Understanding the Lock Button Feature
Purpose of the Lock Button
The lock button on a garage door opener is a critical security feature designed to protect your property. Its primary function is temporarily disabling all remote controls, ensuring the garage door cannot be opened remotely.
This is particularly beneficial when you are away from home for an extended period or wish to prevent unauthorized access.
The lock button effectively reduces the risk of break-ins and accidental openings by deactivating the remote functionality. Additionally, it provides peace of mind by ensuring that children or unintended individuals cannot operate the garage door without supervision.
Identifying the Lock Button
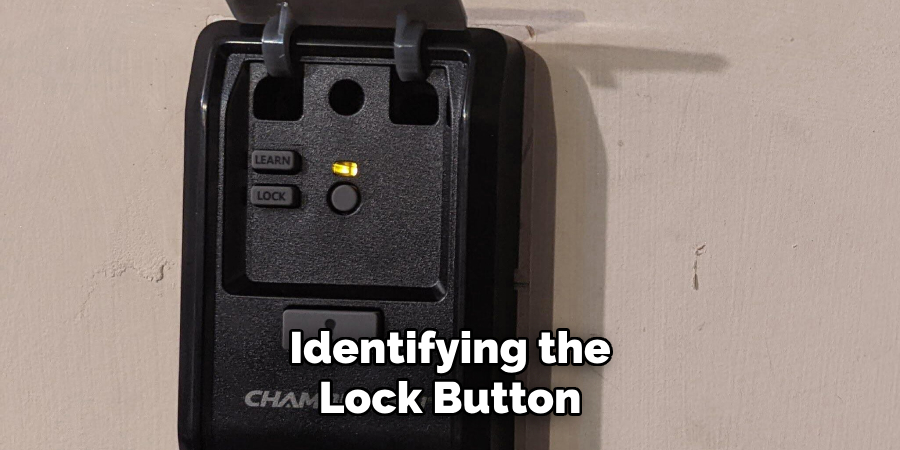
The lock button’s location can vary depending on the model of your garage door opener. Typically, it is found on the wall control panel where you manually operate the garage door.
In some models, the lock button may also be integrated into the remote control device. To further assist in identifying the lock button, most models feature a lock indicator, such as a small LED light or display, which illuminates when the lock function is activated.
Recognizing these indicators can help you quickly determine whether the lock feature is engaged and ensure your garage door opener functions as intended.
How to Turn Off Lock Button on Garage Door Opener: Steps to Turn Off the Lock Button
Locating the Lock Button
Finding the lock button on your garage door opener system is the first step to regaining control over your garage door. Start by inspecting your garage door opener’s wall control panel, as this is the most common location for the lock button.
The wall control panel is typically mounted on the wall adjacent to the garage door entrance or inside the garage near the entrance to the home.
Look for a button labeled “Lock” or “Vacation” and an accompanying indicator, such as an LED light. In some models, the button might be represented by a padlock symbol.
Check your remote control device if you cannot locate the lock button on the wall control panel. Some advanced models integrate the lock feature into the remote control. Refer to the remote’s user guide or inspect the remote for any buttons marked with “Lock” or a similar identifier.
Always refer to your garage door opener’s user manual for model-specific instructions. The manual will provide detailed diagrams and explanations tailored to your specific model, ensuring you correctly identify the lock button and understand its functionality.
Disabling the Lock Button on the Wall Control Panel
Once you have located the lock button on your wall control panel, disabling it is straightforward. Press and hold the lock button for a few seconds, usually 5 to 10 seconds.
You should observe changes in the indicator light or display, confirming that the lock button is deactivated. For instance, if the indicator light was illuminated to signify that the lock function was active, it should turn off once the button is successfully disabled.
It’s essential to closely monitor the changes in the display or indicator light. If the light does not turn off or the display does not change, attempt pressing and holding the lock button again, ensuring you maintain consistent pressure.
Some models might play an audible beep to indicate the change in status, so listen for any sound cues as well.
Turning Off the Lock Button Using the Remote
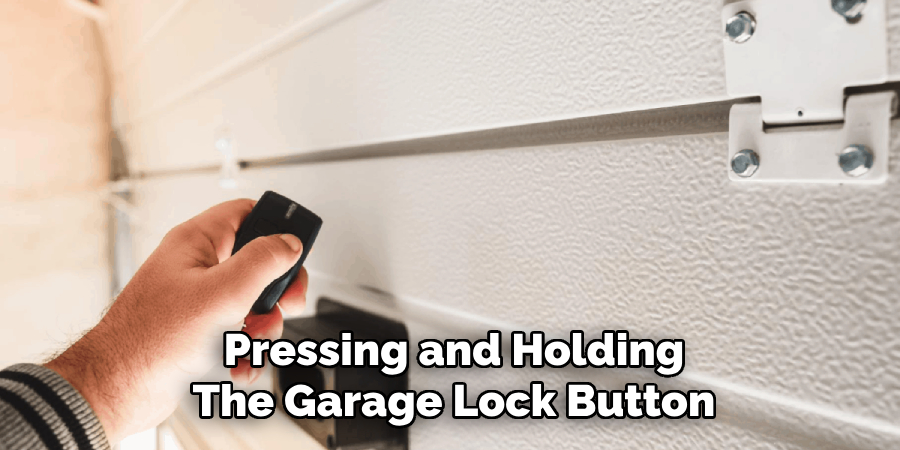
In cases where the lock button is integrated into the remote control, disabling it from the remote is the next step. Begin by pressing and holding the lock button on the remote device.
Similar to the wall control method, deactivating the lock function should take a few seconds. During this process, pay attention to any indicators on the remote, such as a light or display, that may signal the status change.
After attempting to deactivate the lock button through the remote, synchronize the remote with the garage door opener to confirm the changes. This can be done by pressing the main button on the remote to operate the garage door opener.
If the garage door responds to the command, the lock feature has been successfully turned off. If there is no response, refer to the user manual for additional troubleshooting steps, such as reprogramming the remote or replacing batteries.
Verifying the Lock Button Status
Testing your garage door opener is critical to ensure the lock button is turned off and that the garage door system is functioning correctly.
After deactivating the lock button, either through the wall control panel or remote, operate the garage door using the remote control or wall button. If the door opens and closes smoothly without any hitches, the lock button has been successfully turned off.
In case the garage door does not respond, you may need to troubleshoot further. Begin by resetting the garage door opener system, usually achieved by unplugging the unit and then plugging it back in.
This can reset any electronic glitches that may have occurred. Additionally, inspect the batteries in your remote control and replace them if necessary, as weak or dead batteries can impede proper functioning.
Should these steps fail to deactivate the lock button or if you encounter persistent issues, consult your garage door opener’s user manual for model-specific troubleshooting tips or consider contacting a professional for further assistance.
Professional Help and Support
When to Consider Calling a Professional for Assistance
If you encounter persistent issues with your garage door opener that cannot be resolved through basic troubleshooting, it is advisable to seek professional help.
Persistent lock button malfunctions, unresponsive garage door openers, and complex repairs related to electronic components or safety mechanisms are all situations where professional expertise is valuable.
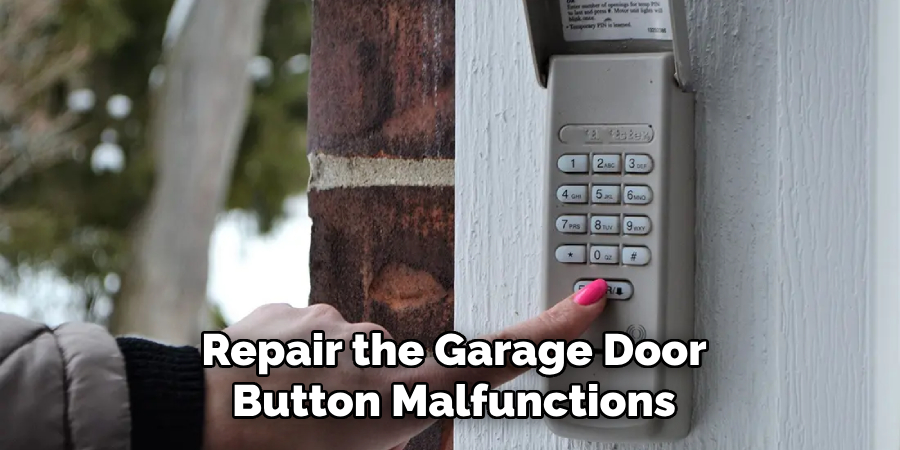
Additionally, if you lack confidence in performing electrical work or troubleshooting intricate systems, a professional can ensure the job is done safely and correctly.
Typical Services Offered by Garage Door Professionals
Garage door professionals offer various services, including diagnostic assessments, repairs, and maintenance. They can handle complex tasks such as reprogramming remote controls, replacing faulty components, and resetting lock functions.Regular maintenance services include inspecting and lubricating moving parts, aligning tracks, and tightening loose fixtures, contributing to your garage door system’s longevity and smooth operation.
Costs and Time Involved in Professional Assistance
The cost of professional assistance varies depending on the complexity of the issue, the required parts, and the service provider’s rates.
Basic repair services may start at around $75-$100, while more complex repairs or component replacements could range from $150 to $300 or more. Maintenance services typically fall within $100 to $150.
Time-wise, most professional repairs and services can be completed within a few hours, though some intricate or extensive repairs might take a full day. Always request a detailed estimate from your service provider to avoid surprises and ensure transparency.
Preventive Measures and Tips
Regular maintenance and testing can significantly reduce the chances of encountering issues with your garage door opener’s lock feature.
Firstly, it is advisable to regularly test the lock button functionality to ensure it operates properly. Conducting these tests occasionally will help you catch any potential problems early on.
Keeping the user manual accessible is another critical measure. The manual contains essential instructions and troubleshooting tips specific to your model, making it invaluable for resolving issues swiftly and accurately.
Periodically updating the garage door opener system is equally important. Manufacturers often release updates that enhance security and performance. Installing these updates ensures that your system remains secure against emerging threats and functions optimally.
By adhering to these preventive measures and tips, you can maintain a safe and reliable garage door opener system, minimizing the need for professional interventions.
Conclusion
In conclusion, understanding how to turn off lock button on garage door opener is essential for maintaining smooth operation and avoiding unnecessary disruptions. The main steps involve using the wall control panel and the remote control and verifying the lock status.
Ensure that you press and hold the appropriate buttons for a few seconds and listen for any audio or visual cues indicating the status change.
Safety is paramount when dealing with your garage door opener system, so always follow the manufacturer’s guidelines and handle components carefully to avoid injury or further damage.
Regular maintenance and testing are crucial to prevent similar issues from occurring in the future. Keeping your user manual accessible, periodically updating the system, and conducting routine checks will help maintain a safe and reliable garage door opener.
By incorporating these preventive measures, you can ensure long-term efficiency and security for your garage door system.
About
Safety Fic is a distinguished figure in the world of Diy design, with a decade of expertise creating innovative and sustainable Diy solutions. His professional focus lies in merging traditional craftsmanship with modern manufacturing techniques, fostering designs that are both practical and environmentally conscious. As the author of diy, Safety Fic delves into the art and science of Safety Fic-making, inspiring artisans and industry professionals alike.
Education RMIT University
(Melbourne, Australia) Associate Degree in Design (Safety Fic) Focus on sustainable design, industry-driven projects, and practical craftsmanship. Gained hands-on experience with traditional and digital manufacturing tools, such as CAD and CNC software.
Nottingham Trent University
(United Kingdom) Bachelor’s in diyfastly.com and Product Design (Honors) Specialized in product design with a focus on blending creativity with production techniques. Participated in industry projects, working with companies like John Lewis and Vitsoe to gain real-world insights.
Publications and Impact
In diy, Safety Fic his insights on indoor design processes, materials, and strategies for efficient production. His writing bridges the gap between artisan knowledge and modern industry needs, making it a must-read for both budding designers and seasoned professionals.
