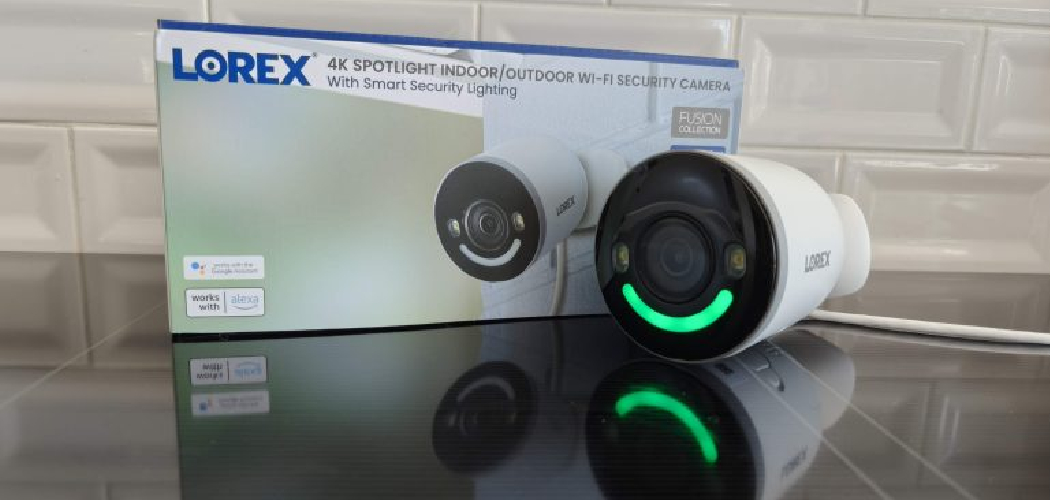
Security cameras, like those offered by Lorex, play a critical role in keeping your property safe, but there may be instances when you need to deactivate them. Whether you’re performing maintenance, troubleshooting a technical issue, or temporarily turning them off for privacy reasons, understanding the process is crucial.
Learning how to turn off Lorex security cameras effectively ensures you can handle your system confidently without causing disruptions or damage.
While Lorex cameras are designed for continuous operation, they offer several ways to shut them down, including through settings, remote access, or power disconnection. If you’ve never turned off a security camera before, rest assured—this guide walks you through every step, making it a straightforward task. With the right approach, disabling your Lorex camera temporarily can be safe, quick, and hassle-free.
Why Do You Need to Know How to Turn Off Lorex Security Cameras?
Whether you’re a homeowner or a business owner, there are valid reasons to familiarize yourself with the process of disabling security cameras. For instance, you might need to power down your Lorex cameras during routine maintenance, like cleaning the lens or updating the firmware. Knowing how to turn off Lorex security cameras can prevent you from accidentally disrupting the system or damaging its components.
Turning off the cameras can also be essential for troubleshooting. If your system encounters technical glitches, such as connectivity issues or frozen feeds, rebooting a camera might resolve the problem. Additionally, it’s helpful to know how to deactivate your cameras to enforce privacy when hosting guests or conducting personal activities in monitored areas.
Finally, knowing the right way to turn off Lorex security cameras ensures that you do it without risking damage to the hardware or software. Mishandling these devices can lead to costly repairs or cause the entire system to malfunction. This knowledge equips you with the confidence to manage your security system effectively while preserving its longevity.
Step-by-Step Guide: How to Turn Off Lorex Security Cameras
Step 1: Access the Camera Settings
The most direct method to disable a Lorex security camera is through its settings menu. If your Lorex cameras are connected to a DVR (digital video recorder) or NVR (network video recorder), begin by accessing the main menu on your system. Using the included remote or touchscreen control, locate the settings option.
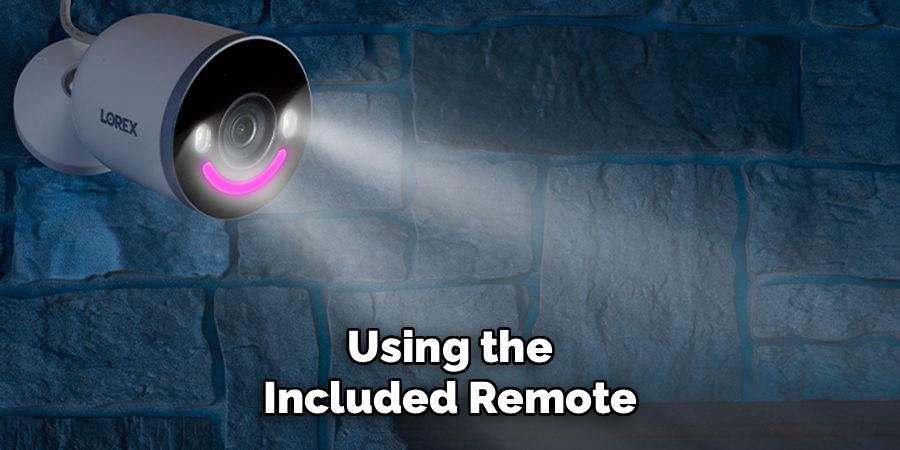
Within the settings menu, you’ll find camera management tools, including options for disabling individual cameras or adjusting their activity schedules. Select the camera you wish to turn off and follow the on-screen instructions to deactivate it. Adjusting the settings is an efficient way to maintain control over specific cameras, especially when remote access might not be available.
Step 2: Use the Lorex Mobile App
Another convenient method is through the Lorex mobile app, which offers device management features for users on the go. Start by opening the app on your smartphone or tablet and logging in with your credentials. Navigate to the live view section, where your connected cameras are displayed.
Select the specific camera you want to disable, then look for a toggle or button that allows you to deactivate it temporarily. Some models also include scheduling functions in the app, enabling you to set specific timeframes for activity. Using the mobile app to manage your cameras ensures you retain full flexibility, even if you’re away from home.
Step 3: Disconnect the Power Supply
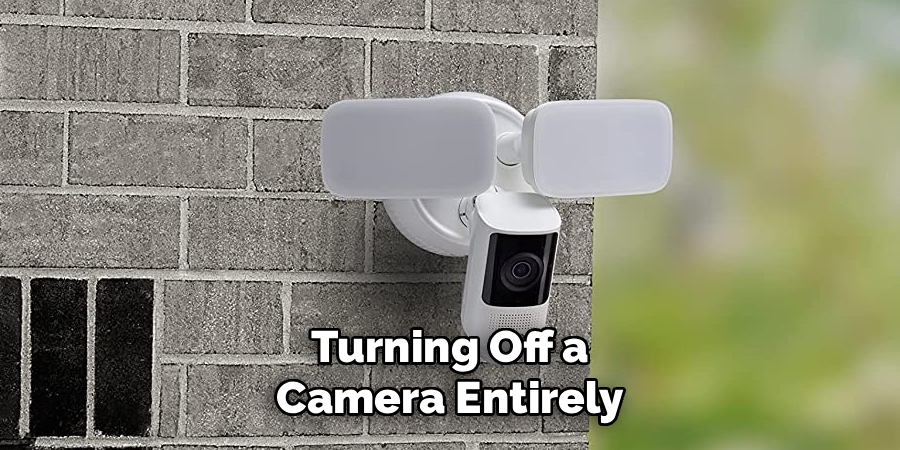
If accessing settings or the mobile app isn’t an option, directly cutting the power supply is another effective approach. Locate the power cable connected to the camera and unplug it from either the device or the wall outlet. Wireless cameras may require you to remove or disconnect the batteries instead.
Ensure you handle the power components carefully to prevent cable wear or damage to connectors. Once disconnected, the camera will power down immediately. Use this method only when no other options are available, as frequent disconnection can wear out power components over time.
Step 4: Disable the Entire System
If you want to turn off multiple cameras at once, consider shutting down the entire Lorex security system. This can be done by turning off the DVR or NVR, which serves as the central hub for all connected cameras. Locate the power source for the recorder and switch it off or unplug it to stop both video recording and streaming.
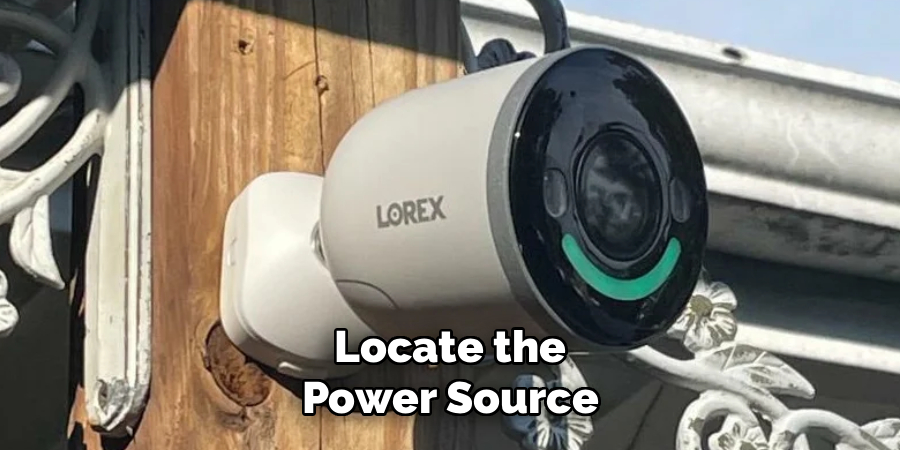
Keep in mind that disabling the entire system will leave all cameras offline, so it’s best reserved for situations where temporary shutdowns are necessary. Shutting down the system provides a comprehensive solution when handling broad maintenance tasks or updating multiple devices simultaneously.
Step 5: Use Privacy Mode
Certain Lorex models come with a privacy mode feature designed for quick and temporary camera deactivation. This feature is often accessible through the mobile app or the DVR/NVR interface. By enabling privacy mode, you pause the camera’s live stream and recording functions without physically powering down the device.
This mode is ideal for users who want to resume camera activity at a moment’s notice. Once you deactivate privacy mode, the camera will automatically resume normal operation. Using this built-in feature is a convenient way to manage cameras without disrupting the system entirely.
Step 6: Restart for Quick Maintenance
If you’re disabling your cameras purely for troubleshooting, performing a system restart is often sufficient. Locate the restart option in your camera’s management system or on the DVR/NVR. Restarting temporarily turns off and reactivates the camera, resolving potential bugs or performance lags.
This step allows you to quickly resolve connection or functionality issues without going through a complete shutdown. Restarting should be part of your routine troubleshooting process whenever technical difficulties arise.
Step 7: Check Remote Access Options
For users who manage their system remotely, accessing the cameras through a web portal or a cloud-based interface is an accessible option. Log in to your Lorex account using your computer or mobile browser, and locate the device management section. Many systems allow you to control camera functions remotely, including turning them off.
Remote access ensures you can adjust your cameras even when you’re far from home. Understanding these options provides added flexibility, especially for frequent travelers or property managers monitoring multiple locations.
Step 8: Adjust Recording Schedules
Sometimes, turning off a camera entirely may not be necessary. Instead, consider adjusting the recording schedule. Access the scheduling tool in your Lorex system to control when each camera is active. For example, you can set the camera to remain off during specific hours while enabling it the rest of the day.
This method is particularly useful for managing privacy or reducing disk space usage for non-essential recordings. Scheduling empowers you to maintain control without the need for frequent manual interventions, resulting in a seamless user experience.
Step 9: Test the System
After turning off your Lorex security cameras, it’s a good idea to test the system to ensure everything is functioning as expected. Check for lights or indicators on the camera to confirm it’s powered down. If privacy mode or settings adjustments were used, verify that the changes are reflected in the live feed or recording status.
Regular testing prevents unforeseen issues and gives you confidence that your adjustments were successful. It also helps identify if additional steps or troubleshooting may be required. Testing your system ensures a consistent and dependable experience whenever you disable your cameras.
Common Troubleshooting Issues
When managing security cameras, several common troubleshooting issues may arise. One prevalent problem is connectivity issues, which can disrupt the camera’s live feed or recordings. These are often caused by weak Wi-Fi signals, incorrect network settings, or interference from other devices.
Another frequent issue is power supply disruptions, which can result in cameras turning off unexpectedly. Ensuring that power cables are securely connected and testing backup power options can help address this.
Image quality problems, such as blurry or overly dark footage, are also common. These can be resolved by cleaning the camera lens, adjusting focus settings, or modifying the lighting around the camera’s location. Additionally, software glitches, including firmware bugs or outdated applications, may prevent proper functionality. Regular updates to both the camera firmware and associated apps can mitigate these issues.
If motion detection is not working correctly, check sensitivity settings, reconfigure motion zones, or inspect whether environmental factors, like moving shadows, are triggering false alerts. By addressing these common problems, you can ensure your cameras operate effectively and provide the security you expect.
Frequently Asked Questions
Can I turn off specific cameras without affecting the entire system?
Yes, Lorex systems allow individual cameras to be turned off via the settings menu or mobile app. This feature enables you to deactivate specific devices without interrupting other security components.
What’s the fastest way to turn off all Lorex cameras?
The quickest method is to power down the DVR/NVR, effectively disabling all connected cameras. Alternatively, some systems offer a master control via the app or web interface.
Does turning off the camera prevent it from recording?
Yes, turning off a Lorex camera halts both live streaming and recording. To resume activity, ensure the camera is powered back on or removed from privacy mode.
Will turning off a Lorex camera void its warranty?
No, following the manufacturer’s guidelines for powering down cameras will not void the warranty. Mishandling components or causing damage might affect coverage, so always operate devices as instructed.
Can I adjust camera settings remotely?
Yes, Lorex cameras can be managed remotely through the mobile app or a web browser. This functionality allows you to turn off cameras, enable privacy mode, or modify recording schedules from anywhere.
Conclusion
Knowing how to turn off Lorex security cameras ensures you have full control over your system for maintenance, troubleshooting, or privacy management. Whether you’re disconnecting the power, adjusting settings, or utilizing privacy mode, the process is straightforward with the right knowledge.
Having the ability to manage your cameras confidently enables flexibility and fosters long-term system efficiency. Take the first step to mastering your security setup today and enjoy the convenience of a customizable, user-friendly experience!

