Are you tired of waking up in the middle of the night to your car alarm going off for no apparent reason? You may want to disable your Viper alarm system because it’s causing too many false alarms.

Viper alarm systems are designed to provide top-notch security for your vehicle, but there may be times when you need to turn them off. Whether you’re troubleshooting an issue, replacing the system, or simply switching it off temporarily, knowing how to deactivate your Viper alarm properly is crucial.
This guide on how to turn off viper alarm system will walk you through the steps to safely and effectively turn off your Viper alarm system, ensuring both convenience and the continued protection of your vehicle.
What Are the Causes of a Viper Alarm Going Off?
Viper alarm systems are equipped with various sensors to detect and trigger the alarm when certain events occur. These events include intrusion, attempted theft, or unauthorized entry into the vehicle. However, some common causes of false alarms may have you wanting to turn off your Viper alarm system. Some of these causes include:
- Environmental Factors: Extreme temperatures, high winds, or even nearby construction can cause vibrations that may trigger the alarm.
- Faulty Sensors: Over time, the sensors in your Viper alarm system may become worn out or damaged, causing them to malfunction and trigger false alarms.
- Low Battery: If your car’s battery is running low, it may cause the alarm system to malfunction and trigger false alarms.
- User Error: Sometimes, forgetting to disarm the alarm when unlocking or opening the car door can lead to a false alarm.
These are just a few common causes of false alarms in Viper alarm systems. If you’re experiencing frequent false alarms, it may be time to troubleshoot or deactivate your system.
What Will You Need?
Before proceeding with turning off your Viper alarm system, make sure you have the following items on hand:
- Car Owner’s Manual: This will provide specific instructions for deactivating your particular model of Viper alarm system.
- Vehicle Key: You’ll need to use this to access and start your car once the alarm has been deactivated.
- Remote Control (Optional): If you have a Viper remote control, it can disarm the alarm instead of using your key.
Once you have these items ready, you can begin turning off your Viper alarm system.
8 Easy Steps on How to Turn Off Viper Alarm System
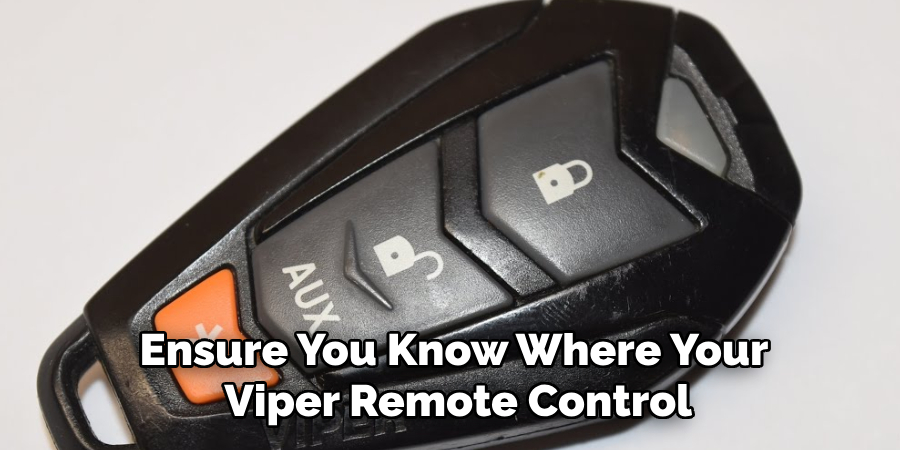
Step 1. Locate Your Remote Control or Car Key:

Before proceeding, ensure you know where your Viper remote control or car key is located. The remote control is typically the quickest way to disarm the alarm system, so ensure it is fully functional and within reach. If you do not have access to the remote control or if it isn’t working, your car key will be essential. Familiarize yourself with any buttons or sequences involved in using either of these to interact with the alarm system. This step ensures that you are well-prepared to move forward without unnecessary interruptions.
Step 2. Unlock the Driver’s Side Door
Unlocking the driver’s side door manually can effectively disarm a car alarm, especially if the remote control or key fob is not functioning. Insert the key into the lock and turn it to unlock the door. This action often signals the vehicle’s alarm system that the owner is present, and in some cases, it can immediately disable the alarm.
Be sure to unlock the door firmly and completely, as partial unlocking might not deactivate the system. If the alarm continues to sound after unlocking, try turning the key in the ignition or locking and unlocking the door again. This procedure may vary between car models, so it’s helpful to consult the owner’s manual beforehand to understand the specific steps for your vehicle. By doing this, you can effectively address alarm issues with minimal stress.
Step 3. Insert the Key into the Ignition
Once the key is securely inserted into the ignition, turn it to the “ON” position without starting the engine. This step is crucial, allowing the car’s electronic system to recognize the key and deactivate the alarm. Depending on the vehicle, you may hear a chime or see indicator lights on the dashboard, signaling that the system is engaged. Pause briefly in this position to allow the car’s internal components to align with the key’s signal.
If the alarm persists, turn the key back to the “OFF” position and then to “ON” again a few times. This helps to reset the system in some cases. For vehicles with push-button ignition, ensure the key fob is close to the ignition system while pressing the “Start” button without engaging the engine. Refer to the owner’s manual for model-specific guidance to avoid potential issues.
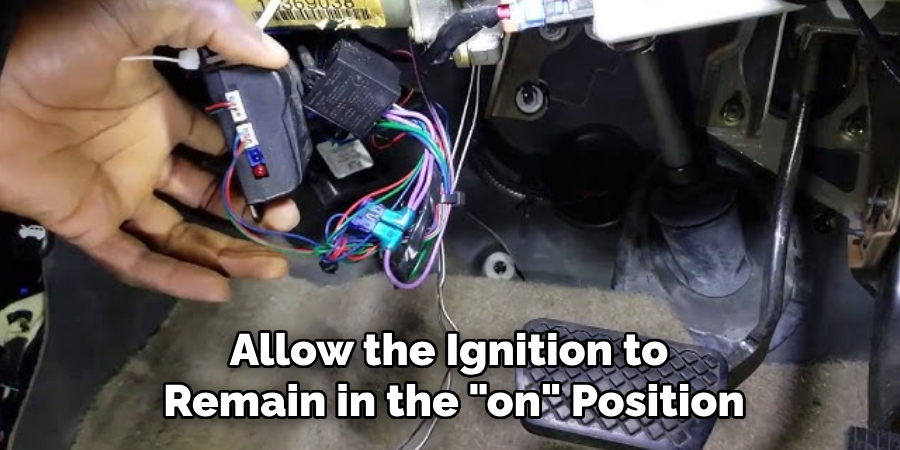
Step 4. Turn the Ignition to the “On” Position
Once the ignition is turned to the “ON” position, monitoring the dashboard lights and indicators is essential. Pay attention to any warning lights that remain illuminated, as they may suggest underlying issues that need to be addressed. You might notice a blinking or steady security indicator if your vehicle employs a security or anti-theft system.

Allow the ignition to remain in the “ON” position for about 10–15 minutes, depending on the car model and system configuration. During this time, the car’s system might reset or disable the alarm, mainly if it was triggered due to a false signal or a malfunction. Avoid turning the ignition off prematurely, as this could reset the system and undo any progress made in disarming the alarm.
Step 5. Press the Valet/Override Button
Locate the valet/override button, often concealed under the dashboard or near the driver’s side footwell. This button is a critical component of most aftermarket alarm systems, designed to temporarily bypass or disable the alarm. To use it, insert the key into the ignition and turn it to the “ON” position (if it isn’t already).
Then, press and hold the valet/override button for a few seconds until you notice a change in the alarm system, such as the siren stopping or the security indicator light turning off. Depending on the vehicle model and alarm system, you may need to press the button multiple times or follow specific instructions in the alarm system’s manual. This step effectively disables the alarm, allowing you to start the vehicle without issue. However, if the valet/override button is not accessible or does not work as intended, consult your vehicle’s documentation or seek professional help to avoid further complications.
Step 6: Re-enabling the Alarm System
Once you have resolved the issue with the alarm or completed the necessary task, you can re-enable the alarm system to ensure your vehicle remains secure. To do this, simply turn the ignition off and remove the key. The alarm system typically resets itself automatically when the ignition is turned off. However, some models may require pressing the valet/override button again to exit valet mode. Refer to your alarm system’s manual for any specific procedures related to reactivation. Always ensure the alarm is functional before leaving your vehicle unattended.
Step 7: Testing the Alarm System

After re-enabling the alarm system, it is essential to test its functionality to ensure it works correctly. To do this, arm the system by locking the vehicle using your remote or key fob. Wait for the alarm to activate, usually indicated by a flashing light or a chirping sound. Then, attempt to trigger the alarm by opening a door, trunk, or hood without disarming it. Verify that the alarm sounds and responds appropriately. If the system does not function as expected, consult the alarm system’s manual or contact a professional for assistance. This final step helps ensure the safety and security of your vehicle before regular use.
Step 8: Regular Maintenance and Checks
To ensure your alarm system continues to operate effectively, it is essential to perform regular maintenance and checks. Periodically inspect the system for any visible wires, sensors, or control unit damage. Replace batteries in your remote or key fob as needed to prevent malfunctions. Test the alarm system every few months using the earlier steps to confirm it functions correctly. Staying proactive with maintenance helps avoid potential issues and ensures the continued security of your vehicle.
By following these steps, you can effectively troubleshoot and resolve alarm issues with your car, providing peace of mind and a secure driving experience.

Conclusion
How to turn off viper alarm system can be straightforward when following the correct procedure. Begin by using the key fob to disarm the alarm, and pressing the unlock button.
If the key fob is unavailable, you can manually disable the system by locating the valet switch, usually hidden under the dashboard or near the driver’s side. Switch the ignition to the “on” position and press the valet button to deactivate the alarm.
Always refer to the user manual for specific instructions tailored to your Viper model, ensuring the safe and effective operation of the system. Happy driving!

