

In today’s fast-paced world, convenience and safety are paramount, particularly in areas like the garage. Automatic lighting plays a crucial role in enhancing both these aspects. Imagine arriving home late at night and not fumbling around in the dark; this is where knowing how to turn on garage lights when door opens becomes invaluable.
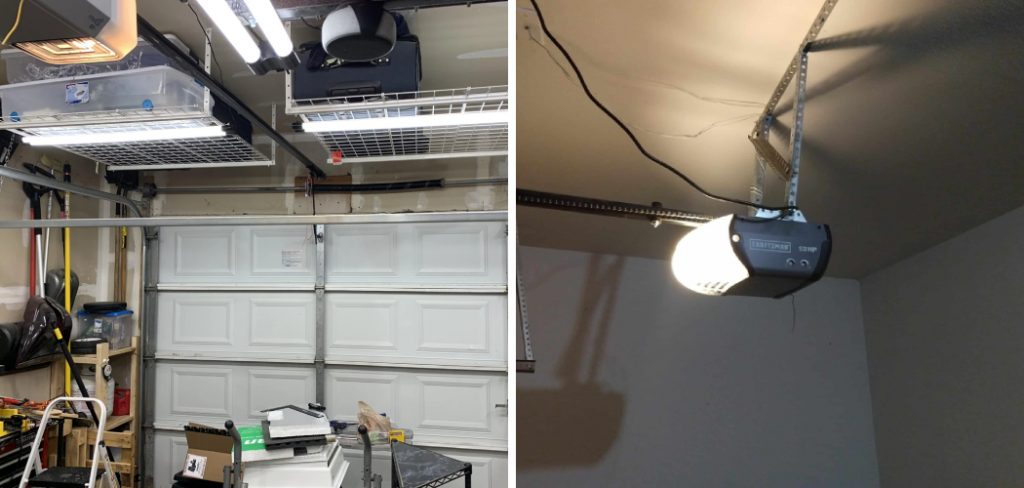
Automatic lighting illuminates your path, making it safer to navigate, and allows for hands-free operation, which is especially useful when your hands are full. The automation typically uses door sensors that detect when the garage door is opened, triggering the lights to turn on instantly. This guide will walk you through the straightforward steps required to set up this feature in your garage, ensuring that you enjoy the benefits of improved convenience and safety.
Tools and Materials Needed
To successfully automate your garage lighting with door sensors, you’ll need the following tools and materials:
Essential Tools
- Screwdriver
- Wire cutter/stripper
- Electrical tape
Required Materials
- Garage door sensor kit
- Electrical wiring
- Light fixtures
- Bulbs
Having these tools and materials on hand will ensure a smooth installation process, allowing you to complete the setup efficiently and effectively.
How to Turn on Garage Lights when Door Opens: Installing the Garage Door Sensor
1.Choosing the Right Sensor
Several garage door sensors are available, each with different functionalities and benefits. The most common types are motion sensors and magnetic switches. Motion sensors detect movement within their range and are highly effective at turning lights on when any motion is detected near the garage door. They are suitable for garages where people or vehicles move frequently.
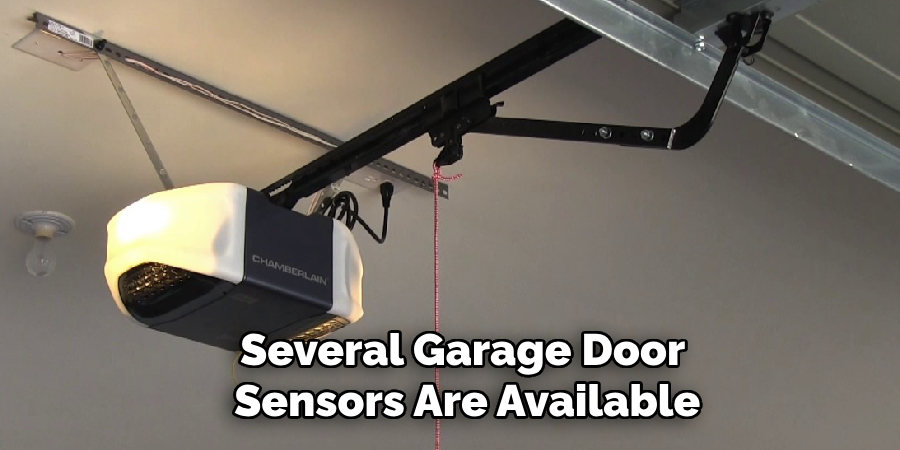
Magnetic switches, on the other hand, consist of two parts: one attached to the garage door and the other to the door frame. These switches complete an electrical circuit when the door is closed, breaking the circuit and turning on the lights when the door is opened. They are ideal for scenarios where you only want the lights to activate when the garage door is specifically opened.
When selecting a sensor, consider the type of garage door you have and your specific lighting needs. Motion sensors are excellent for large garages where activities are frequent, while magnetic switches are perfect for more controlled lighting requirements. Additionally, consider any compatibility issues with your existing garage door setup and the ease of installation. Generally, look for sensors with a good reputation for reliability and ease of use to ensure a hassle-free process.
2.Mounting the Sensor
Mounting the sensor correctly ensures that your automated lighting system operates smoothly. Start by determining the optimal position for the sensor, which is usually on the garage door itself or the frame. Mounting them at a height that can cover the entire entrance area is essential for motion sensors. Make sure the sensor has an unobstructed view to detect motion accurately. If using a magnetic switch, position one part of the switch on the door and the corresponding part on the frame, ensuring they align perfectly when the door is closed.
First, mark the mounting spots with a pencil. Use a screwdriver to fix the sensor brackets securely to these spots. If you’re working with a motion sensor, attach it firmly to its bracket, making sure it is both secure and adjustable. For magnetic switches, ensure the two parts are positioned correctly to align when the door is closed. Check the manufacturer’s guidelines for exact distances and alignment procedures to ensure accurate detection. Proper alignment is vital to avoid false triggers or failure in the system.
3.Wiring the Sensor to the Lighting System
The next step is connecting the sensor to your garage light circuit. Begin by turning off the power to the garage lighting circuit to ensure safety. Using a wire cutter/stripper, prepare the electrical wires from the sensor and the light fixtures. Strip the ends of the wires carefully to expose just enough copper to make secure connections. Follow the sensor kit’s instructions for wiring configurations, connecting the sensor wires to the light circuit wires. Usually, this will involve connecting the positive and negative wires appropriately.

Use wire nuts or electrical tape to secure the connections and prevent any exposure. Place the wired connections into a junction box to maintain a neat and safe setup. Turn the power back on and test the connections to ensure they work correctly. Properly secured wiring ensures that the sensor will effectively control the lighting system, providing you with automatic illumination when the garage door is opened. Ensure all connections are snug and there are no loose wires before concluding the installation.
By following these steps, you will have successfully installed the garage door sensor, paving the way for testing and adjusting the system for optimal performance.
Testing and Adjusting the Sensor
Testing the Sensor Operation
Opening and closing the garage door is essential to test the sensor’s functionality and ensure that the automatic lighting system is working as intended. Begin by fully closing the garage door and standing at a distance to observe the lights. Open the garage door slowly and watch the lights; they should turn on immediately when the door opens. Close the door again to check if the lights turn off after the predetermined duration. Repeat this process several times to make sure the sensor consistently triggers the lights without any delay or failure.
Verifying that the lights turn on and off as expected is crucial for ensuring your safety and convenience. Double-check all connections and sensor alignment if the lights do not activate or deactivate correctly. Pay attention to any areas where the sensor might be obstructed or misaligned, as this could affect performance. Proper sensor operation guarantees that the garage area will be adequately illuminated whenever the door is opened, enhancing both safety and usability.
Adjusting Sensor Settings
Configuring sensor sensitivity and delay settings for optimal performance can greatly improve the efficiency of your automated lighting system. Most sensor kits come with adjustable settings that allow you to tweak the sensitivity and delay time. Sensitivity settings determine how easily the sensor picks up movement or changes in the magnetic field, while delay settings control how long the lights stay on after activation. Use a small screwdriver or the provided adjustment tool to modify these settings to your preference.
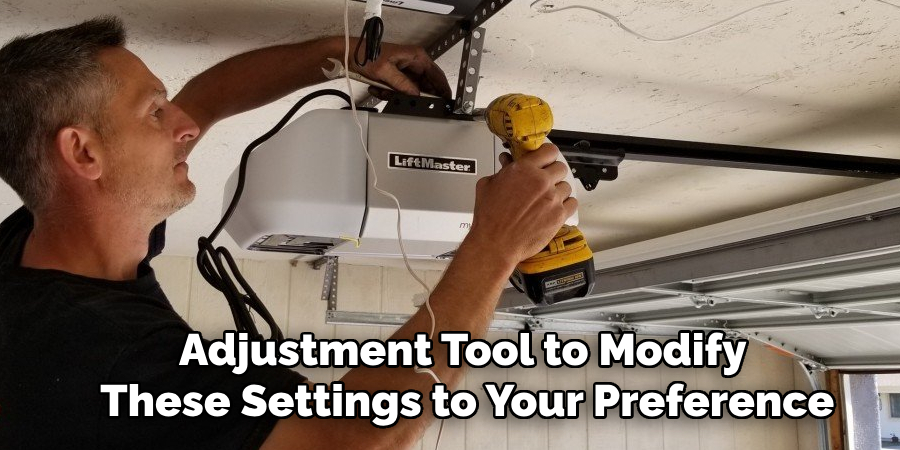
Adjustments based on garage layout and lighting needs are essential to ensure the system works perfectly for your specific situation. For instance, if your garage experiences frequent activity, you might want to set a higher sensitivity level and a longer delay time to keep the lights on during ongoing activities. Conversely, a lower sensitivity and shorter delay time may be more economical if the garage is used infrequently. Test the settings after each adjustment to achieve the perfect balance that meets your lighting requirements without unnecessary energy consumption.
Additional Considerations for Automation
Integrating with Smart Home Systems
Connecting your garage door sensor to a smart home hub or Wi-Fi-enabled system opens up a range of remote control options. By integrating the sensor with a dedicated smart home platform, you can manage your garage lighting system through your smartphone or other connected devices. Setting up automation or schedules becomes effortless, allowing you to dictate when the lights should turn on or off based on your daily routine. Additionally, many smart home systems offer compatibility with voice assistants like Alexa or Google Assistant. This functionality lets you control your garage lights using simple voice commands, making the system more convenient and versatile.
Enhancing Security and Energy Efficiency
Using automation to enhance garage security is a prudent measure. An automated lighting system ensures that your garage is always well-lit whenever there is movement, deterring potential intruders and providing a safe environment. Proper lighting is a key element in residential security, and automation helps maintain this consistently. Moreover, automation significantly improves energy efficiency by ensuring that lights are only on when needed. Sensors accurately detect when the garage is occupied, turning off the lights during inactivity. This not only reduces your energy consumption but also extends the lifespan of your light fixtures, providing both economic and environmental benefits.
Maintenance and Troubleshooting
Regular Maintenance
Perform regular maintenance to ensure your automated garage lighting system operates smoothly. Start by cleaning the sensors and checking for any obstructions affecting their operation. Dust and debris can accumulate over time, compromising the sensor’s functionality. Additionally, inspect the wiring for any signs of wear or damage, replacing any faulty components immediately to maintain a safe and efficient lighting system.
Troubleshooting Common Issues
If you encounter issues such as sensor misalignment, faulty wiring connections, or sensitivity problems, follow these troubleshooting steps. First, double-check the sensor alignment to ensure it is correctly positioned. Verify all wiring connections are secure and free of damage. If sensitivity issues persist, adjust the sensor settings according to the manufacturer’s guidelines. By systematically addressing these common problems, you can restore your automated lighting system to full functionality.
Professional Help and Support
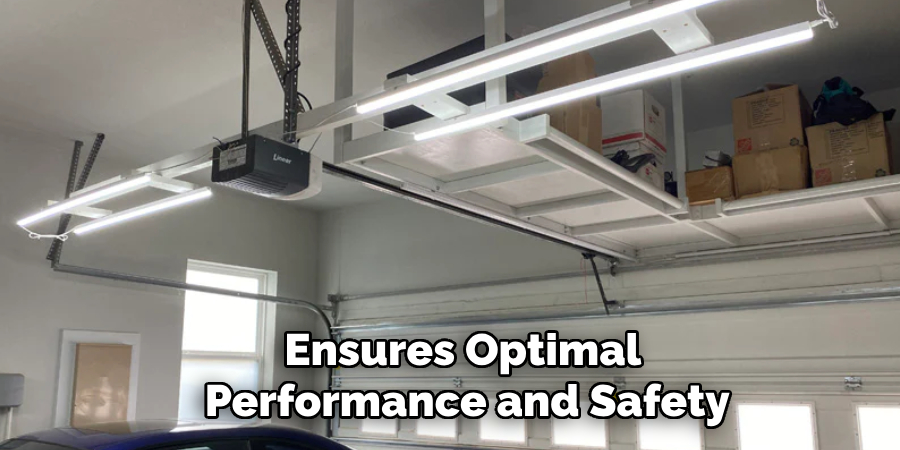
Considering professional assistance may be beneficial when facing complex installation or persistent troubleshooting issues that exceed basic maintenance skills. Automation specialists and electricians offer sensor installation, system integration, and advanced troubleshooting services. Their expertise ensures optimal performance and safety. Professional setup typically costs between $100 to $300, depending on the complexity and required labor. The process usually takes a few hours, ensuring your system operates seamlessly. Investing in professional support not only saves time and effort but also guarantees a reliable and efficiently functioning automated lighting system in your garage.
Conclusion
In conclusion, learning how to turn on garage lights when door opens involves several key steps. Begin with installing and aligning the sensors properly to ensure they trigger the lights reliably. Adjust the sensor sensitivity and delay settings to match your usage patterns, providing optimal lighting whenever needed. Integrate your system with a smart home hub for enhanced control and automation, making it easier to manage your lighting through mobile apps or voice commands.
Automated lighting offers significant benefits in terms of convenience, safety, and energy efficiency. A well-lit garage enhances security by deterring intruders and minimizes the risk of accidents. Moreover, the energy efficiency gained from automation ensures that lights are only on when required, reducing your energy bills and extending the life of your lighting fixtures.
By implementing automation, you’ll transform your garage into a more comfortable and secure space, making every interaction smoother and more efficient. Embrace automated lighting for an improved garage experience today.
About
Safety Fic is a distinguished figure in the world of Diy design, with a decade of expertise creating innovative and sustainable Diy solutions. His professional focus lies in merging traditional craftsmanship with modern manufacturing techniques, fostering designs that are both practical and environmentally conscious. As the author of diy, Safety Fic delves into the art and science of Safety Fic-making, inspiring artisans and industry professionals alike.
Education RMIT University
(Melbourne, Australia) Associate Degree in Design (Safety Fic) Focus on sustainable design, industry-driven projects, and practical craftsmanship. Gained hands-on experience with traditional and digital manufacturing tools, such as CAD and CNC software.
Nottingham Trent University
(United Kingdom) Bachelor’s in diyfastly.com and Product Design (Honors) Specialized in product design with a focus on blending creativity with production techniques. Participated in industry projects, working with companies like John Lewis and Vitsoe to gain real-world insights.
Publications and Impact
In diy, Safety Fic his insights on indoor design processes, materials, and strategies for efficient production. His writing bridges the gap between artisan knowledge and modern industry needs, making it a must-read for both budding designers and seasoned professionals.