

Are you having trouble with unlocking your patio door? Struggling with a stubborn lock can be frustrating, especially if you’re trying to enjoy some fresh air or let in some natural light.
Unlocking a patio door may seem straightforward, but the process can vary depending on the door type and locking mechanism involved. Whether it’s a sliding glass door, a hinged patio door, or a modern smart lock system, understanding how to properly and safely unlock it is essential.

This guide on how to unlock a patio door will walk you through the steps to unlock different types of patio doors, ensuring ease of use and maintaining the security of your home. With these instructions, you’ll be prepared to handle any patio door confidently.
What Are the Causes of a Stuck Patio Door Lock?
Before we dive into the specifics of unlocking different types of patio doors, it’s essential to understand some common causes for a stuck or difficult-to-open lock. This knowledge can help you troubleshoot the issue and prevent it from happening.
One of the main reasons for a jammed patio door lock is dirt and debris buildup. Over time, dust, dirt, and other particles can accumulate in the lock mechanism, making it difficult to turn or completely block its movement. Another possible cause is rust or corrosion, mainly if your patio door is near moisture-prone areas like pools or gardens.
Also, improper maintenance or wear and tear can contribute to a stuck lock. If the locking mechanism is not regularly lubricated or has been used for many years, it may become stiff and difficult to operate. In some cases, a faulty lock could be the culprit, requiring repair or replacement.
What Will You Need?
Before attempting to unlock your patio door, it’s helpful to gather a few tools and materials that may come in handy. These include:
- A screwdriver (if needed for lock maintenance or repair)
- Lubricant spray or powder
- Tweezers (for removing debris from the lock)
- A hairdryer (to melt any ice buildup on the lock)
Once you have these items, you will be ready to tackle any patio door lock.
10 Easy Steps on How to Unlock a Patio Door
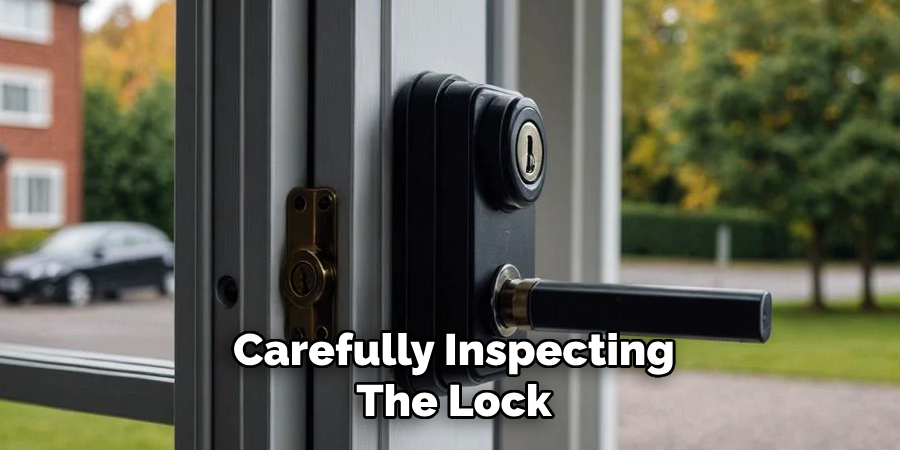
Step 1: Assess the Situation
Start by carefully inspecting the lock and the surrounding area for any visible issues. Check for signs of rust, debris, or ice that may be causing the lock to stick. Test the lock by turning or moving it without excessive force to avoid further damage. This initial assessment will help you determine the best course of action.
Step 2: Clean the Lock
If you notice any dirt, dust, or debris in the lock, use tweezers to remove it carefully. A can of compressed air can also help dislodge particles stuck inside. Once the lock is clear, apply a small amount of lubricant spray or powder to reduce friction and ensure smooth operation. Avoid over-lubricating, as this might attract more dirt over time. After cleaning, test the lock again to see if it functions properly.
Step 3: Check for Misalignment
Examine the alignment of the door and its frame. Misaligned patio doors can cause the lock to jam or malfunction. Look for any gaps or uneven spacing between the door and the frame. If misalignment is evident, try gently adjusting the door by lifting or shifting it into place. You may also need to tighten any loose screws or hinges. Once the door is aligned correctly, test the lock to see if the issue is resolved.
Step 4: Inspect the Lock Mechanism
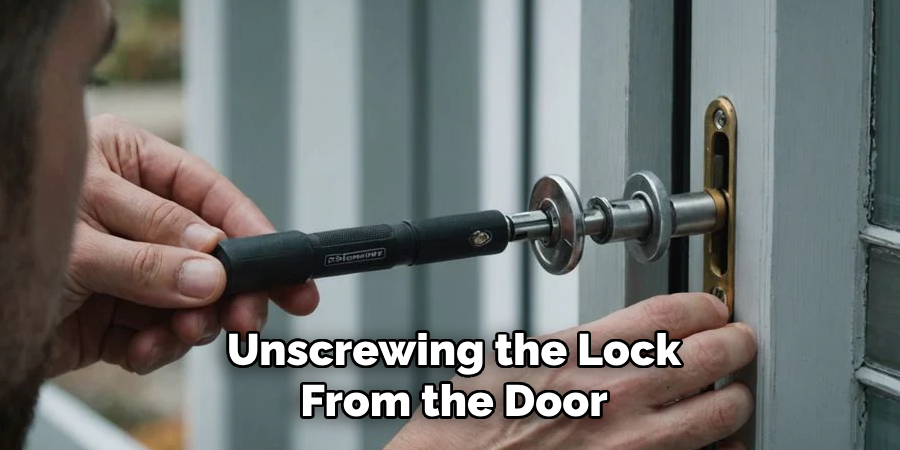
Disassemble the lock mechanism carefully to inspect its internal components for wear or damage. Begin by unscrewing the lock from the door, ensuring you keep track of all screws and small parts to avoid misplacement.
Once the lock is removed, examine the internal parts, such as the latch, deadbolt, or springs. Look for signs of rust, broken pieces, or other damage that could cause the malfunction. If any component is visibly damaged, consider replacing it, as repairing small internal parts can be challenging.
Clean each part thoroughly with a dry cloth or a light solvent to remove any buildup hindering smooth operation. Before reassembling the lock, lubricate the moving parts lightly to ensure they function smoothly. Once reassembled, reinstall the lock on the door and test it multiple times to ensure it operates correctly. If the issue persists, the lock mechanism may need to be replaced entirely.
Step 5: Check the Alignment of the Lock and Door Frame
If the lock mechanism functions correctly but still doesn’t operate smoothly, the issue might be due to misalignment between the lock and the door frame. Start by examining the strike plate on the door frame to ensure it is appropriately positioned. Check if the latch or deadbolt aligns perfectly with the opening on the strike plate when the door is closed. If not, you may need to adjust the position of the strike plate by loosening its screws and repositioning it slightly.
Alternatively, you can use a file to widen the opening if the misalignment is minor. Once adjustments are made, test the lock to confirm that it engages quickly. Proper alignment is critical for both security and ease of use.
Step 6: Lubricate the Lock Mechanism
After checking the alignment, the lock may require lubrication if it does not function smoothly. Over time, dirt and debris can accumulate inside the lock mechanism, leading to stiffness or jamming. Use a graphite-based lubricant or a silicone spray designed for locks to ensure smooth operation.
Avoid oil-based products like WD-40, which can attract more dirt and create further problems. Apply the lubricant to the keyhole and other moving parts of the lock, then insert and turn the key several times to distribute the lubricant evenly. Wipe away any excess lubricant to keep the area clean. Regular lubrication not only resolves many lock issues but also extends the life of the mechanism.

Step 7: Inspect the Key
If lubricating the lock does not resolve the issue, the problem might lie with the key itself. Over time, keys can become bent, worn, or damaged, preventing them from functioning correctly. Examine the key closely for any signs of wear or deformation. If the key appears damaged, try using a spare key to see if it resolves the issue. If a spare key is unavailable or also damaged, it may be necessary to have a new key cut by a professional locksmith. Ensuring the key is in good condition is essential in troubleshooting lock problems.
Step 8: Test the Lock with a Different Key
If the lock mechanism remains unresponsive, testing the lock with a different key can help determine whether the issue lies with the lock itself or the original key. Use a spare key, if available, to operate the lock. If the spare key works without issue, it confirms that the original key is faulty and may need to be replaced. If the lock fails to function with multiple keys, the problem is likely within the lock mechanism, and professional assistance may be required to resolve the issue.
Step 9: Inspect and Tighten Lock Components
Over time, the components of a lock can become loose, impacting its performance. Inspect the lock’s external parts, such as the screws and mounting hardware, to ensure everything is secure. Use a screwdriver to tighten any loose screws, taking care not to overtighten, as this could damage the lock or door. If the internal components are accessible and appear misaligned or loose, these may also need adjustment. Properly aligned and tightened components can restore the lock’s functionality and ensure it operates smoothly.
Step 10: Use a Locksmith
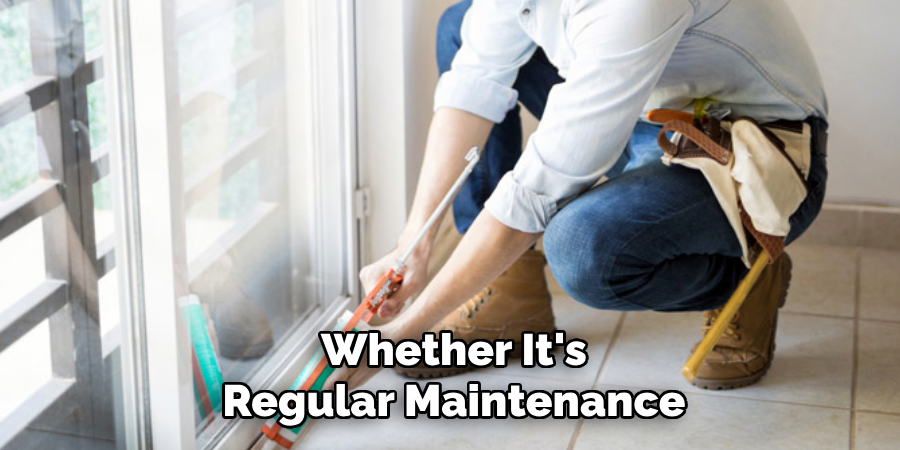
If none of the above steps resolve the issue, or if you are uncomfortable attempting any repairs yourself, it may be necessary to seek the assistance of a professional locksmith. A locksmith has the expertise and specialized tools to diagnose and repair complex lock issues. They can also recommend upgrading your lock for improved security or convenience. While it may be tempting to try DIY methods, involving a professional can save time effort, and potentially further damage to the lock. Whether it’s regular maintenance, minor repairs, or significant replacements, consulting with a trusted locksmith is always beneficial in keeping your locks in top working condition. Don’t hesitate to reach out for help when needed!
Following these troubleshooting steps, you should be able to resolve the most common lock issues and keep your locks functioning smoothly.
Conclusion
How to unlock a patio door doesn’t have to be a stressful experience if you approach the issue methodically.
By identifying the problem, using tools cautiously, and maintaining the lock regularly, you can avoid common pitfalls and ensure your patio door remains secure and functional. Remember, prevention is key—cleaning and lubricating the mechanism periodically can prevent many lock issues from arising. However, consulting a professional locksmith is always a wise choice if the problem persists and you cannot resolve it alone.
With proper care and attention, your patio door lock will continue providing security and ease of use for years.