

Unlocking an Andersen storm door might seem challenging, especially if you’re dealing with a stuck latch or a locked mechanism for the first time. Many homeowners encounter issues with their storm doors due to wear and tear, misaligned hardware, or simple user error. No matter the situation, knowing how to address these problems can save you time and give you a sense of accomplishment.
In this guide on how to unlock andersen storm door, we’ll walk you through all the tools and materials you might need, followed by clear, detailed steps to help you unlock your Andersen storm door safely and efficiently. Whether you’re handling a stuck door or just learning routine maintenance, this resource is designed to be both accessible and helpful for everyone.
Tools and Materials You’ll Need
- Flat-head Screwdriver
- Phillips-head Screwdriver
- Lubricating Oil (Such as WD-40)
- Needle-nose Pliers
- Cleaning Cloth
- Replacement Hardware (if Necessary)
- Step Ladder (if Needed for Higher Doors)
- Safety Gloves
8 Simple Step-By-Step Guidelines on How to Unlock Andersen Storm Door
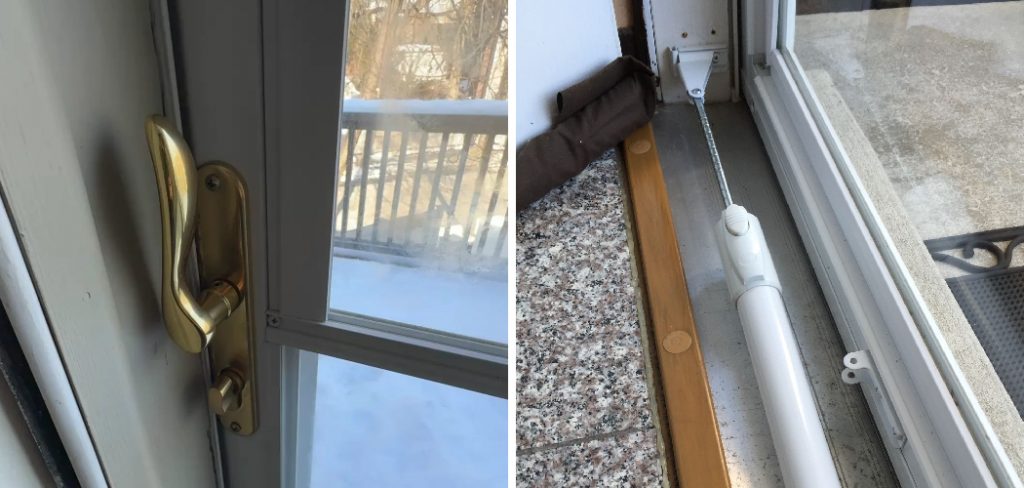
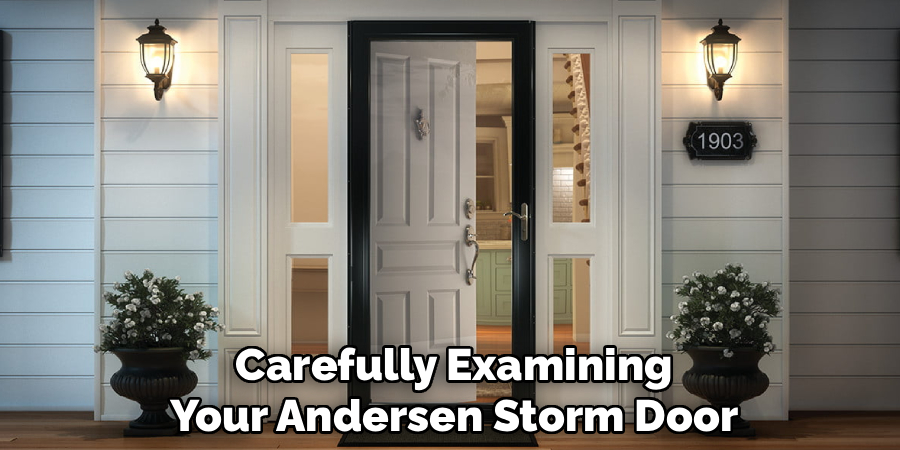
Step 1: Assess the Situation
Begin by carefully examining your Andersen storm door. Check if it is completely locked, partially jammed, or if there may be an obstruction in the lock mechanism. Sometimes, debris or dirt can get caught in the lock, making it difficult to turn or release.
Taking this first step ensures you have a good understanding of the specific problem at hand. Observing visual cues such as a misaligned latch or loose handle can provide important information that will help guide your next steps toward unlocking the door safely.
Step 2: Inspect the Lock Mechanism
Look closely at the lock to determine if there are visible signs of damage, rust, or wear. Spray a small amount of lubricating oil into the keyhole or latch if you notice any stiffness while turning the key or knob. Allow a few minutes for the oil to penetrate and loosen up the mechanism.
If you have a key, gently try turning it back and forth after lubrication. Sometimes, the lock may simply need this basic maintenance to return to proper functioning, avoiding the need for more intensive techniques or tools.
Step 3: Check for Misalignment
Open and close the door gently to see if it is rubbing against the frame or sagging at the hinges. Misalignment can cause the latch to stick, making it difficult or impossible to unlock the door through regular means.
In some cases, tightening the hinge screws with a screwdriver can help align the door back into its proper position. Fixing minor misalignments often resolves lock issues without the need for further disassembly.
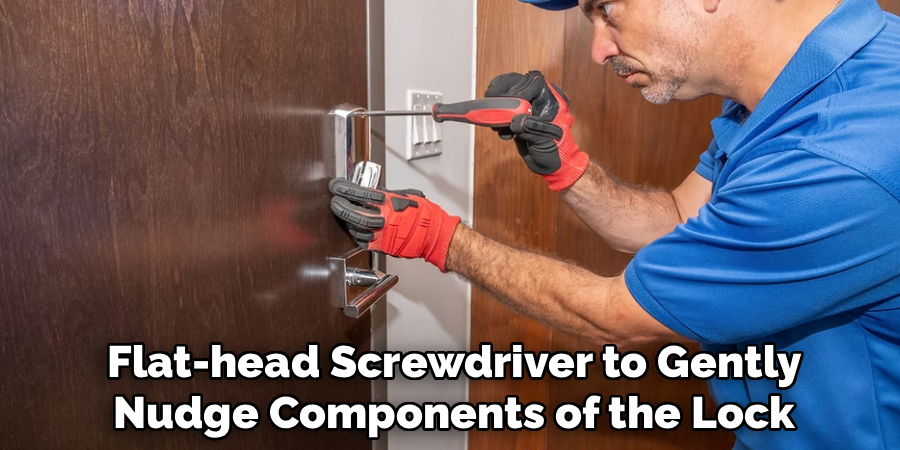
Step 4: Use a Flat-Head Screwdriver
If the lock remains stuck, utilize a flat-head screwdriver to gently pry or nudge components of the lock or latch. Insert the screwdriver into the gap between the door and the frame, being careful not to apply excessive force that could damage either part.
Small, controlled movements can help jostle the latch or lock it into place. If you feel resistance, stop and reassess to avoid breaking the lock. This technique works best for locks that are stiff but not internally jammed.
Step 5: Remove the Interior Handle or Plate
Sometimes, you may need to access the inner workings of the lock by removing the door’s interior handle or faceplate. Use a Phillips-head screwdriver to take out the screws attaching the handle or plate to the door.
Place all screws in a safe location to avoid misplacing them. Gently pull off the handle and inspect the lock chamber for any blockages, loose components, or debris that might be causing the issue.
Step 6: Reset or Realign the Latch
With the interior mechanism exposed, try to manually move the latch with your fingers or a pair of needle-nose pliers. Look for parts that seem out of place or are not operating smoothly. Sometimes, gently pushing or pulling the latch can reset it.
If the latch snaps back into its proper position, reattach the handle or plate and attempt to unlock the door normally. Test the mechanism several times to ensure the problem is resolved before securing the screws tightly.
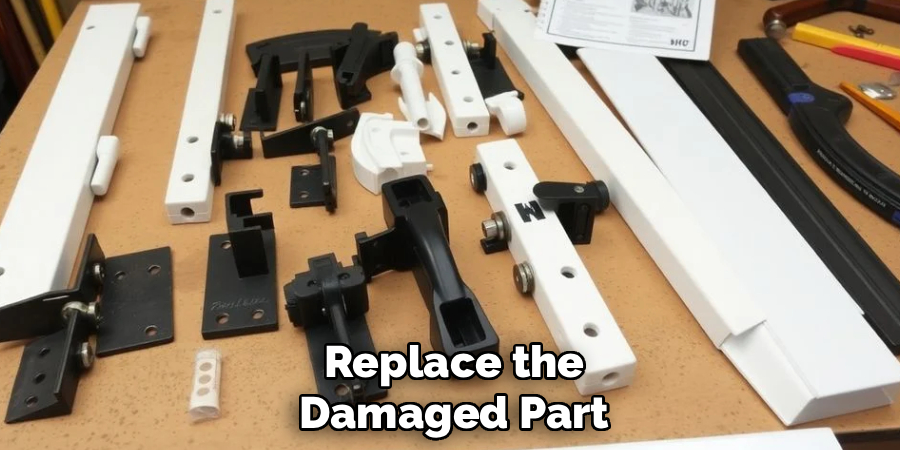
Step 7: Replace Worn or Broken Parts
If you discover a broken spring, latch, or other hardware during your inspection, it may be necessary to replace the damaged part. Obtain replacement hardware compatible with Andersen storm doors, which is typically available at most hardware stores.
Follow the manufacturer’s instructions carefully when installing new components. Reassemble the door and handle, then test the lock multiple times to ensure smooth operation and lasting results.
Step 8: Test and Maintain the Door
After completing repairs or realignment, open and close the door several times to check for smooth function. Lock and unlock it using both the key and handle, ensuring everything works as intended without sticking or jamming.
Regular maintenance, such as applying lubricant and tightening screws as needed, can help prevent future issues. Establish a routine checkup every few months to extend your door’s lifespan and keep it functioning optimally.
Following these steps on how to unlock andersen storm door, as well as properly maintaining it, will ensure the longevity and effectiveness of your door. With proper care and attention, your Andersen storm door can continue to provide security and convenience for years to come.
Do You Need To Use Professionals?
While many locking issues can be resolved with the right tools and a bit of patience, there are cases when calling a professional locksmith may be the best solution.
If you are uncomfortable disassembling parts of the storm door or suspect the lock mechanism is severely damaged, an experienced technician can assess and fix the issue quickly. Professionals also have specialized tools and expertise to avoid accidental damage that can occur during DIY attempts.
In cases where the lock needs to be entirely replaced or rekeyed, a pro can ensure the job is done to code, protecting your home’s security. Consider your comfort level and the complexity of the problem before deciding whether to proceed alone or seek help.
How Much Will It Cost?
The cost of unlocking an Andersen storm door can vary based on the extent of the problem and your chosen solution. DIY repairs typically cost little to nothing, especially if you already have the necessary tools and only need basic supplies like lubricant. Replacement parts for storm doors usually range from $10 to $30, depending on the component.
Hiring a professional locksmith, on the other hand, may cost anywhere from $75 to $150 or more, depending on service rates and parts needed. Be sure to get a quote in advance if choosing professional help and compare it to the potential costs of DIY solutions to make the best choice for your needs.
Frequently Asked Questions
Q1: How Do I Know If My Andersen Storm Door Lock Is Broken?
If the lock does not respond after lubricating or realigning the latch, or if the key turns freely without unlocking the door, your lock may be broken. Visible damage such as bent or snapped parts, is another sign of mechanical failure. You might also notice that the handle feels loose or will not move at all, which usually means internal components have worn out. It’s important to act quickly, as a broken lock can compromise your home’s security and may require professional attention.
Q2: What If I’ve Lost The Key To My Andersen Storm Door?
Losing your storm door key is frustrating, but solutions exist. First, check if a spare key is available, perhaps given to a trusted friend or neighbor. If no spare key is accessible, consider removing the interior handle or lock mechanism as detailed above. As a last resort, contacting a professional locksmith will help you regain entry and possibly rekey the lock to prevent future issues. Always store spare keys in a designated, secure location for peace of mind.
Q3: Can I Unlock My Andersen Storm Door Without Voiding The Warranty?
Generally, performing minor adjustments, cleaning, or lubrication will not void your Andersen storm door warranty. However, replacing internal parts or attempting extensive repairs might impact your warranty status. It’s best to review your product documentation or consult with Andersen customer service before beginning major repairs. Keeping receipts for replacement parts and following recommended procedures will help maintain your warranty where possible.
Q4: Why Does My Andersen Storm Door Keep Getting Stuck?
Storm doors often stick due to misalignment, dirt, or worn-out hardware. Temperature fluctuations and changing humidity levels can also cause doors and frames to swell, creating tight fits and making unlocking more difficult. Regularly maintaining your door and hardware can prevent many of these problems. If the problem persists, consider consulting with a professional to identify any underlying structural issues.
Conclusion
Unlocking an Andersen storm door doesn’t have to be an overwhelming task. By following these detailed steps on how to unlock andersen storm door, gathering the right tools, and staying patient, you can resolve most common lock issues with confidence.
Remember to maintain your storm door regularly, as preventative care can save you from future headaches. If in doubt, don’t hesitate to contact a professional for help—your home’s security and your peace of mind are worth it.
About
Safety Fic is a distinguished figure in the world of Diy design, with a decade of expertise creating innovative and sustainable Diy solutions. His professional focus lies in merging traditional craftsmanship with modern manufacturing techniques, fostering designs that are both practical and environmentally conscious. As the author of diy, Safety Fic delves into the art and science of Safety Fic-making, inspiring artisans and industry professionals alike.
Education RMIT University
(Melbourne, Australia) Associate Degree in Design (Safety Fic) Focus on sustainable design, industry-driven projects, and practical craftsmanship. Gained hands-on experience with traditional and digital manufacturing tools, such as CAD and CNC software.
Nottingham Trent University
(United Kingdom) Bachelor’s in diyfastly.com and Product Design (Honors) Specialized in product design with a focus on blending creativity with production techniques. Participated in industry projects, working with companies like John Lewis and Vitsoe to gain real-world insights.
Publications and Impact
In diy, Safety Fic his insights on indoor design processes, materials, and strategies for efficient production. His writing bridges the gap between artisan knowledge and modern industry needs, making it a must-read for both budding designers and seasoned professionals.